
A presentation at DrupalCon Baltimore in April 2017 in Baltimore, MD, USA by Carie Fisher
Chris’s mix of creative talent and technical understanding provides clients with high-quality screen-based experiences. His depth of experience and education includes seven years Drupal experience and brings together the disciplines of technology, writing, and design.
Carie is a front-end developer who has been focused professionally on Drupal since 2009. In her role as a Senior Front-End Developer at Mediacurrent, she thrives on the challenge of turning a static mock-up into a responsive, live site that is both beautiful and functional.
We’re going to talk about how Designers and developers can work together most effectively and efficiently. Some of these items might seem common-sense, but when you are heavily focused on project work, you forget to take the time to look at the issues globally. At Mediacurrent we use specific tools for design and front end development, but our intent for the presentation is to be agnostic about tools. We will give some of examples of tools we use, but you should use what tools you like and what you think fits in best with your own particular workflow.
Before any project starts, we need to consider communication…how is the team going to communicate? We work collaboratively, but we are a distributed team, so we need to be extra communicative using tools like Slack, hangouts and Zoom.

Before design begins, there are a few items that can be created to set the project up for success: a place to track progress, a place to share files, and establishing nomenclature that can be used throughout the project.
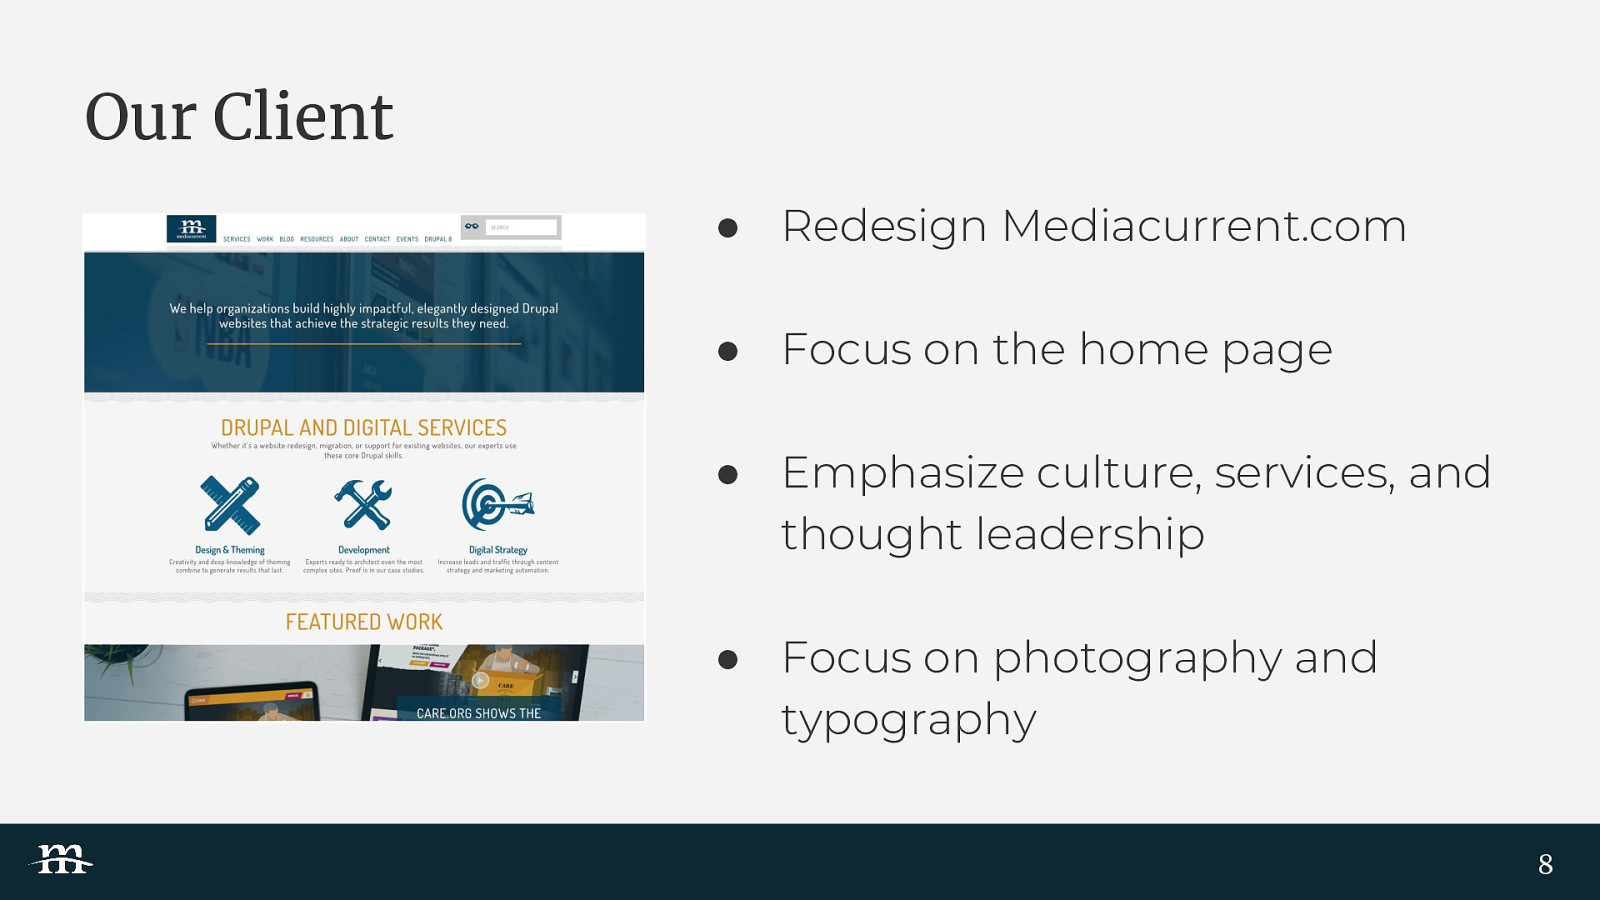
We are tasked with creating a new web site for mediacurrent. Particular points of emphasis are typography and photography, and an emphasis on the company culture, services and thought leadership.
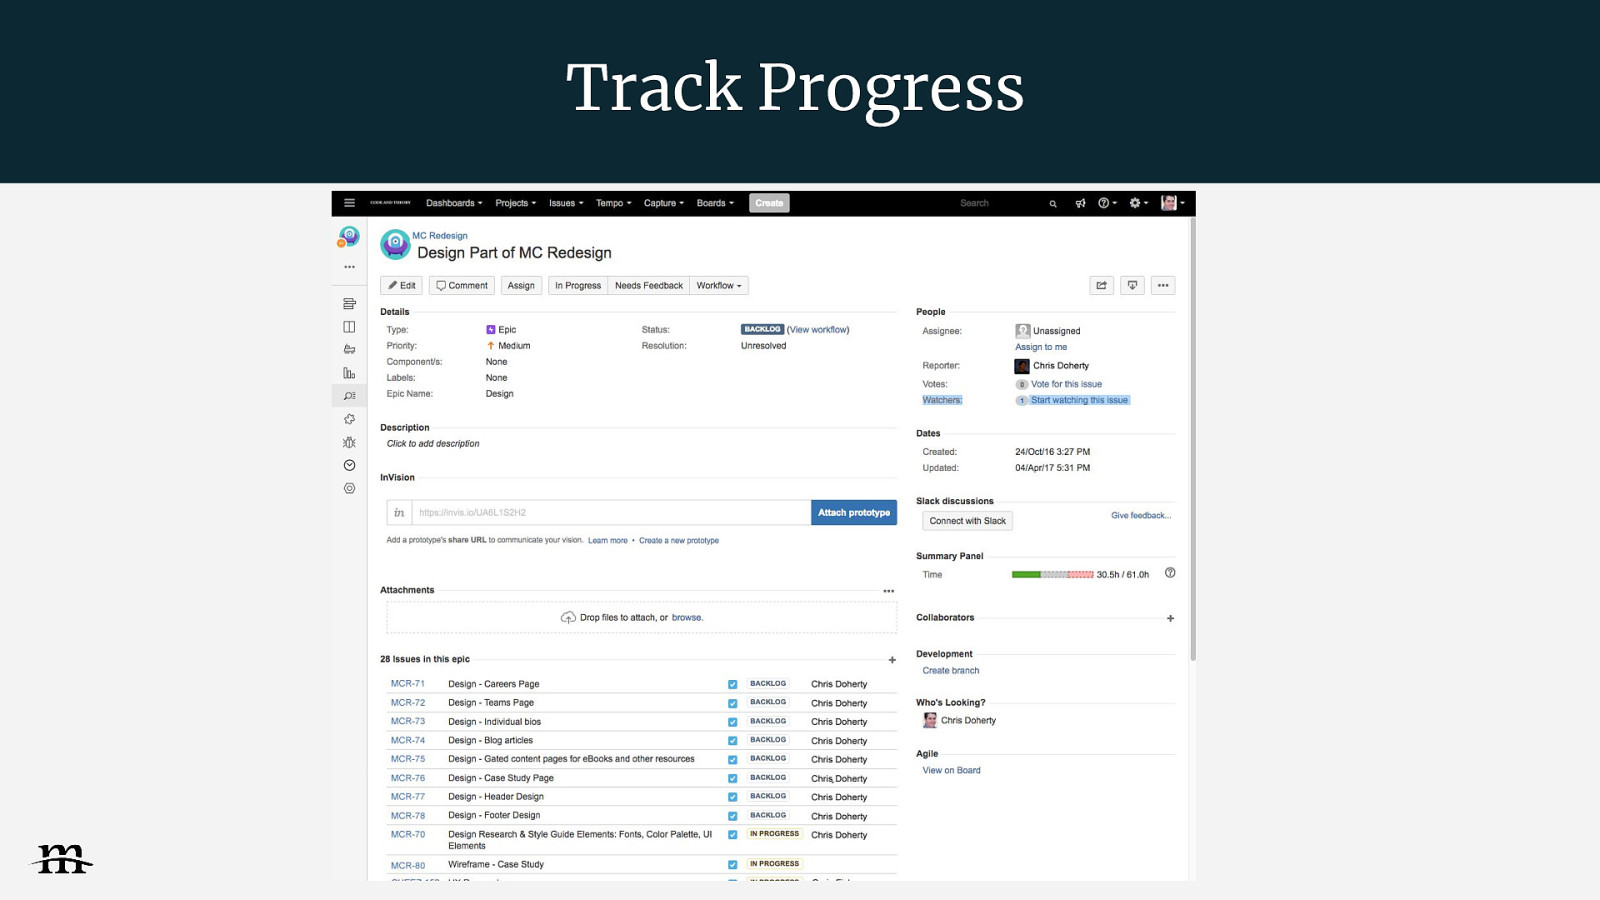
This is generally a task for the Project Manager, but it is important to set up a place for the whole team: designers, developers and project managers to track progress, share notes and alert other team members of potential issues.
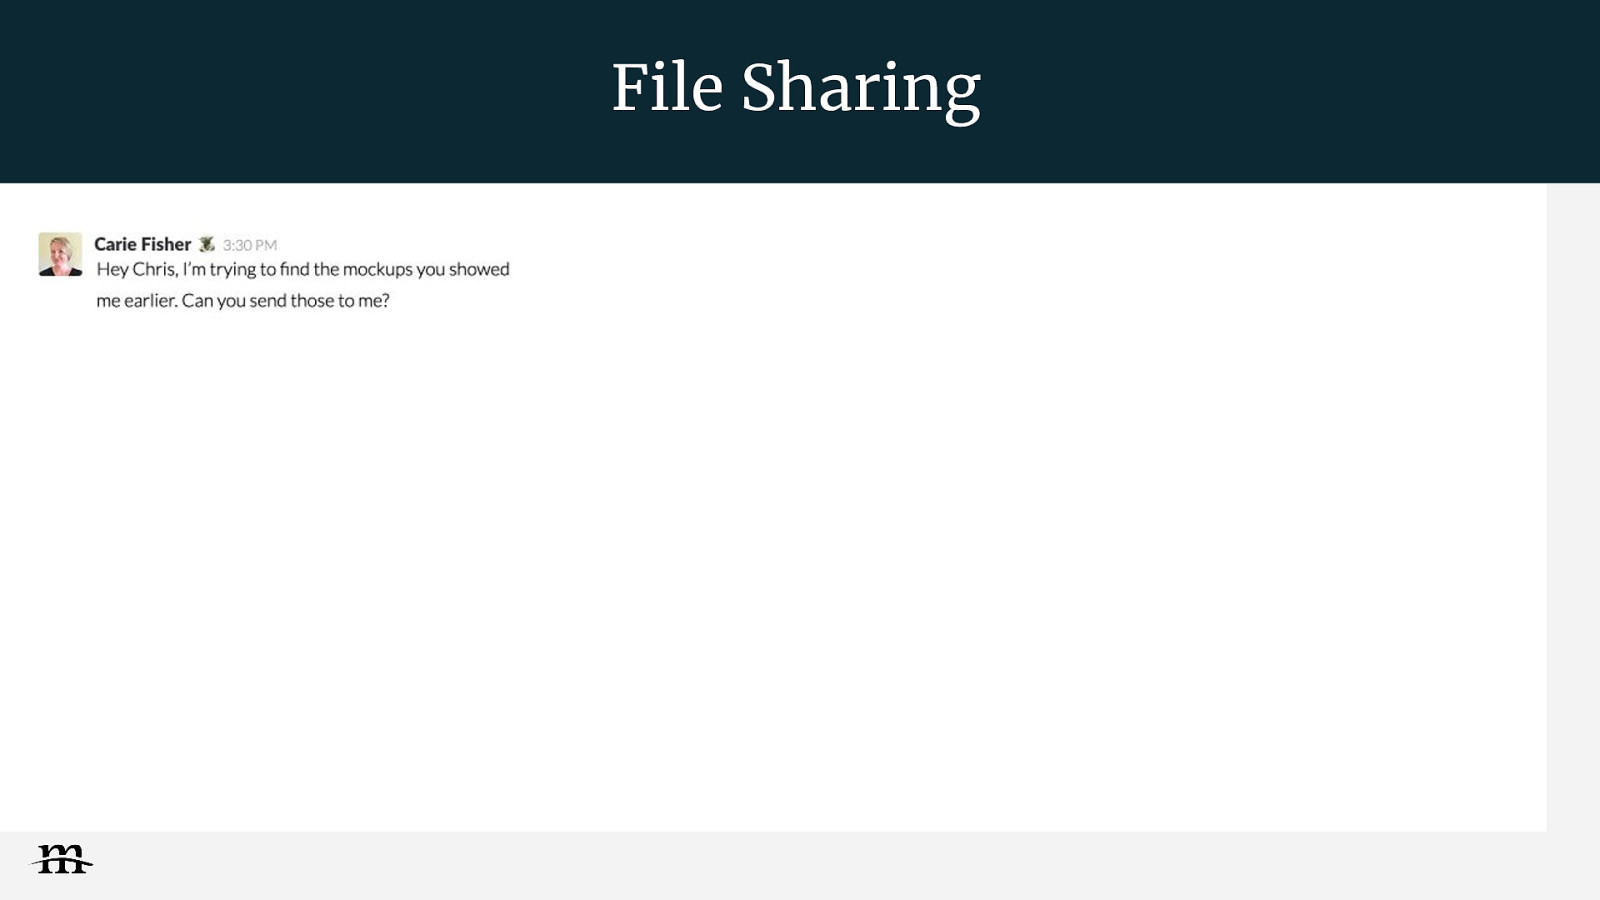
Start a shared space where designers, front end developers and project managers can see the design, assets and updates. There are a number of tools like Dropbox or Google Drive that are ideal for this. File structure is important. In the shared space it might make sense to have subfolders for things like: ● Sketches ● Wireframes ● Presentation docs ● Design
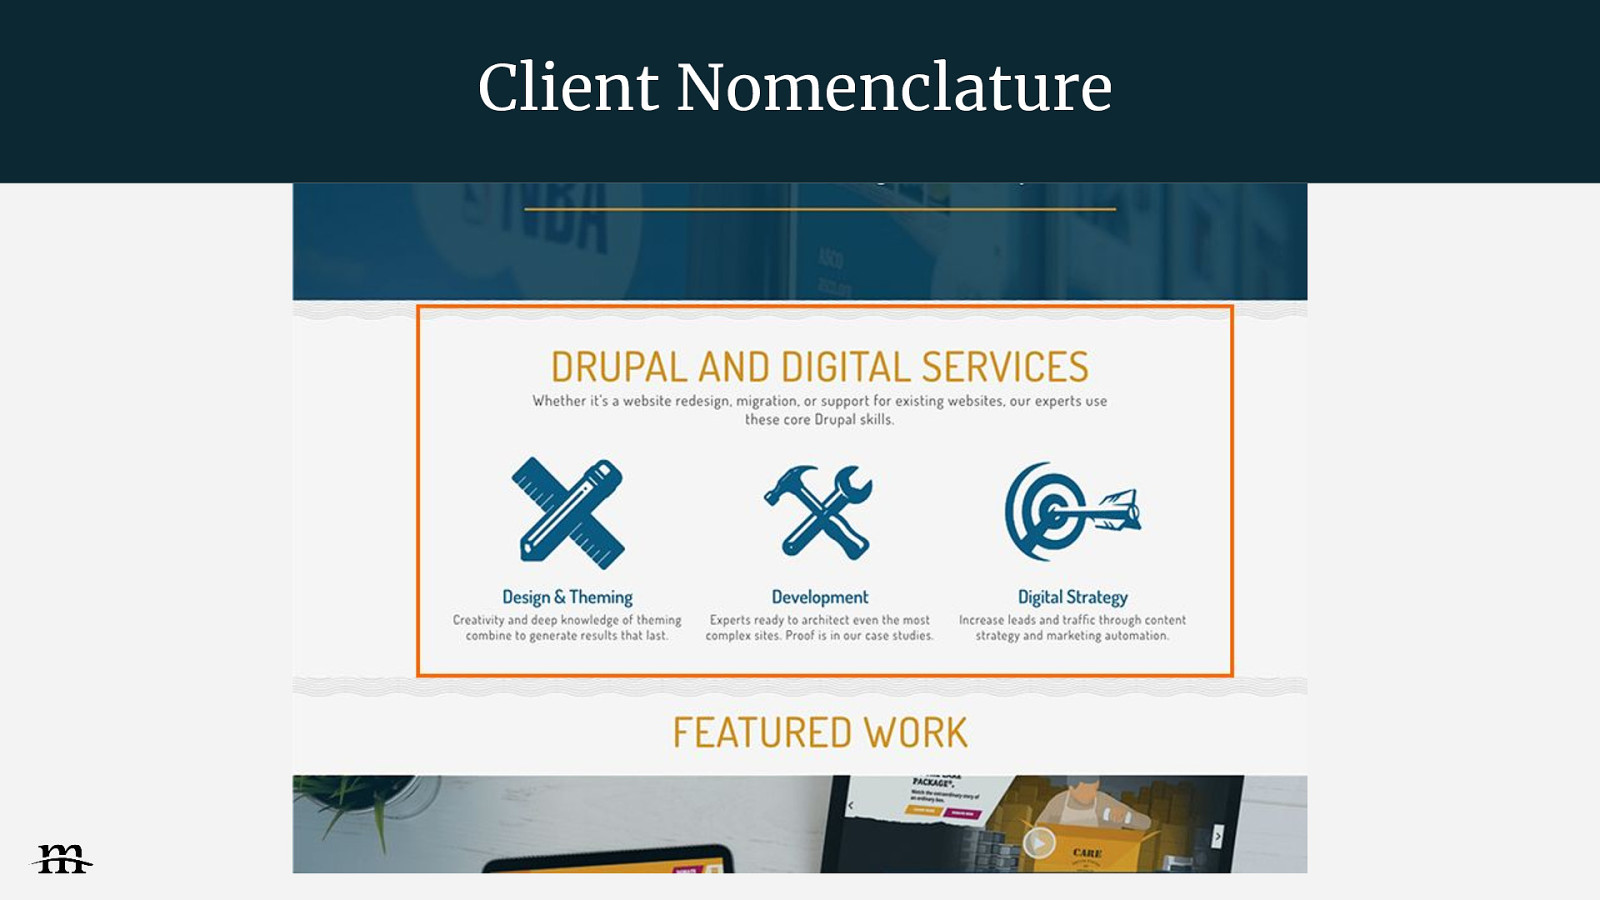
Discovery is a great time to name things. A key part of communicating effectively as a team is to use the same terminology. The earlier in the process the better, especially when you are in discussion with the client.
Ok so we have the file structure, client nomenclature, and ticketing systems set-up…now on to design.
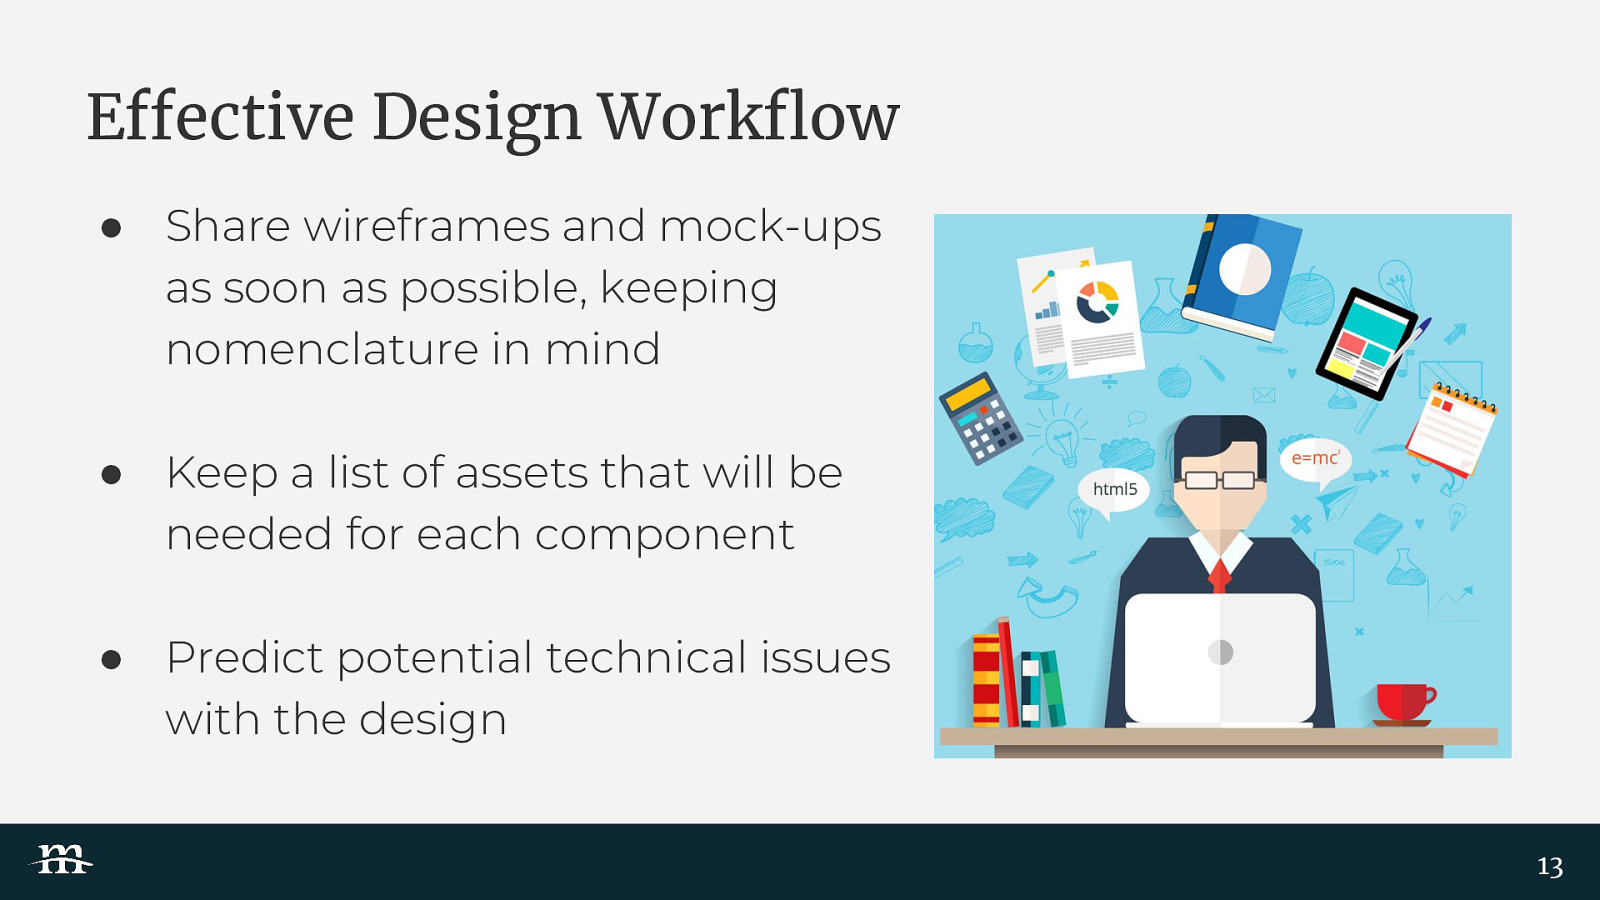
Communicate early: share design and wireframes with the team and client as soon as possible. When we design we will keep a list of all assets we will need for each component. We should give developers a heads up on what’s coming, think about technical issues before they become issues for the client
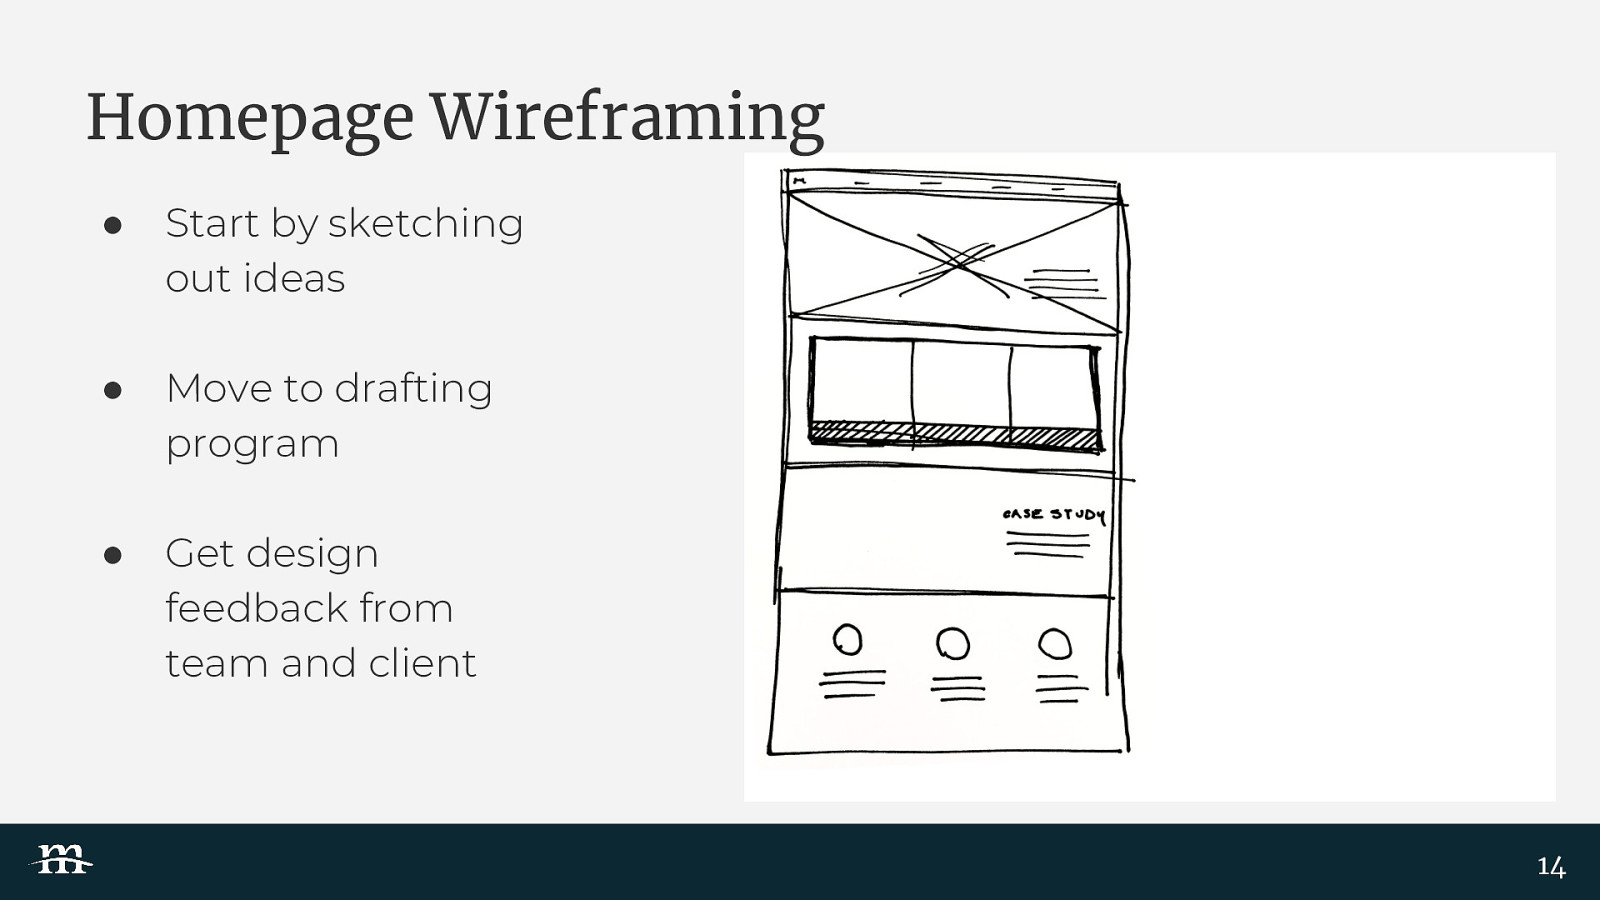
In our demo client scenario, we start by using paper and pen to create a quick sketch of our design ideas. Then we move on to a more robust drafting program like InDesign or Photoshop. Then we get design feedback from the team/client.
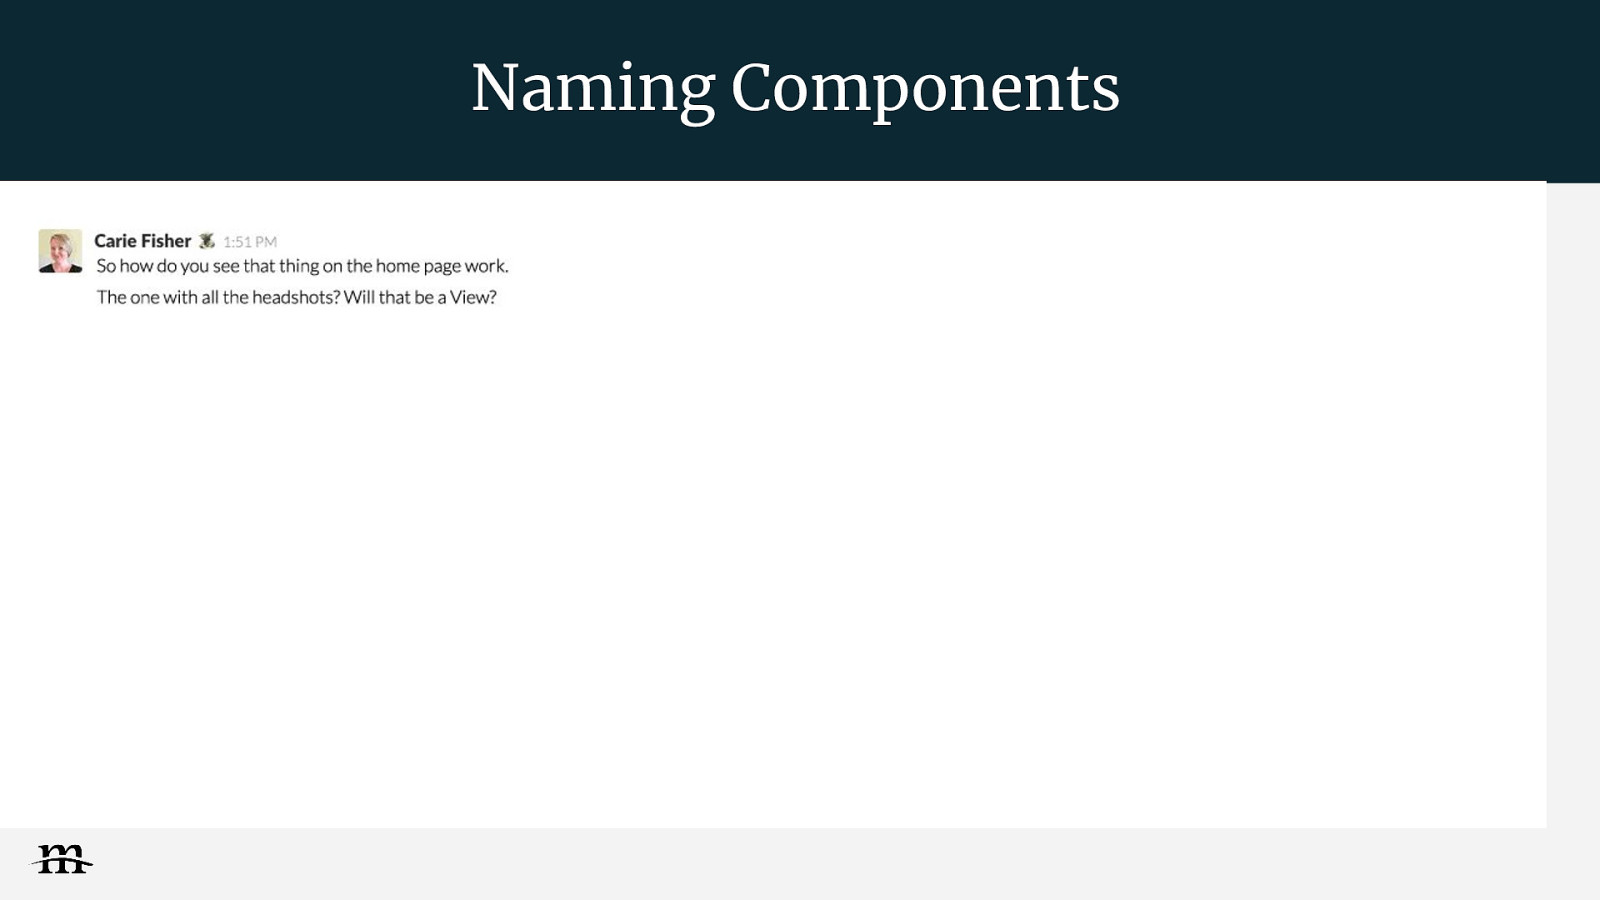
Nomenclature: it’s important to name pages and especially components as early as possible, during wireframing. The reason for this is that it starts to get clients to latch on to. Develop a common language.
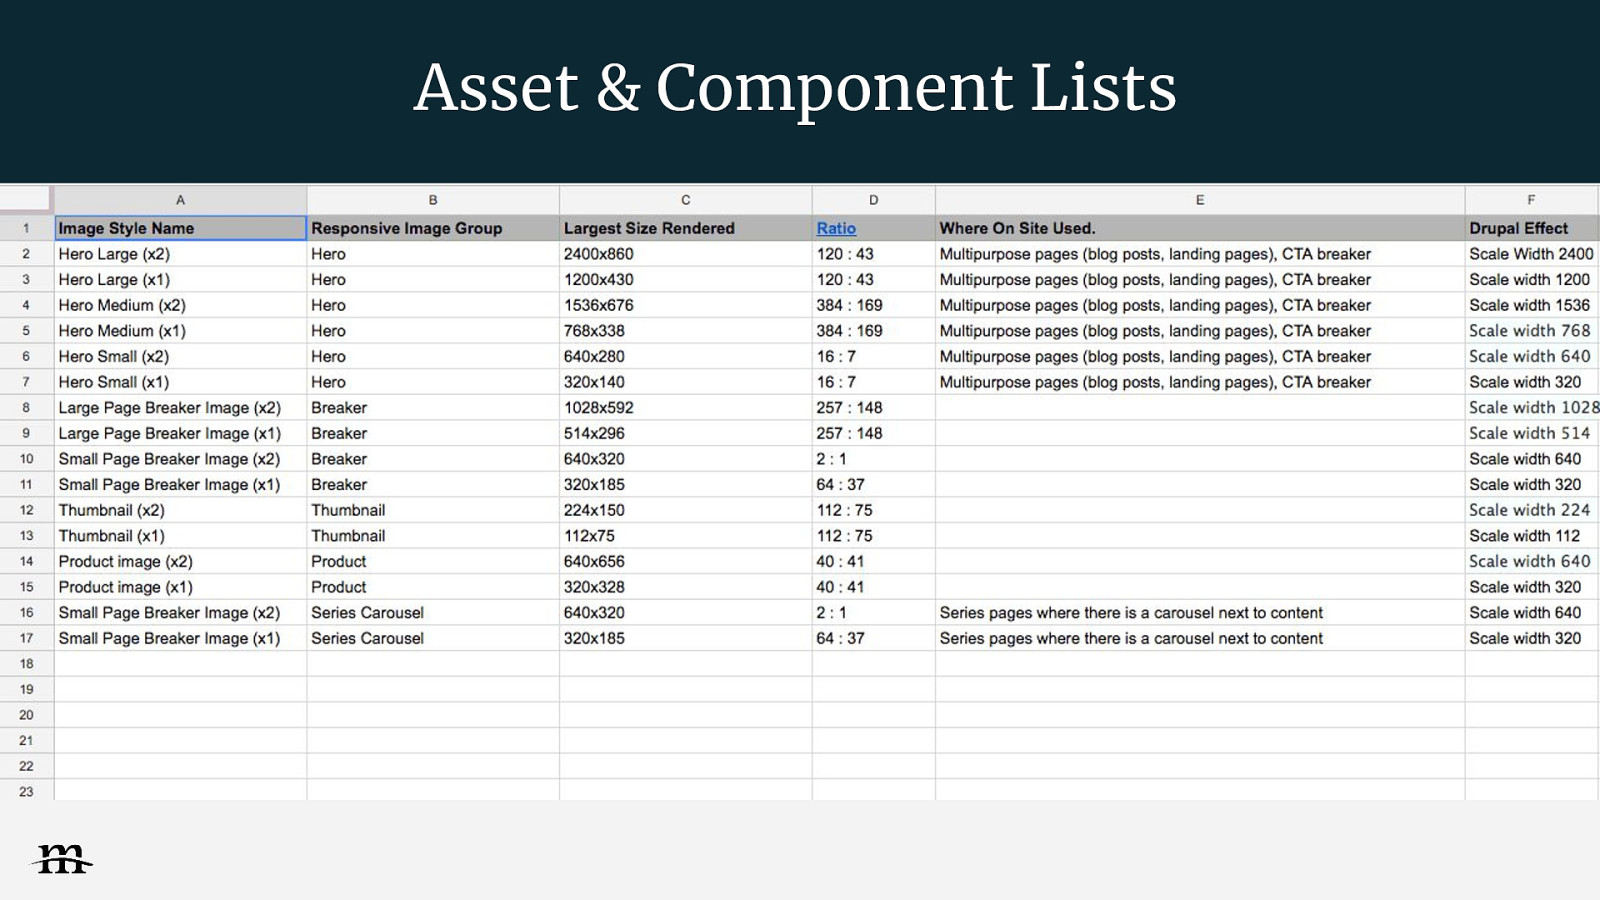
Keep a running list of assets and sizes for each breakpoint Designers, don’t wait for the developer to ask you these types of questions. Provide detailed specifications to the developer, so that they have something to work from.
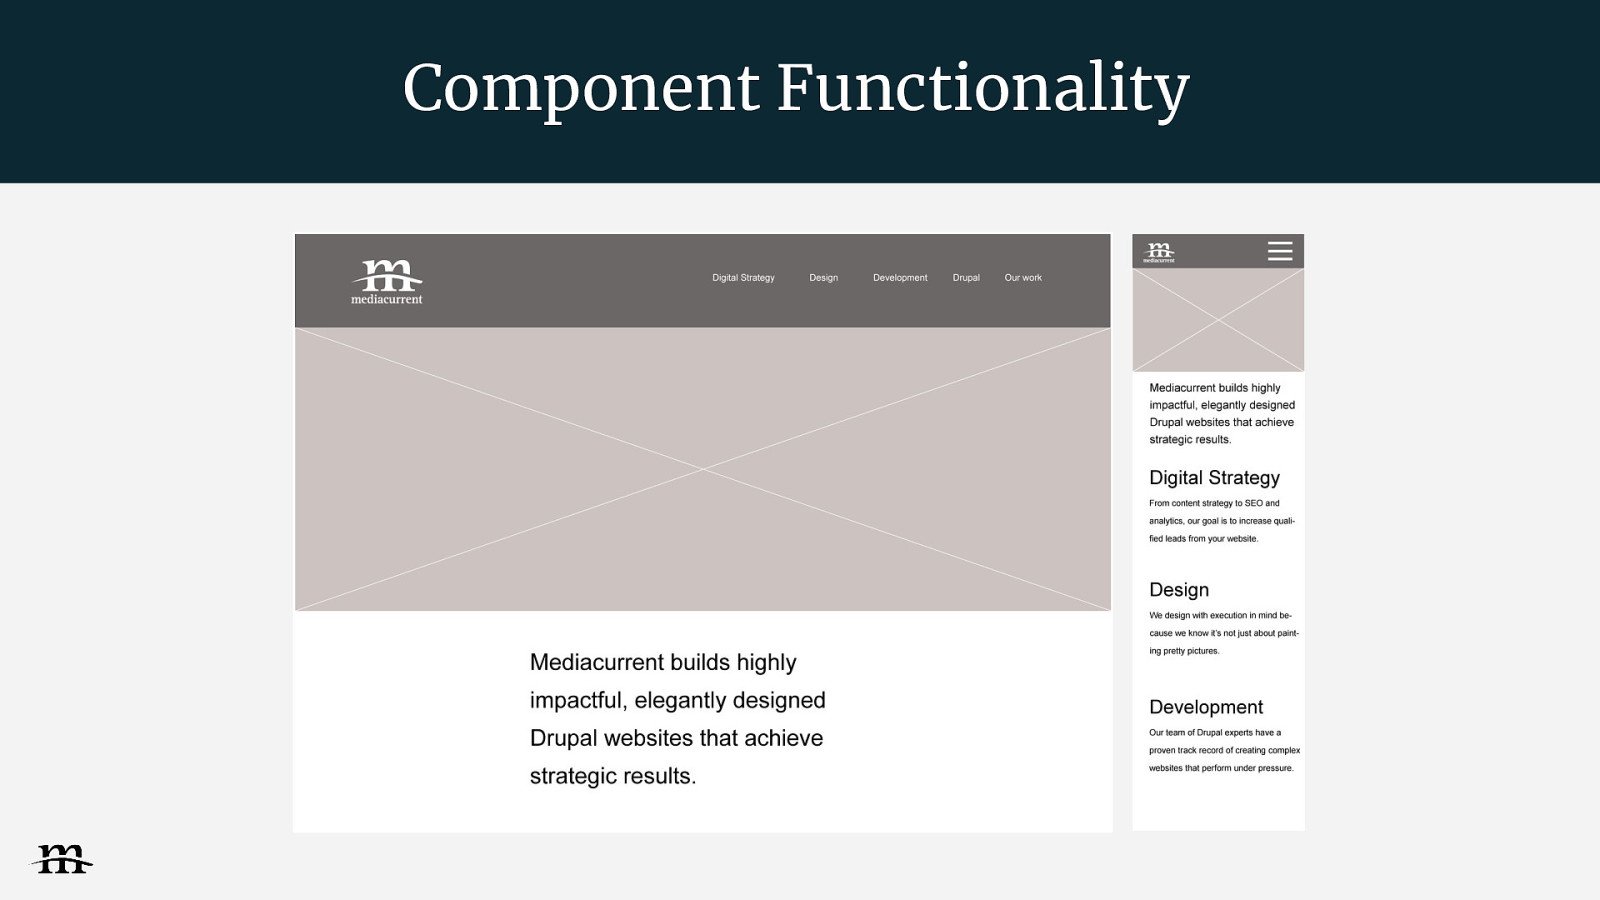
Predict potential technical issues with the design. Wireframes can be an essential tool to further discussion about the functionality of each component. This example is how the menu behaves on mobile devices.
So now we’ve completed wireframes and have had detailed discussions about the components, where they will appear and how they behave.
While working on the design there are a few things every designer needs to keep in mind: 1. You will need to specify sizes, colors, and measurements for your design 2. The designer should have a list of assets that the front-end dev might need. If you need an svg, whose responsibility is it to produce them. 3. Have a plan for how components will work.
So what now? What does the front-end developer need from the designer in terms of design direction, assets, documentation? We have already discussed a shared folder for design files. But beyond the design files what does the front end developer need?
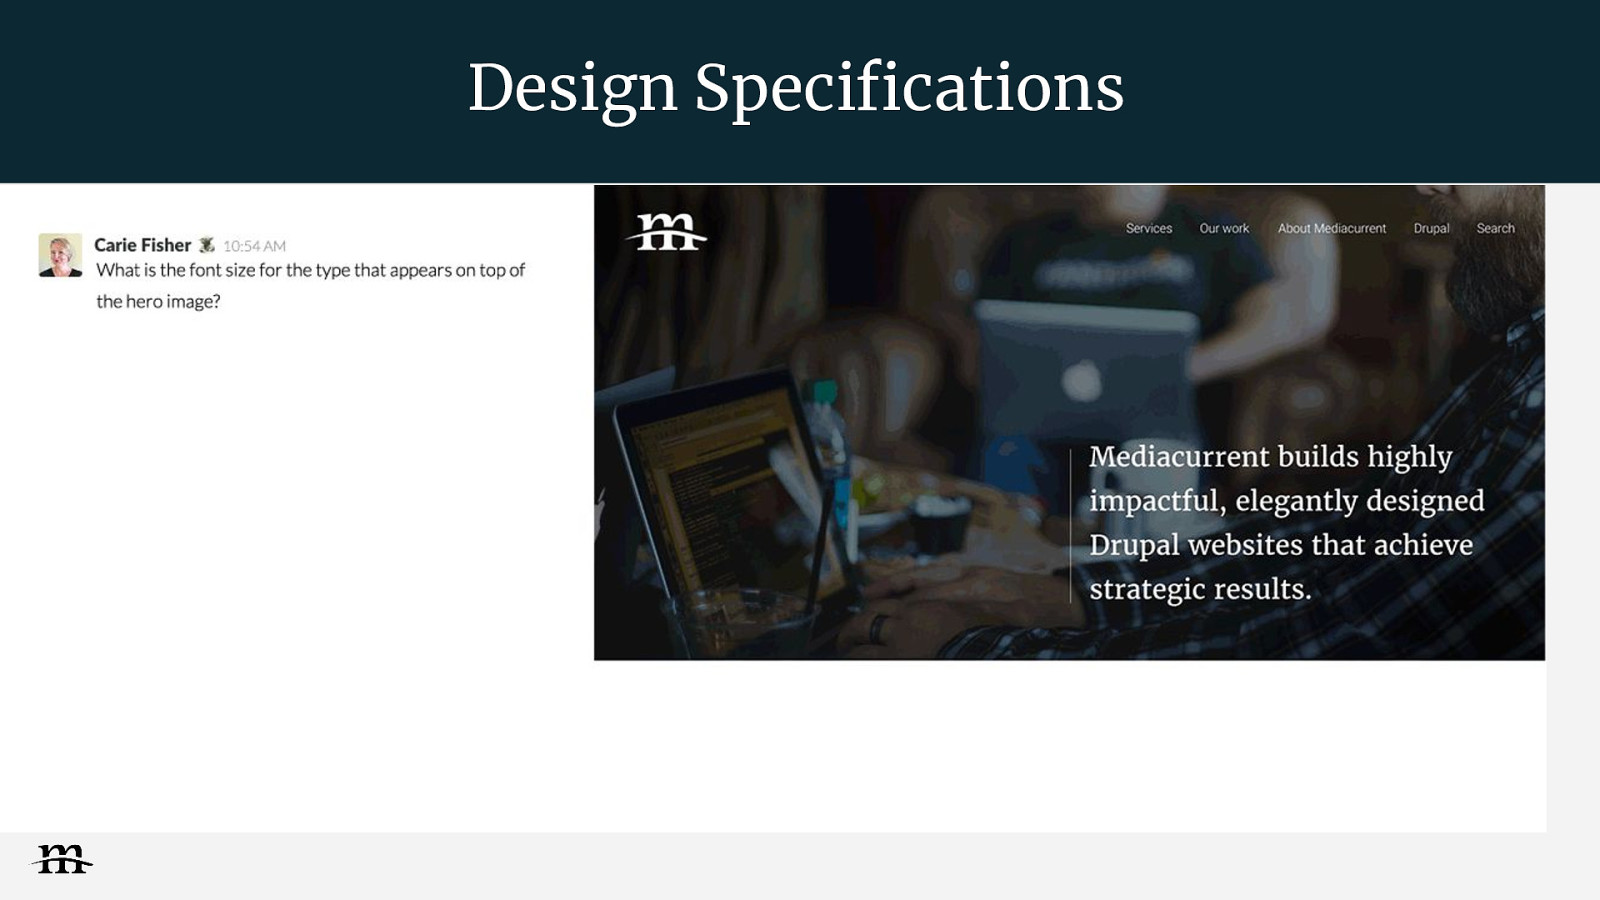
The more detail you provide to the front end dev early on, the smoother the process will go and the fewer questions you will get later on. One thing to keep in mind is that your specifications may need to change at different breakpoints. Providing structure is great but you need to be flexible.
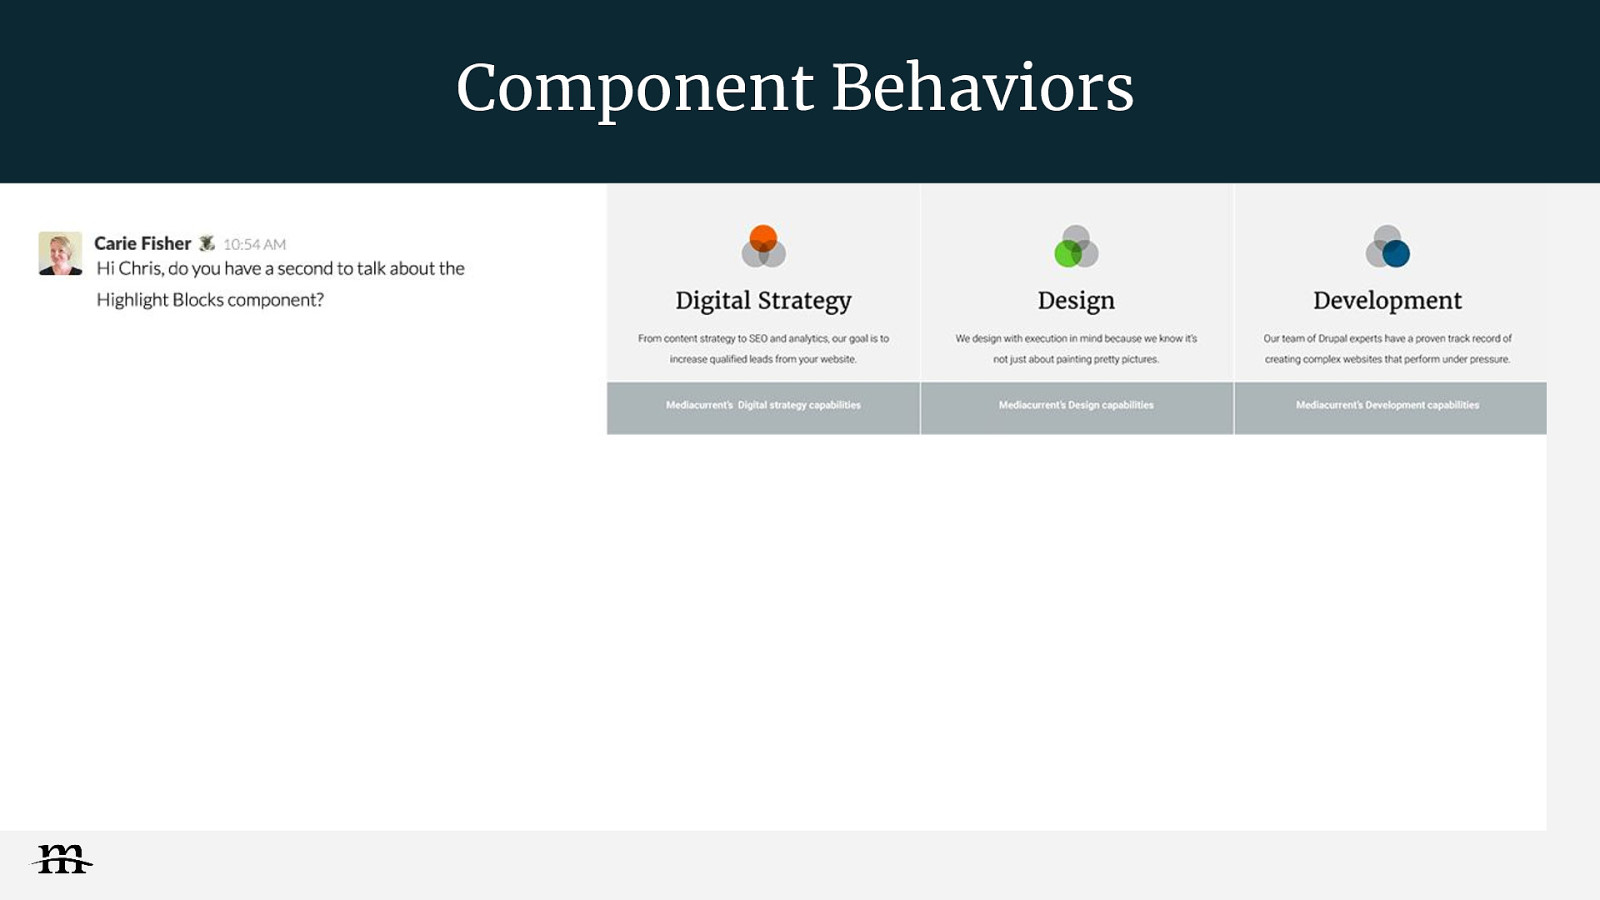
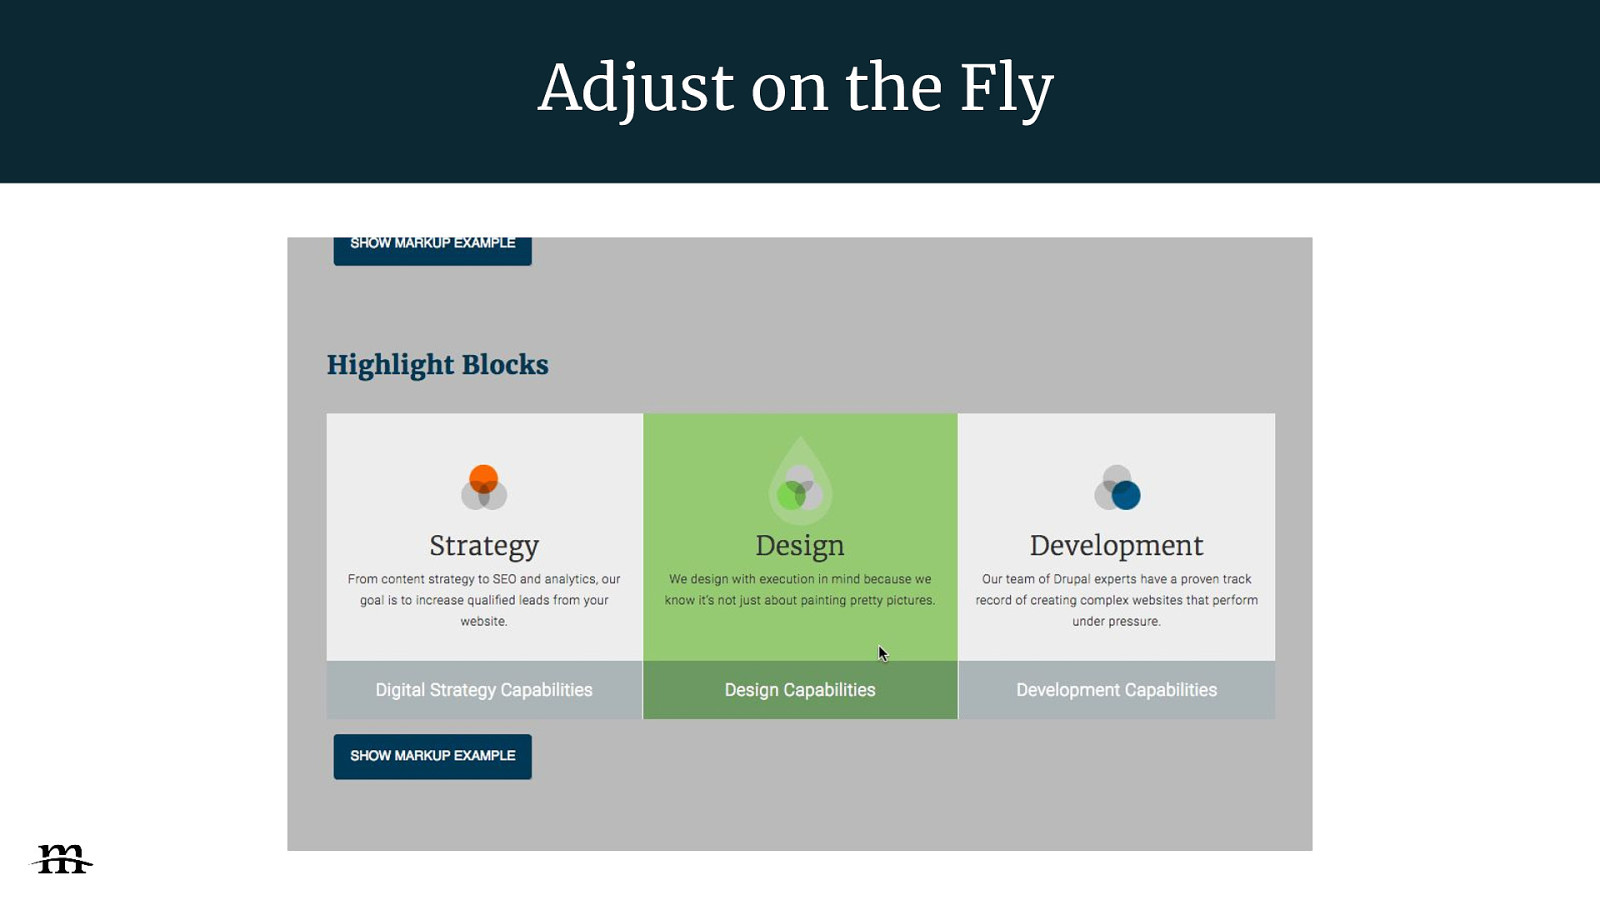
Another thing to consider when handing off design, is that flat design files do not address everything. Here Carie is asking me about the hover behaviors for the Highlights section.
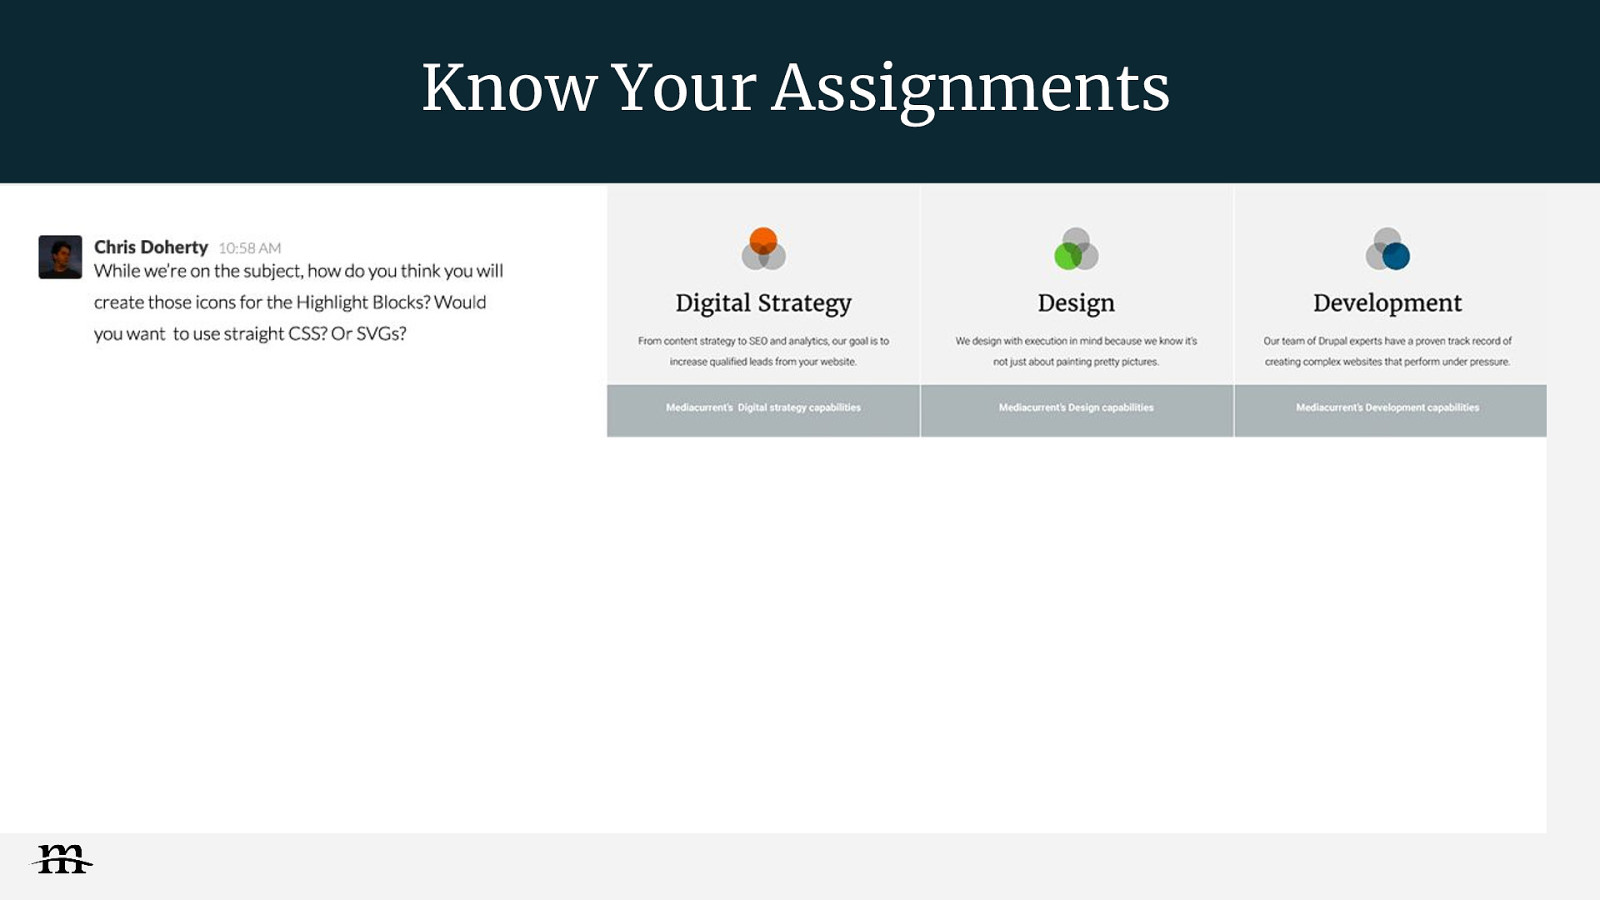
Who is responsible for creating the visual assets for the site? It could be the front end dev or it could be the designer The important thing is to assign responsibility for these tasks up front. Here I’m asking Carie about how she wants to build the icons for the Highlights section so I can give her what she needs.
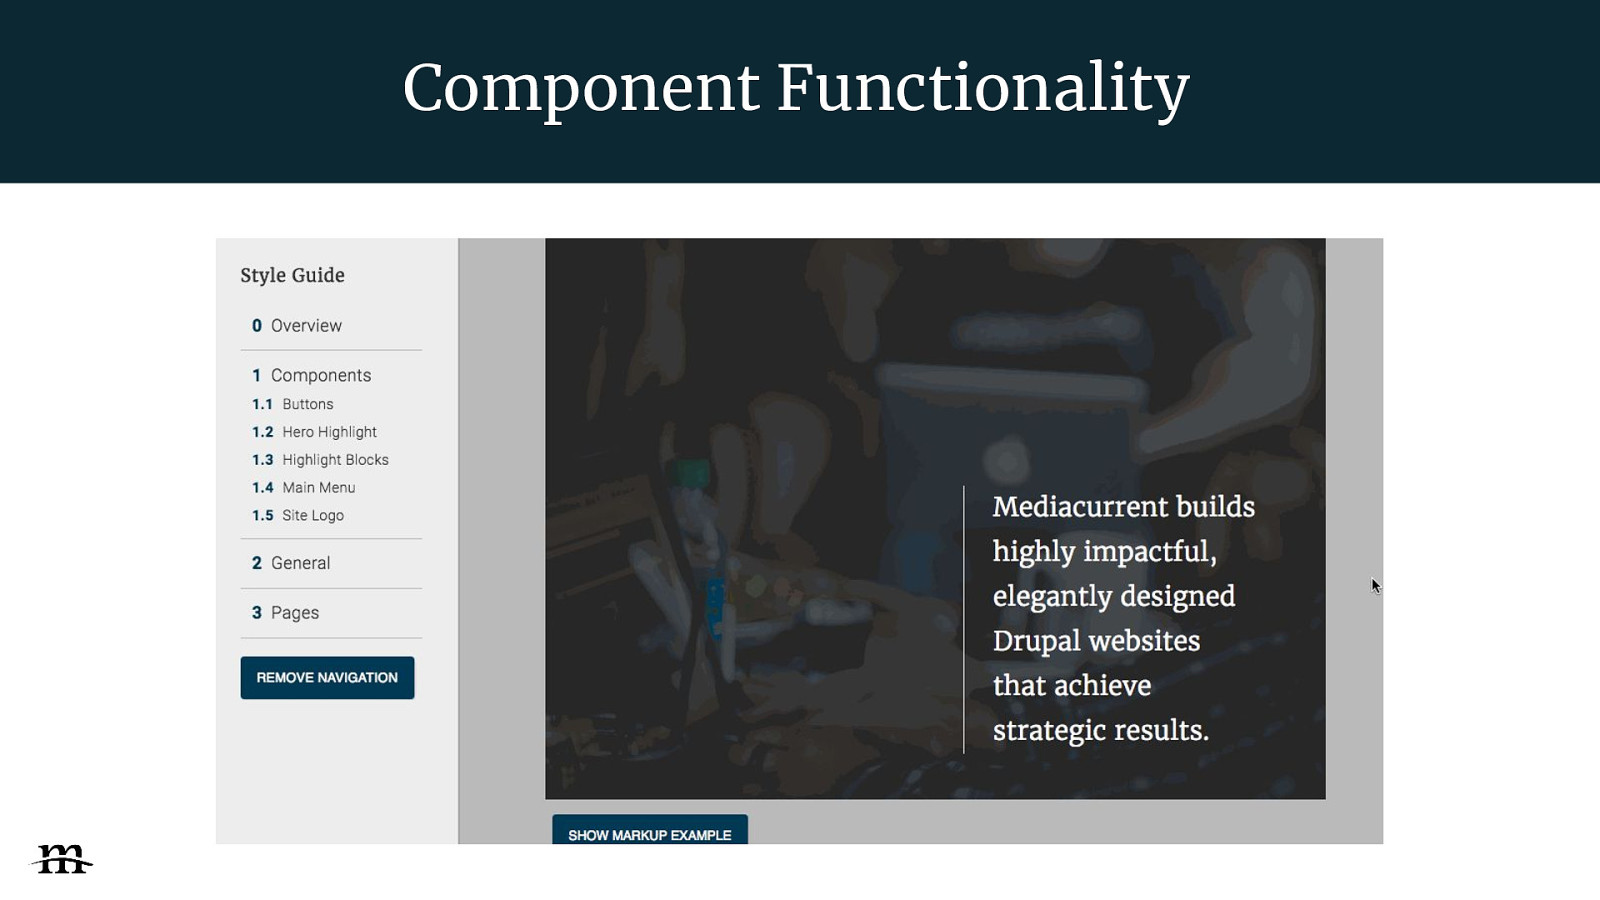
So we have all the assets ready to go and talked a bit about components in theory, let’s see them work in reality.
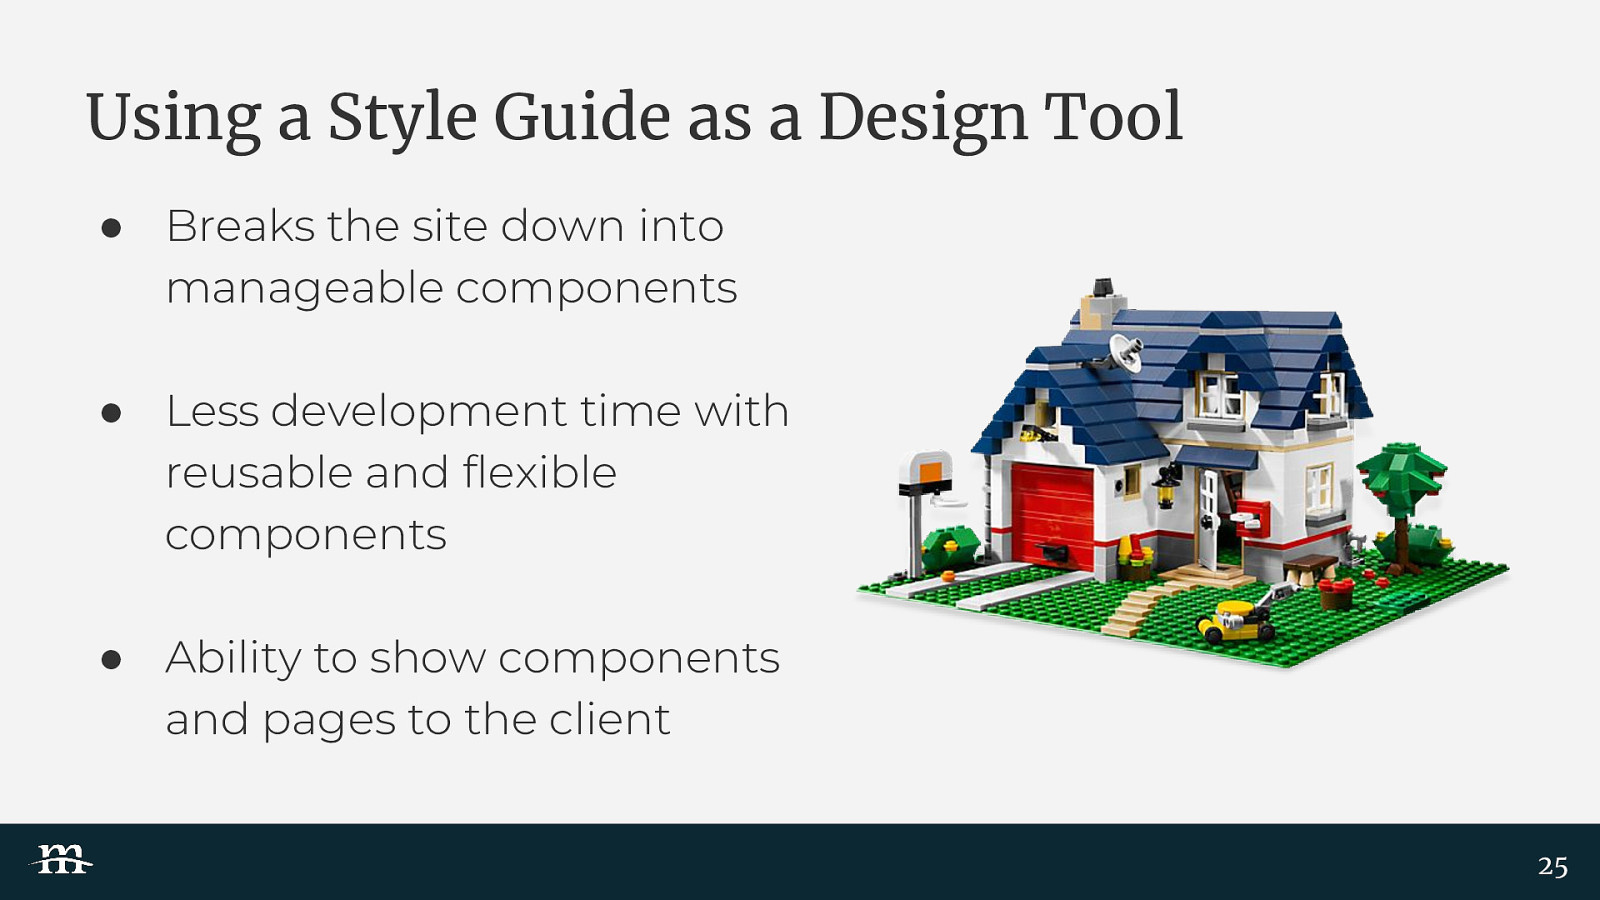
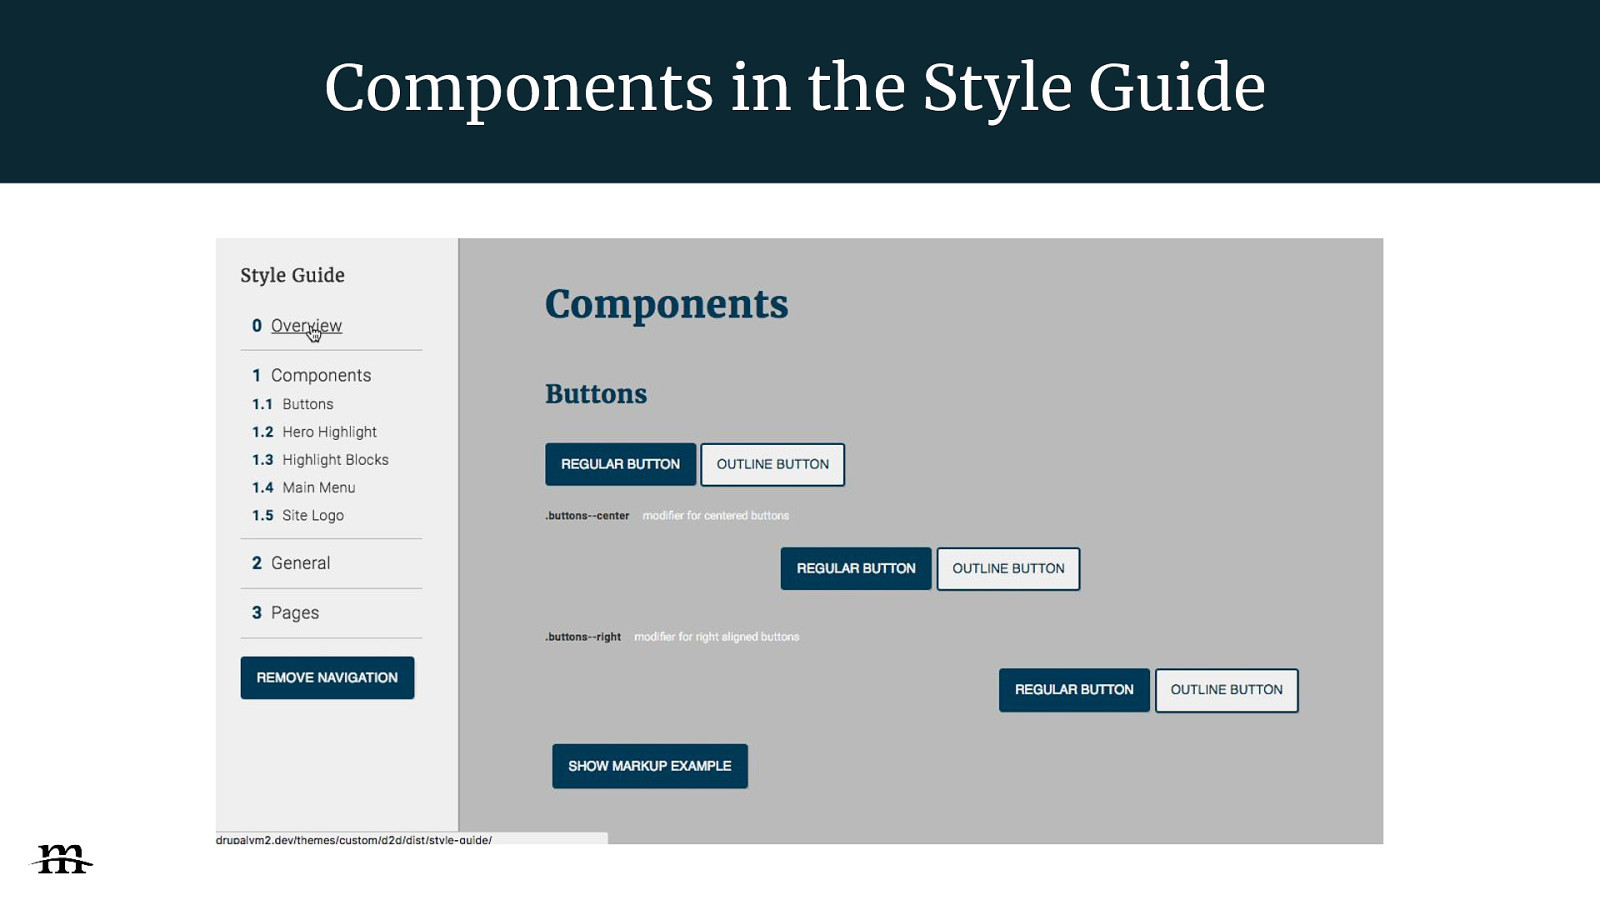
Get your team on board with Style Guides because they rock! Much like building a house out legos, where you build the foundation first, then add walls, windows and a roof, you use a Style Guide to build a website piece by piece. By thinking of the design as components (or pieces) it is less overwhelming when you are developing…with SG you are essentially reverse engineering the design. Another great thing about SG is they make the development process faster and easier. We often talk about D8 being more difficult, but in this case it makes our life as developers easier because it is using Twig templates do the heavy lifting. The SG markup becomes a single source of truth for the final theme. Clients like them too.
Add mock-ups of homepage
Break the site down into manageable components
Less development time with reusable and flexible components
Ability to show components and pages to the client
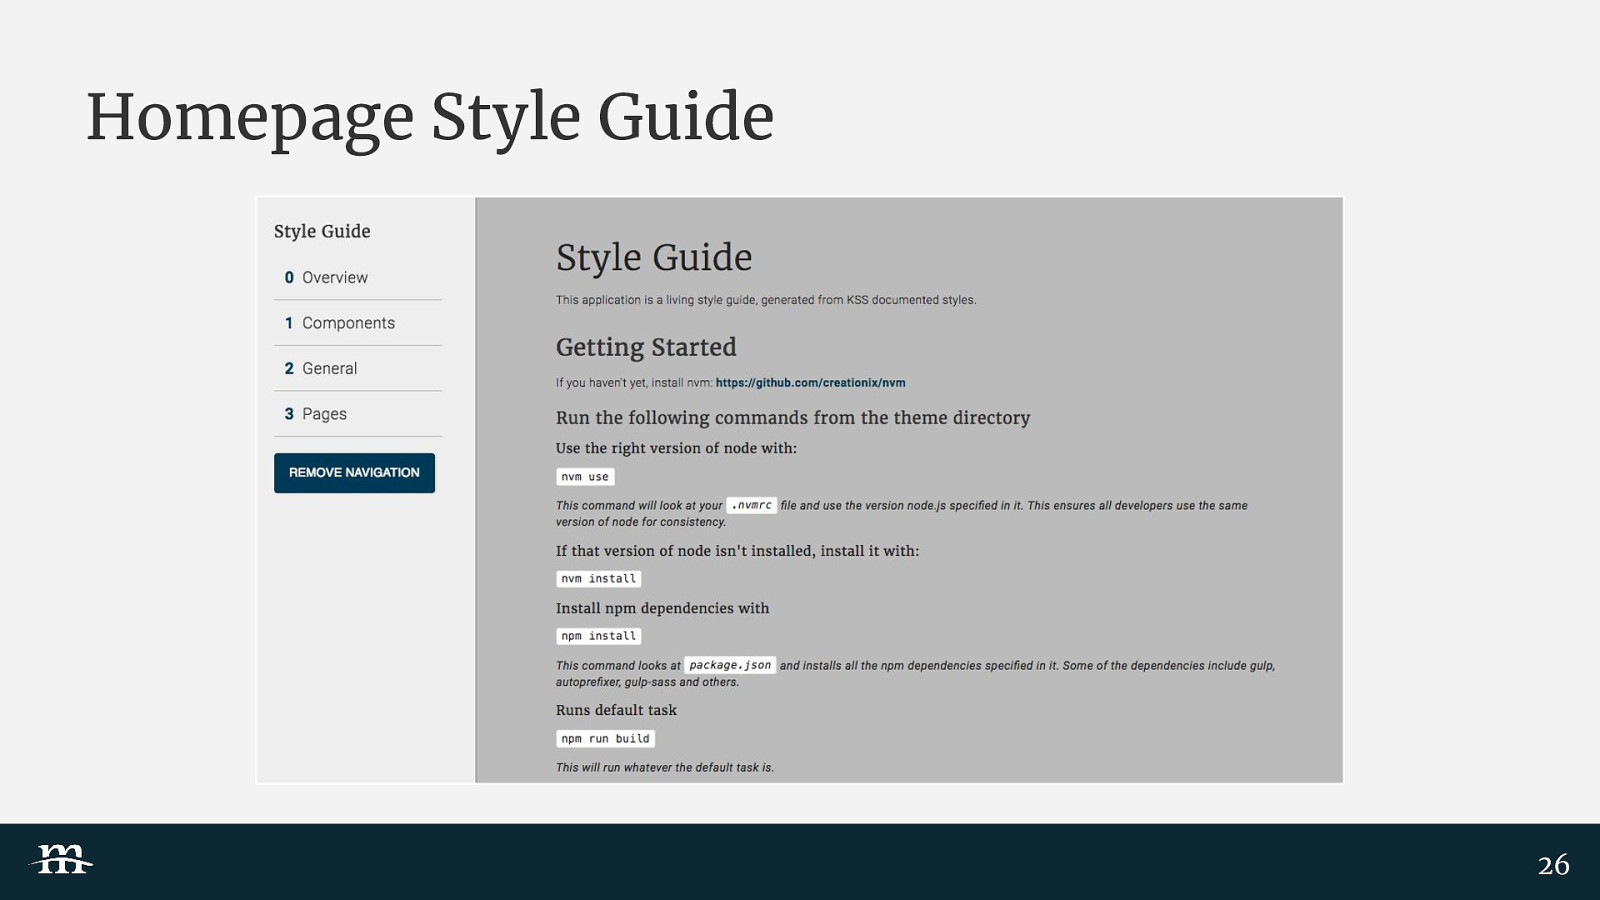
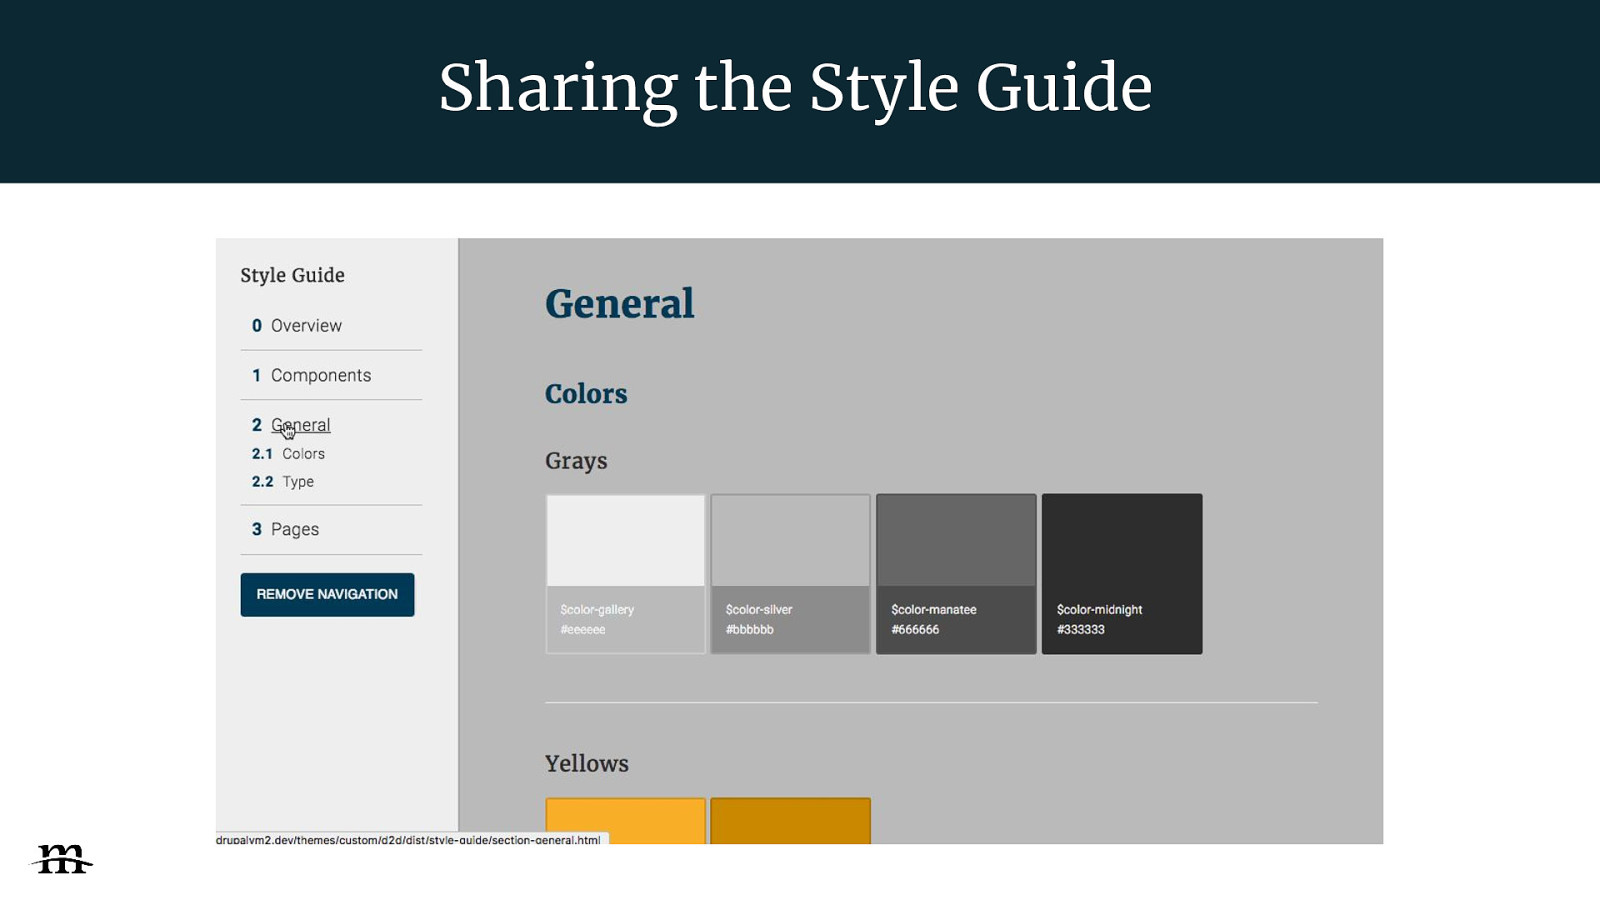
So the front end developer has created a style guide and shared that with the client. Now we’re going to discuss how the style guide can be used as a design tool.
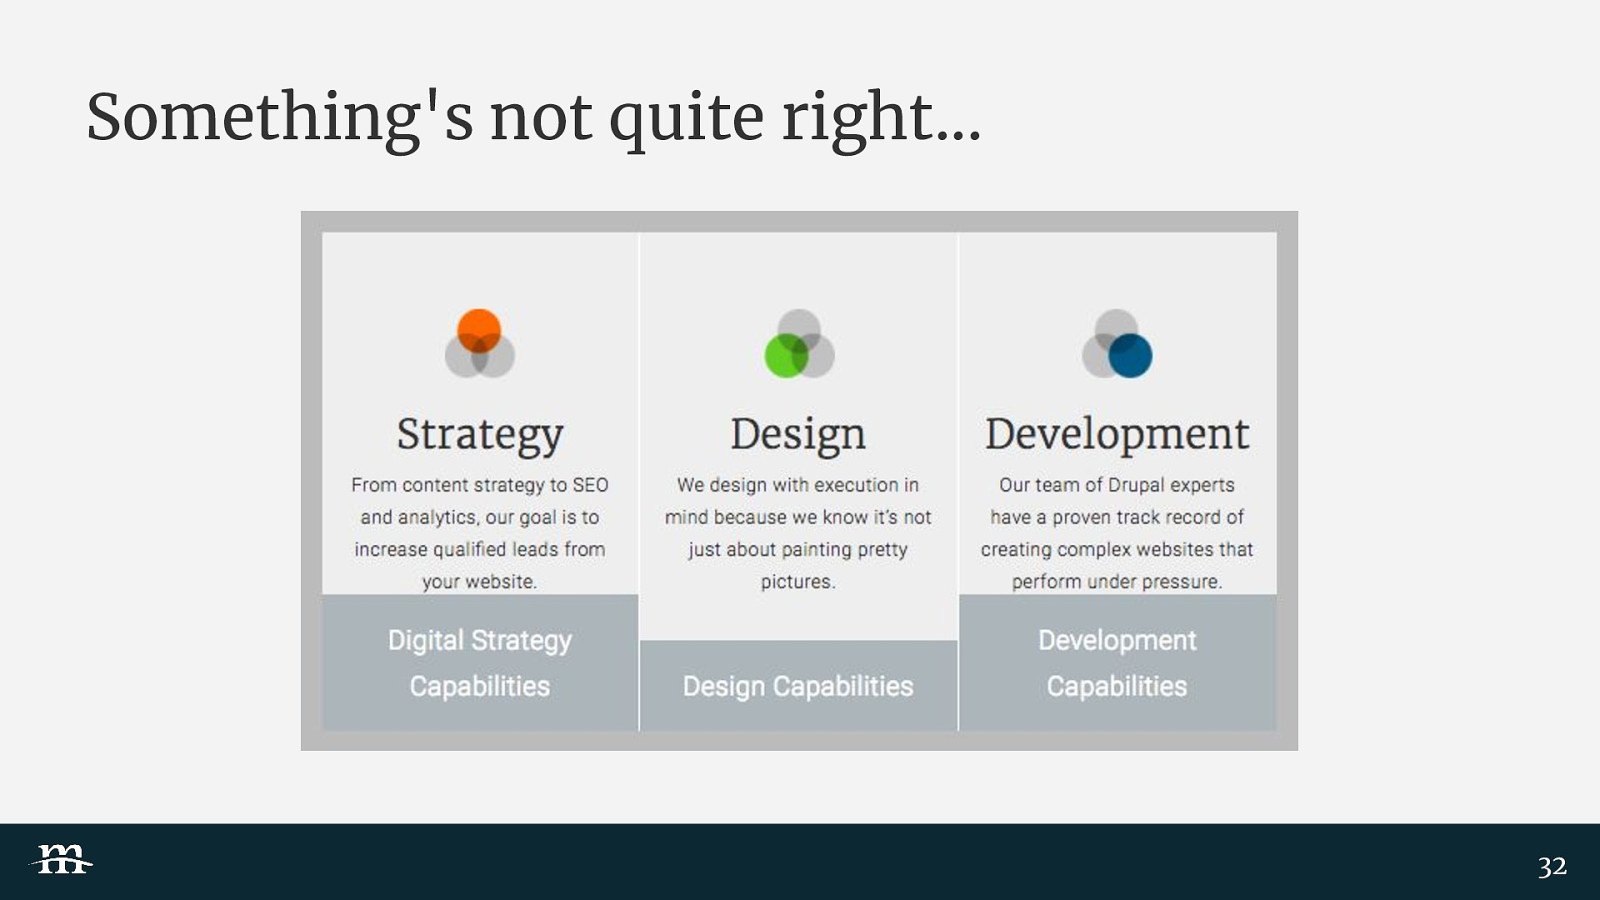
The style guide can be a useful tool for finding design breaks, testing the responsive design and identifying how new features can be added to the site.
While the initial design phase is complete, the job of a designer is not. This might mean reviewing the style guide build, answering a developer’s questions as they arise or even identifying components that were not addressed in the design phase.
In a responsive design, the designer cannot anticipate how a component or page will look at all breakpoints. The more visibility the designer has into the components as they’re being built the better. There are always going to be gaps.
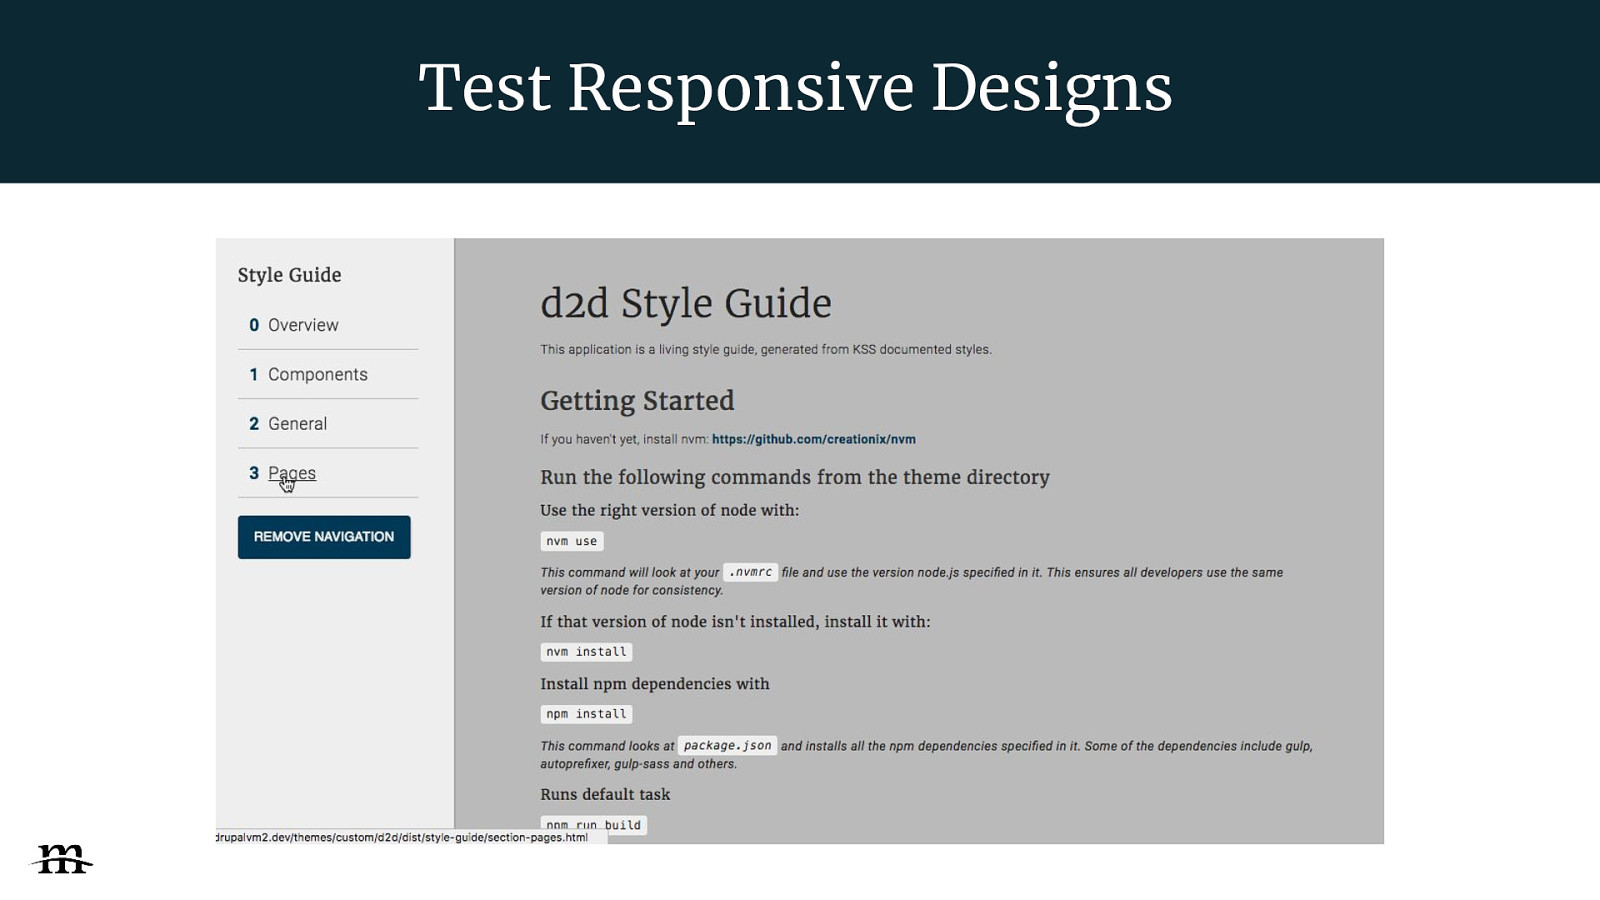
In addition, responsive designs need to be tested in the real world. This is the perfect time for the designer to look at components in different browsers and across different devices.
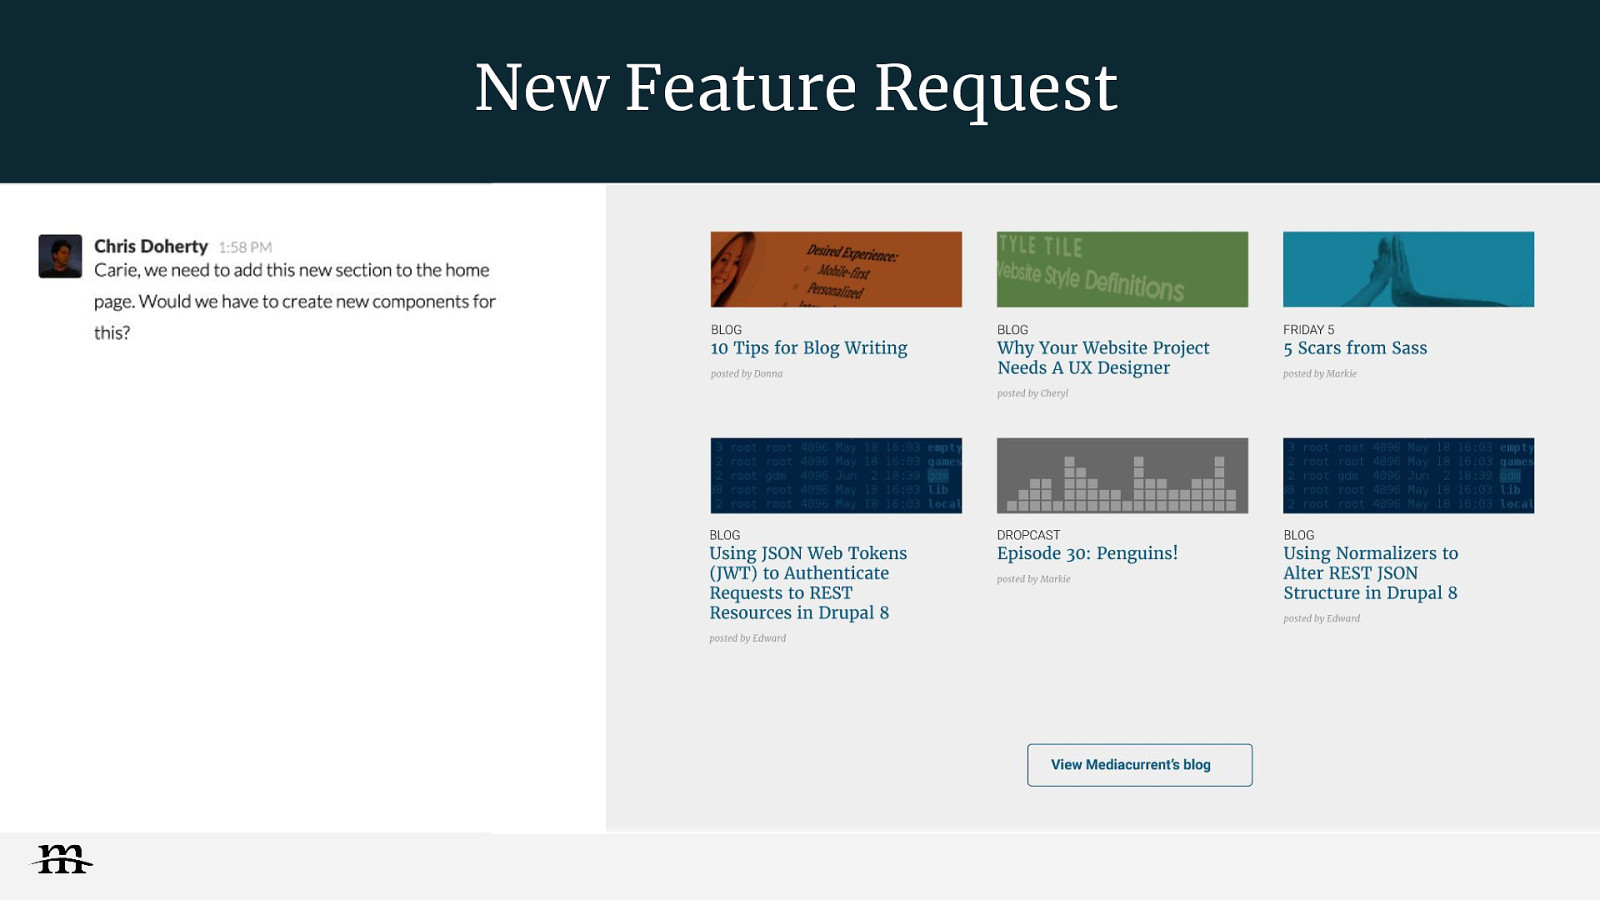
And further down the road, the client may request new features. Again the style guide could prove handy to identify the building blocks that are needed to create the new feature.
To summarize:

Thank you!