Let’s build a simple HTTP server
Hi everyone, I’m so excited to be here at my very first RubyConf! The last couple of days have been amazing and it’s what I imagined RubyConf to be and more! Welcome to Let’s build a simple HTTP server with Ruby.

A presentation at RubyConf in November 2019 in Nashville, TN, USA by Esther Olatunde
Hi everyone, I’m so excited to be here at my very first RubyConf! The last couple of days have been amazing and it’s what I imagined RubyConf to be and more! Welcome to Let’s build a simple HTTP server with Ruby.
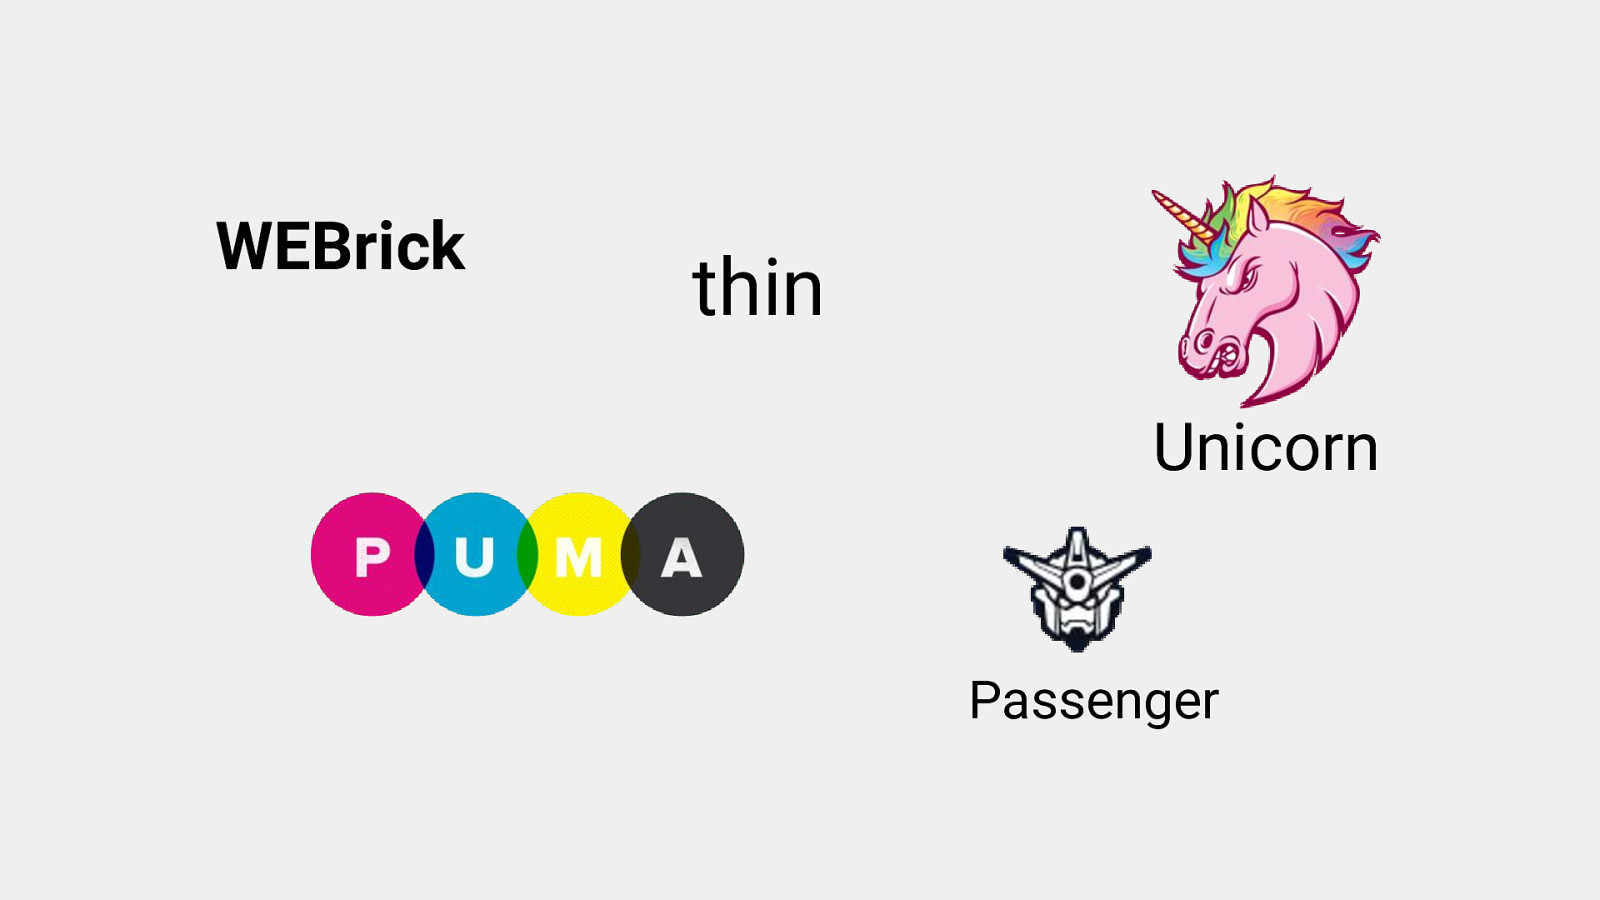
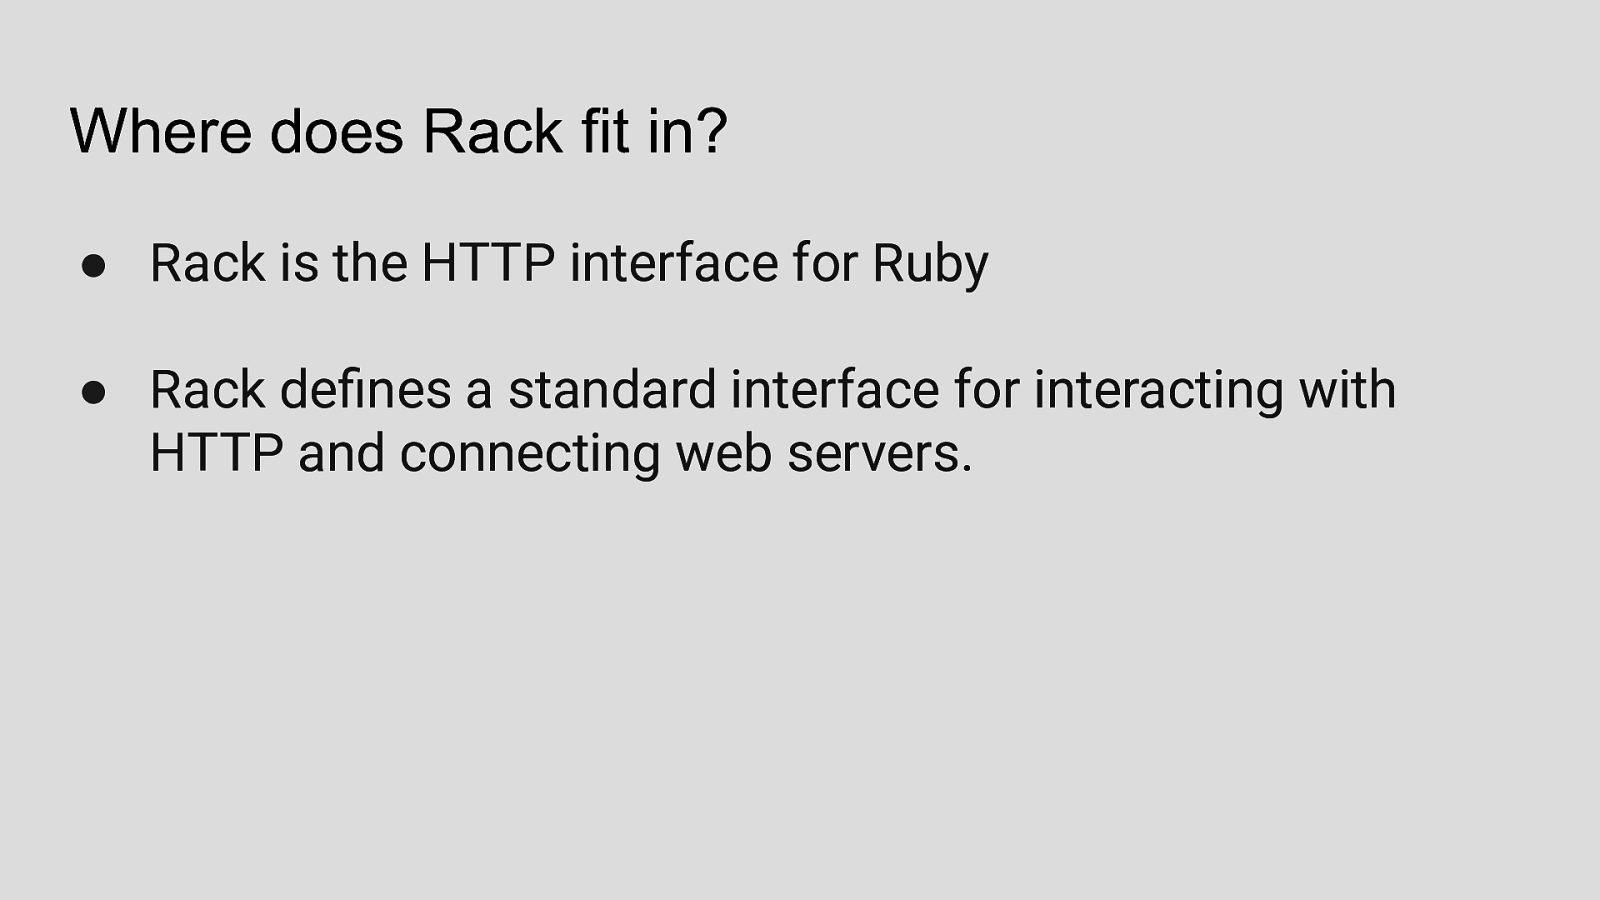
The Ruby community has a few popular web servers based off Rack (WEBrick, Puma, Thin, Unicorn, Passenger, etc). These servers are battle tested so you don’t really need to roll your own. However, I think this is a great learning exercise if you want to know how HTTP, Rack and a simple web server works.
At the end of this talk, we’ll ultimately be building a very simplistic server. We’ll have built for ourselves a minimal (obviously non-spec compliant) HTTP server and client.
My name is Esther Olatunde. I write code that works (sometimes) on computers. I’m based in Lagos Nigeria and I work as a Developer at Lexoo, a legal tech marketplace in the UK.
This is my very first real talk so I’m excited and nervous! Let’s get it started.
What happens when you visit a URL in a browser? How does the Internet work? This might seem a bit redundant to most of us but I think we probably should start from here and connect the dots. Internet (or The Web) is a massive distributed client/server information system. Many applications are running concurrently over the Web, such as web browsing, e-mail, file transfer, audio & video streaming, and so on.
In order for proper communication to take place between the client (your browsers) and the servers where these applications are on, these applications must agree on a specific application-level protocol such as HTTP, FTP, SMTP, POP, and etc. The application protocol that makes the web work is Hypertext Transfer Protocol or HTTP. HTTP is the protocol that web browsers and web servers use to communicate with each other over the Internet. The HTTP protocol is perhaps the most popular application protocol used in the Internet (or The WEB).
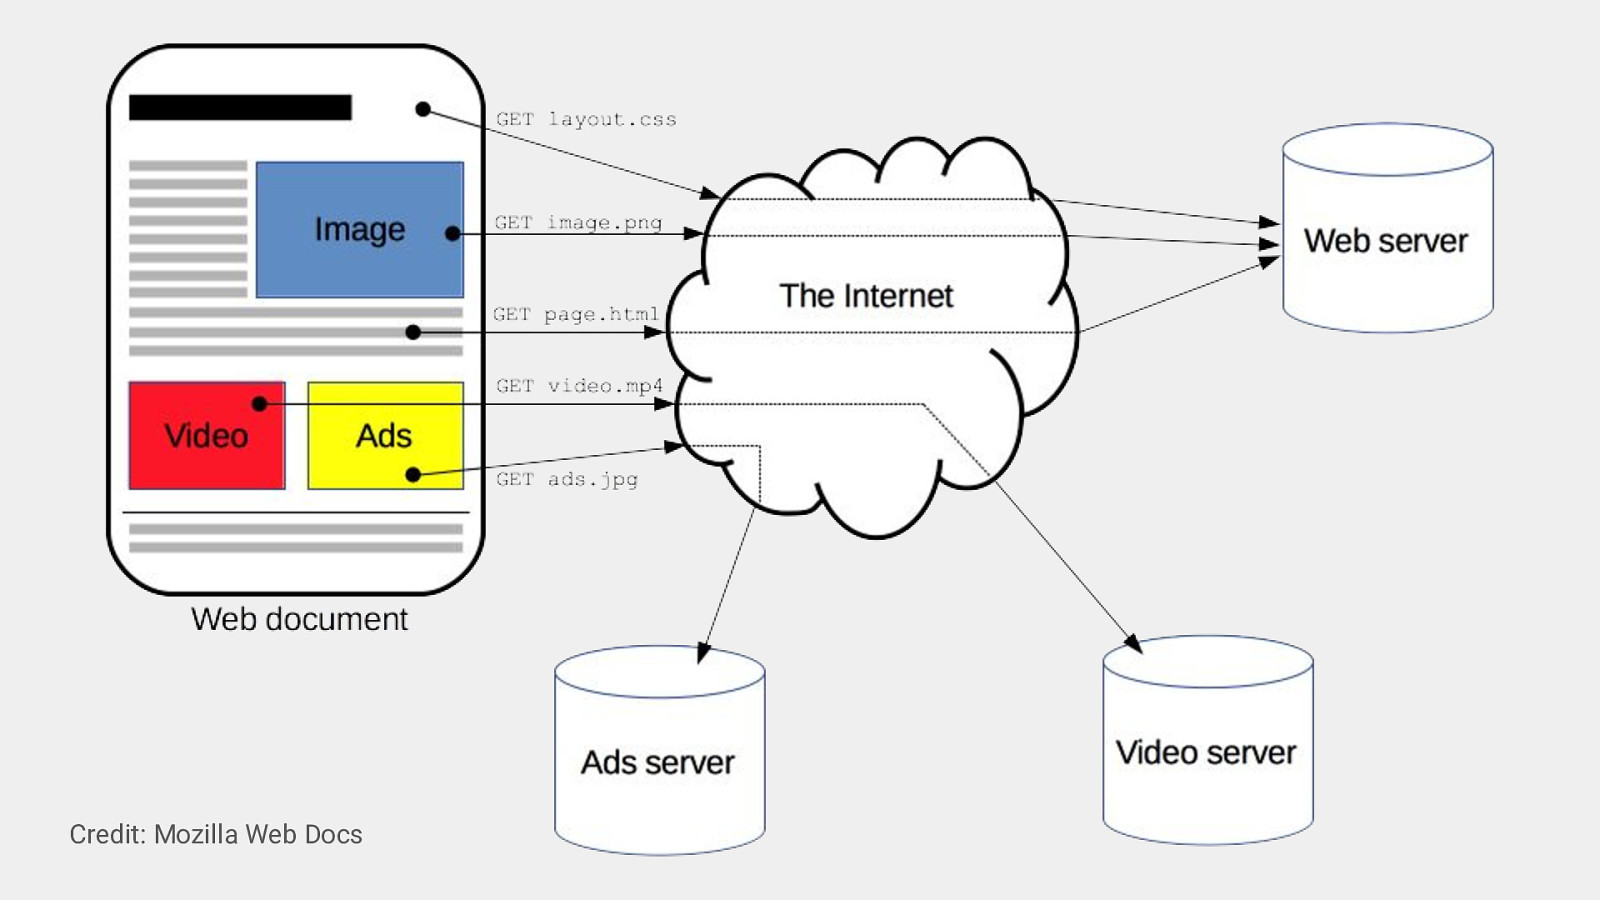
Credit: Mozilla Web Docs And here’s a basic overview of how HTTP works. HTTP is a request-response protocol that specifically describes how web servers exchange data with HTTP clients or web browsers. In summary, HTTP is a protocol which allows the fetching of resources, such as HTML documents, gifs, images, etc from servers. When you type a URL into a web browser, this is what happens: 1. If the URL contains a domain name, the browser first connects to a domain name server and retrieves the corresponding IP address for the web server. 2. The web browser connects to the web server and sends an HTTP request (via the protocol stack) for the desired web page. 3. The web server receives the request and checks for the desired page. If the page exists, the web server sends it. If the server cannot find the requested page, it will send 1. an HTTP 404 error message. (404 means ‘Page Not Found’ as anyone who has surfed the web probably knows.) 2. The web browser receives the page back and the connection is closed. 3. And if there are elements on resources on that page that sends an HTTP request, the request-response cycle continues.
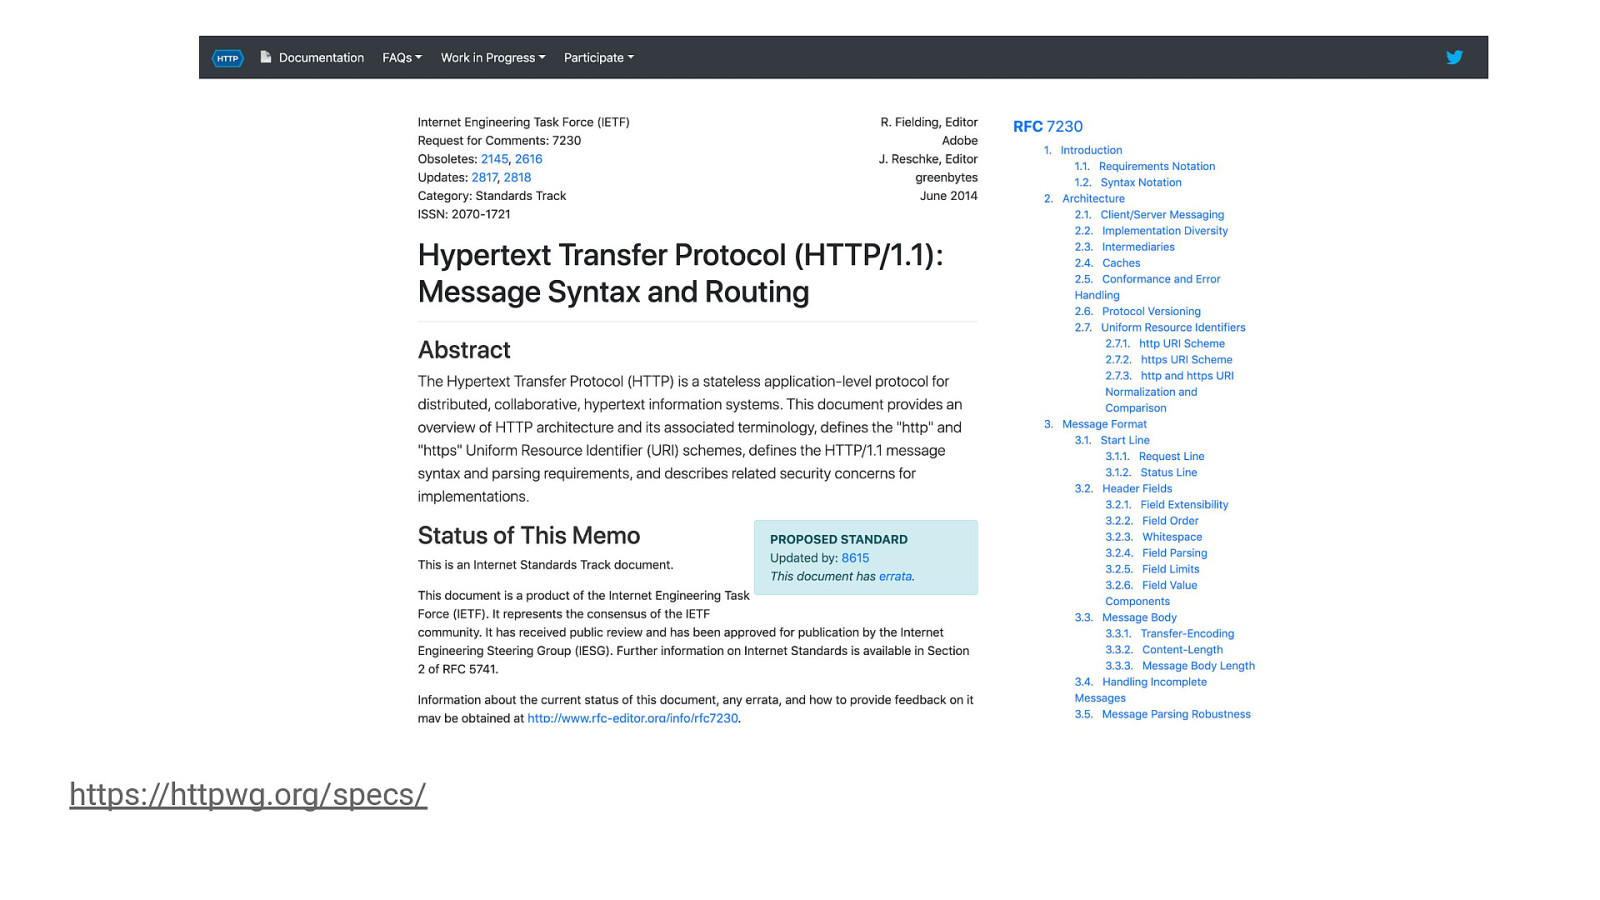
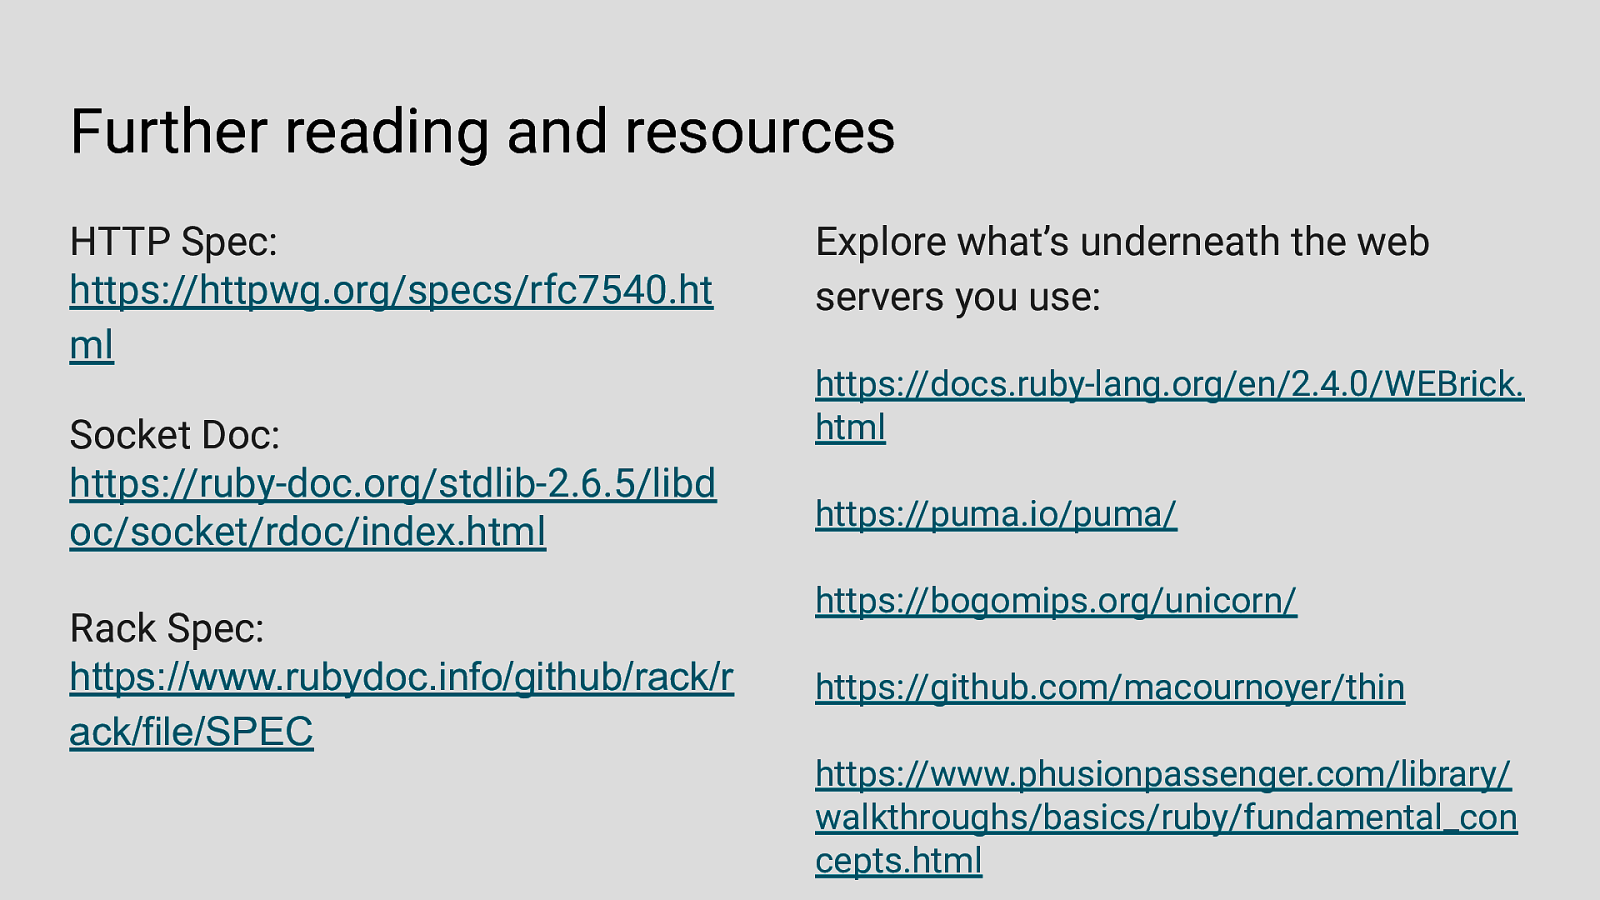
https://httpwg.org/specs/ The W3C has a documentation on the full specifications of what an HTTP request should have. The HTTP specification is maintained by W3C (World-wide Web Consortium) and the IEFT HTTP Working Group (HTTP-WG) . The original version, HTTP/0.9 (1991), written by Tim Berners-Lee, is a simple protocol for transferring raw data across the Internet. Since then, there have been different versions of HTTP, namely, HTTP/1.0 and HTTP/1.1, HTTP/2 which was standardized in 2015 and I think the proposal for HTTP/3 in currently in draft in you want to check it out.
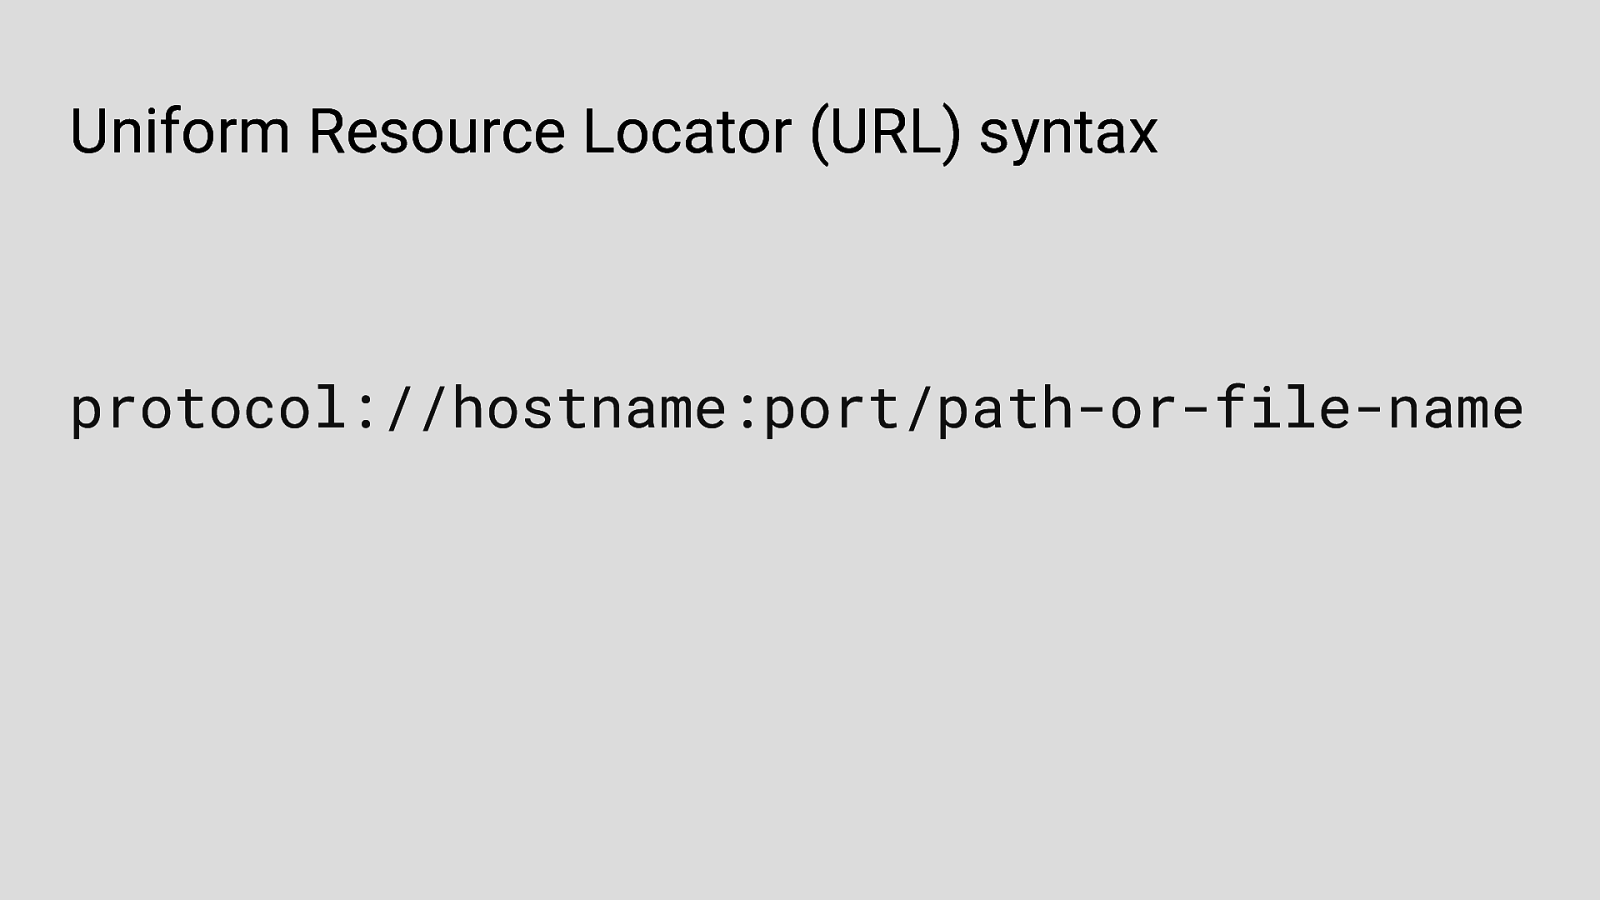
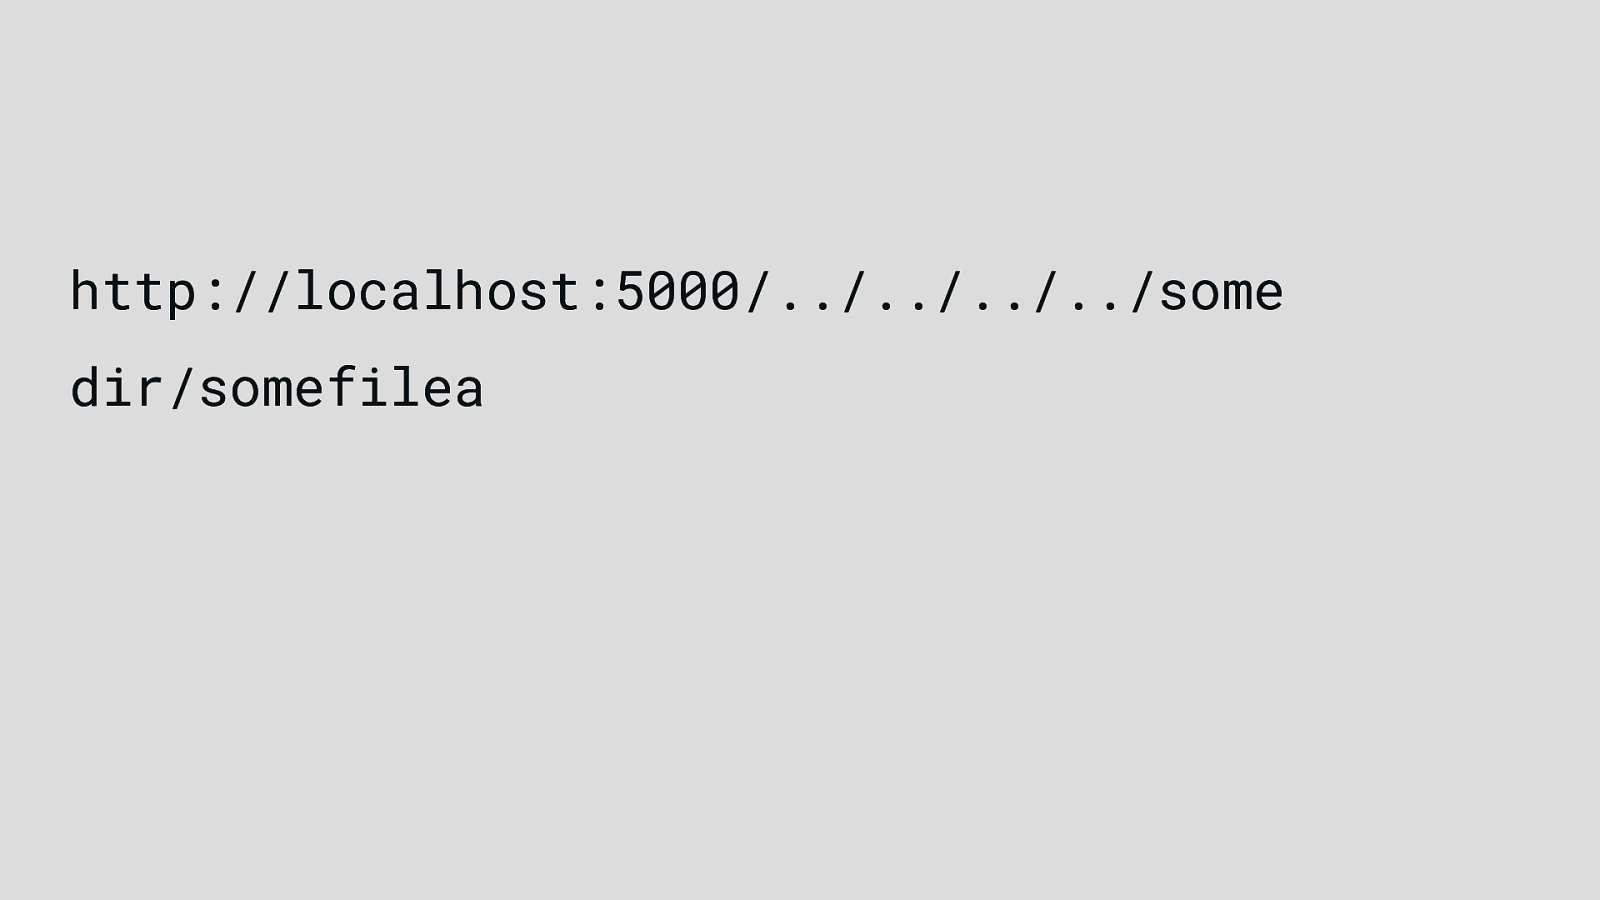
Uniform Resource Locator (URL) syntax protocol://hostname:port/path-or-file-name A URL (Uniform Resource Locator) is used to uniquely identify a resource over the web and it has the following syntax There are 4 parts in a URL: 1. Protocol: The application-level protocol used by the client and server, e.g., HTTP, FTP, and telnet. 2. Hostname: The DNS domain 1. name (e.g., www.example.com) or IP address (e.g., 192.128.1.2) of the server. 2. Port: The TCP port number that the server is listening for incoming requests from the clients. 3. Path-and-file-name: The name and location of the requested resource, under the server document base directory.

So, for instance, let’s say you visit this URL via an http client (curl or your browser), The browser issues an HTTP request by opening a TCP socket connection to example.com on port 80. The server accepts the connection, opening a socket for bi-directional communication.
When the connection has been made, the HTTP client (the browser) turns the URL into a request message and sends an HTTP request

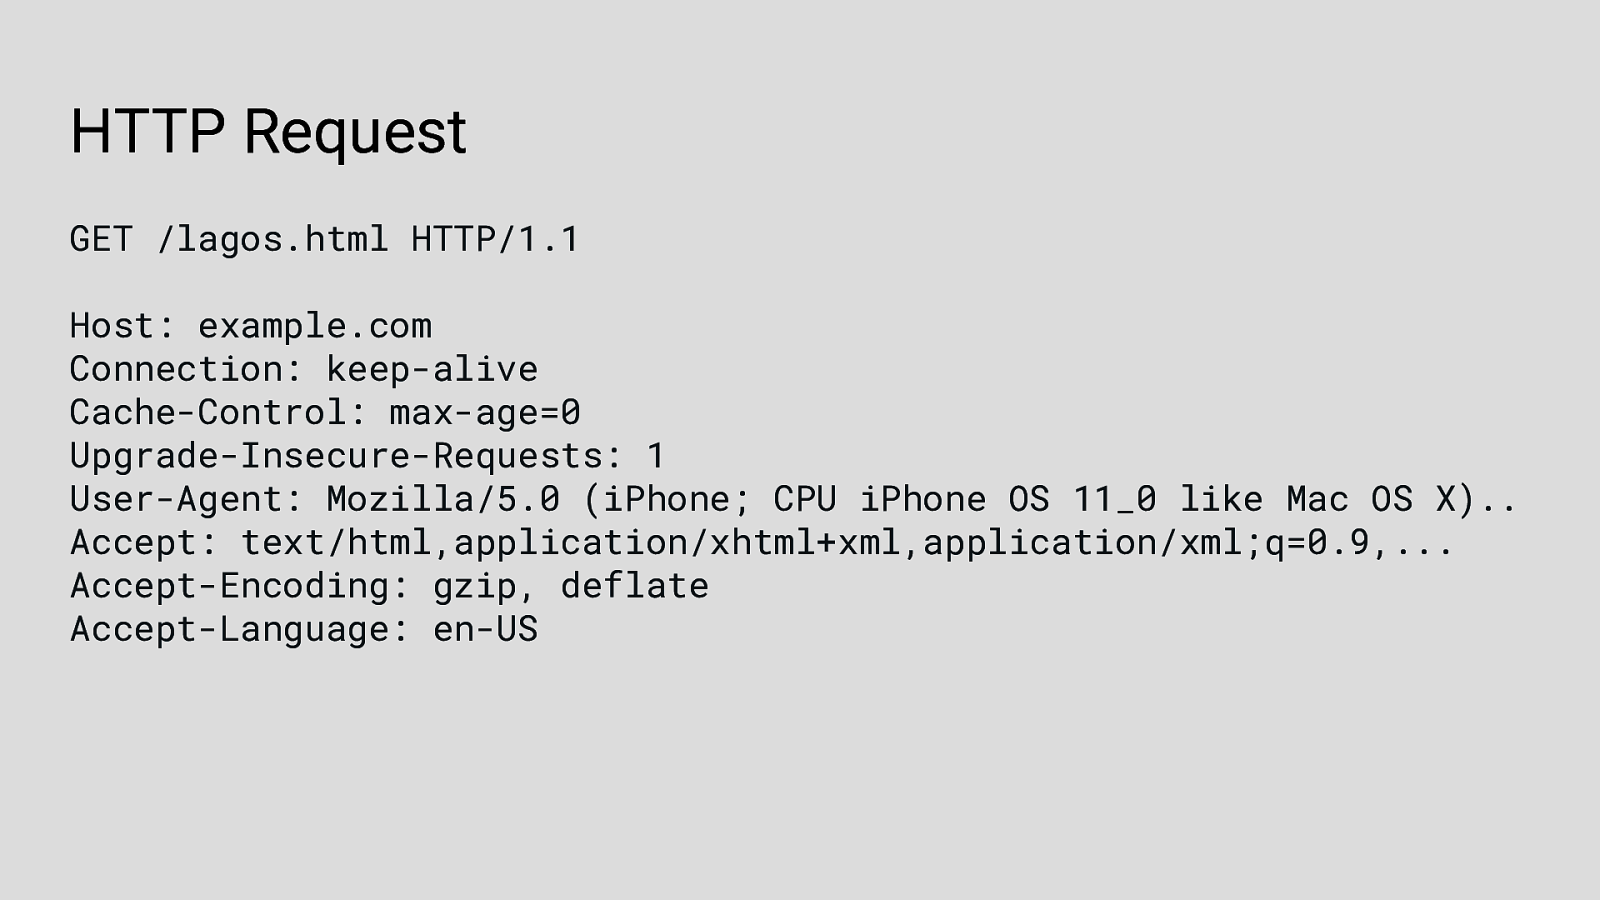
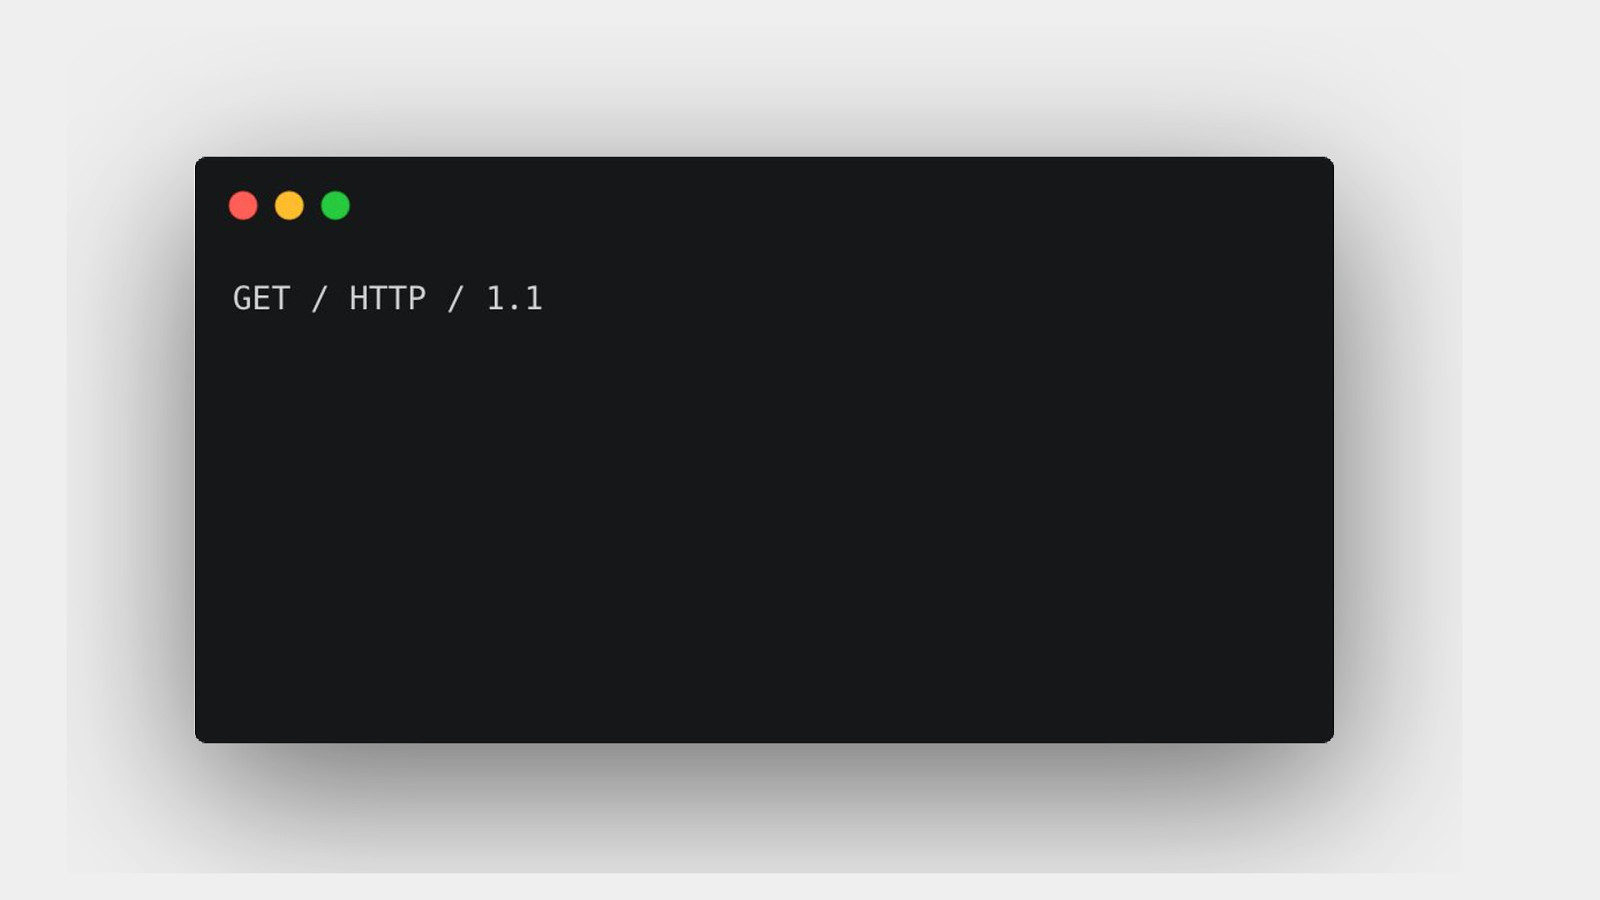
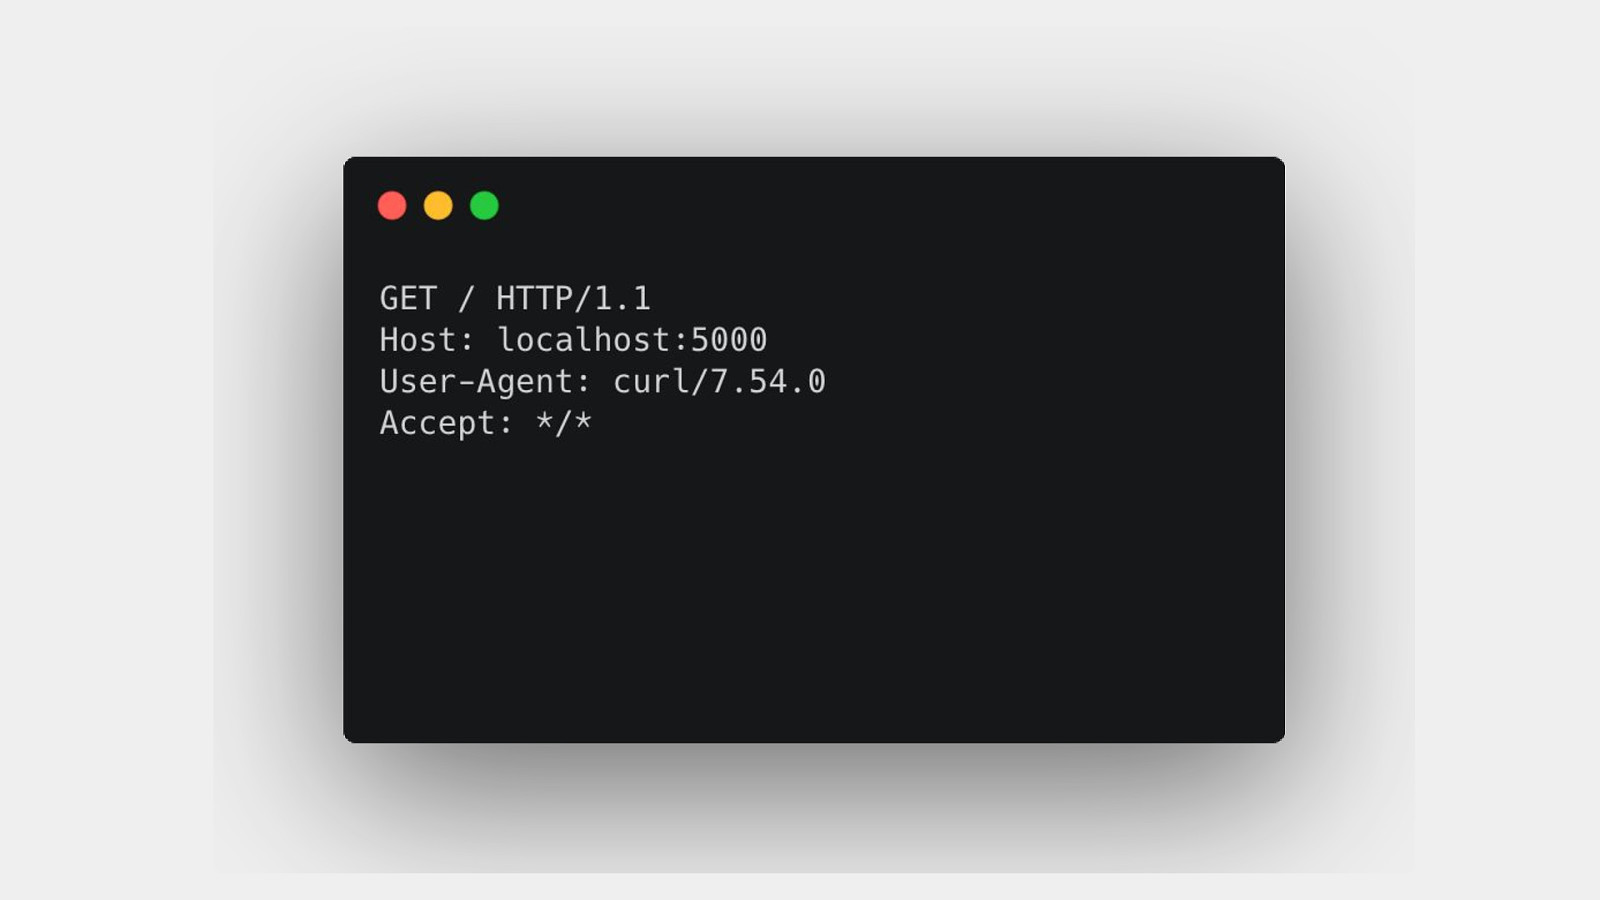
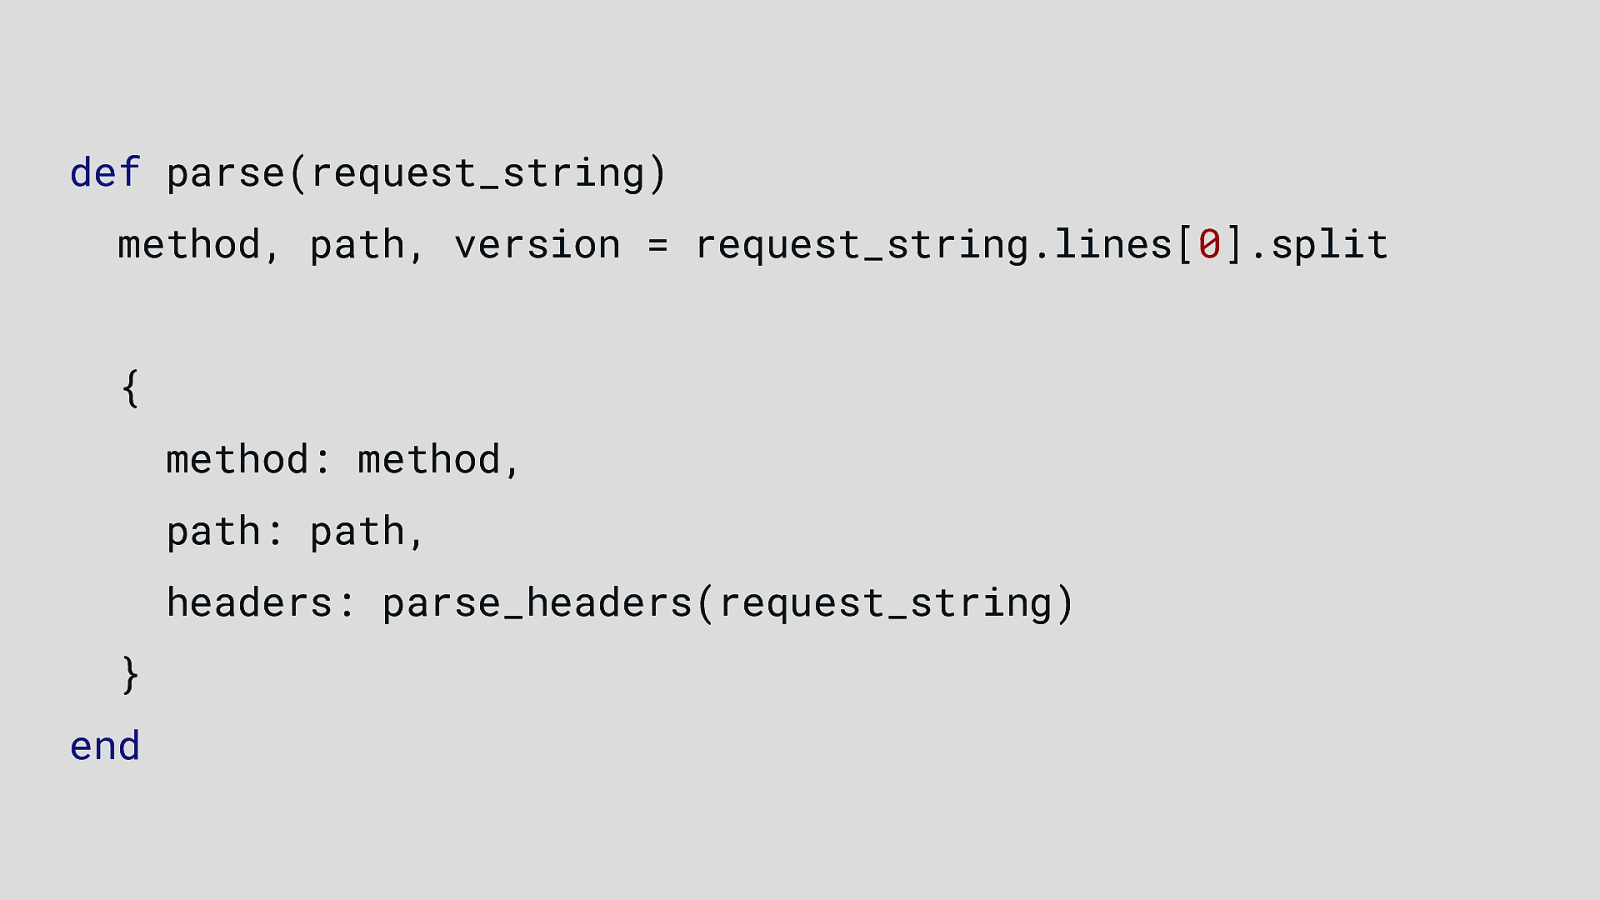
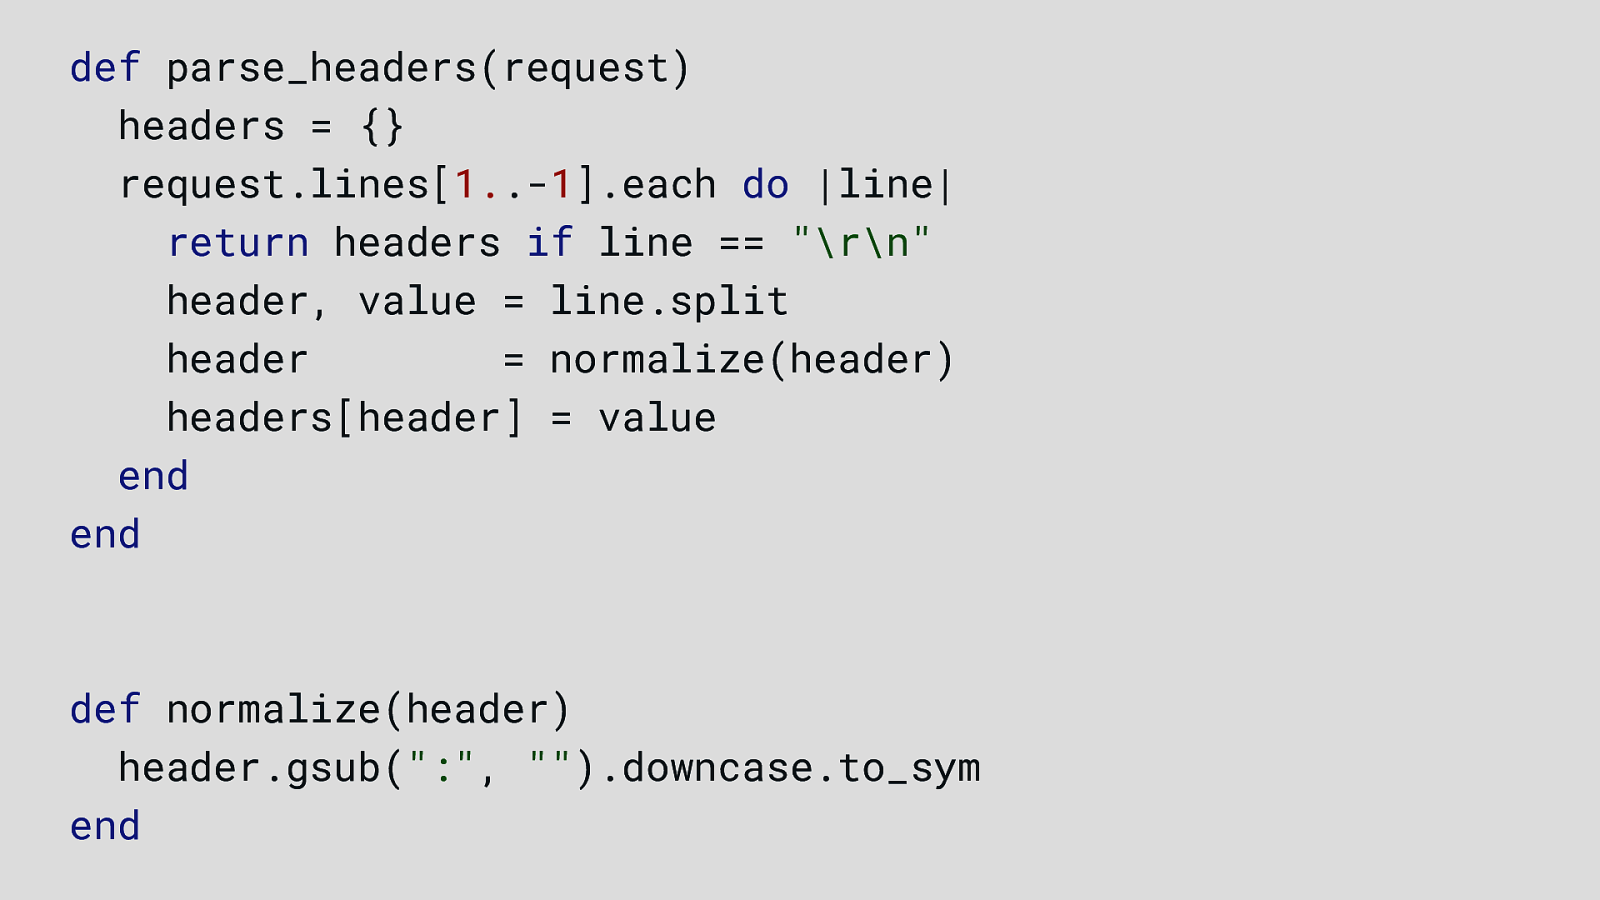
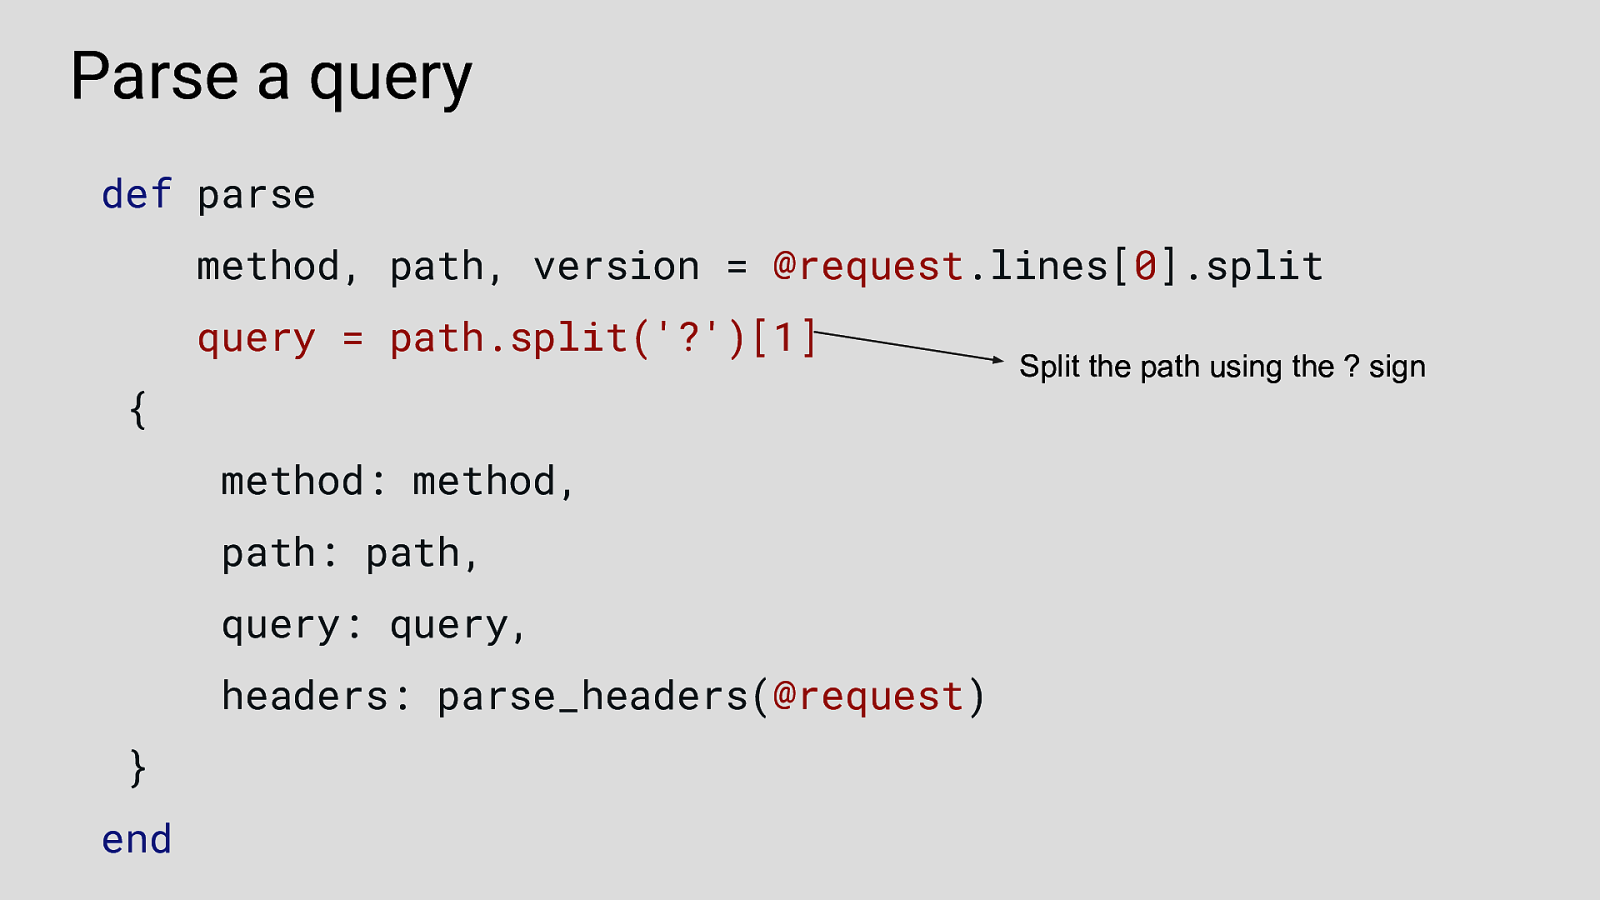
The server then parses the request into a multiline string like this: The first line is the Request-Line which contains the HTTP method (GET), Request-URI (/lagos.html), and HTTP version (1.1). Subsequent lines are request headers, which consists of key-value pairs delimited by :
And it does sometimes contains the request body.
You get something a little more verbose when you visit the URL on a web browser
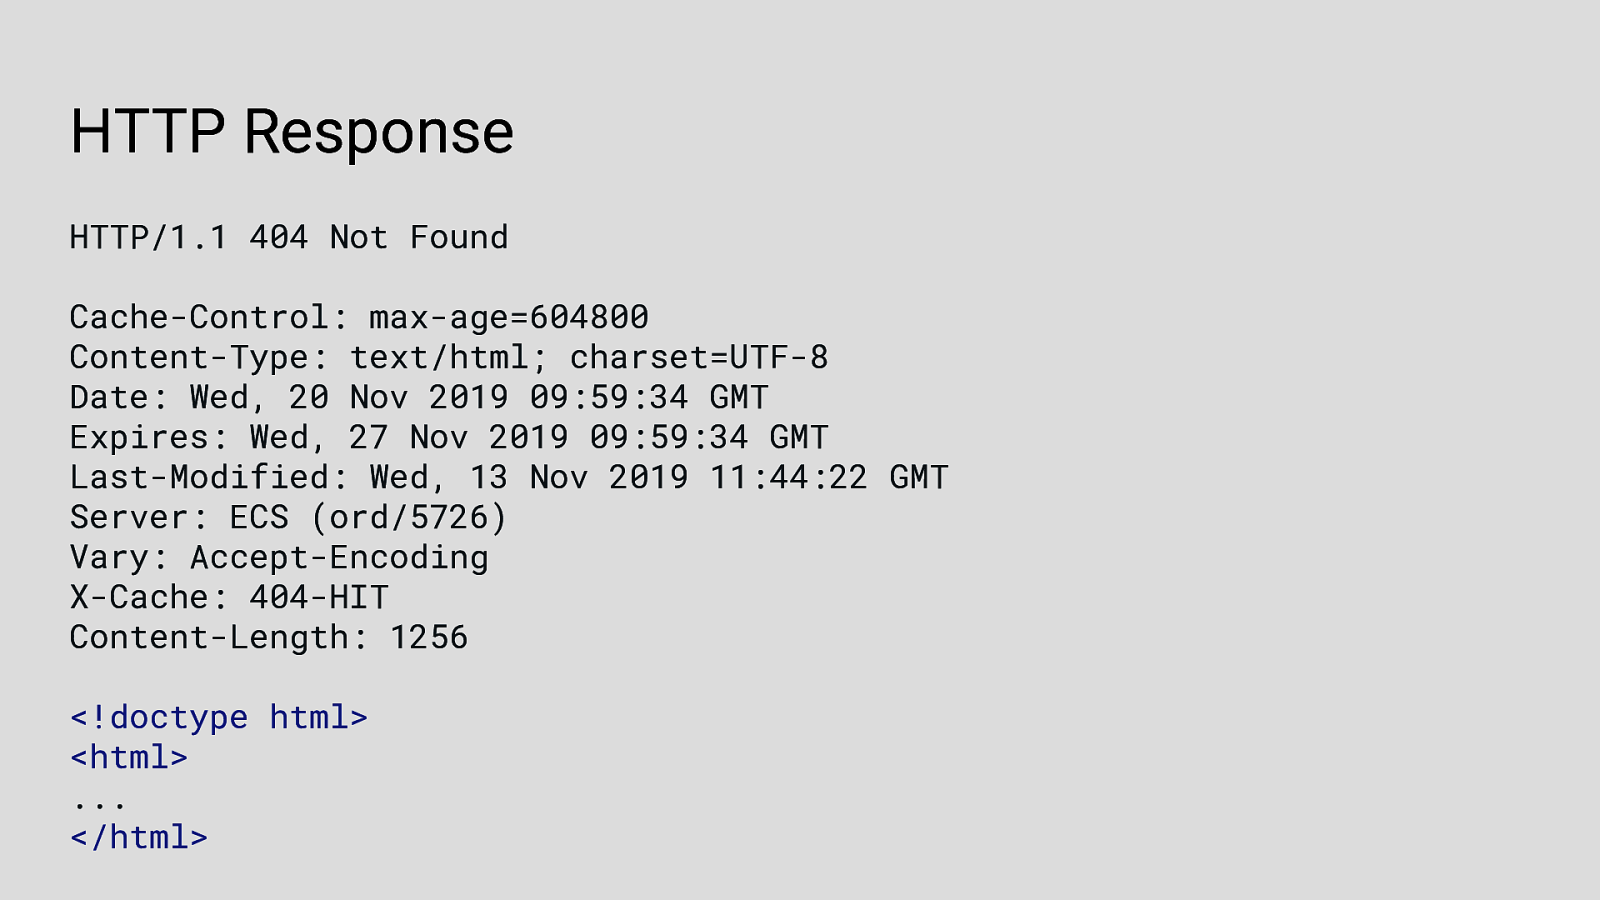
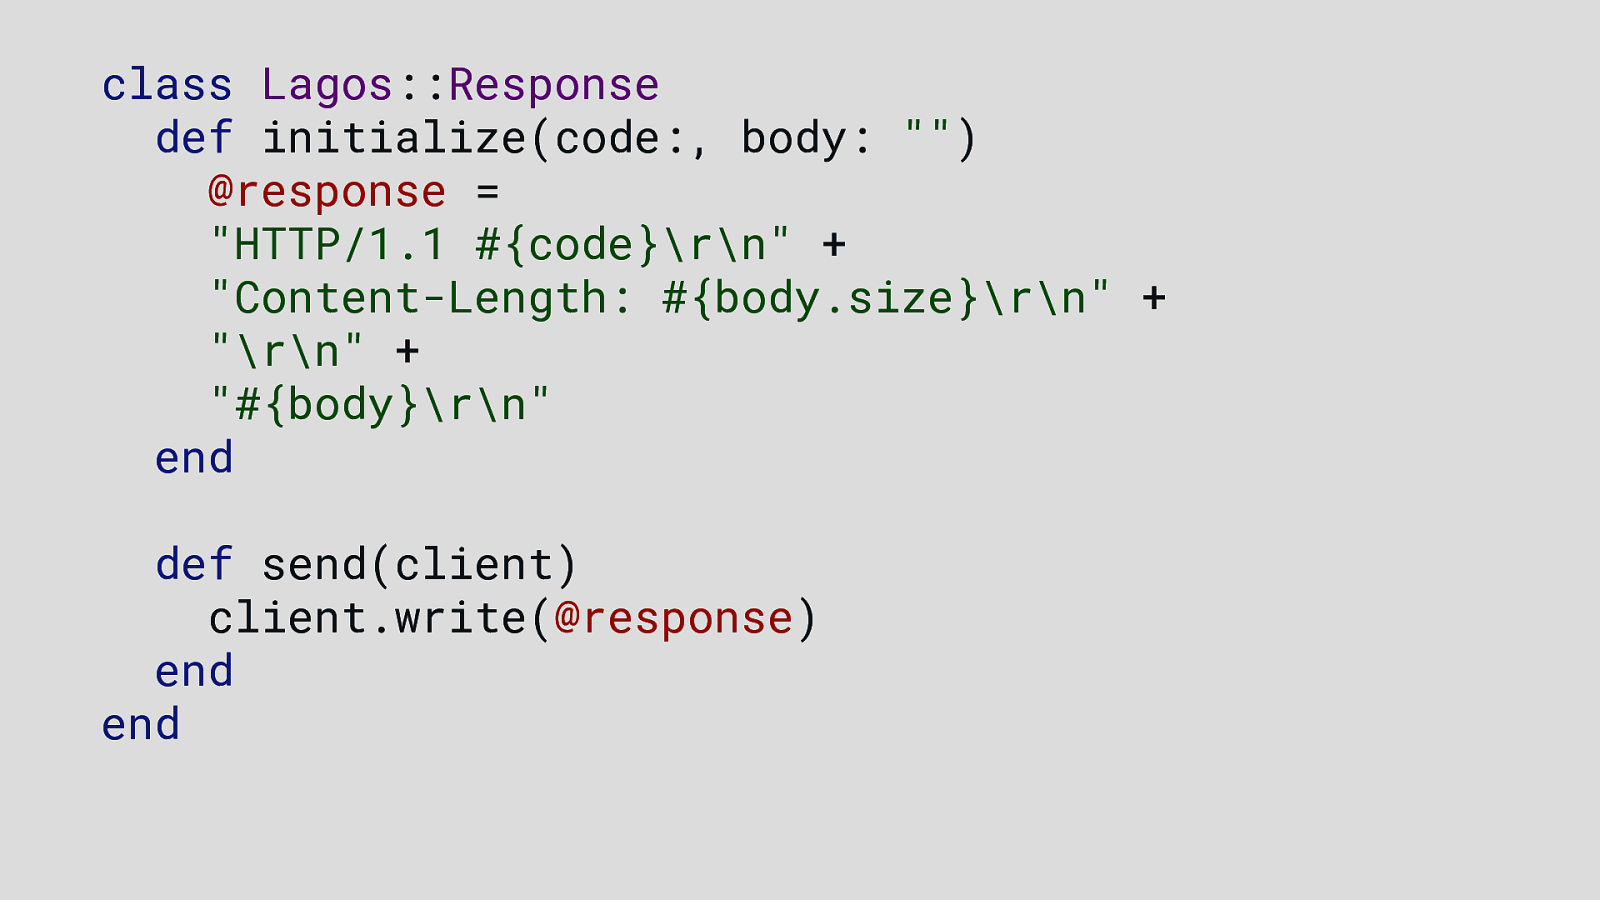
Using the same connection that has been established, the server responds with the contents of the file or an error. The HTTP server sends a response message, the browser or client receives the response message, interprets the message and displays the contents of the message on the browser’s window according to the media type of the response (as in the Content-Type response header) This basic workflow is one of HTTP’s most simple use cases, and it is also one of the most common interactions handled by web servers. Let’s jump right into implementing it!
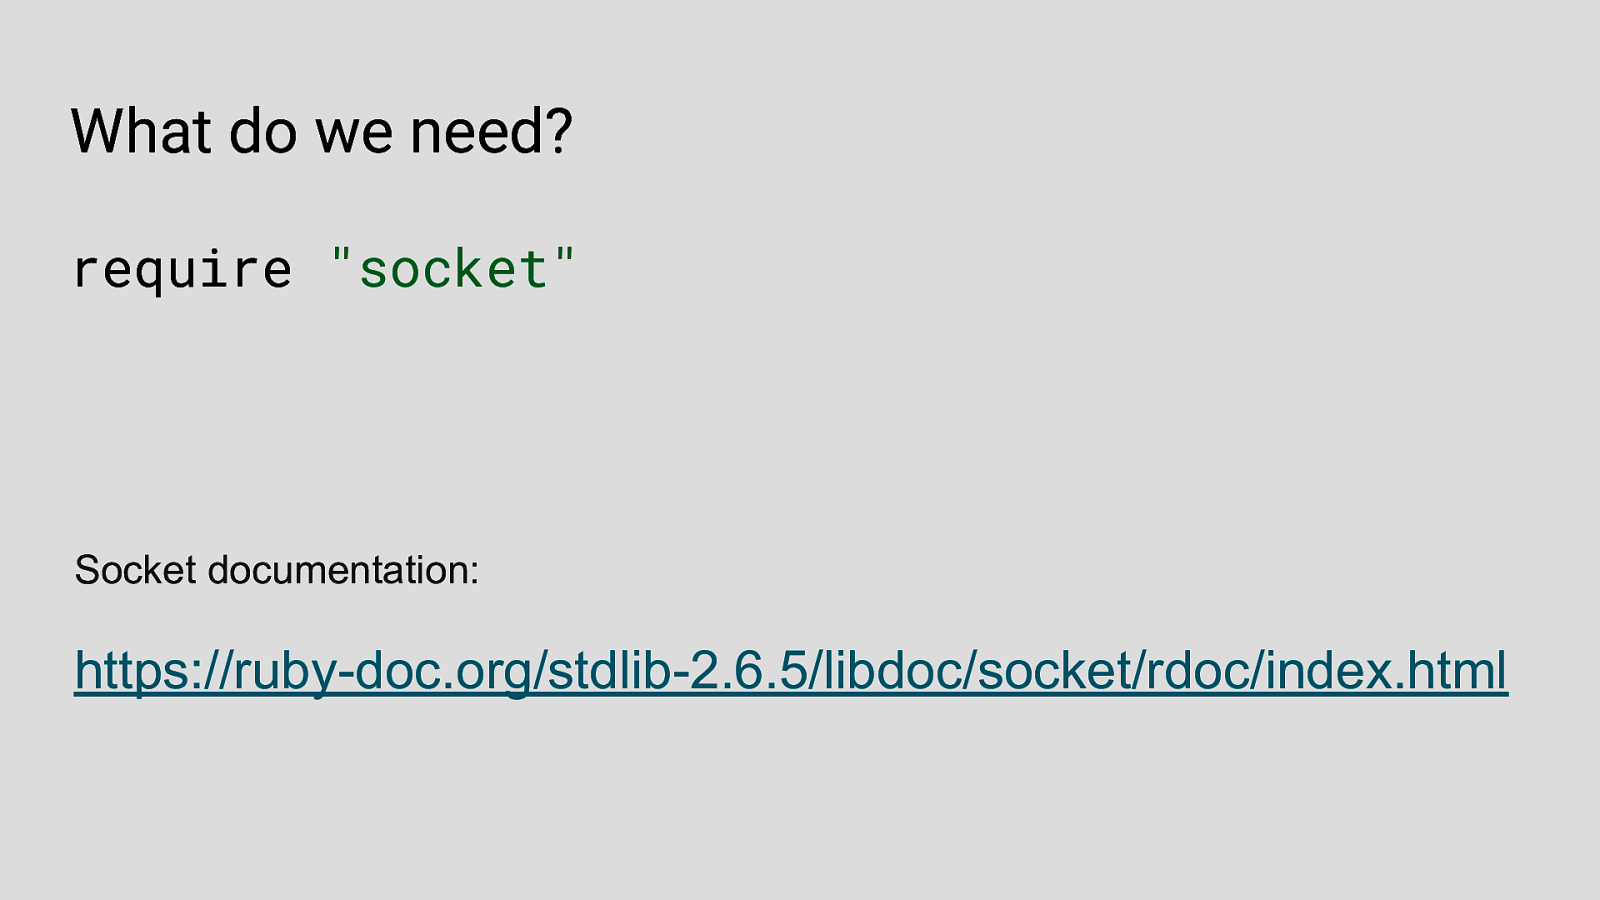
What do we need? We need a tool that can listen for bidirectional communication between client and servers and this leads us to Sockets. A socket is one endpoint of a two-way communication link between two programs running on the network. A socket is bound to a port number so that the TCP layer can identify the application that data is to be sent to.
Server forms the listener socket while client reaches out to the server. The Ruby Socket Class / Library provides access to the underlying operating system socket implementations. The socket library provides specific classes for handling the common transports as well as a generic interface for handling the rest. All functionality in the socket library is accessible through a single extension library this is well documented here. Reference: https://ruby-doc.org/stdlib-2.3.0/libdoc/ socket/rdoc/Socket.html Now that we have our socket library, we can now build our HTTP server!
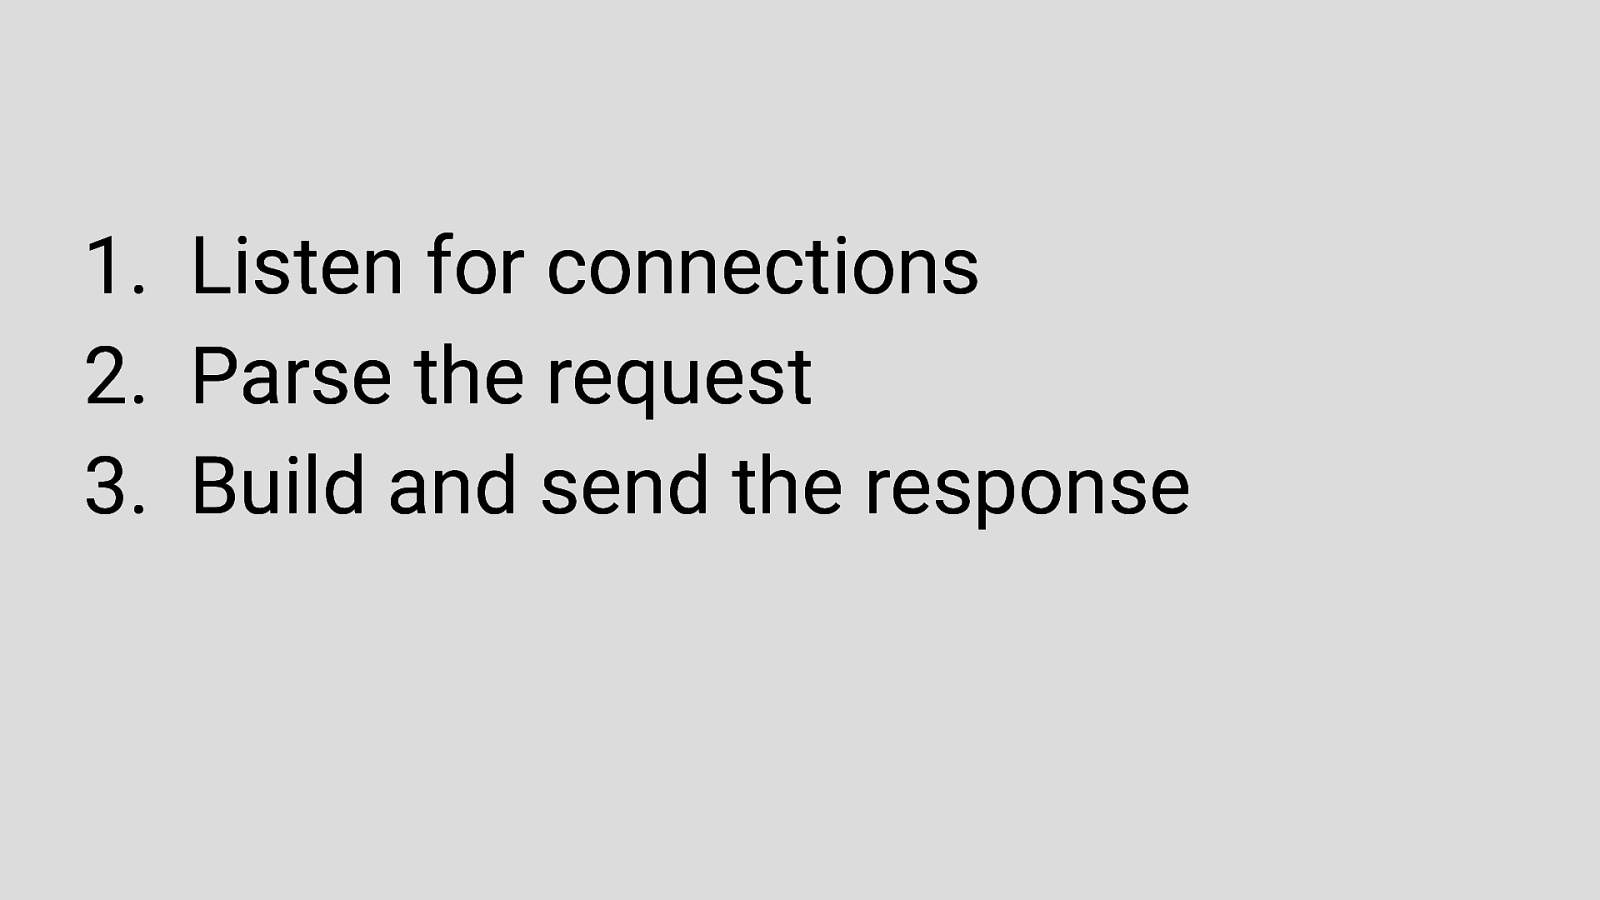
As you may have noticed earlier when I was explaining what happens when you visit a URL, there are 3 key features needed when building an HTTP server. Our server needs to be able to: - Listen for connections at a port - When that connection gets called, it should be able to parse the request - Then it should be able to build and send the response back to the client
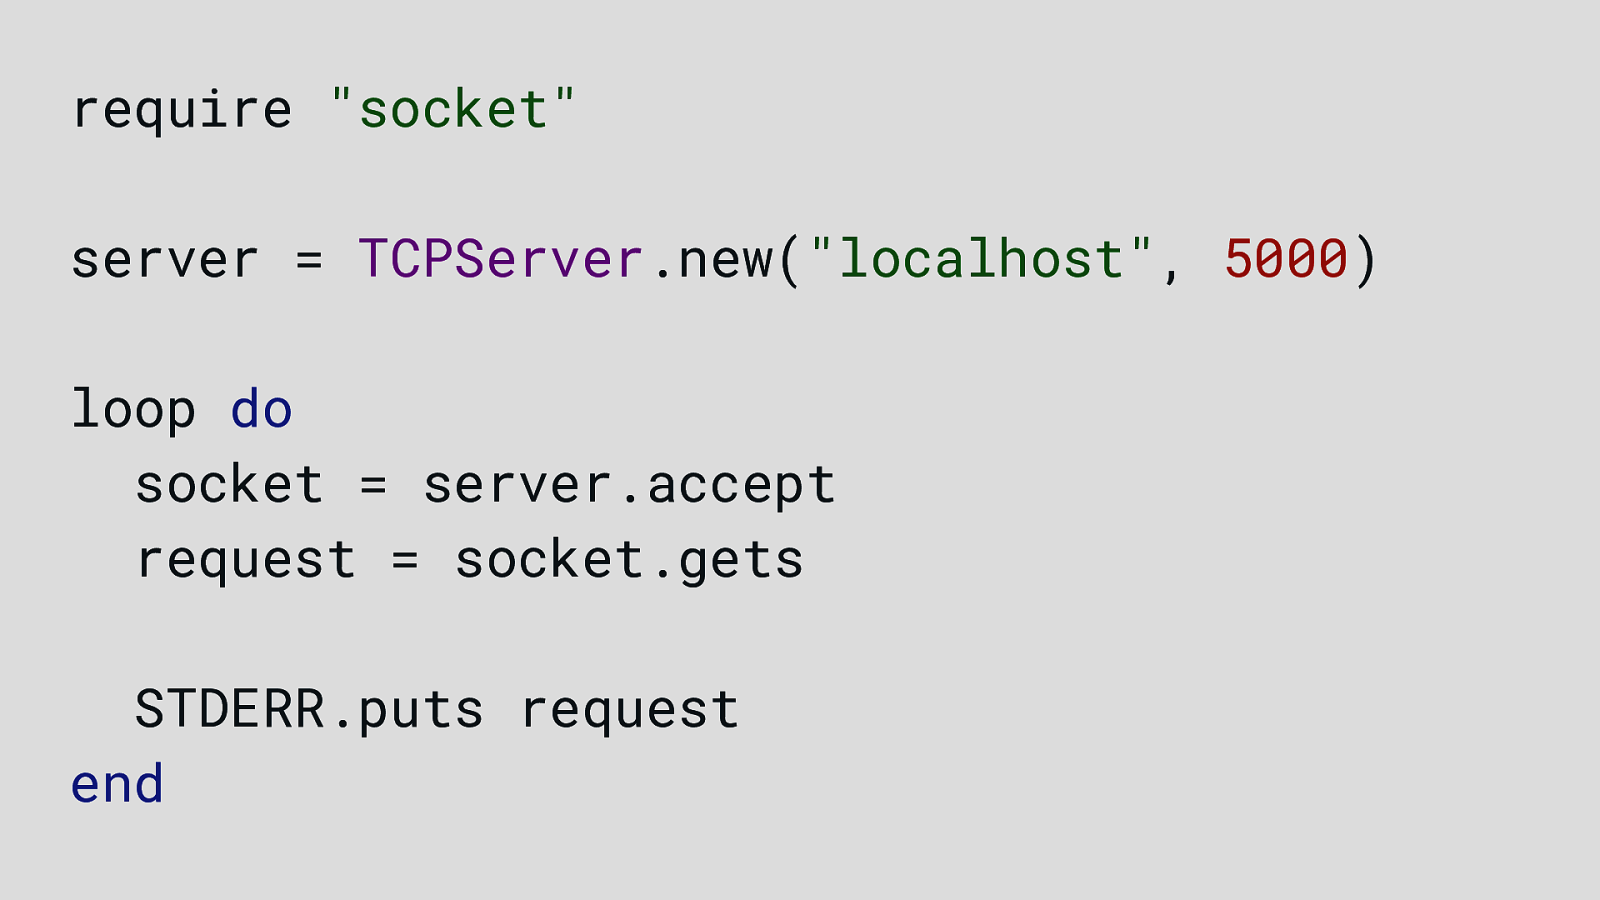
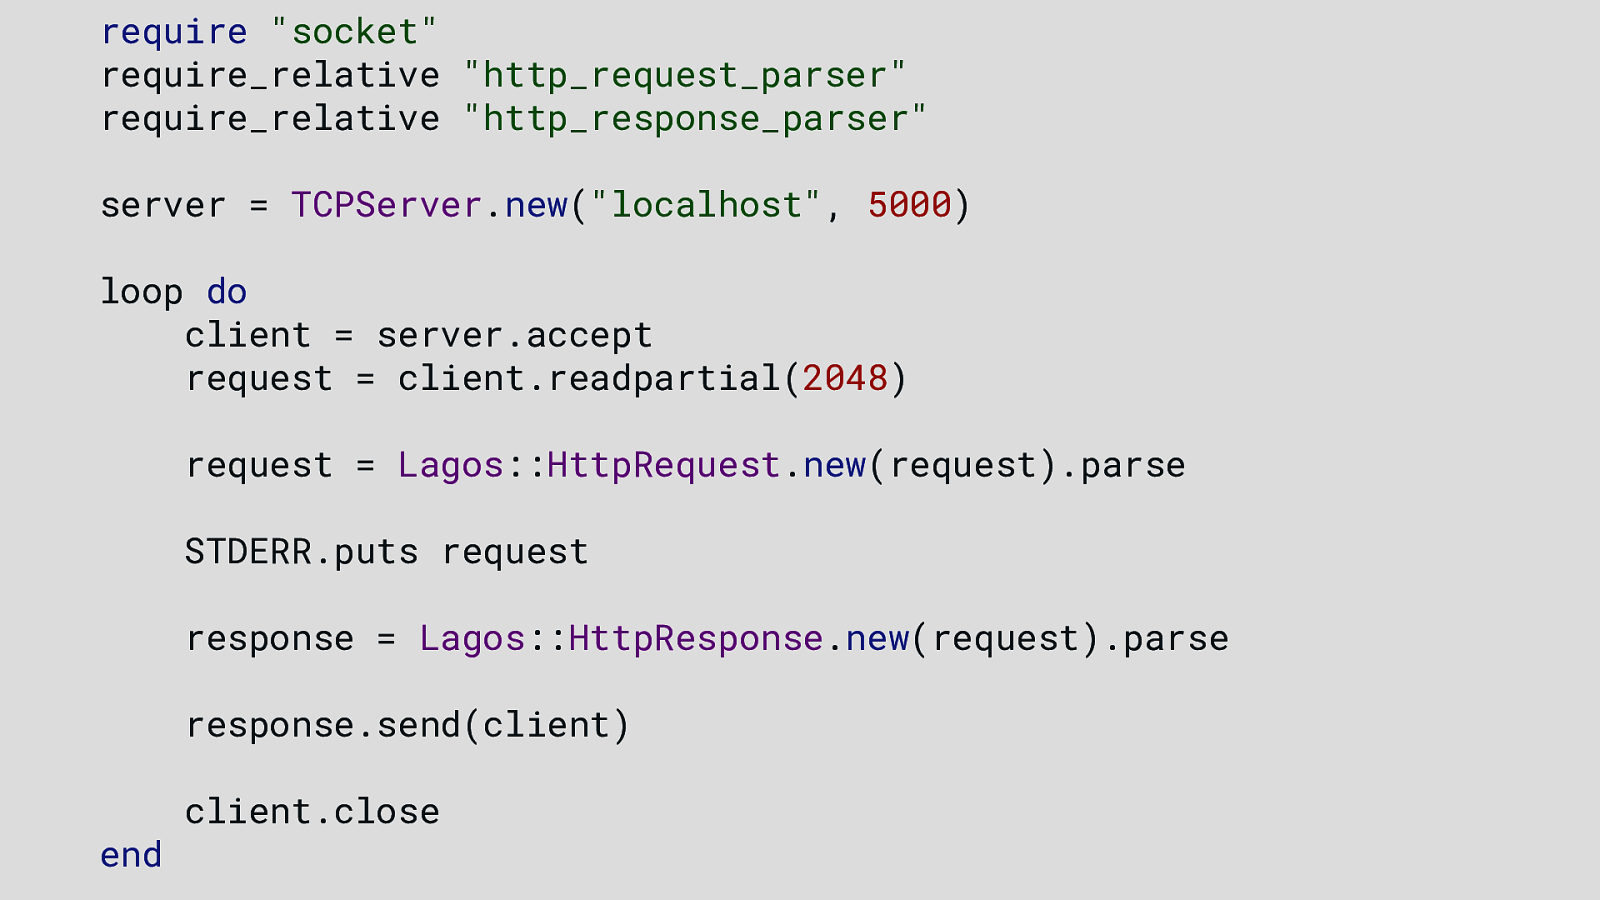
Step 1: Listening For Connections To listen for connections on our http server, we need to require the sockets library We define our server by initializing the TCPServer and have it to listen for new connections on TCP port 5000. # Server bound to port 5000
Next, we want to loop infinitely, to process one incoming connection at a time. This will wait until a client connects, then return a TCPSocket that can be used in a similar fashion to other Ruby I/O objects. So, what we want to do next is read the first line of the request (the Request-Line) using .gets method which (reads the next “line” from the I/O stream) Then lastly, we log the request to the console to see what the request looks like Worthy to note: In its idling state, an
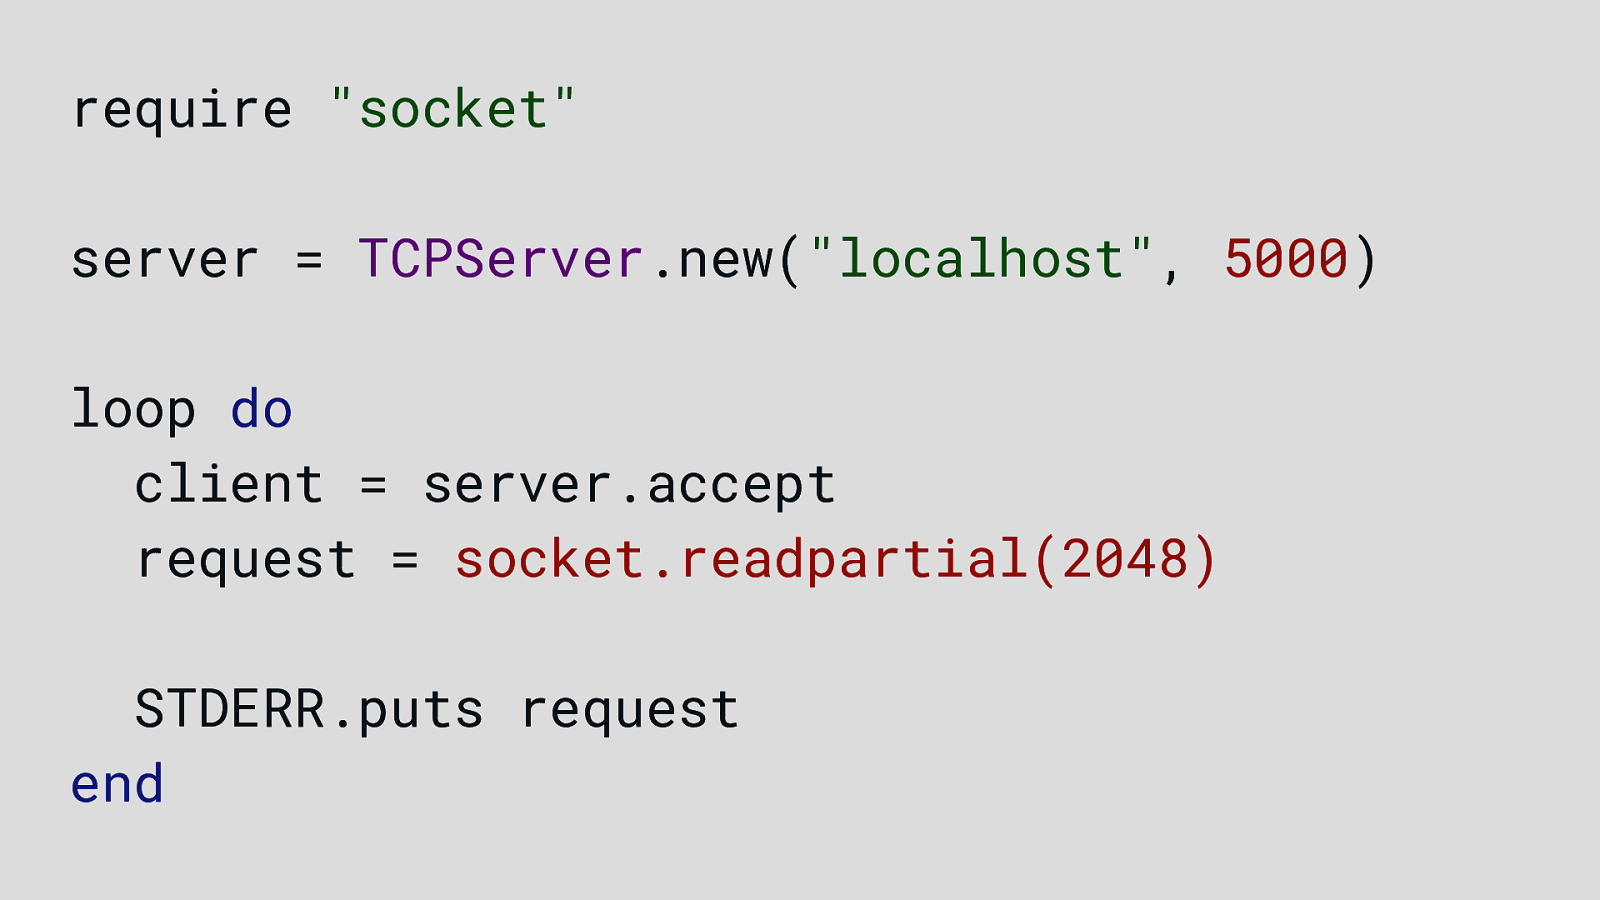

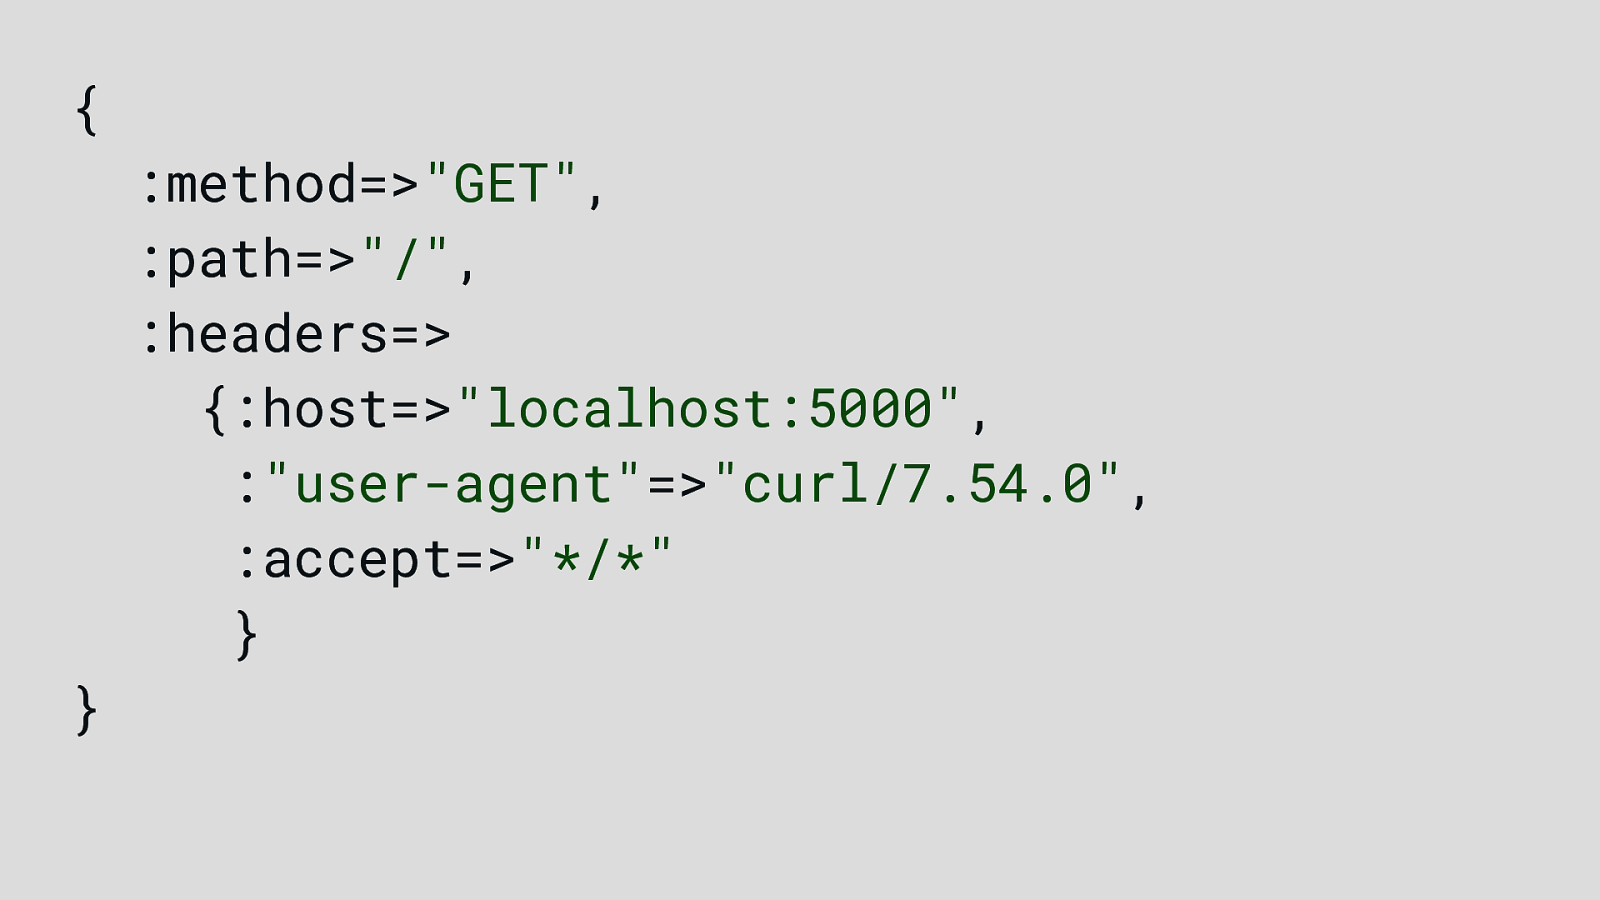
Then, we will get the full request message.