How to build a website for the IndieWeb jackdbd/sfscon-2024-indieweb
A presentation at SFSCON 2024 in November 2024 in 39100 Bolzano, Autonomous Province of Bolzano – South Tyrol, Italy by Giacomo Debidda
How to build a website for the IndieWeb jackdbd/sfscon-2024-indieweb

Giacomo Debidda Freelance full stack developer / web performance consultant I write TypeScript / Clojure / Zig I like 🛹 and 🛼 BTW I use jackdbd giacomodebidda.com
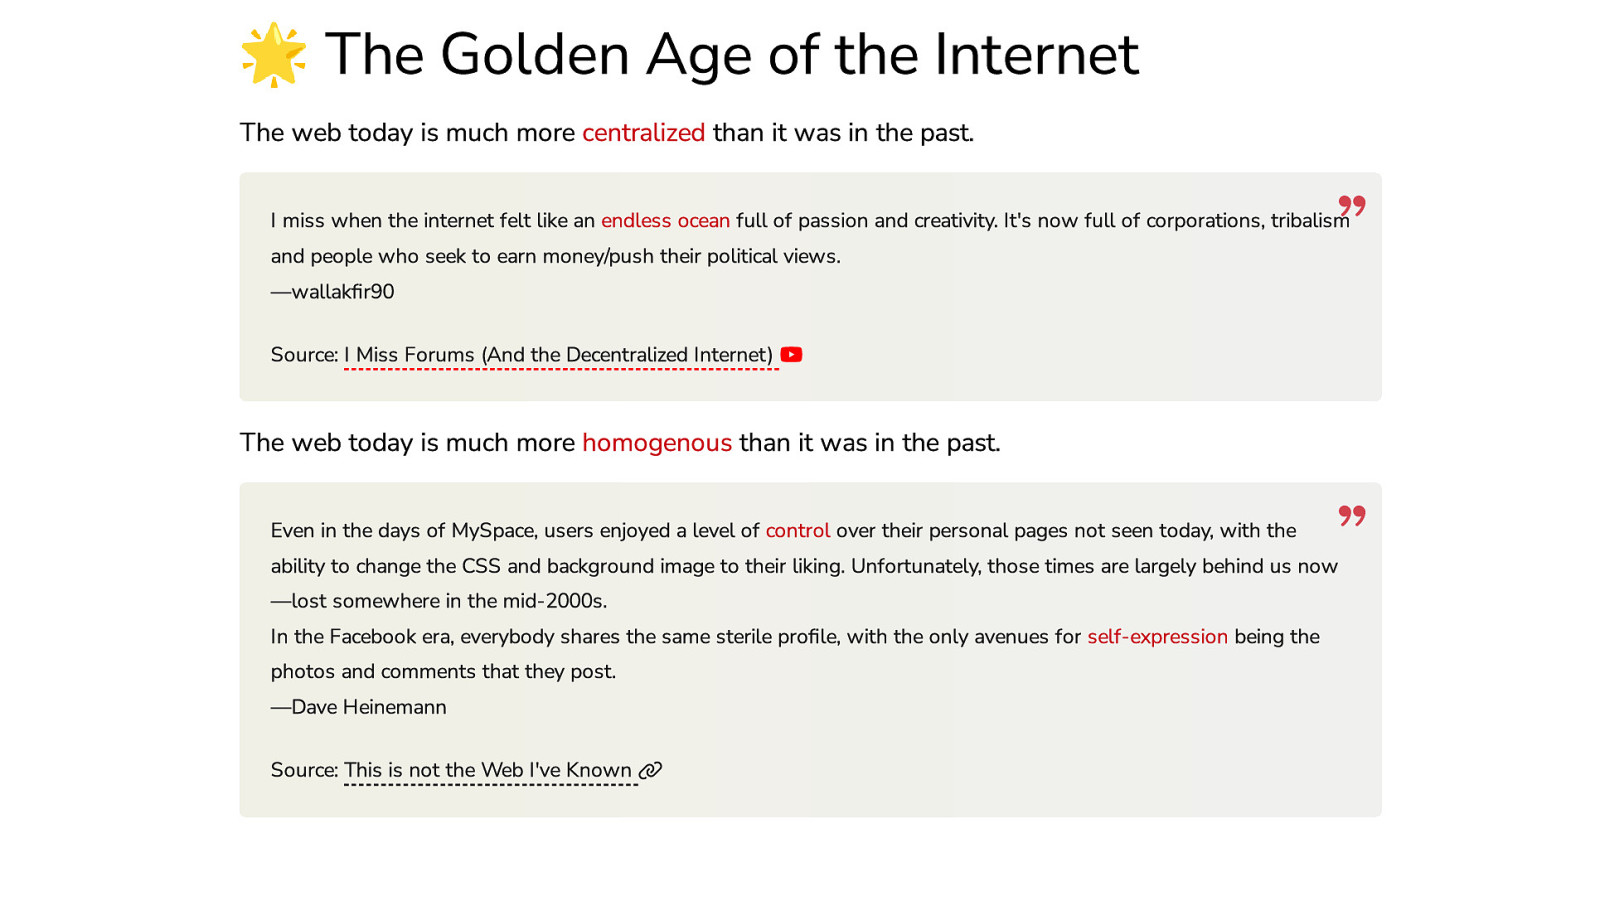
🌟 The Golden Age of the Internet The web today is much more centralized than it was in the past. I miss when the internet felt like an endless ocean full of passion and creativity. It’s now full of corporations, tribalism and people who seek to earn money/push their political views. —wallakfir90 Source: I Miss Forums (And the Decentralized Internet) The web today is much more homogenous than it was in the past. Even in the days of MySpace, users enjoyed a level of control over their personal pages not seen today, with the ability to change the CSS and background image to their liking. Unfortunately, those times are largely behind us now —lost somewhere in the mid-2000s. In the Facebook era, everybody shares the same sterile profile, with the only avenues for self-expression being the photos and comments that they post. —Dave Heinemann Source: This is not the Web I’ve Known
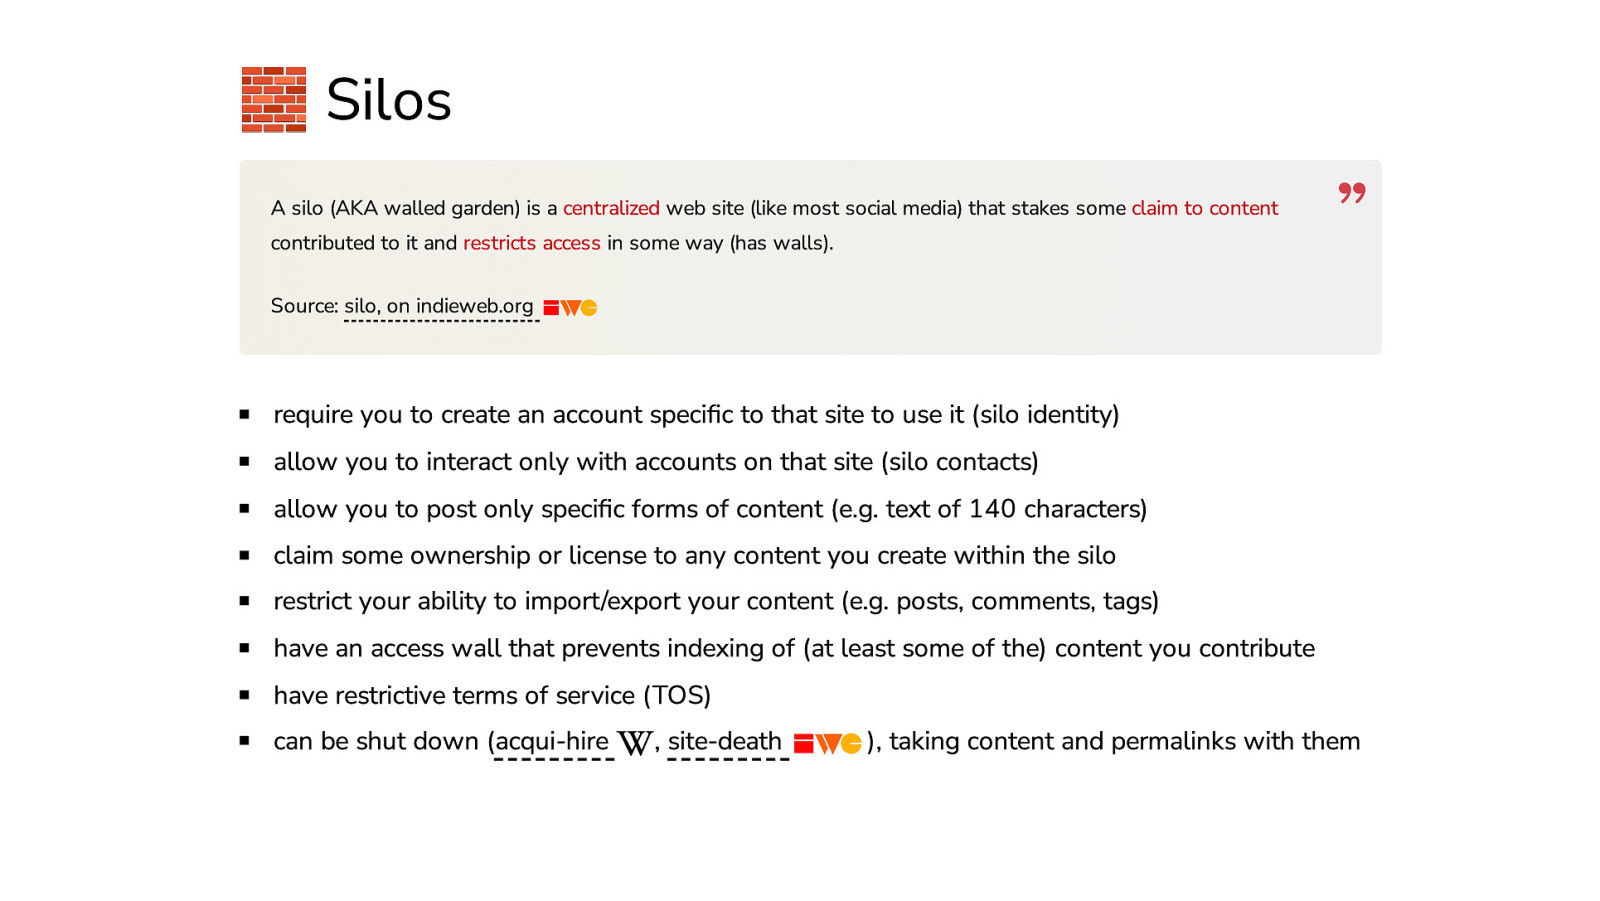
🧱 Silos A silo (AKA walled garden) is a centralized web site (like most social media) that stakes some claim to content contributed to it and restricts access in some way (has walls). Source: silo, on indieweb.org require you to create an account specific to that site to use it (silo identity) allow you to interact only with accounts on that site (silo contacts) allow you to post only specific forms of content (e.g. text of 140 characters) claim some ownership or license to any content you create within the silo restrict your ability to import/export your content (e.g. posts, comments, tags) have an access wall that prevents indexing of (at least some of the) content you contribute have restrictive terms of service (TOS) can be shut down (acqui-hire , site-death ), taking content and permalinks with them
Perhaps you’re done with others owning your content, your identity, and your self

Reclaim your content and self host it
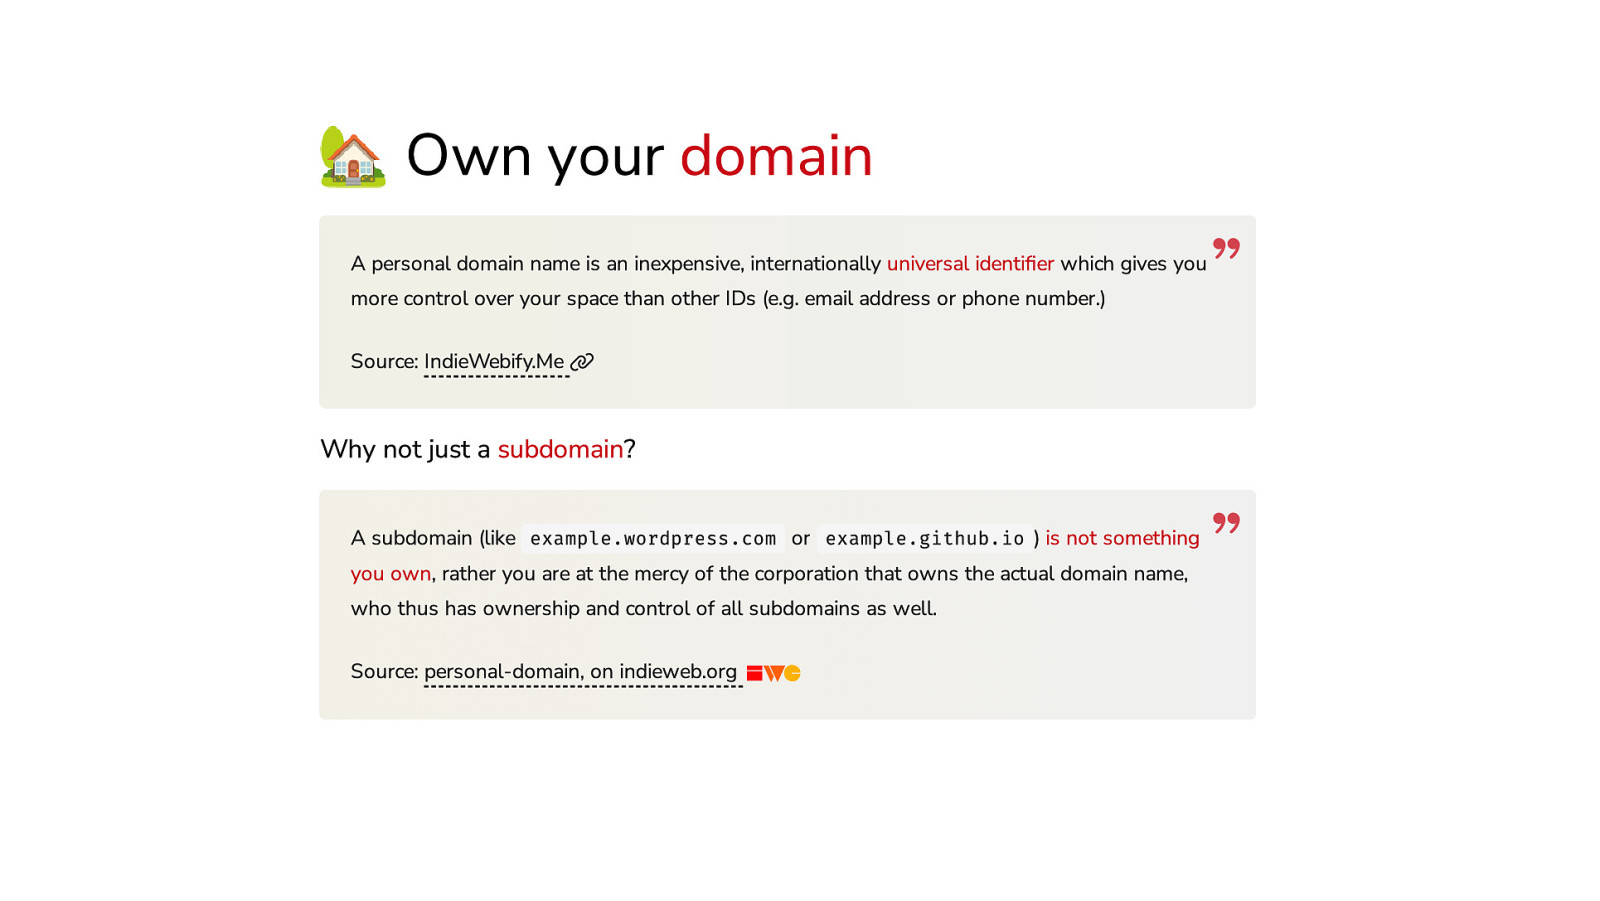
🏡 Own your domain A personal domain name is an inexpensive, internationally universal identifier which gives you more control over your space than other IDs (e.g. email address or phone number.) Source: IndieWebify.Me Why not just a subdomain? A subdomain (like example.wordpress.com or example.github.io ) is not something you own, rather you are at the mercy of the corporation that owns the actual domain name, who thus has ownership and control of all subdomains as well. Source: personal-domain, on indieweb.org
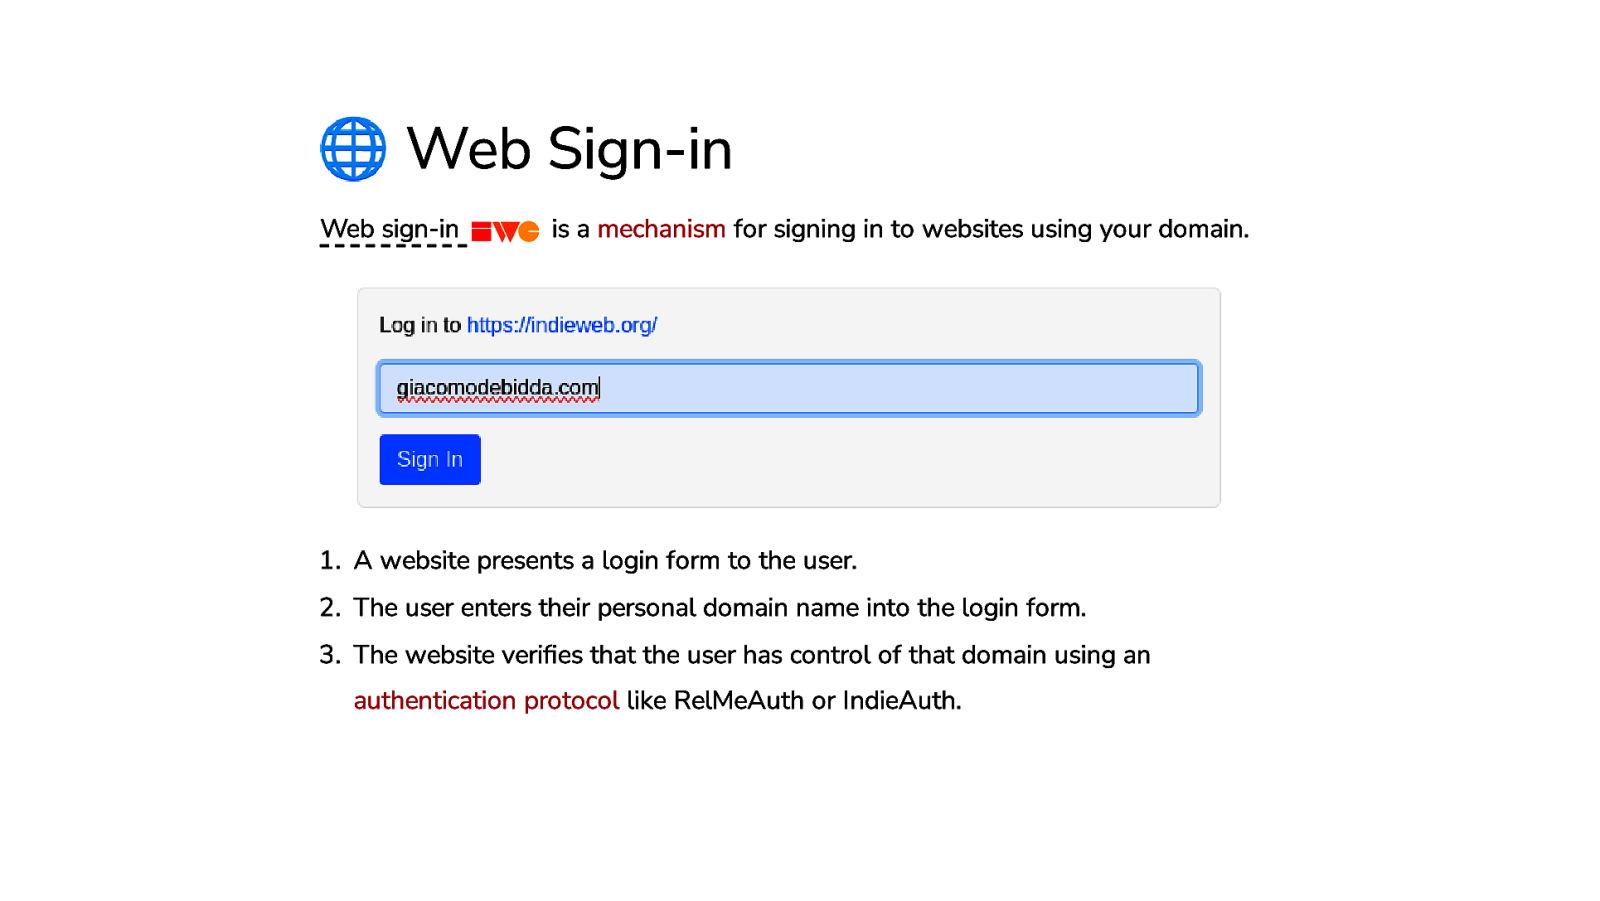
🌐 Web Sign-in Web sign-in is a mechanism for signing in to websites using your domain.
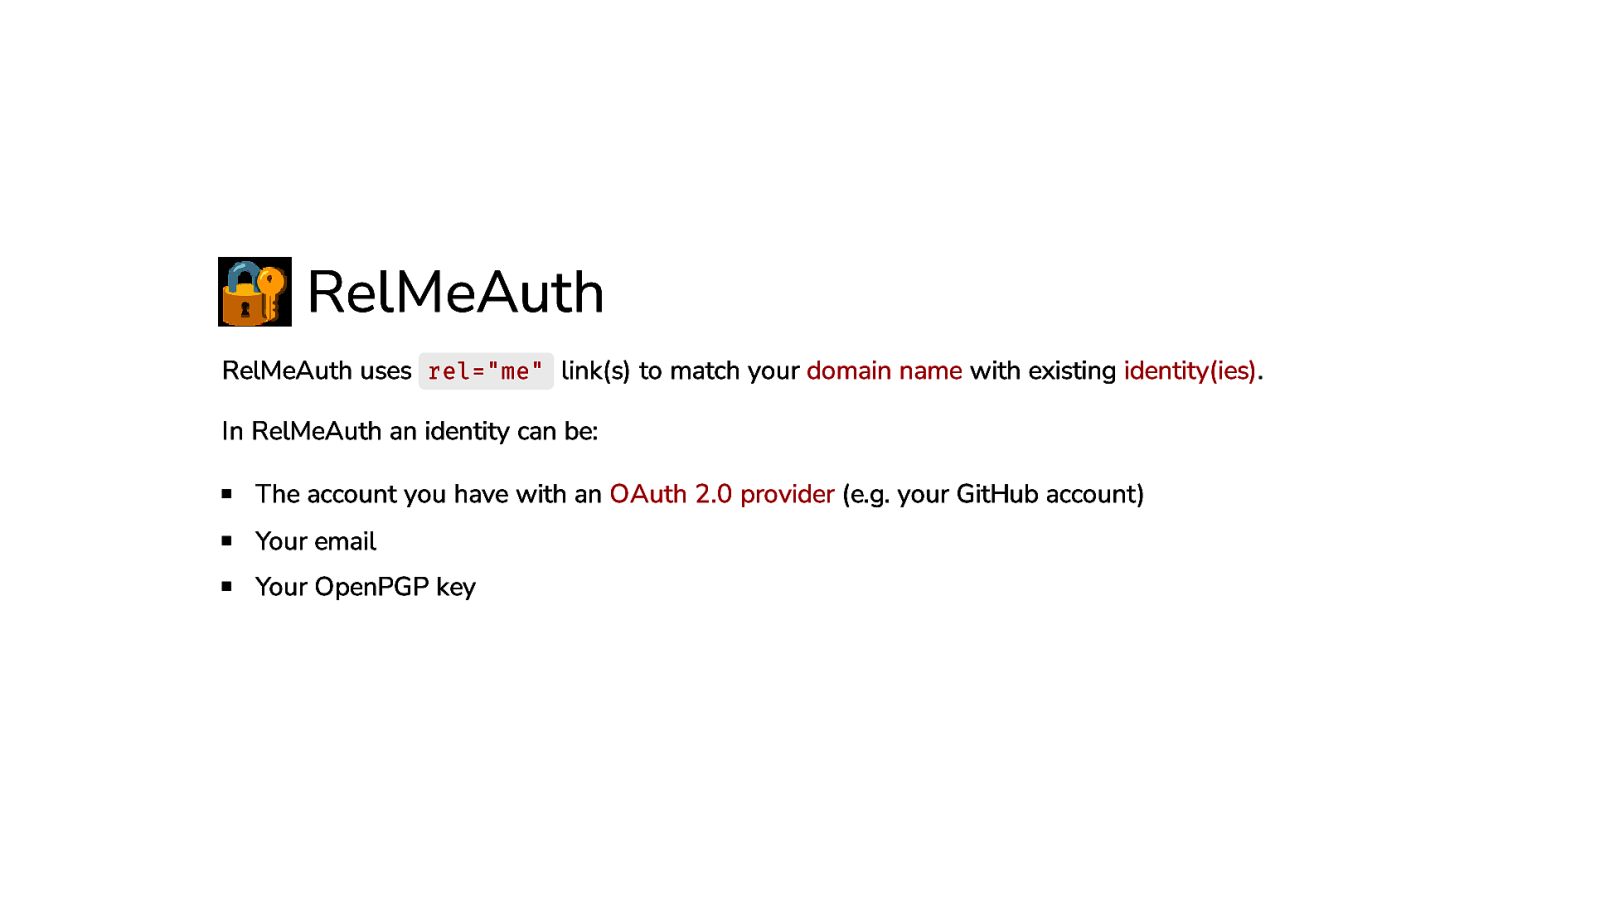
🔐 RelMeAuth RelMeAuth uses rel=”me” link(s) to match your domain name with existing identity(ies). In RelMeAuth an identity can be: The account you have with an OAuth 2.0 provider (e.g. your GitHub account) Your email Your OpenPGP key
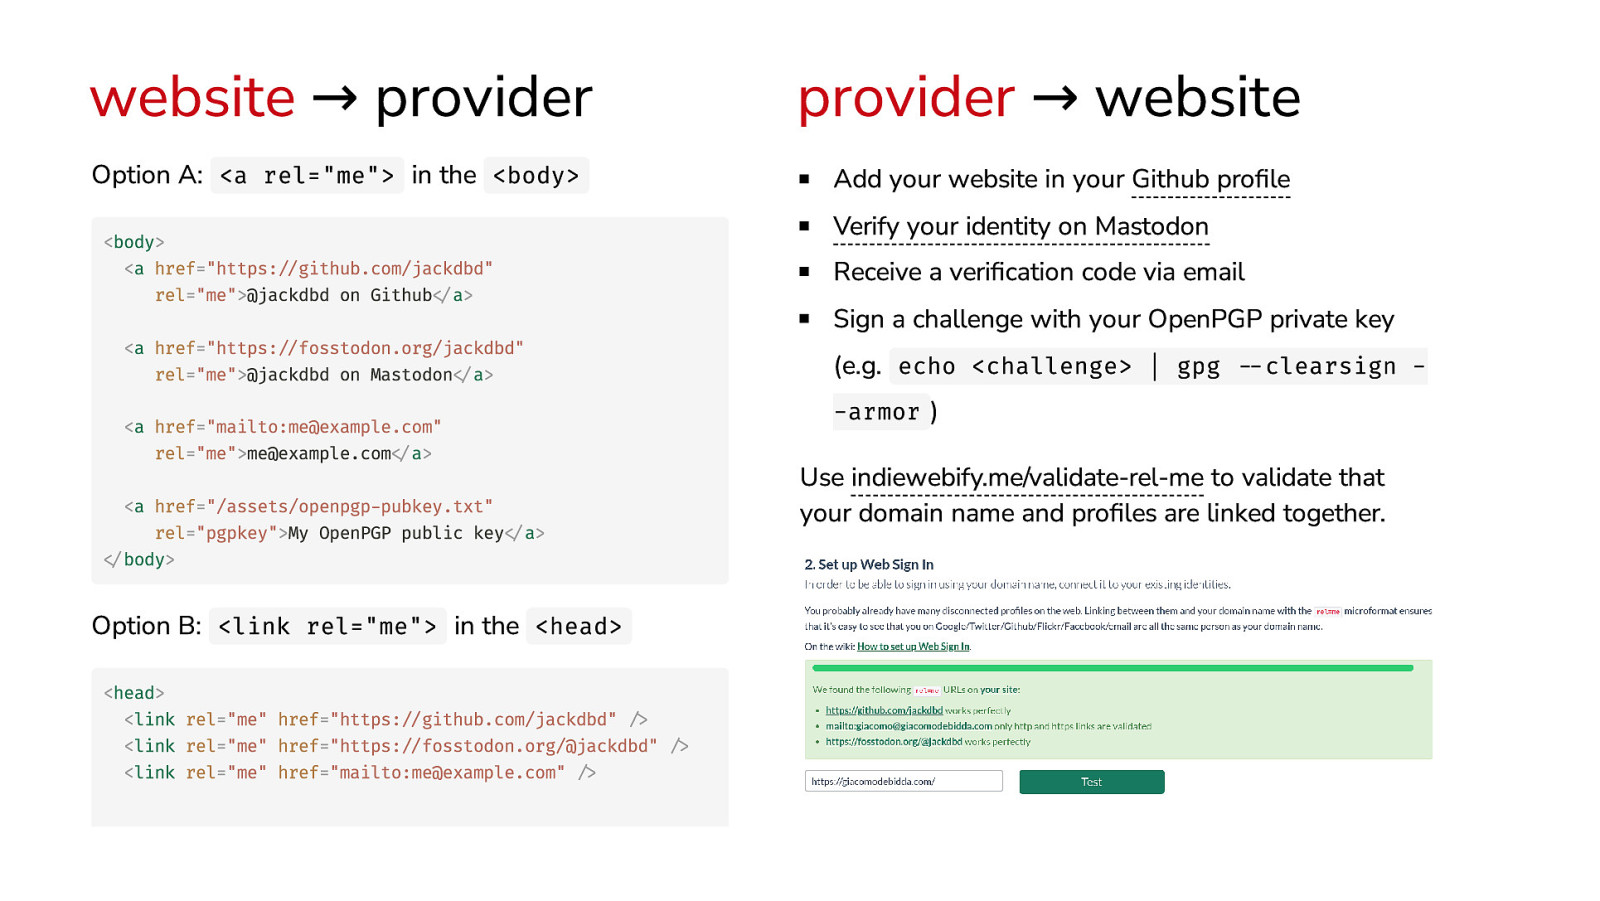
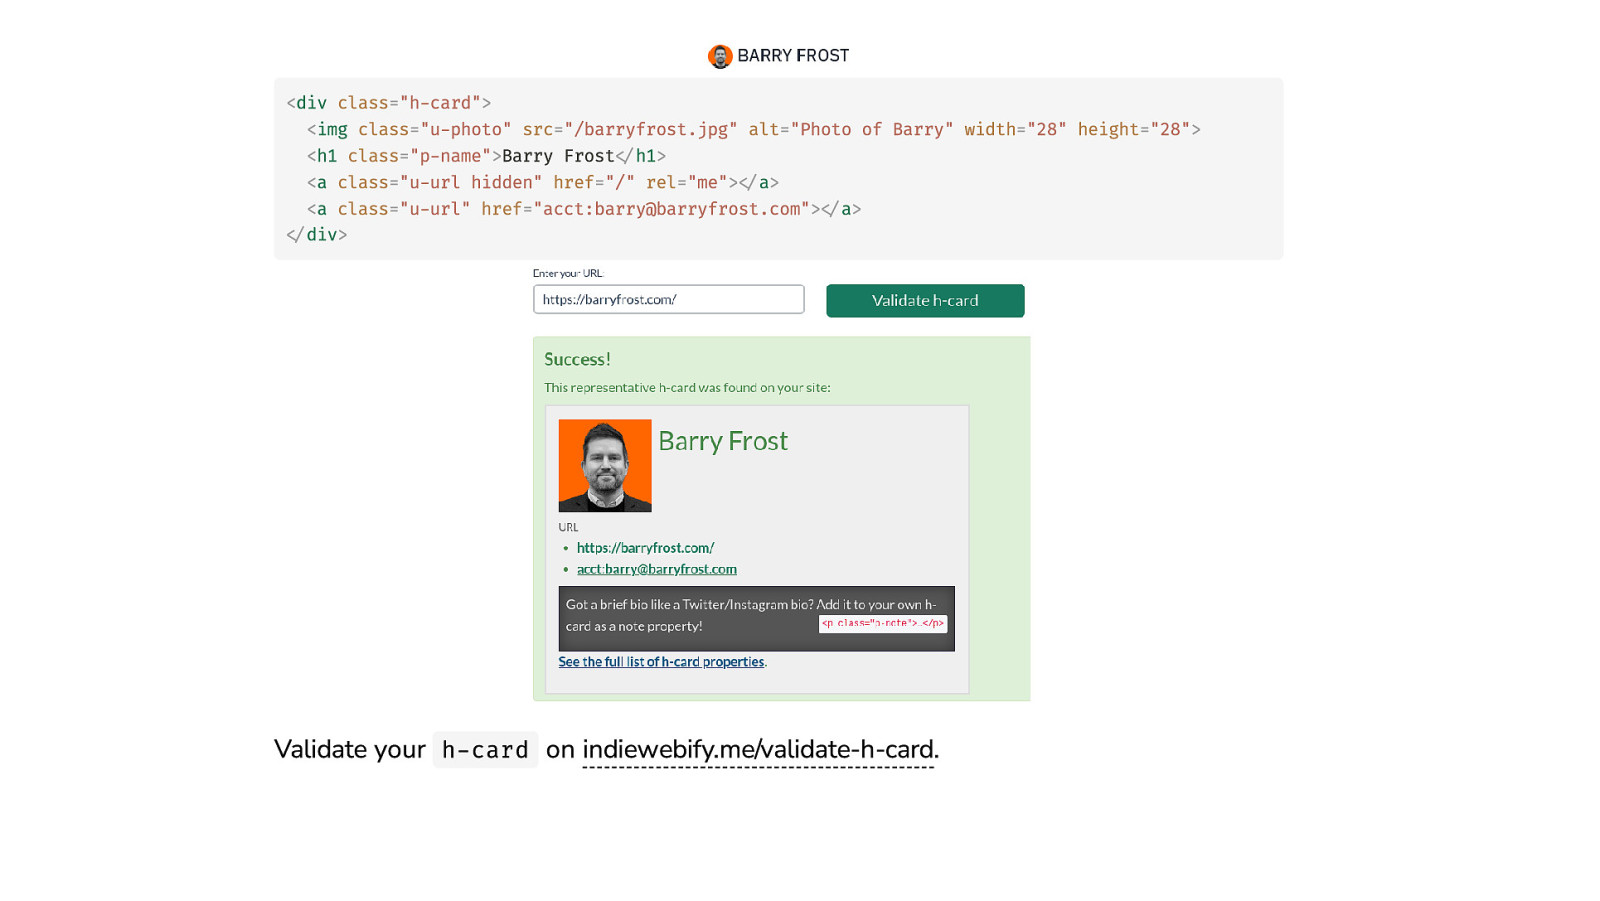
website → provider Option A: <a rel=”me”> in the <body> <body> <a href=”https://github.com/jackdbd” rel=”me”>@jackdbd on Github</a> <a href=”https://fosstodon.org/jackdbd” rel=”me”>@jackdbd on Mastodon</a> <a href=”mailto:me@example.com” rel=”me”>me@example.com</a> <a href=”/assets/openpgp-pubkey.txt” rel=”pgpkey”>My OpenPGP public key</a> </body> Option B: <link rel=”me”> in the <head> <head> <link rel=”me” href=”https://github.com/jackdbd” /> <link rel=”me” href=”https://fosstodon.org/@jackdbd” /> <link rel=”me” href=”mailto:me@example.com” /> provider → website Add your website in your Github profile Verify your identity on Mastodon Receive a verification code via email Sign a challenge with your OpenPGP private key (e.g. echo <challenge> | gpg —clearsign - -armor ) Use indiewebify.me/validate-rel-me to validate that your domain name and profiles are linked together.
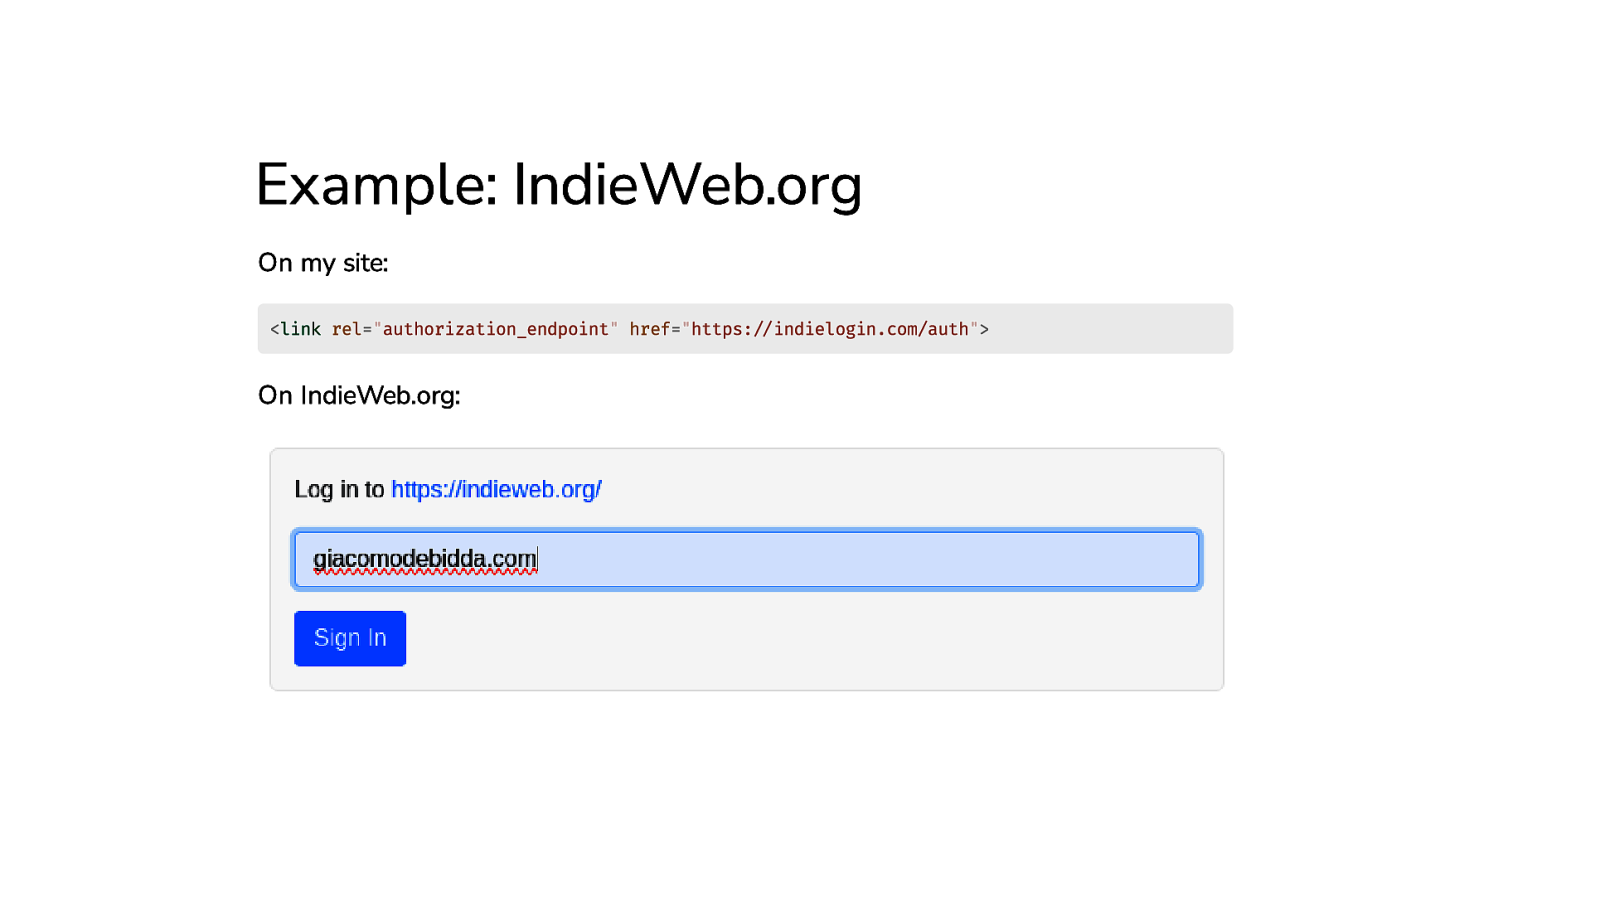
Example: IndieWeb.org On my site: <link rel=”authorization_endpoint” href=”https://indielogin.com/auth”> On IndieWeb.org:
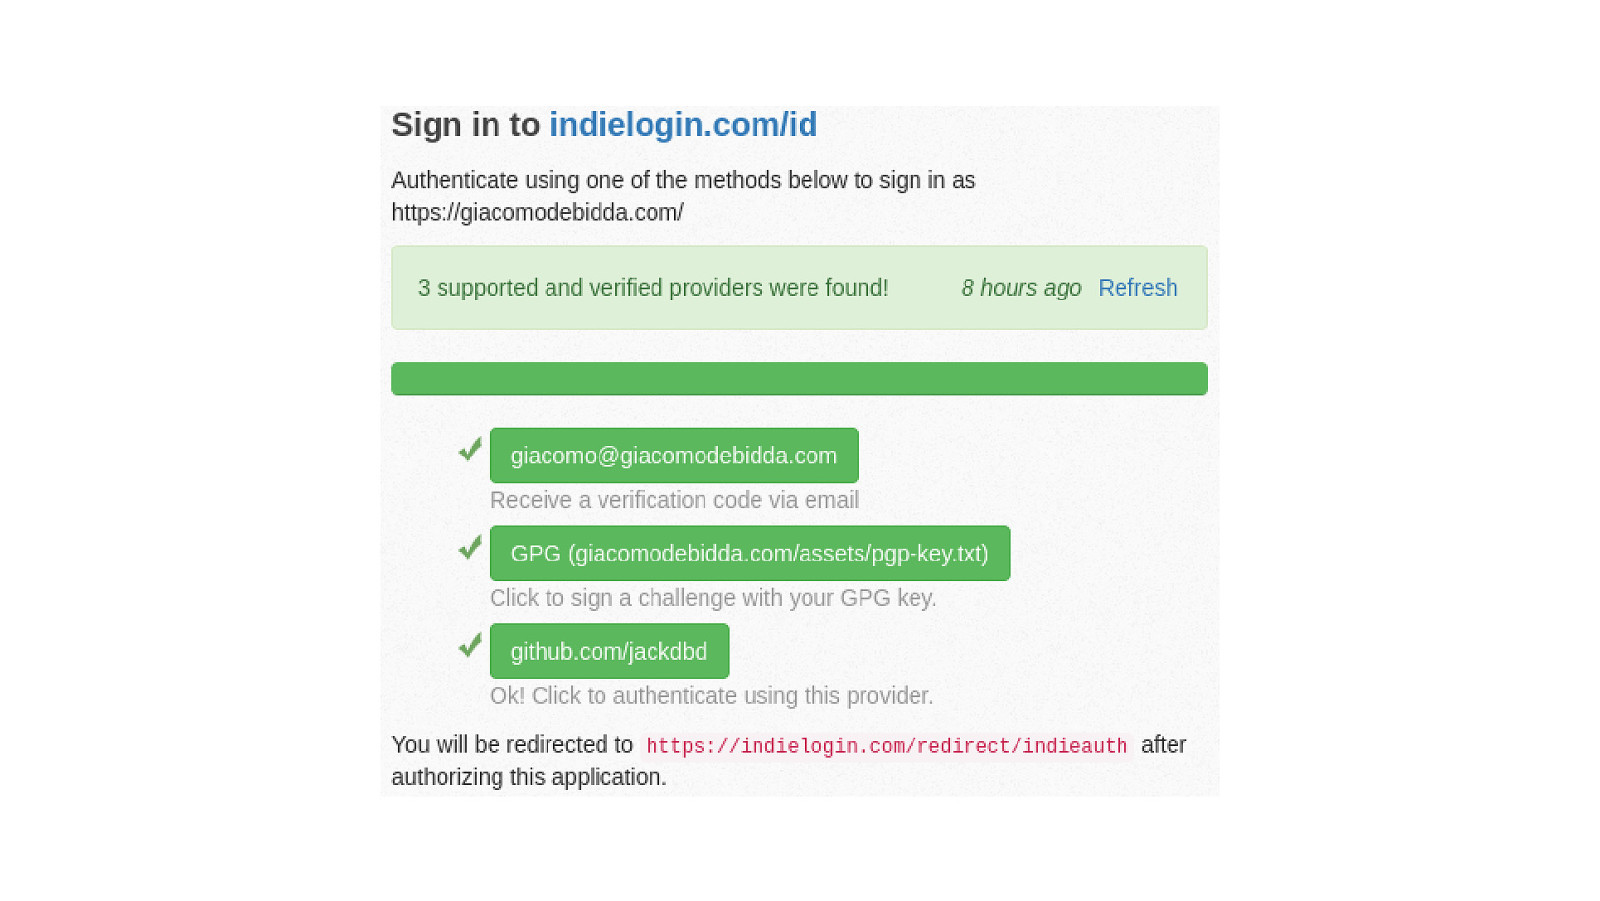
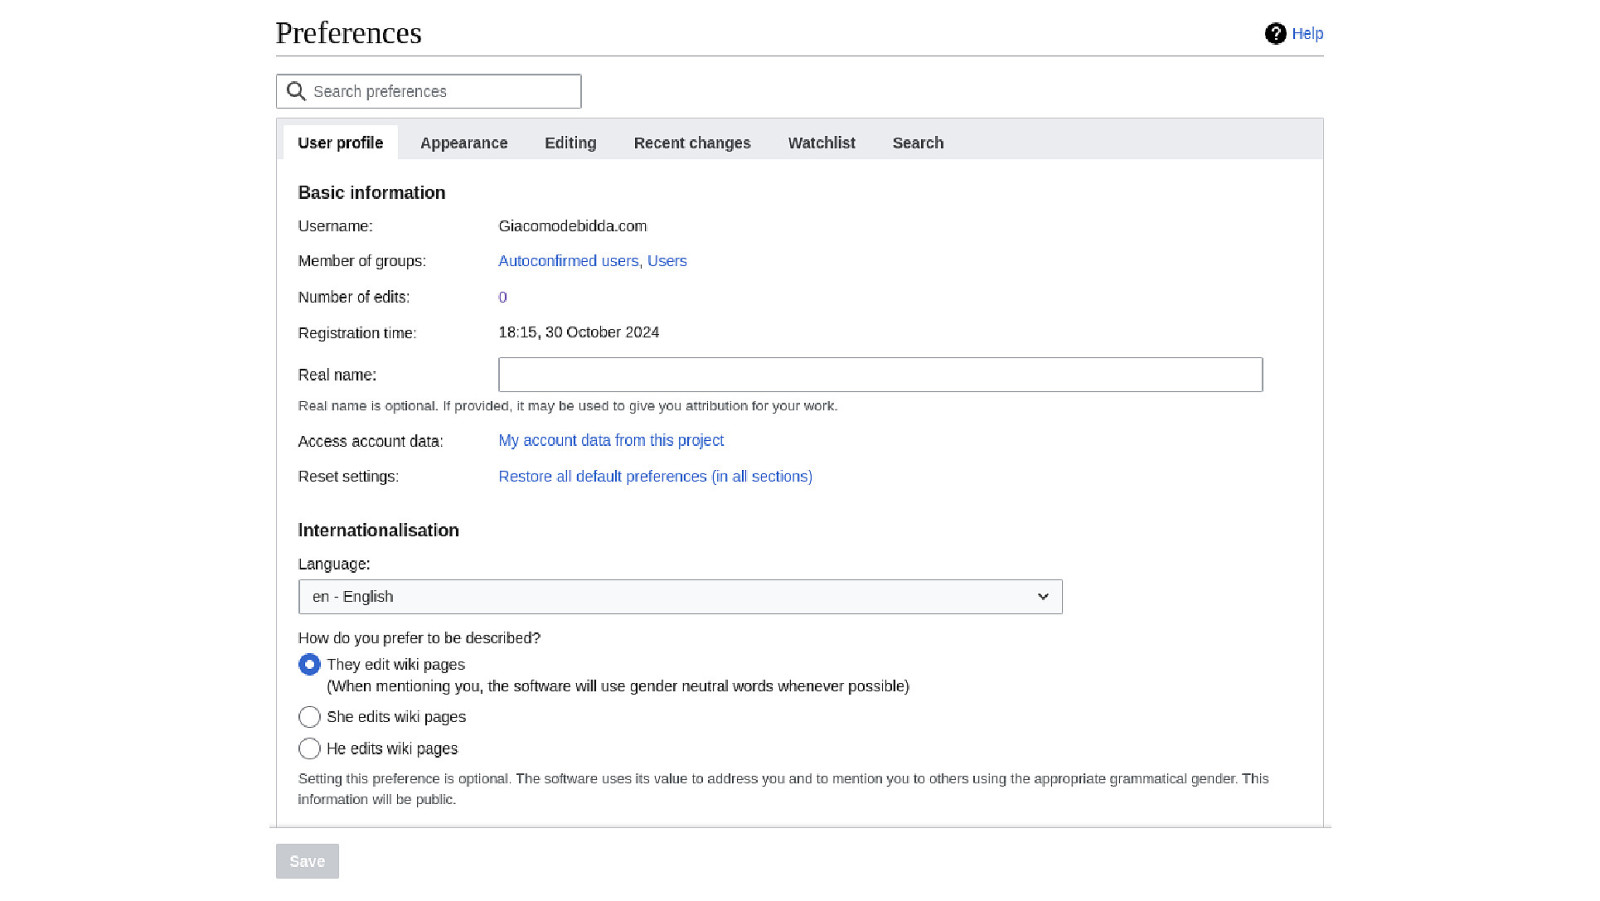
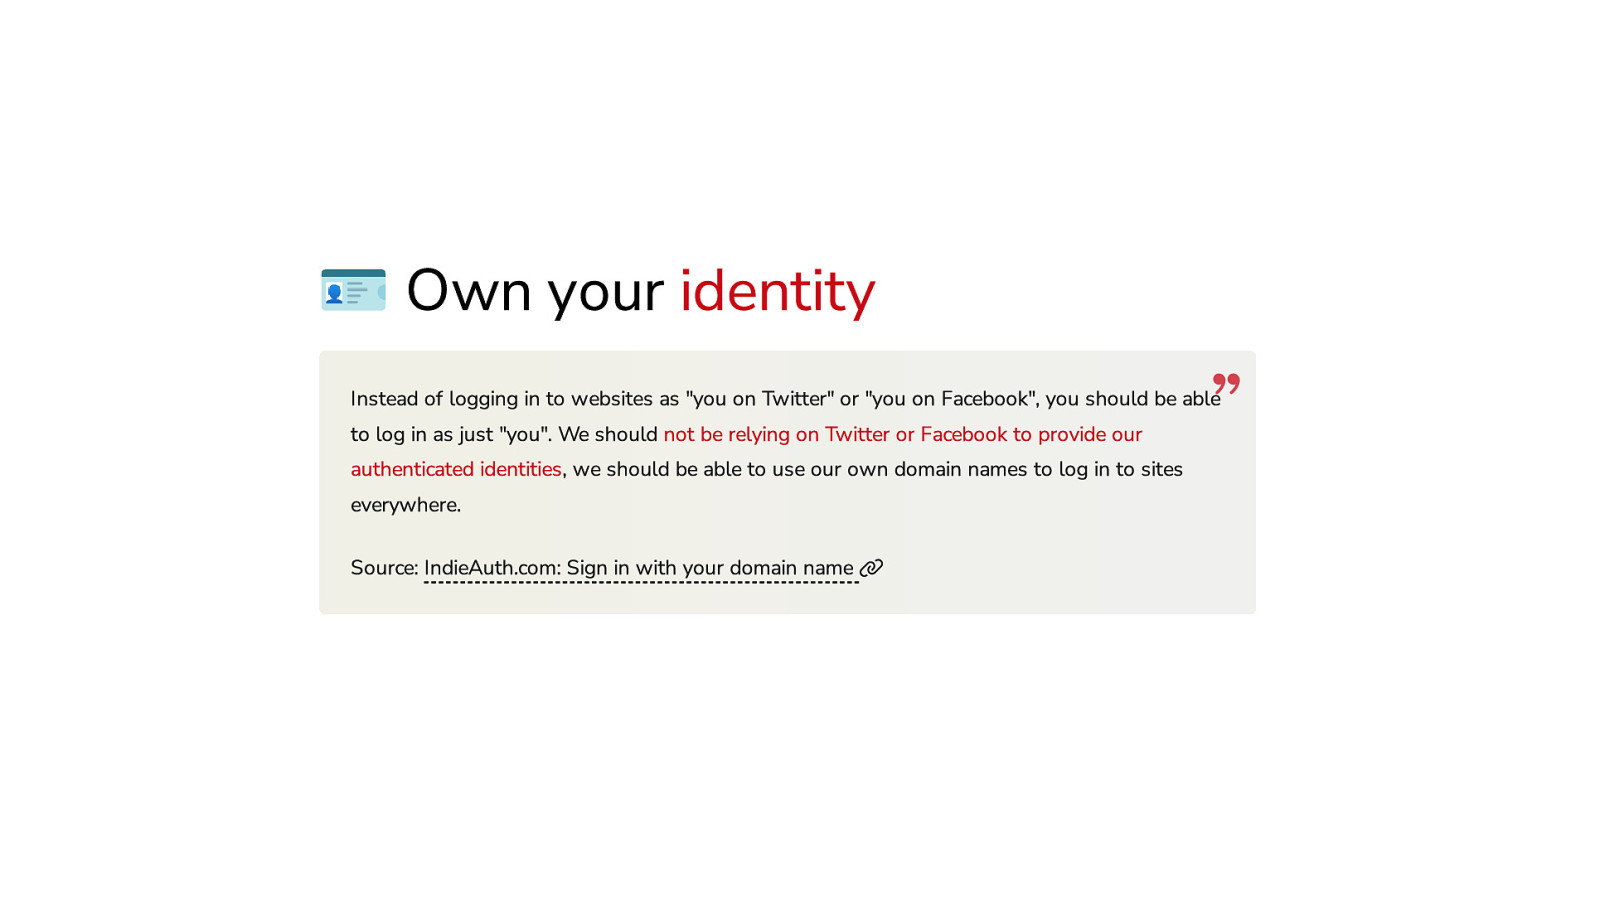
🪪 Own your identity Instead of logging in to websites as “you on Twitter” or “you on Facebook”, you should be able to log in as just “you”. We should not be relying on Twitter or Facebook to provide our authenticated identities, we should be able to use our own domain names to log in to sites everywhere. Source: IndieAuth.com: Sign in with your domain name
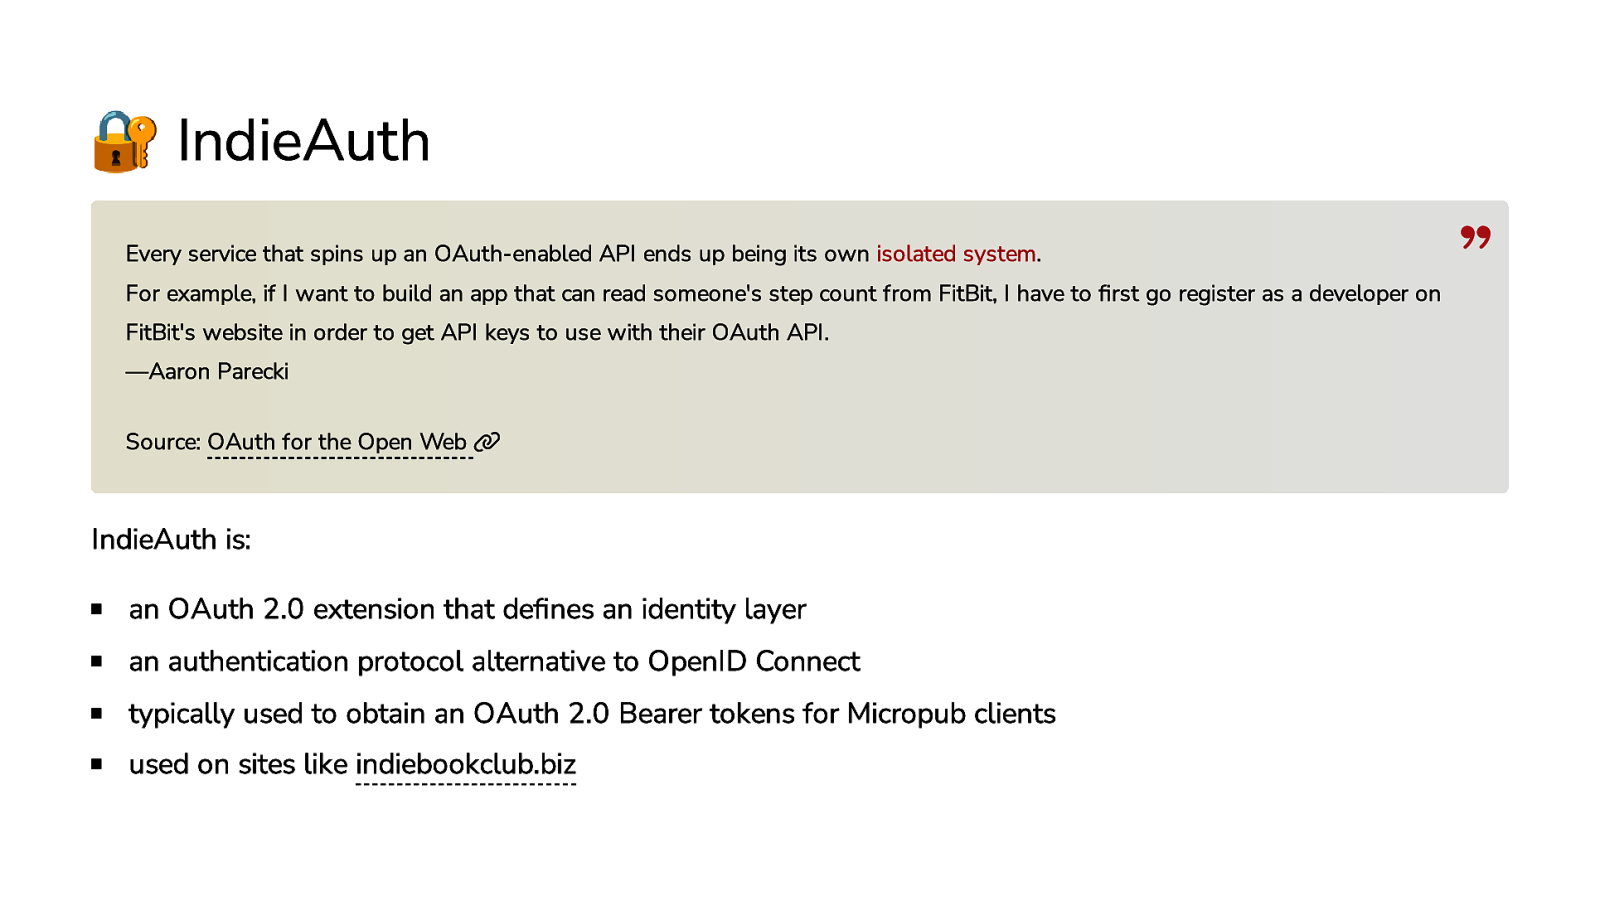
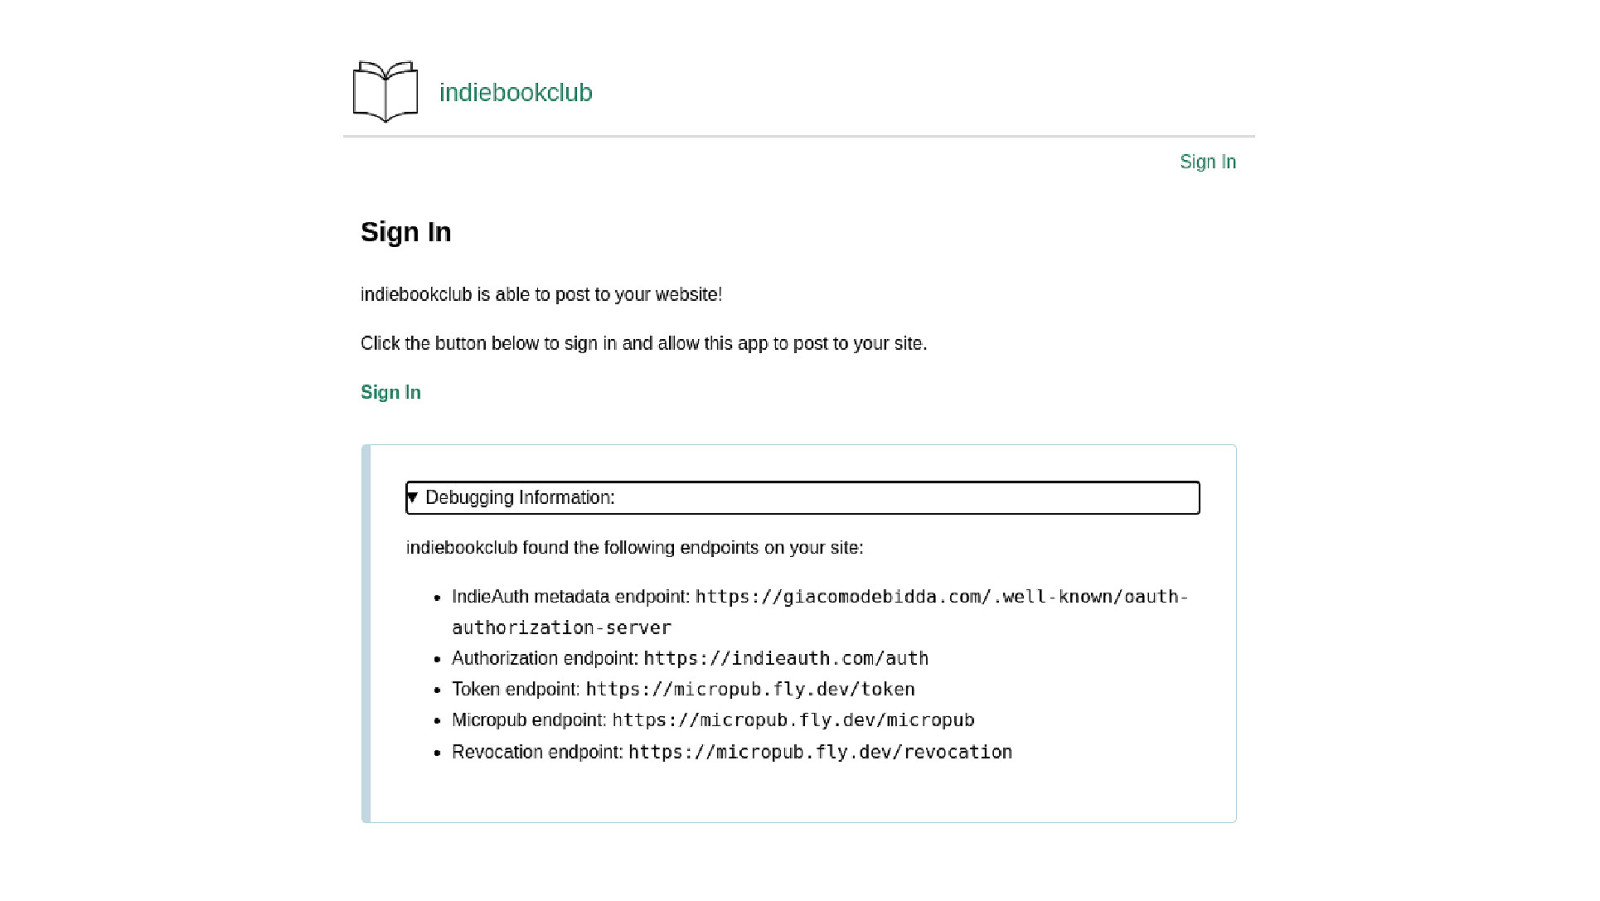
🔐 IndieAuth Every service that spins up an OAuth-enabled API ends up being its own isolated system. For example, if I want to build an app that can read someone’s step count from FitBit, I have to first go register as a developer on FitBit’s website in order to get API keys to use with their OAuth API. —Aaron Parecki Source: OAuth for the Open Web IndieAuth is: an OAuth 2.0 extension that defines an identity layer an authentication protocol alternative to OpenID Connect typically used to obtain an OAuth 2.0 Bearer tokens for Micropub clients used on sites like indiebookclub.biz
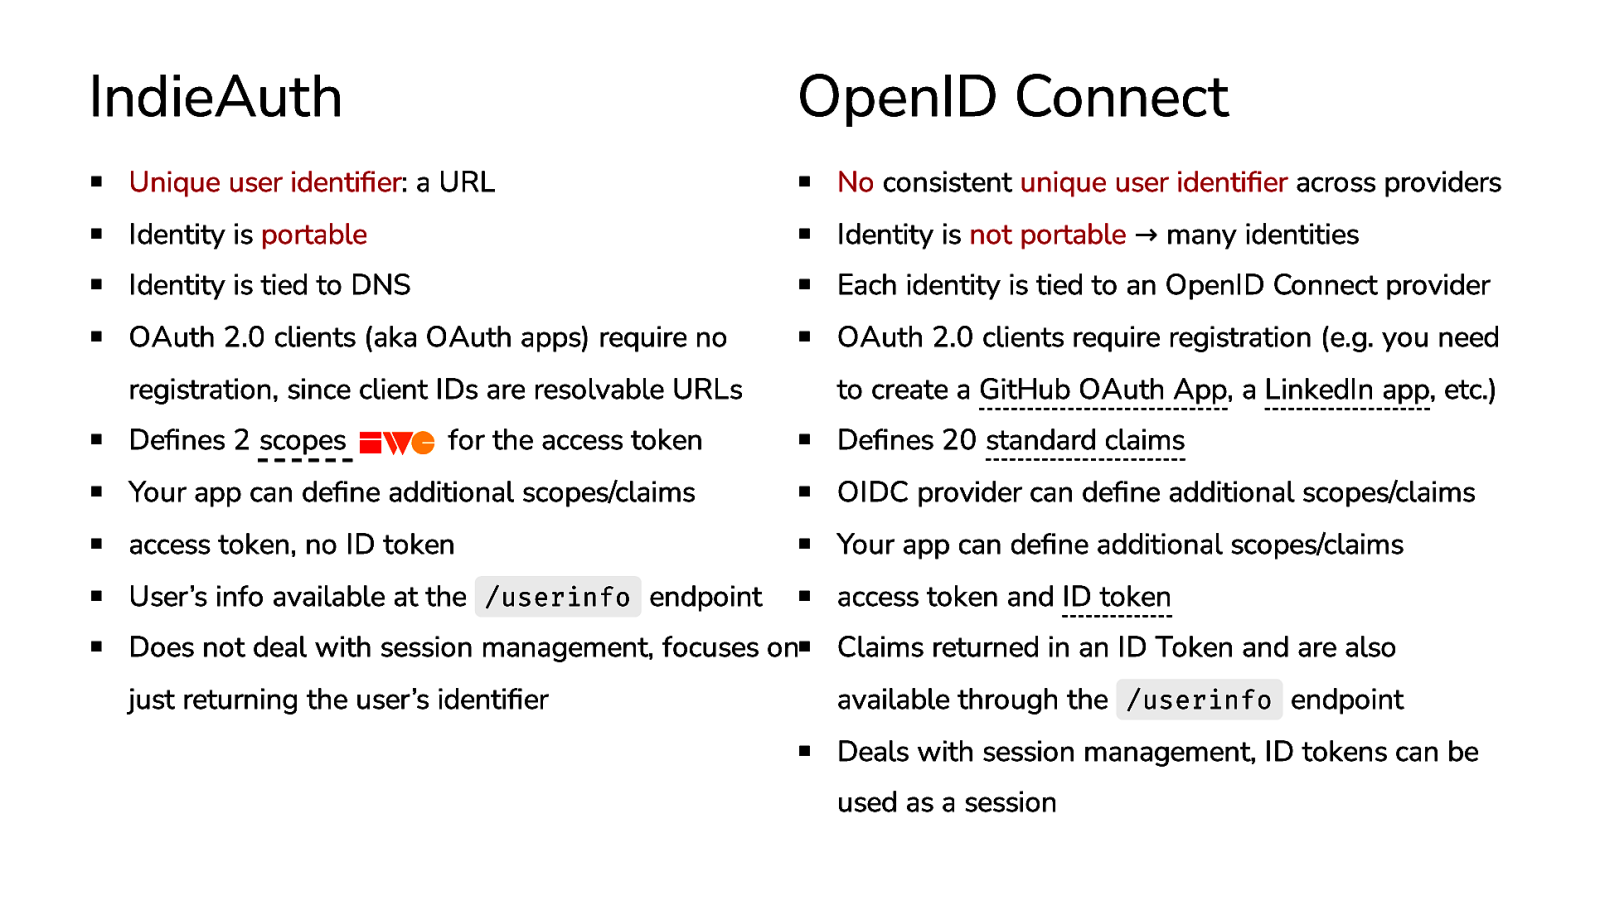
IndieAuth OpenID Connect Unique user identifier: a URL No consistent unique user identifier across providers Identity is portable Identity is not portable → many identities Identity is tied to DNS Each identity is tied to an OpenID Connect provider OAuth 2.0 clients (aka OAuth apps) require no OAuth 2.0 clients require registration (e.g. you need registration, since client IDs are resolvable URLs to create a GitHub OAuth App, a LinkedIn app, etc.) Defines 2 scopes Defines 20 standard claims for the access token Your app can define additional scopes/claims OIDC provider can define additional scopes/claims access token, no ID token Your app can define additional scopes/claims User’s info available at the /userinfo endpoint access token and ID token Does not deal with session management, focuses on Claims returned in an ID Token and are also just returning the user’s identifier available through the /userinfo endpoint Deals with session management, ID tokens can be used as a session
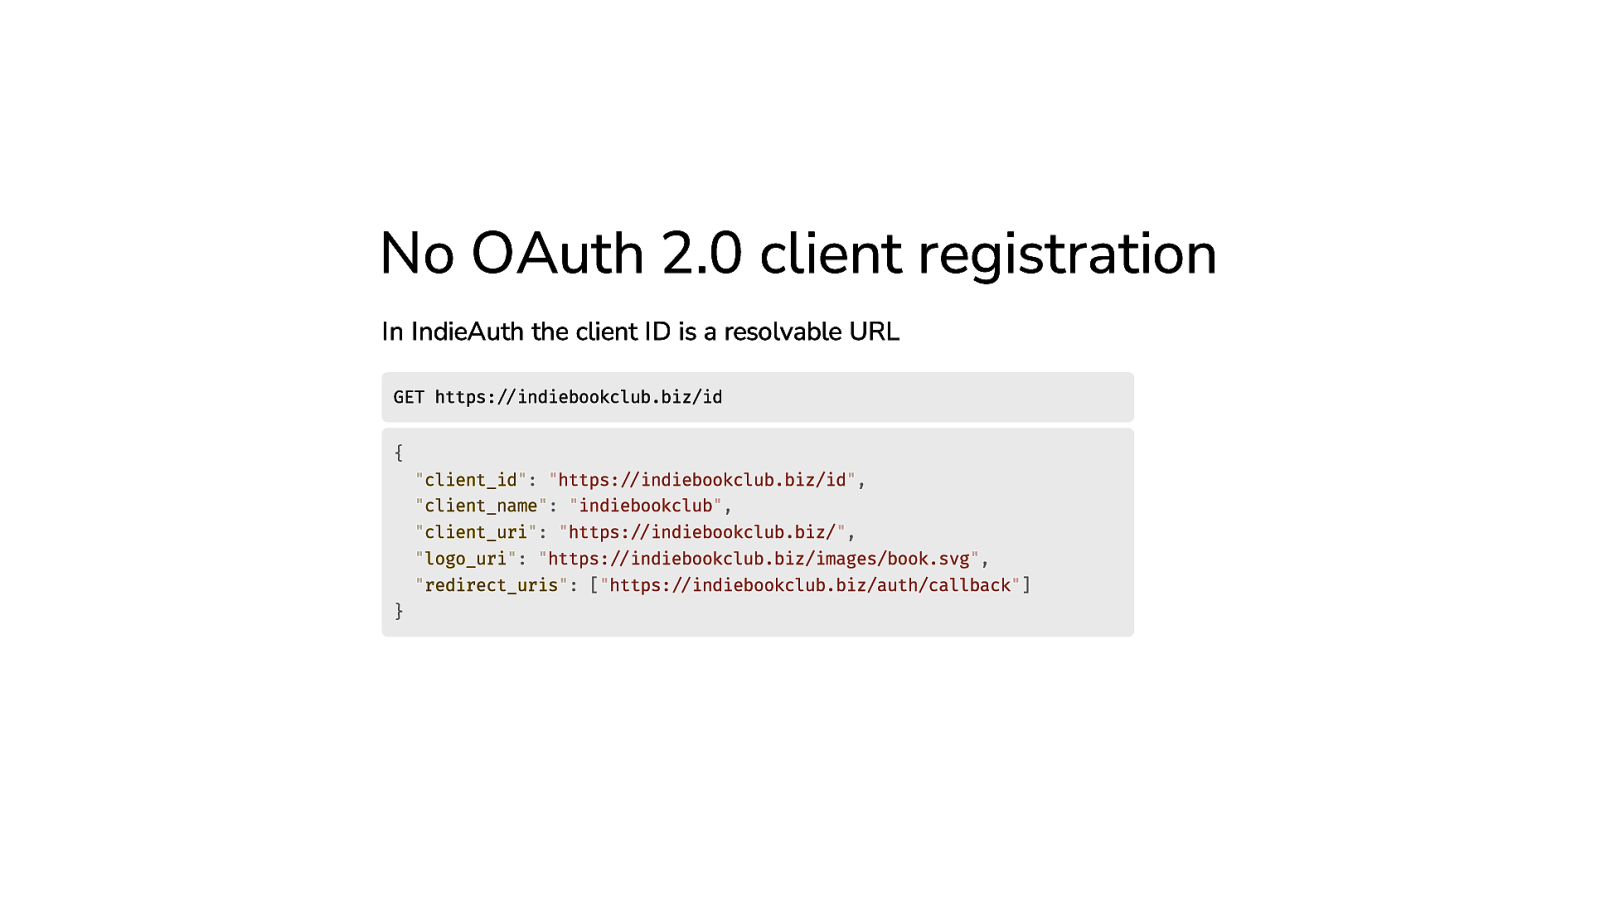
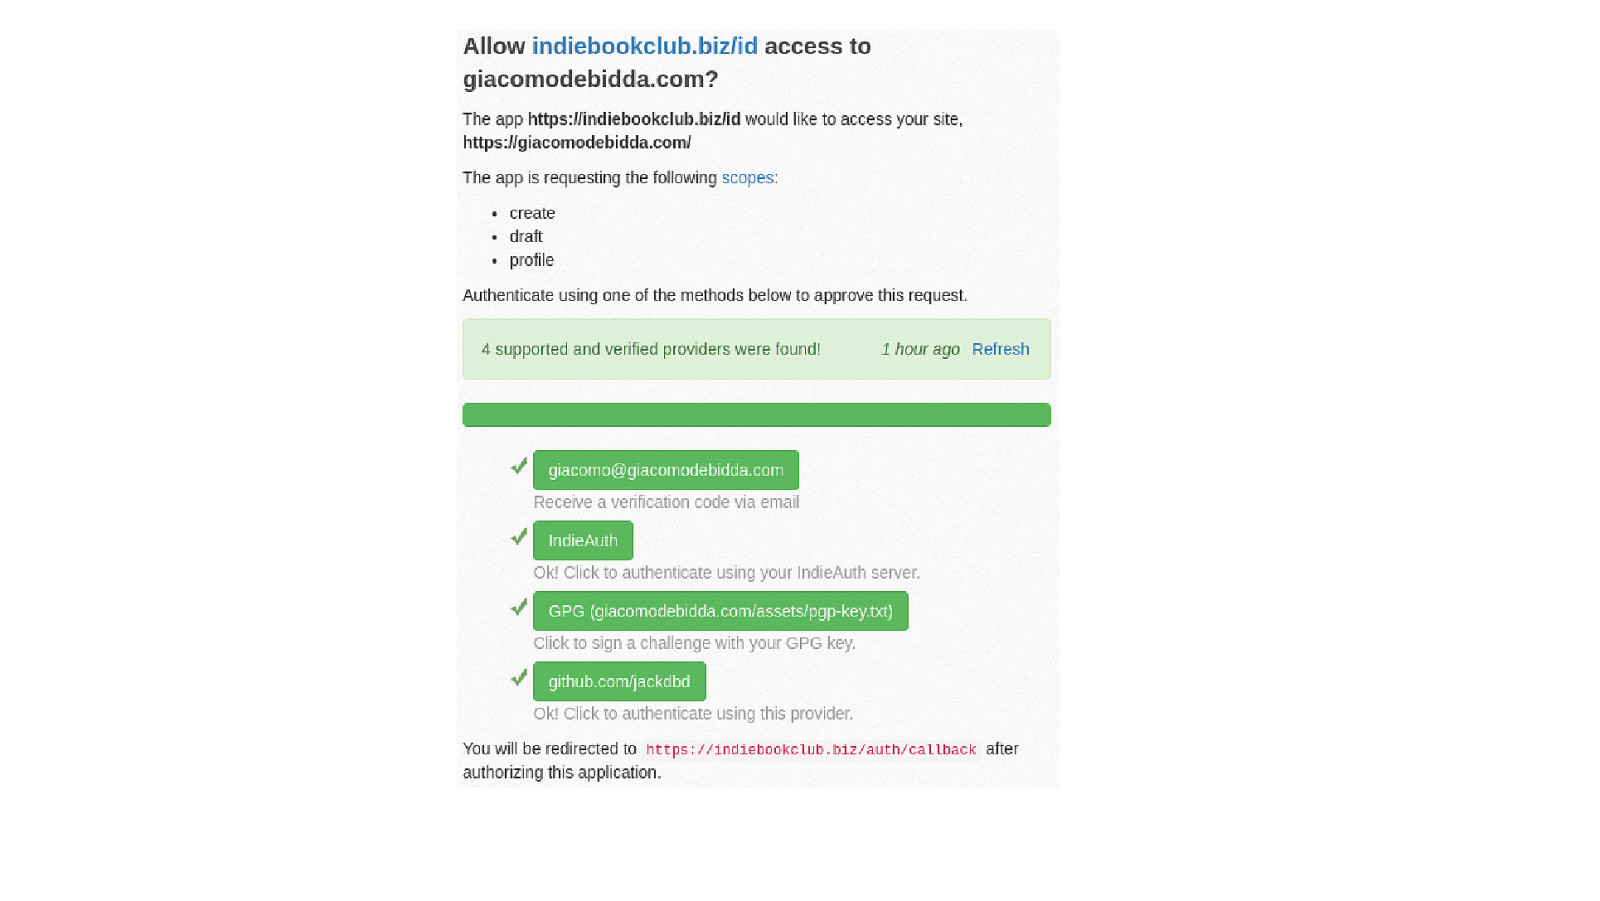
No OAuth 2.0 client registration In IndieAuth the client ID is a resolvable URL GET https://indiebookclub.biz/id { } “client_id”: “https://indiebookclub.biz/id”, “client_name”: “indiebookclub”, “client_uri”: “https://indiebookclub.biz/”, “logo_uri”: “https://indiebookclub.biz/images/book.svg”, “redirect_uris”: [“https://indiebookclub.biz/auth/callback”]
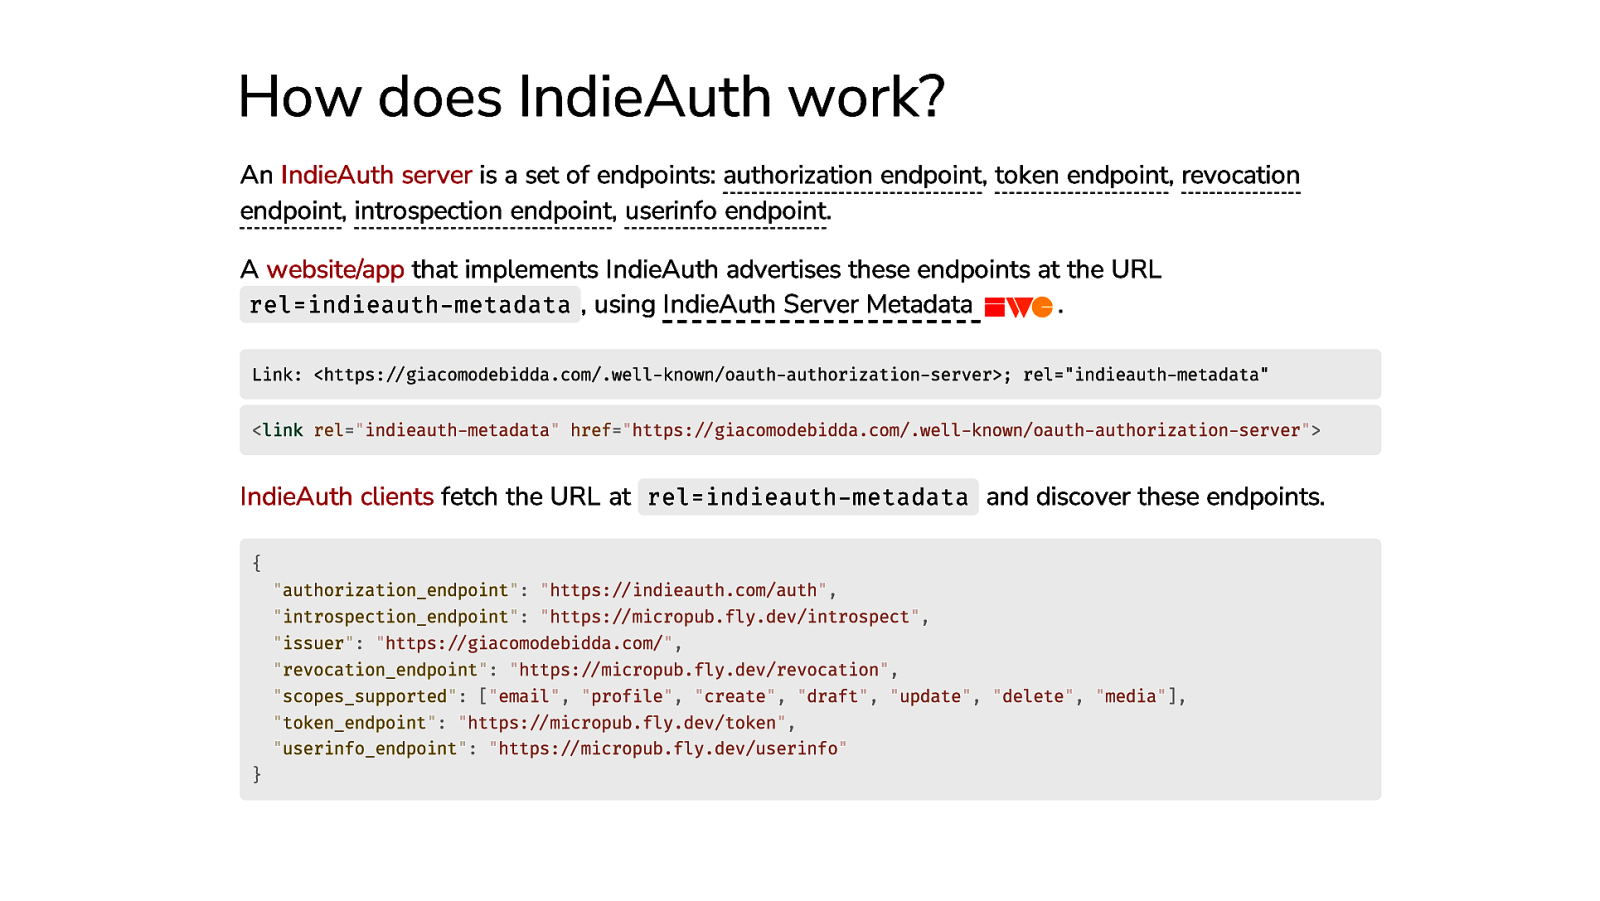
How does IndieAuth work? An IndieAuth server is a set of endpoints: authorization endpoint, token endpoint, revocation endpoint, introspection endpoint, userinfo endpoint. A website/app that implements IndieAuth advertises these endpoints at the URL rel=indieauth-metadata , using IndieAuth Server Metadata . Link: https://giacomodebidda.com/.well-known/oauth-authorization-server; rel=”indieauth-metadata” <link rel=”indieauth-metadata” href=”https://giacomodebidda.com/.well-known/oauth-authorization-server”> IndieAuth clients fetch the URL at rel=indieauth-metadata and discover these endpoints. { } “authorization_endpoint”: “https://indieauth.com/auth”, “introspection_endpoint”: “https://micropub.fly.dev/introspect”, “issuer”: “https://giacomodebidda.com/”, “revocation_endpoint”: “https://micropub.fly.dev/revocation”, “scopes_supported”: [“email”, “profile”, “create”, “draft”, “update”, “delete”, “media”], “token_endpoint”: “https://micropub.fly.dev/token”, “userinfo_endpoint”: “https://micropub.fly.dev/userinfo”
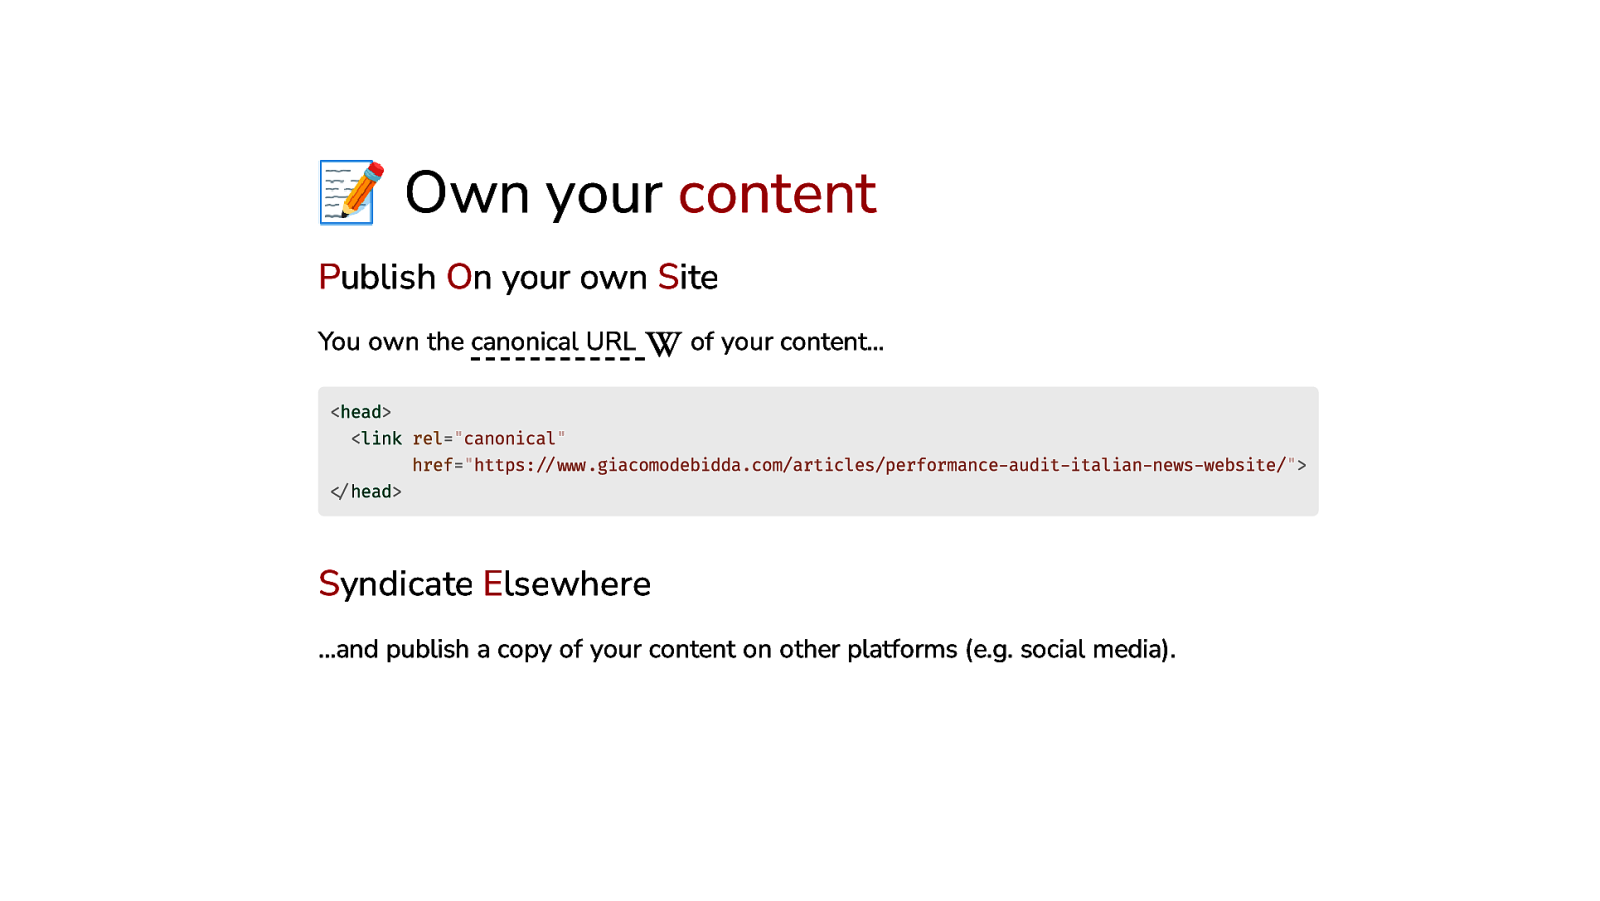
📝 Own your content Publish On your own Site You own the canonical URL of your content…
<head> <link rel=”canonical” href=”https://www.giacomodebidda.com/articles/performance-audit-italian-news-website/”> </head> Syndicate Elsewhere …and publish a copy of your content on other platforms (e.g. social media).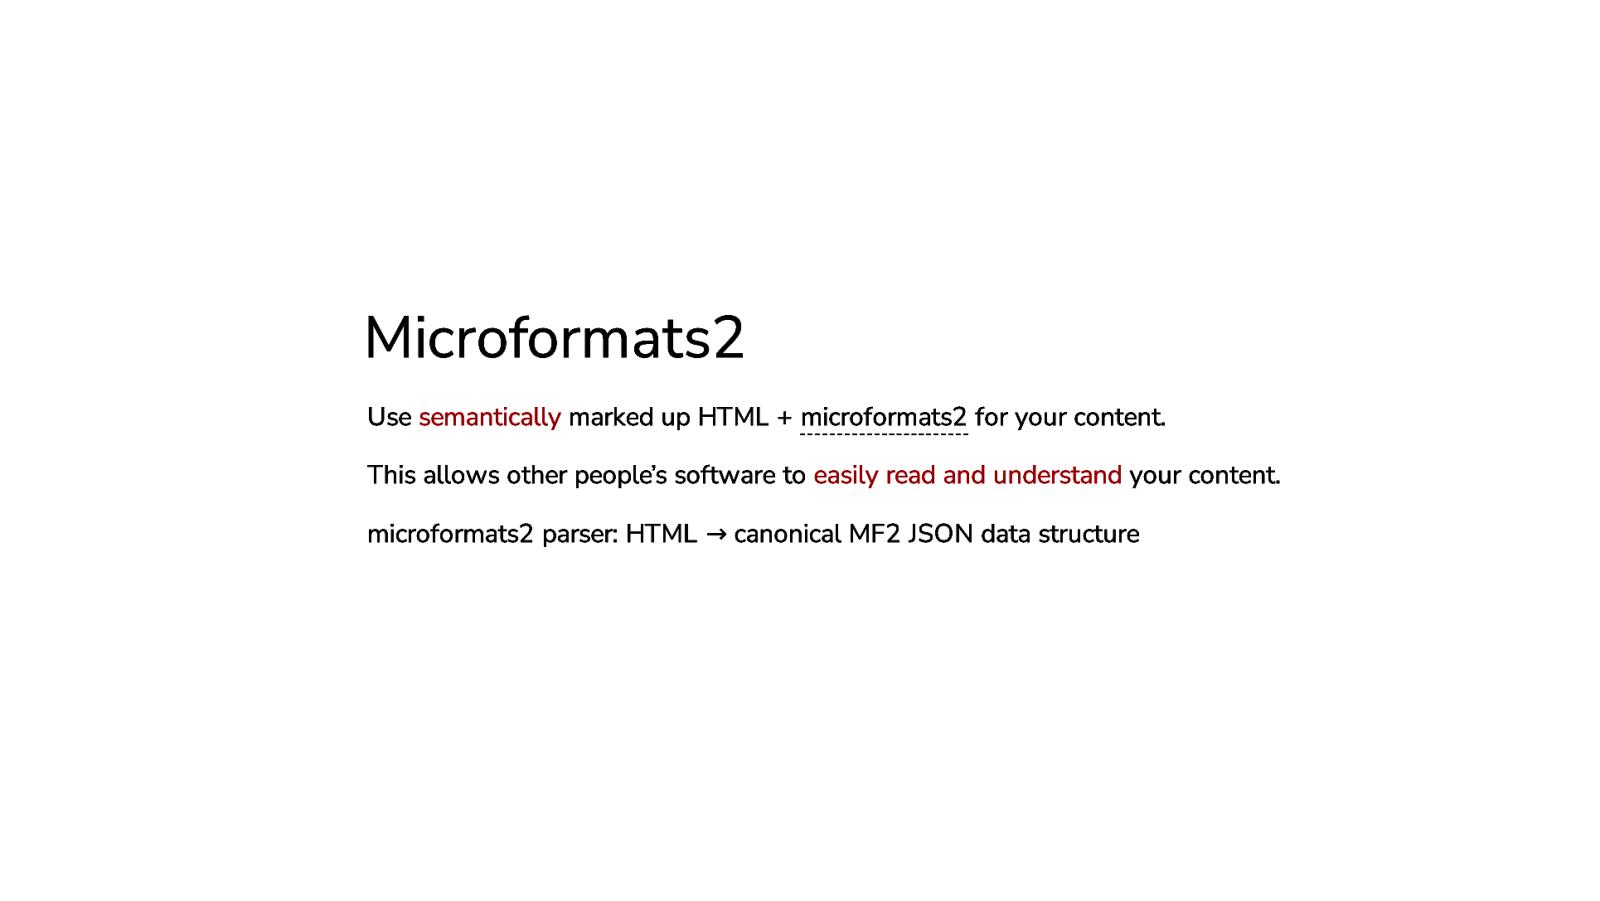
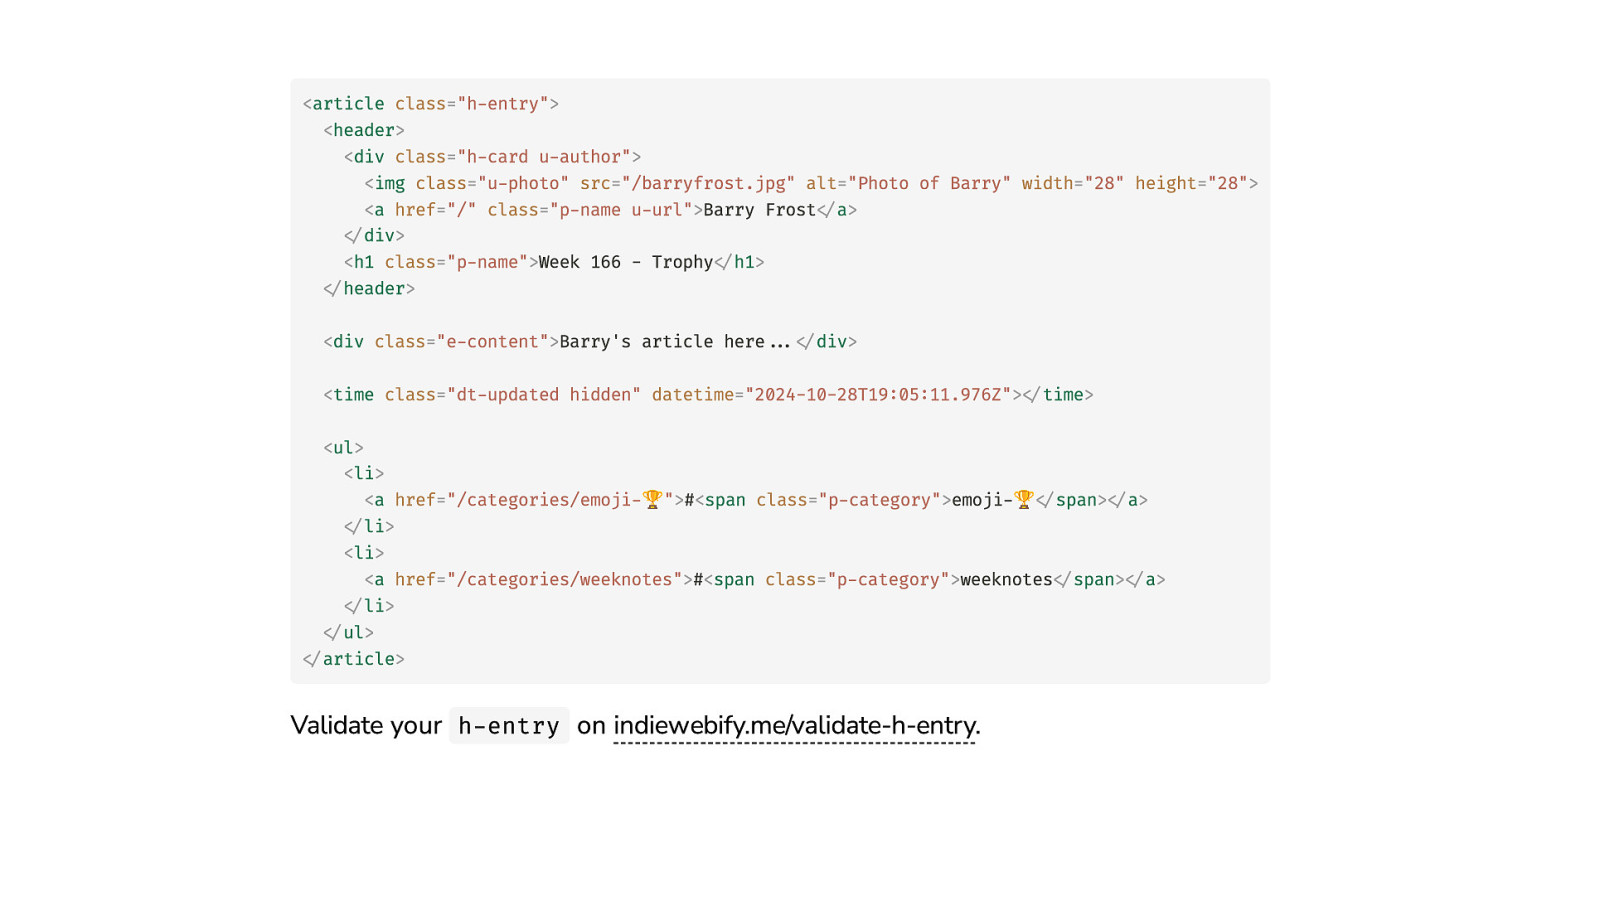
Microformats2 Use semantically marked up HTML + microformats2 for your content. This allows other people’s software to easily read and understand your content. microformats2 parser: HTML → canonical MF2 JSON data structure
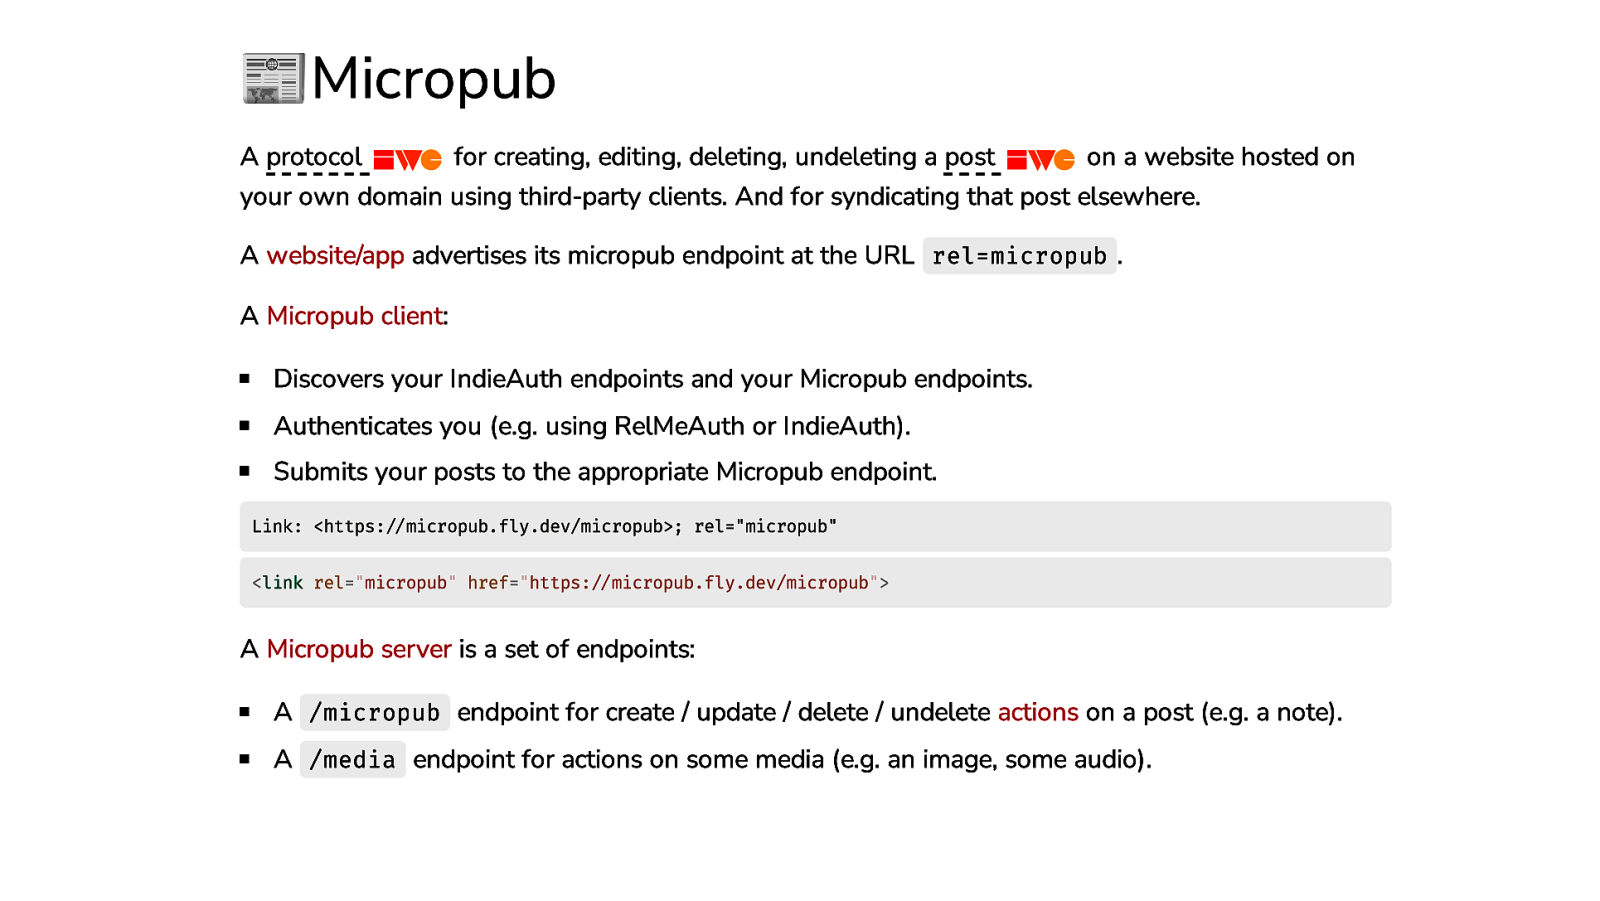
📰Micropub A protocol for creating, editing, deleting, undeleting a post on a website hosted on your own domain using third-party clients. And for syndicating that post elsewhere. A website/app advertises its micropub endpoint at the URL rel=micropub . A Micropub client: Discovers your IndieAuth endpoints and your Micropub endpoints. Authenticates you (e.g. using RelMeAuth or IndieAuth). Submits your posts to the appropriate Micropub endpoint. Link: https://micropub.fly.dev/micropub; rel=”micropub” <link rel=”micropub” href=”https://micropub.fly.dev/micropub”> A Micropub server is a set of endpoints: A /micropub endpoint for create / update / delete / undelete actions on a post (e.g. a note). A /media endpoint for actions on some media (e.g. an image, some audio).
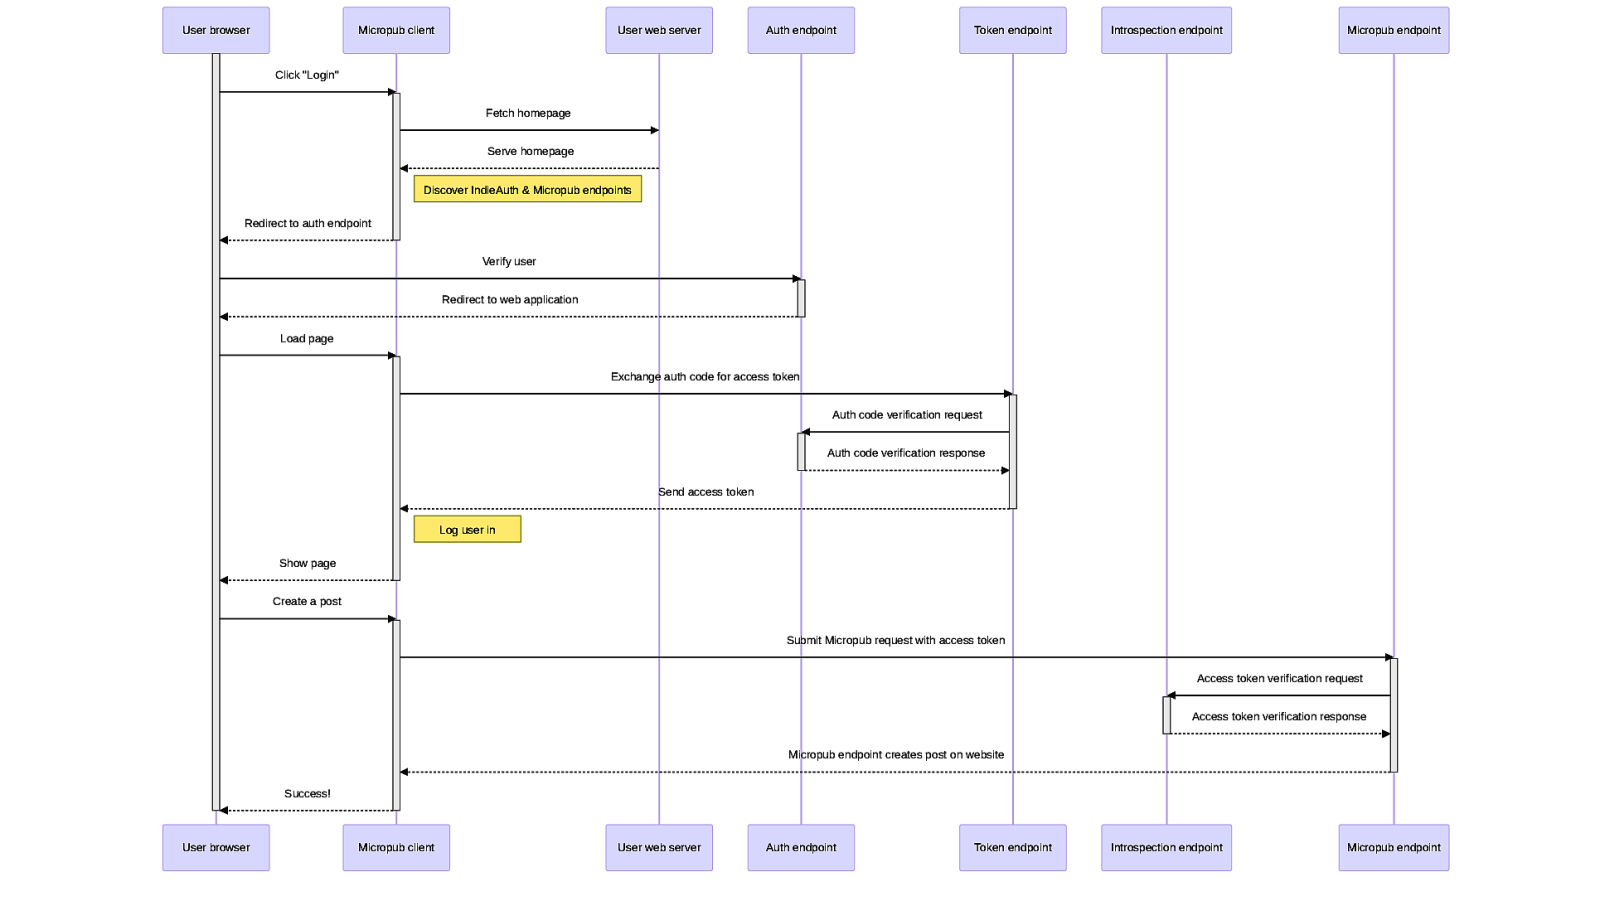
User browser Micropub client User web server Auth endpoint Token endpoint Introspection endpoint Micropub endpoint Click “Login” Fetch homepage Serve homepage Discover IndieAuth & Micropub endpoints Redirect to auth endpoint Verify user Redirect to web application Load page Exchange auth code for access token Auth code verification request Auth code verification response Send access token Log user in Show page Create a post Submit Micropub request with access token Access token verification request Access token verification response Micropub endpoint creates post on website Success! User browser Micropub client User web server Auth endpoint Token endpoint Introspection endpoint Micropub endpoint
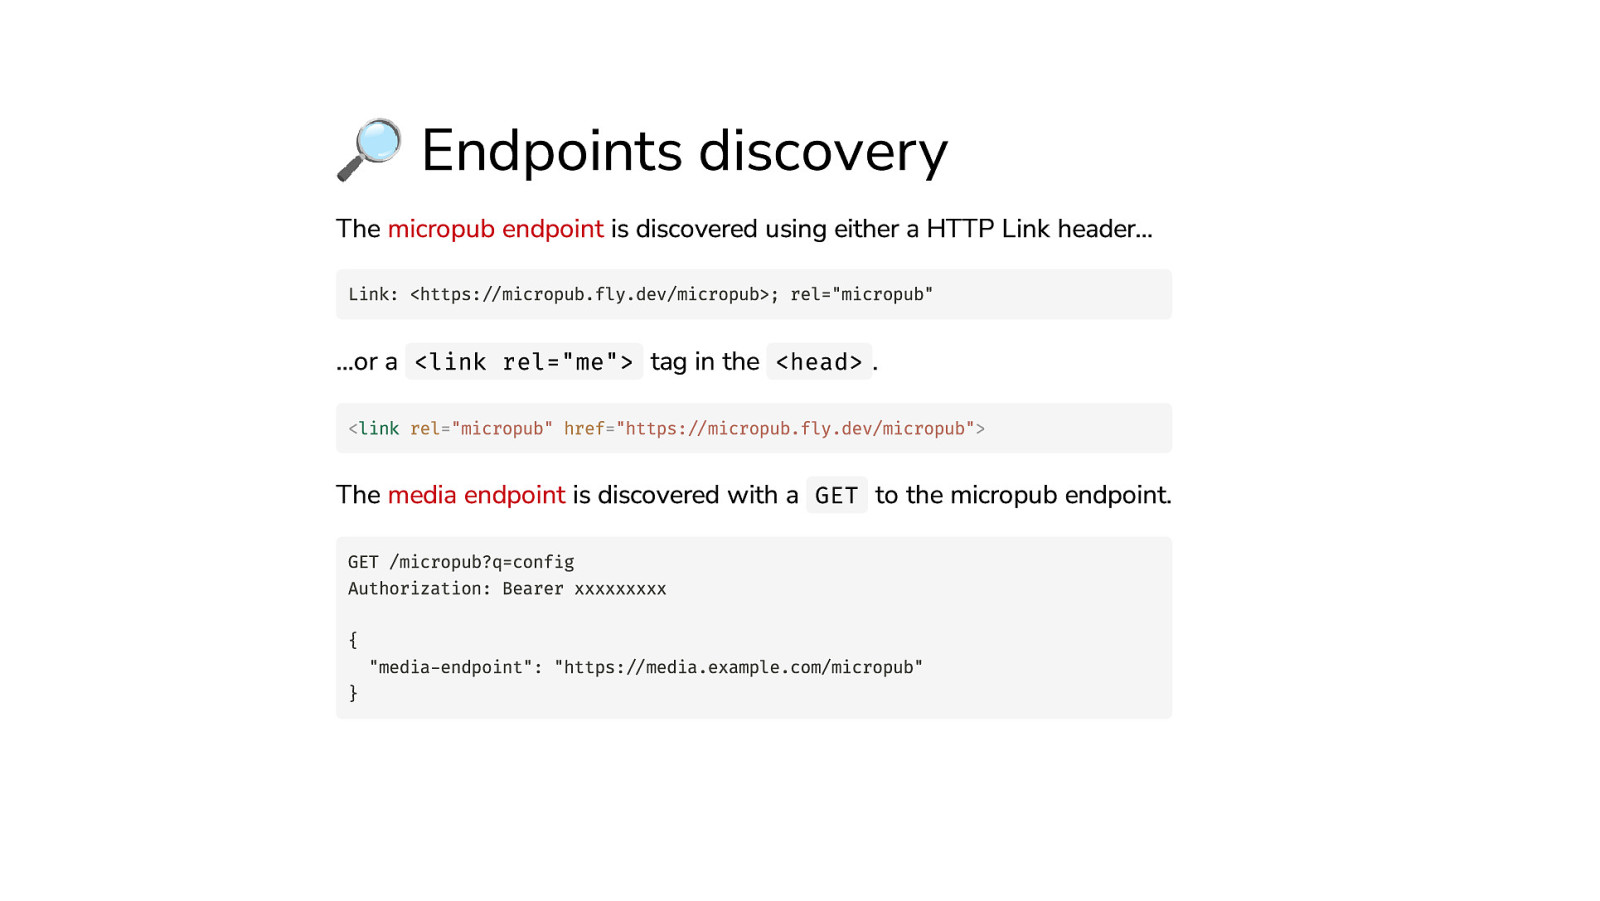
🔎 Endpoints discovery The micropub endpoint is discovered using either a HTTP Link header… Link: https://micropub.fly.dev/micropub; rel=”micropub” …or a <link rel=”me”> tag in the <head> . <link rel=”micropub” href=”https://micropub.fly.dev/micropub”> The media endpoint is discovered with a GET to the micropub endpoint. GET /micropub?q=config Authorization: Bearer xxxxxxxxx { } “media-endpoint”: “https://media.example.com/micropub”
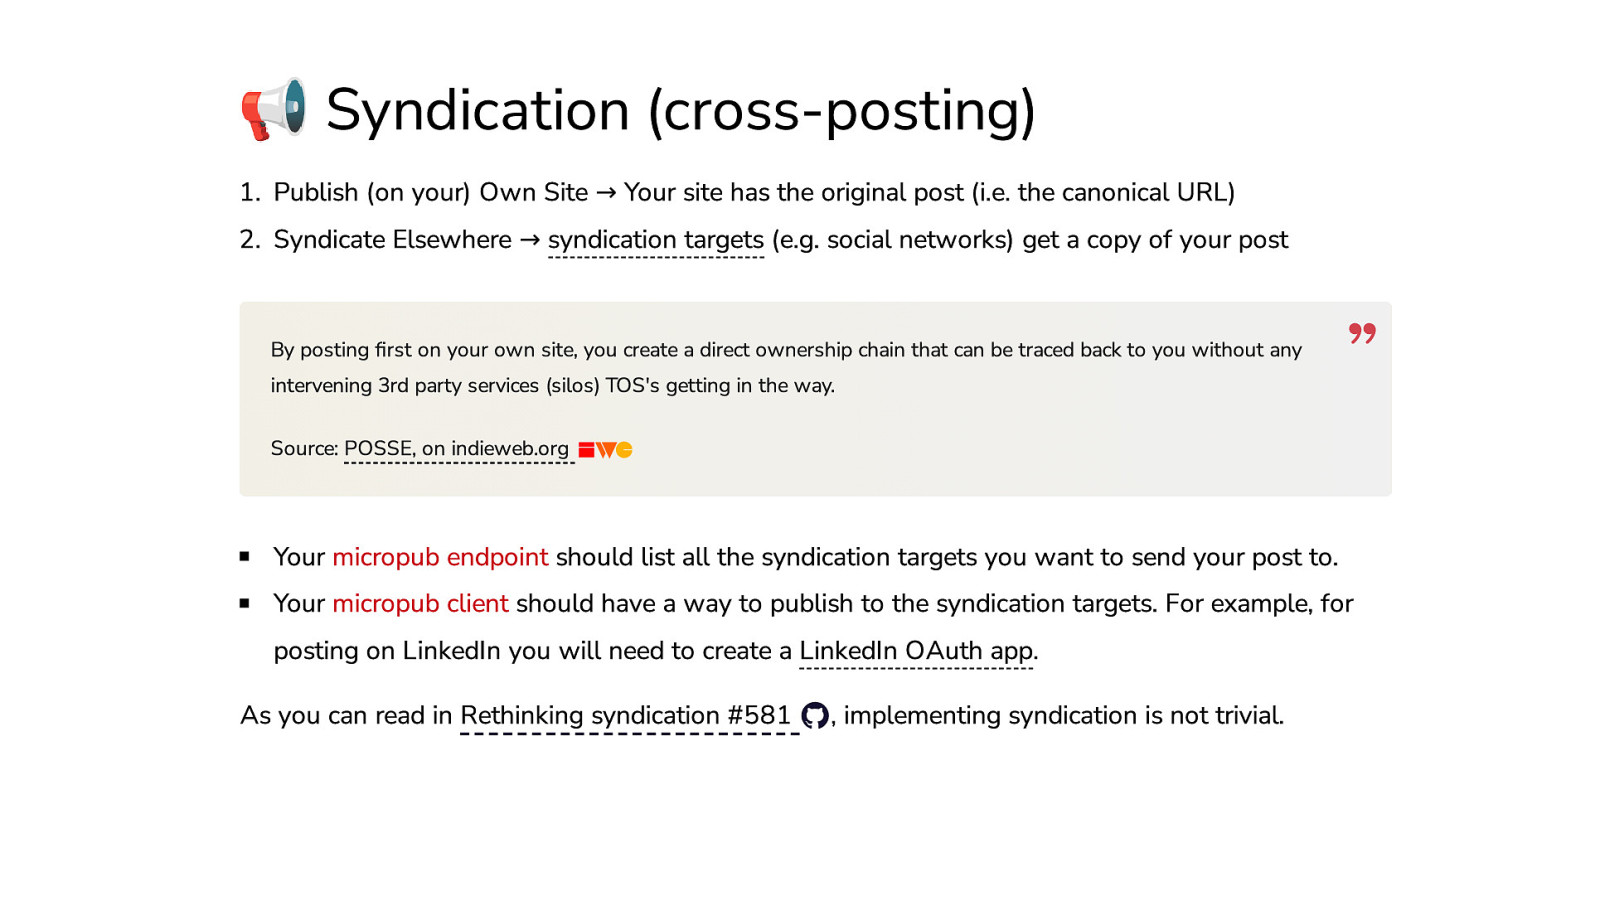
📢 Syndication (cross-posting)
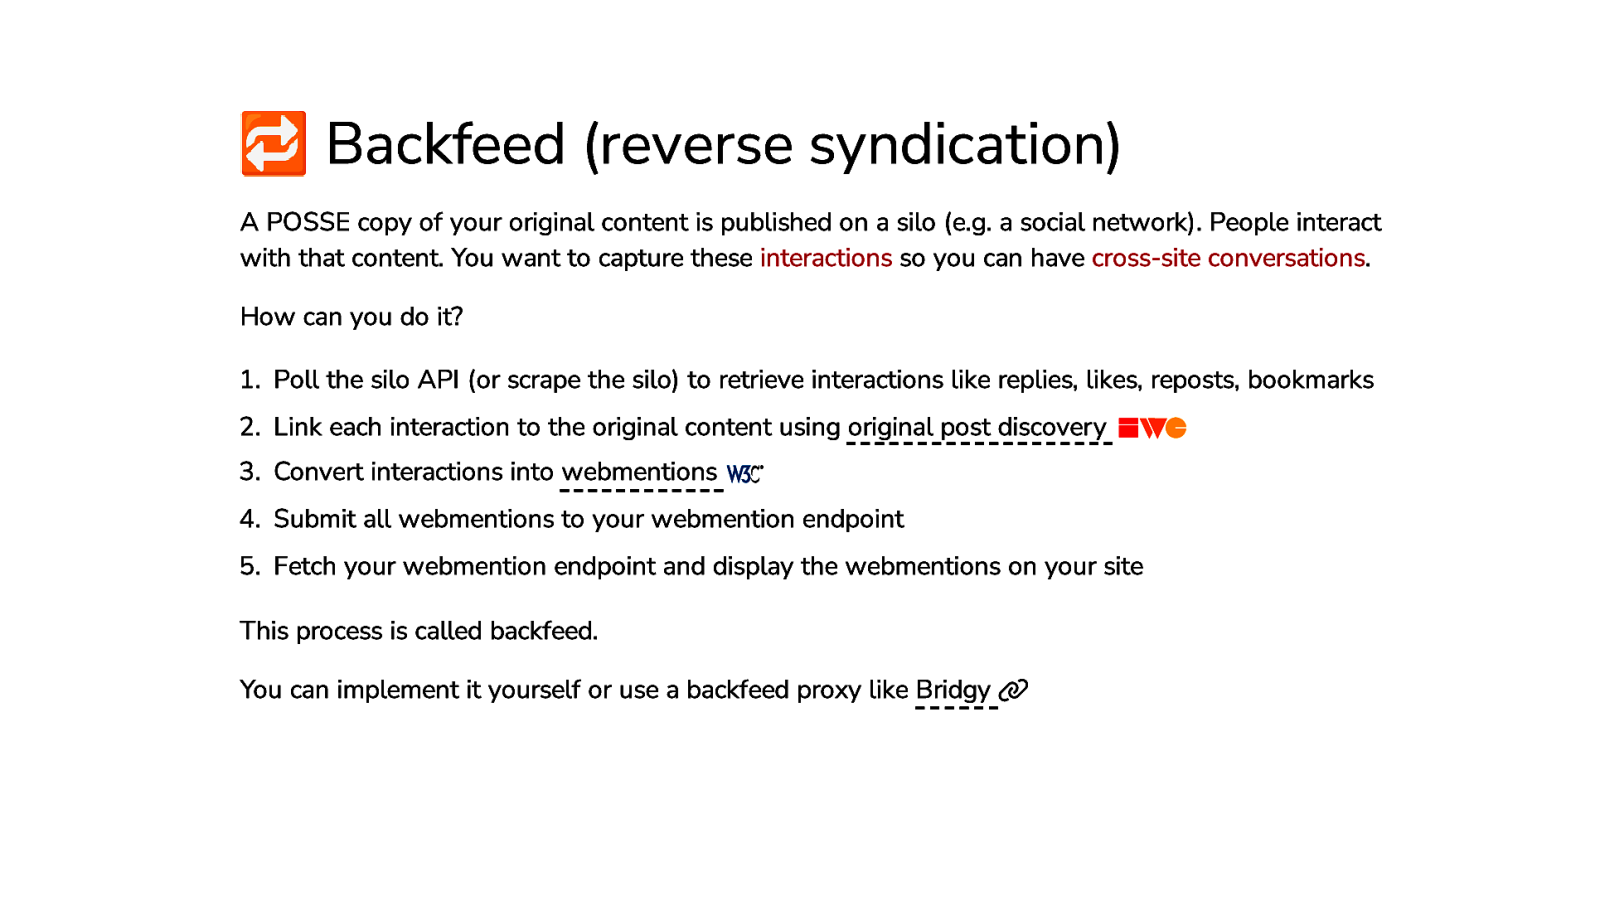
🔁 Backfeed (reverse syndication) A POSSE copy of your original content is published on a silo (e.g. a social network). People interact with that content. You want to capture these interactions so you can have cross-site conversations. How can you do it?
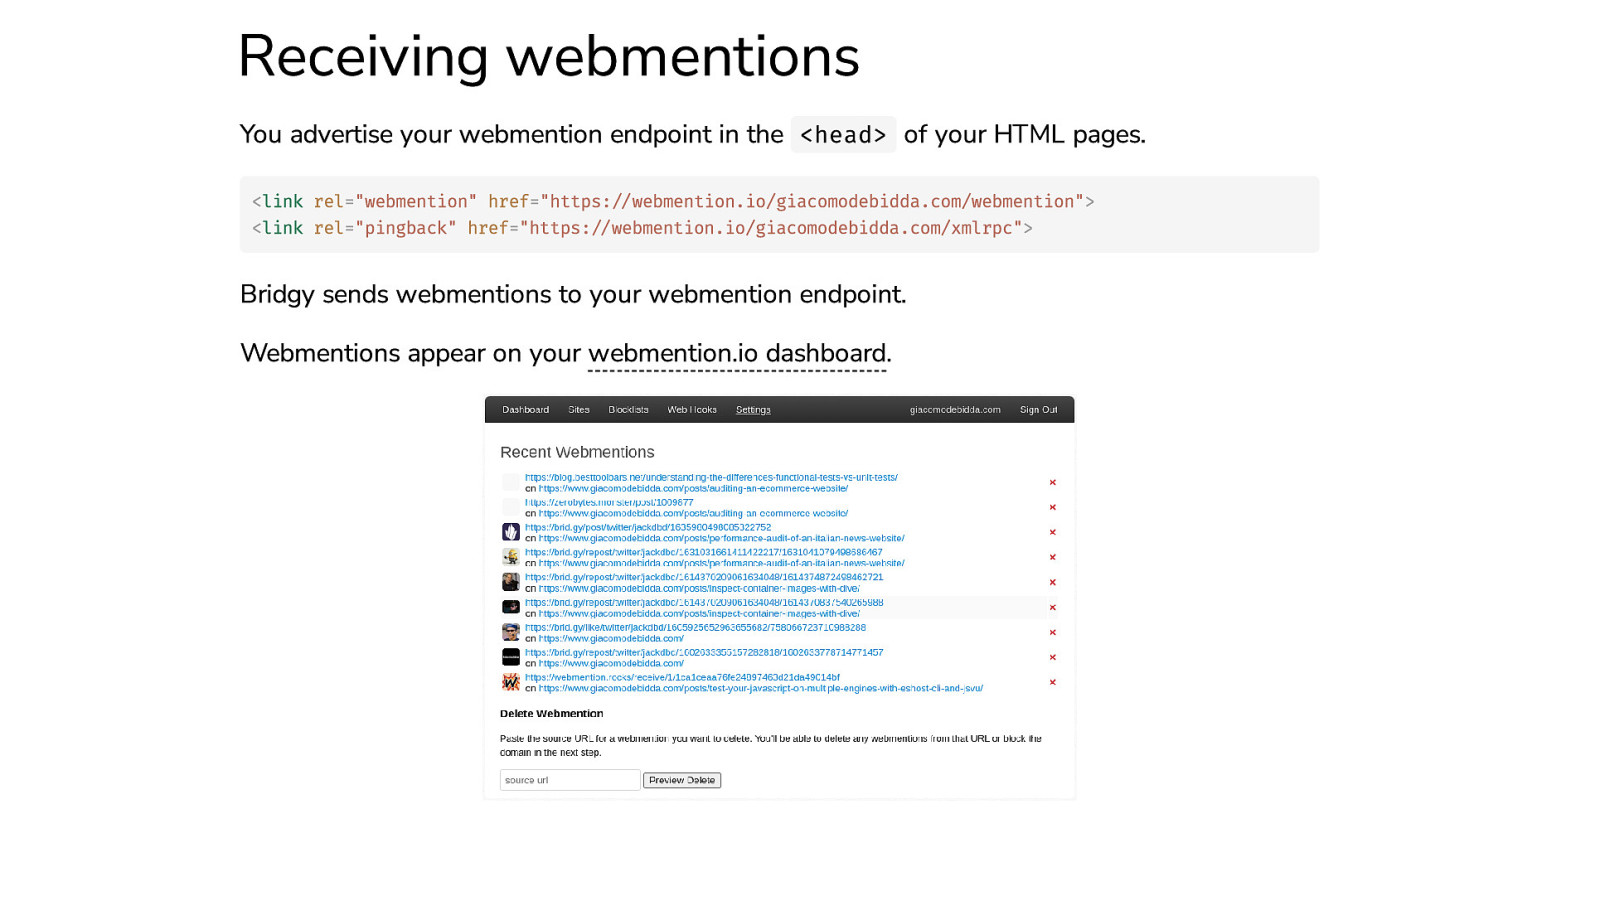
Receiving webmentions You advertise your webmention endpoint in the <head> of your HTML pages. <link rel=”webmention” href=”https://webmention.io/giacomodebidda.com/webmention”> <link rel=”pingback” href=”https://webmention.io/giacomodebidda.com/xmlrpc”> Bridgy sends webmentions to your webmention endpoint. Webmentions appear on your webmention.io dashboard.
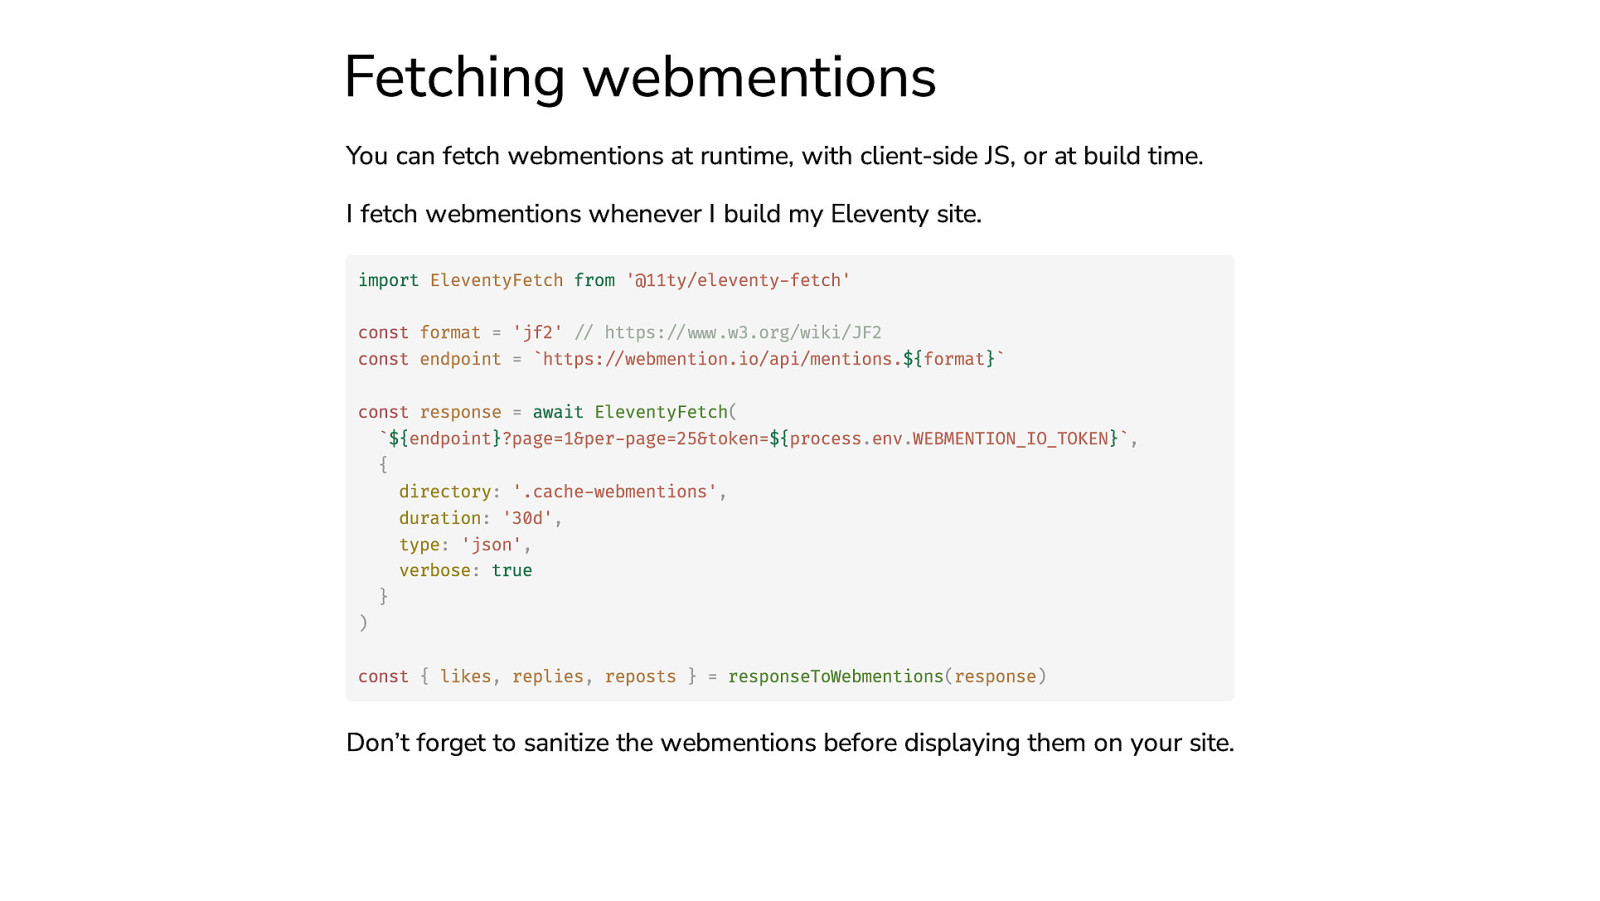
Fetching webmentions You can fetch webmentions at runtime, with client-side JS, or at build time. I fetch webmentions whenever I build my Eleventy site. import EleventyFetch from ‘@11ty/eleventy-fetch’ const format = ‘jf2’ // https://www.w3.org/wiki/JF2 const endpoint = https://webmention.io/api/mentions.${format} const response = await EleventyFetch( ${endpoint}?page=1&per-page=25&token=${process.env.WEBMENTION_IO_TOKEN}, { directory: ‘.cache-webmentions’, duration: ‘30d’, type: ‘json’, verbose: true } ) const { likes, replies, reposts } = responseToWebmentions(response)
Don’t forget to sanitize the webmentions before displaying them on your site.
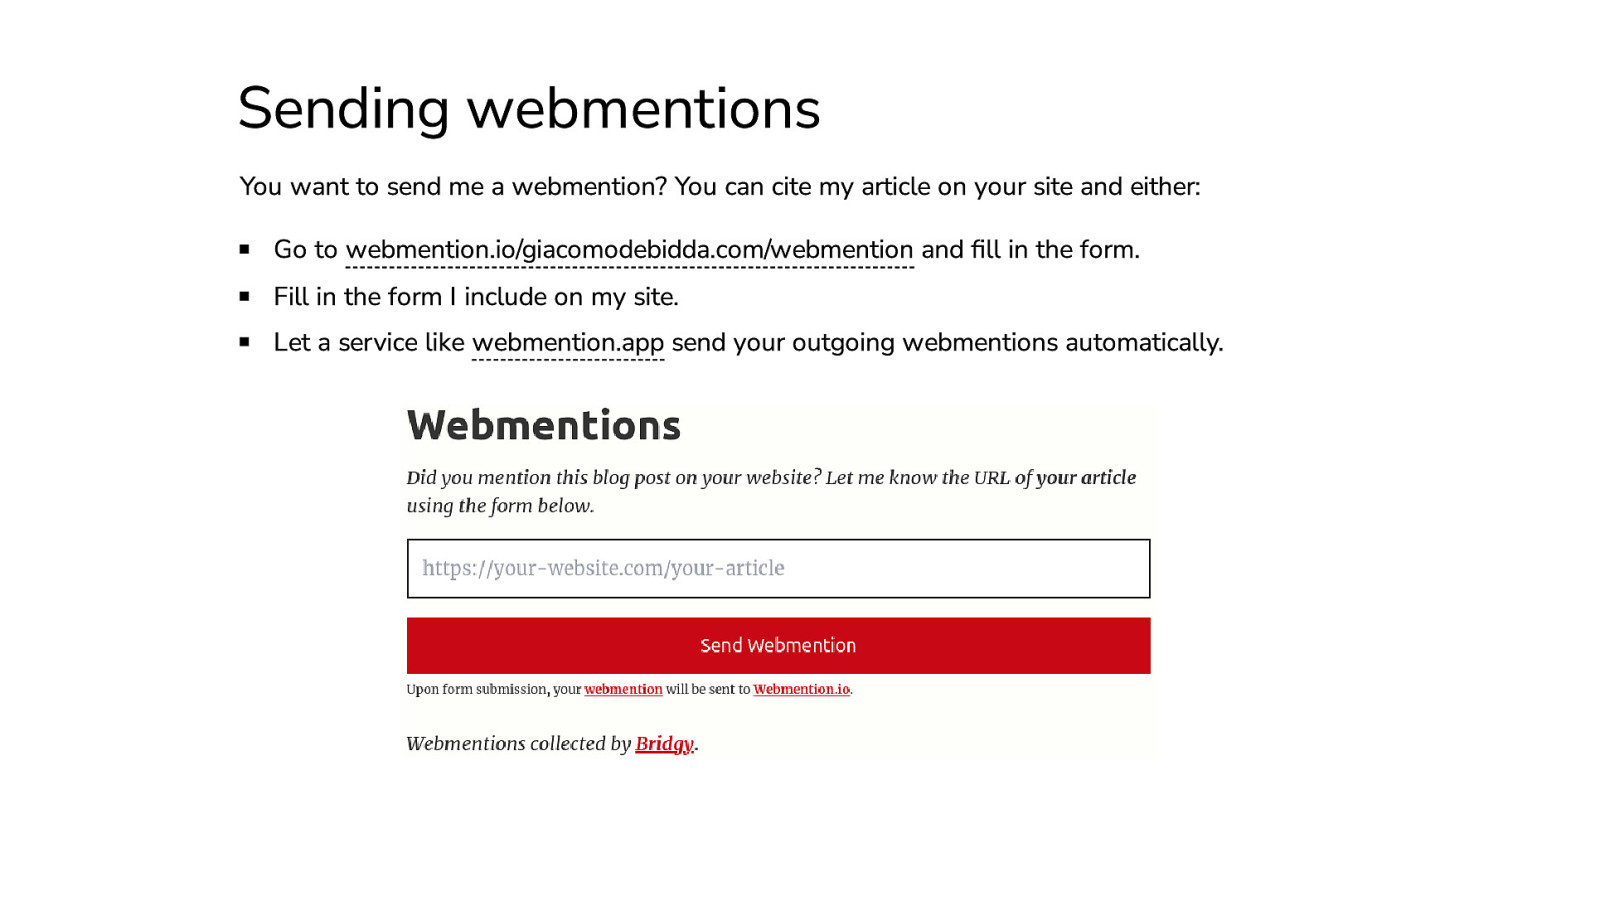
Sending webmentions You want to send me a webmention? You can cite my article on your site and either: Go to webmention.io/giacomodebidda.com/webmention and fill in the form. Fill in the form I include on my site. Let a service like webmention.app send your outgoing webmentions automatically.
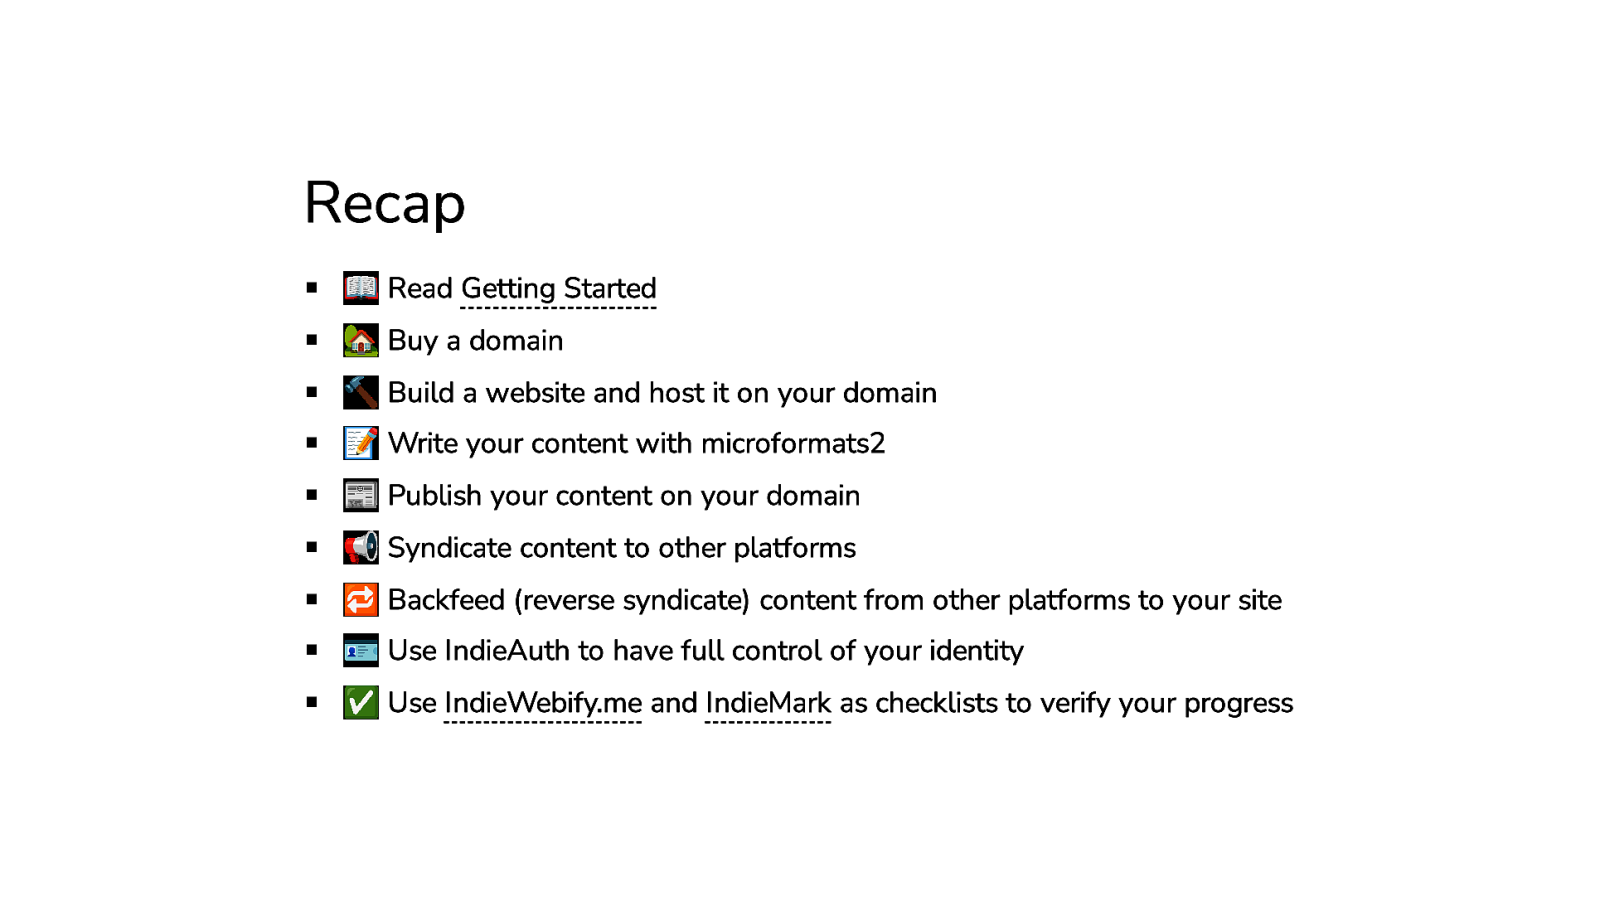
Recap 📖 Read Getting Started 🏡 Buy a domain 🔨 Build a website and host it on your domain 📝 Write your content with microformats2 📰 Publish your content on your domain 📢 Syndicate content to other platforms 🔁 Backfeed (reverse syndicate) content from other platforms to your site 🪪 Use IndieAuth to have full control of your identity ✅ Use IndieWebify.me and IndieMark as checklists to verify your progress
The end jackdbd/sfscon-2024-indieweb Open an issue if you have tips / questions / feedback Thanks!