Snakes on a Car Or, Overengineering a Toy @jfrog
Hey, y’all! Thanks for having me, and welcome to Snakes on a Car: Or, Overengineering a Toy. | Copyright © 2019 JFrog. All Rights Reserved

A presentation at San Diego Python Users Group in April 2020 in by Kat Cosgrove

Hey, y’all! Thanks for having me, and welcome to Snakes on a Car: Or, Overengineering a Toy. | Copyright © 2019 JFrog. All Rights Reserved
| Copyright © 2019 JFrog. All Rights Reserved First, a little bit about myself: My name is Kat Cosgrove, and I’m a Developer Advocate at JFrog. Before that, I was an engineer on the IoT team here, and once upon a time we built a really flashy, complicated demo proving that updating the software on your car doesn’t have to be as time-consuming, and inconvenient as it currently is. I have a whole technical talk on that demo, and it’s popular, but there isn’t room in that talk for my favorite thing about the work I did: building a miniature self-driving car. Anyway, before I get into the talk, if you want to get a hold of me later I’m on Twitter @Dixie3Flatline. Nobody ever gets what that username is a reference to and I’m starting to get insecure about it, so if you know what it is, shoot me a DM there and I’ll send you a JFrog t-shirt. All of my slides and links to relevant resources will be up at that bit.ly link, plus a raffle for a Switch Light.
| Copyright © 2019 JFrog. All Rights Reserved For JFrog’s user conference last summer, we built a proof of concept demonstrating fast, reliable, over-the-air updates for edge devices. We went with a car as our example because it’s flashy, and it’s not something a lot of us think of as an IoT or edge device, even though it totally is. Since JFrog wouldn’t buy us a real car to potentially brick, we had to build our own, inspired by a hackathon I’d run a few months earlier. I’ll spare you the details since this isn’t the talk for it, but we took updates on the car from something that could take hours and required flashing the device (like Jaguar required when they had to issue a recall for the F-Pace to fix a software problem with the braking system) to around 35 seconds for an application update, and 5 to 10 minutes for a full firmware update, both without interrupting the driver at all. It relied on Helm, k3s, Mender, Yocto, and Artifactory. From a technical perspective, it was really cool.
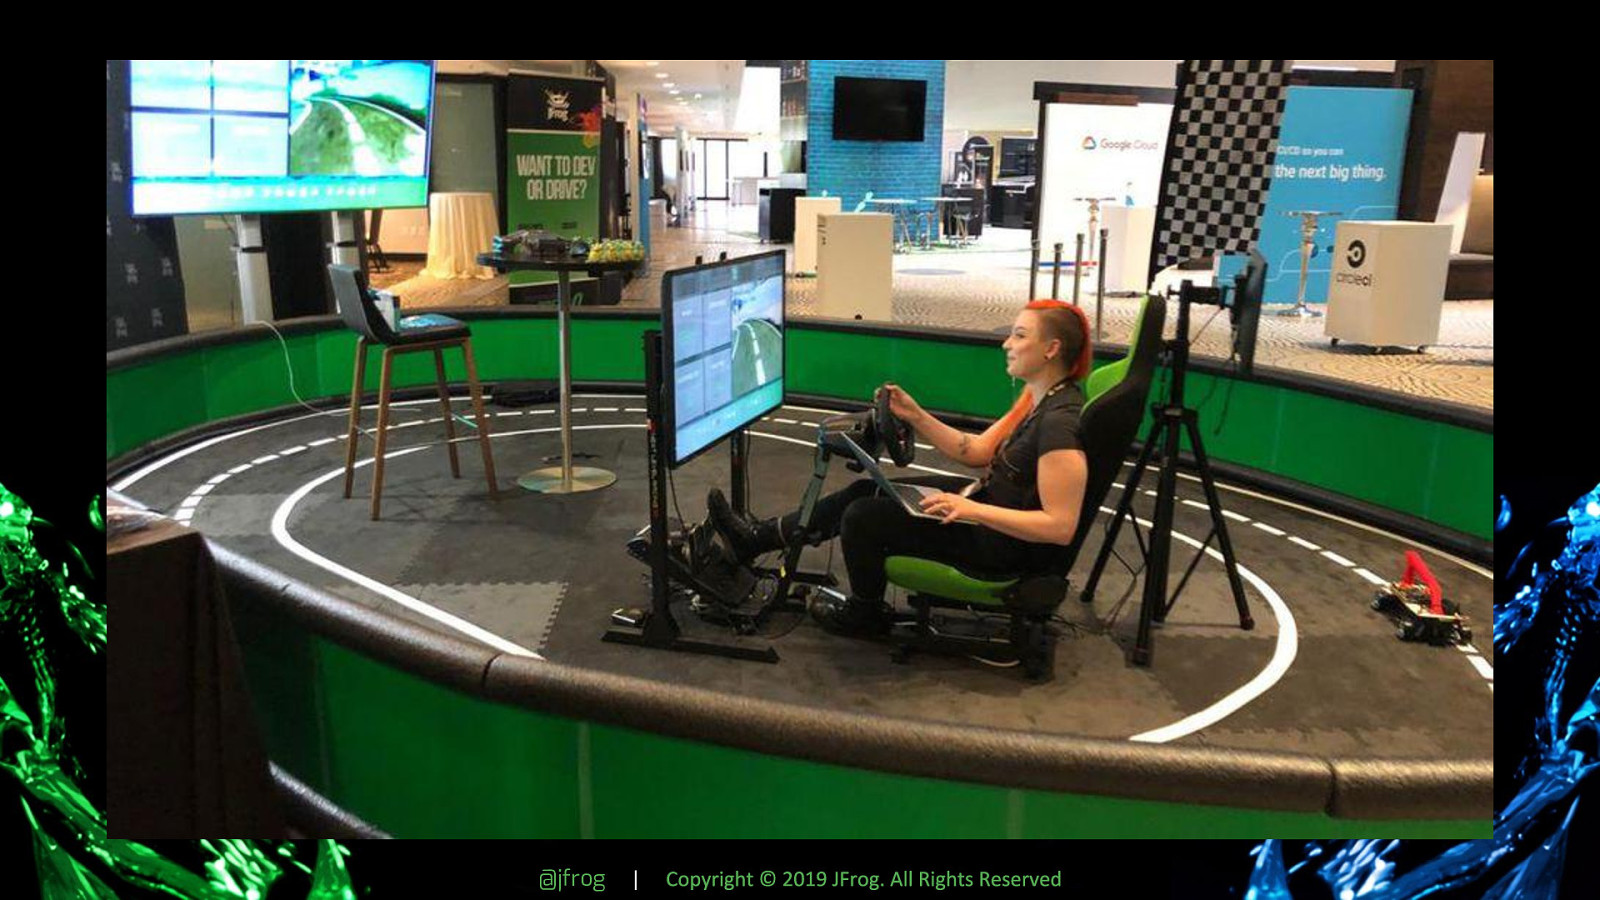
| Copyright © 2019 JFrog. All Rights Reserved However, it also LOOKED really dope. We had a racing simulator setup in the middle of a large track, complete with pedals, wheel, screen, racing chair, and a green screen around the perimeter of the track. That’s me making sure everything is set up before the conference opened. We allowed people to interact with it in one of two ways: as a developer, writing and pushing updates for the “car,” (yes, we let real randos off the conference center floor write code), or driving the car while someone else updated it. While this part of the demo wasn’t as revolutionary from a technical standpoint, it was really fun to build, still fairly complicated, and building something similar is a great way to dip your toe into hardware and several other technologies. This part of the demo was largely my baby, and here’s how I did it.
A basic, self-driving miniature car @jfrog | Copyright © 2019 JFrog. All Rights Reserved
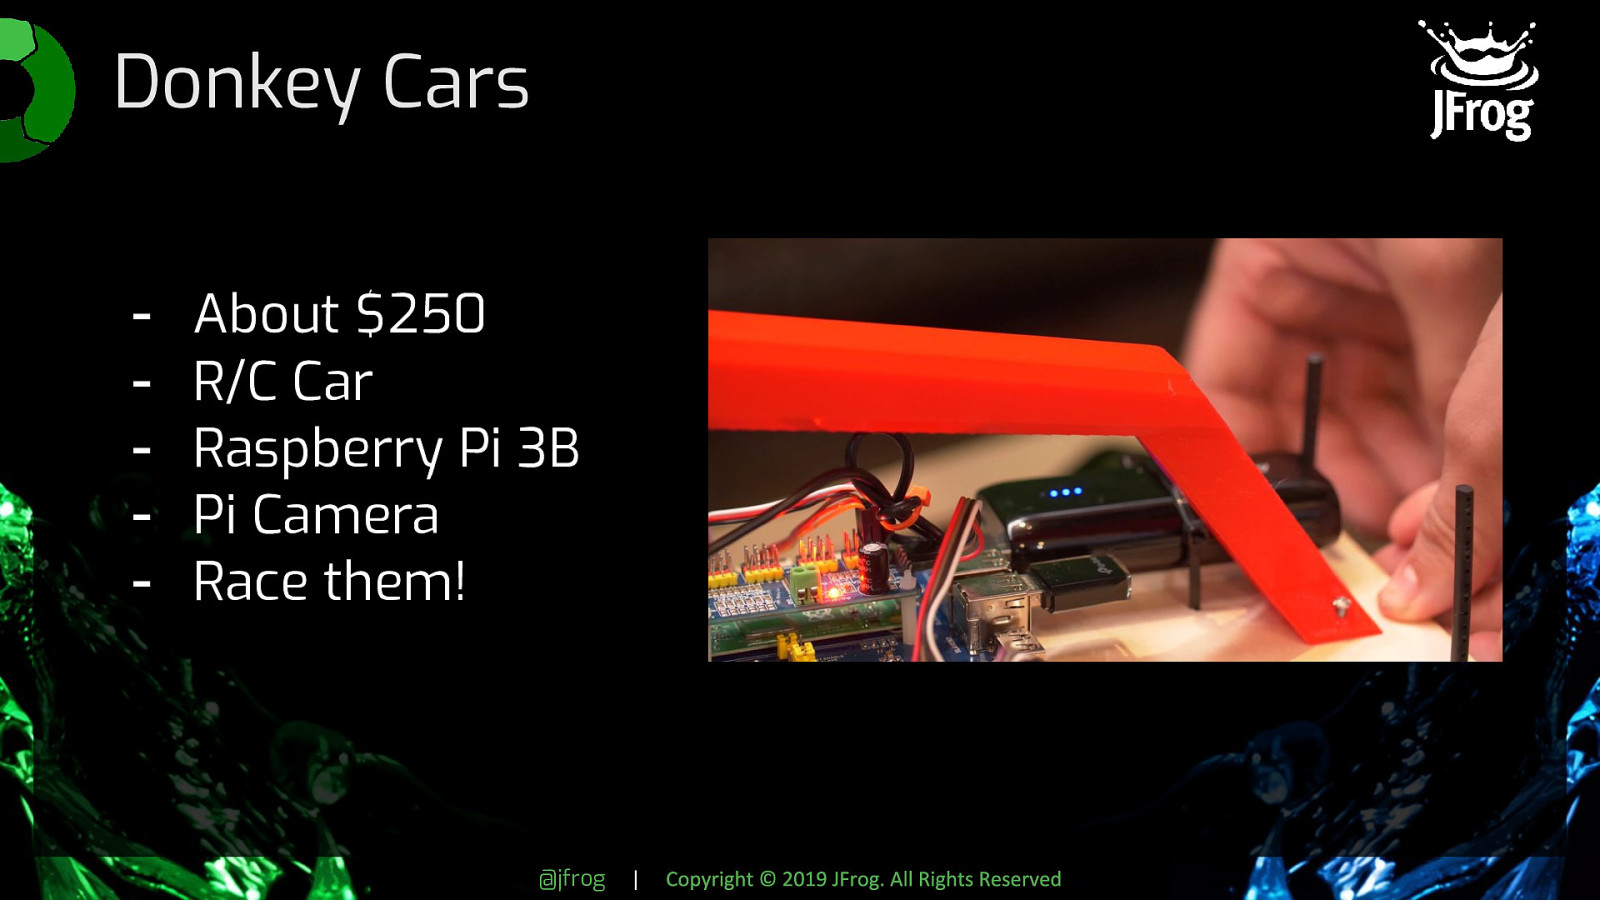
| Copyright © 2019 JFrog. All Rights Reserved This demo actually began its life as a Donkey Car. If you aren’t familiar with those (I sure as hell wasn’t when I heard about them at another Python meetup), it’s a miniature R/C car that’s been modified with a Raspberry Pi and camera. The library that enables it to do its thing is called Donkey. Hence, Donkey Cars. In its most basic form, you can build one for about $250 in parts and a couple hours of your time. Once everything is set up, you record 10 laps or so on a track marked with brightly colored masking tape (or paper on a dark floor, really anything that creates a lot of contrast), dump the recorded images and steering data back to your computer, and train a model. They’re pretty fun, and a whole community exists just for modifying and racing them. Ours was a little beefier than the standard Donkey Car since we were forcing it to do more work than it was built for, but swapping the Raspberry Pi 3B for a 3B+ with a Compute Module as pictured here handled the overhead.
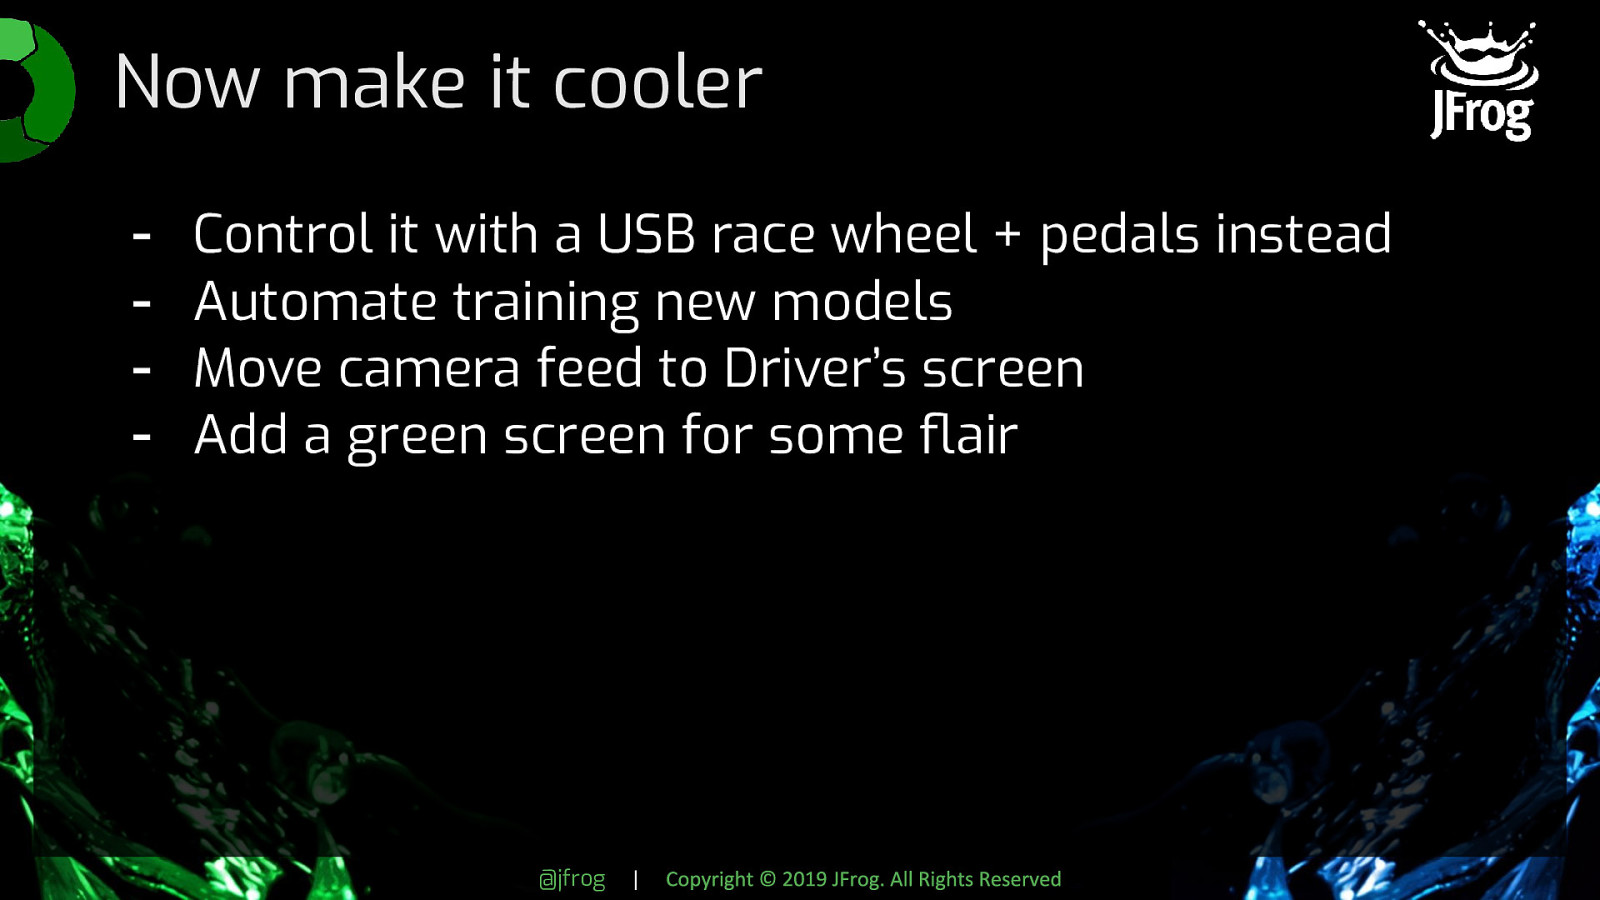
| Copyright © 2019 JFrog. All Rights Reserved I’m kind of extra, and we wanted a setup where the person participating in the demo as the driver felt like they were playing a racing game or something. This meant we needed to be able to control the steering with an actual wheel and the throttle/brake with actual pedals, so modifying the Donkey library would be required. We didn’t want to mess with manually dumping the images and steering data during a live demo, so let’s automate that and move the work to GCP. I also wanted a TV screen in front of the “driver’s seat” so they drove using the feed from the car’s camera, and since things aren’t already complicated enough, let’s throw in some computer vision and put a green screen around the track.
|
Copyright © 2019 JFrog. All Rights Reserved
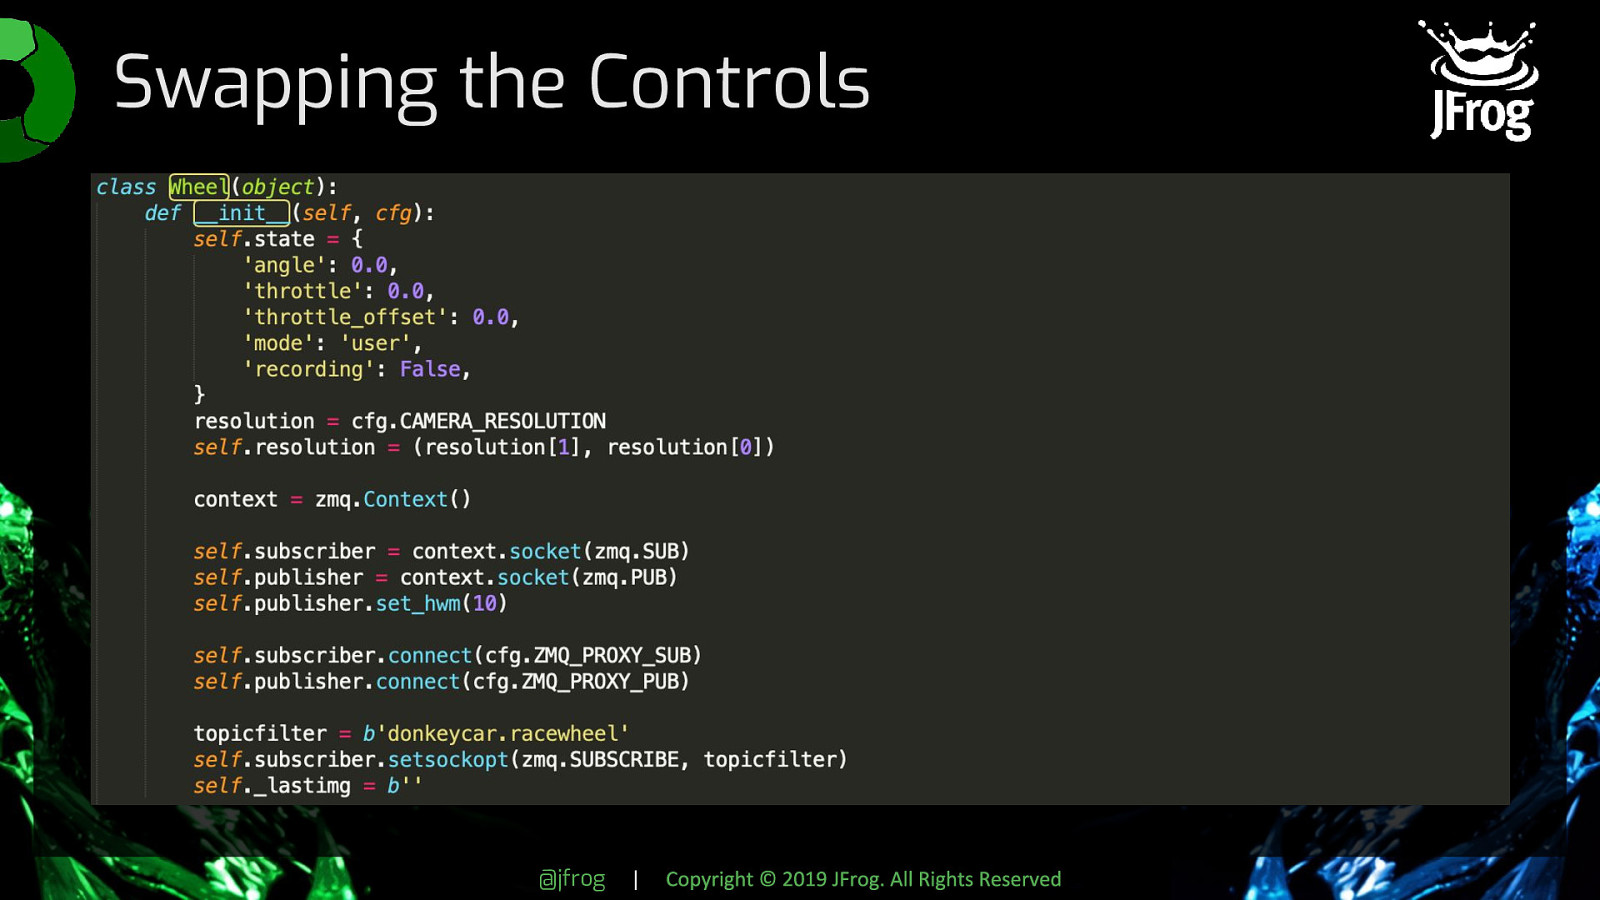
The standard Donkey car is easiest to control with a webapp on your phone. That’s not interactive enough, though, and it didn’t give us the real “driving” feeling we were looking for. The Donkey library calls its various moving pieces “parts,” and surprise — it had experimental support for a number of different physical controllers (these have been fleshed out more since then, but I haven’t personally tried them). The one for a racewheel didn’t quite work like we wanted with the Logitech G29 we had, though, so we wrote our own. The Racewheel part requires zmq and pyzmq. It works by requesting the current values from the racing wheel and pedals, via a zmq proxy running on the machine the racing wheel is plugged into. In our case, we had an Intel NUC hidden under the driver’s seat. Actually, a whole lot of this demo ran because of that zmq proxy. Once the part is added, swapping out the standard controller is really easy. Just SSH into the Raspberry Pi on your car, open manage.py in vim or whatever, and add it as the controller instead of the JoystickController object. In our case, that was ctr = Wheel()

| Copyright © 2019 JFrog. All Rights Reserved To make the driving experience feel a little more like an actual car, we do some processing on the values from the racewheel before they get sent to the car. The standard library doesn’t really account for things like throttle scale or steering veer, so we have two helper functions doing that math for us before sending values to the car. Otherwise, the throttle feels awkward and touchy and the steering is kind of jerky. We also allowed for customization of force feedback on the steering wheel to make it feel easier or harder to turn. Without this, driving the car using the wheel and pedals is totally still possible, it’s just a little awkward and unintuitive compared to the way you drive a real car.
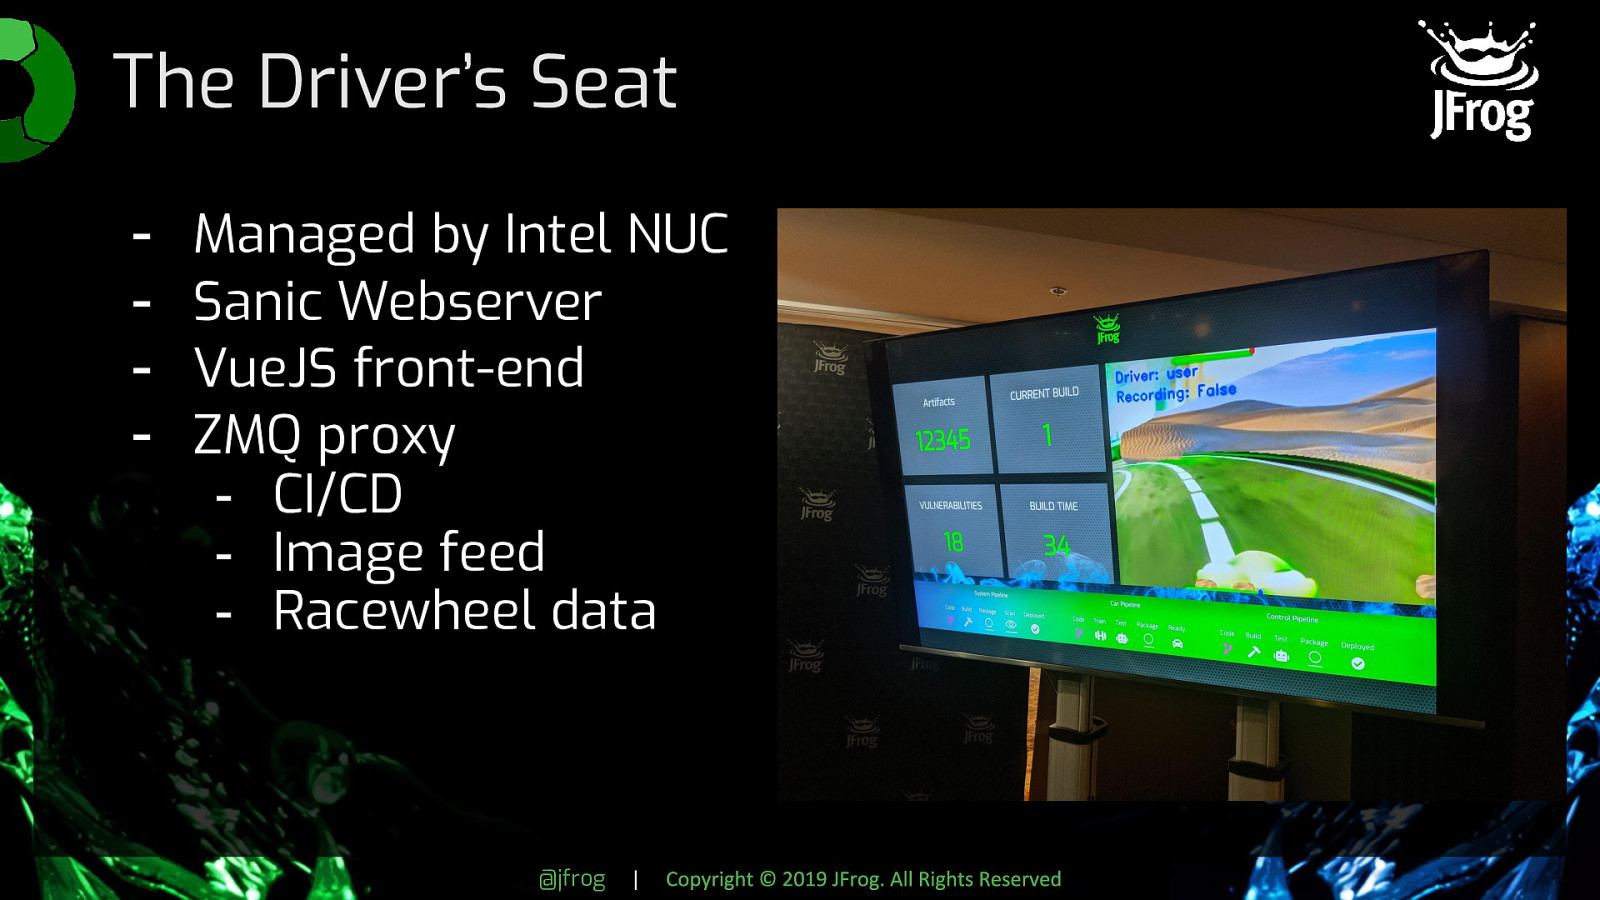
| Copyright © 2019 JFrog. All Rights Reserved The track is circular, so obviously the driver needs a way to see what the car sees to know when and how to turn the wheel. To accommodate this, the NUC under the driver’s seat is going to need to do a little more work. What we ended up with is a Sanic webserver doing most of the heavy lifting for the backend, and a VueJS app for the front-end. Instead of storing all the training data in a directory on the Pi, we reroute each frame and the associated steering data through the zmq proxy under another topic. An async function subscribes to that topic (as well as a few other topics handling things for our CI/CD pipeline, the racewheel data, and some other things required for updates) and according to whatever the current customization settings are in the config file, processes the data. At the bare minimum, the VueJS app on the driver’s screen is displaying the raw camera data from the car, the current build, and buttons to record or upload new training data. I won’t show you the code for this because it’s possibly the single ugliest VueJS I’ve ever written and it was never supposed to see the light of day, but it worked by using a JavaScript OpenCV bindings and an open websocket to continually redraw the images from the camera topic on our zmq proxy to a canvas element. At this point, the coolest part of the demo functions, but it doesn’t look as cool as we want. The driver doesn’t have any nice scenery to look at. Let’s stand a bunch of green poster board around the perimeter of the track and write the greenscreen you can see here!
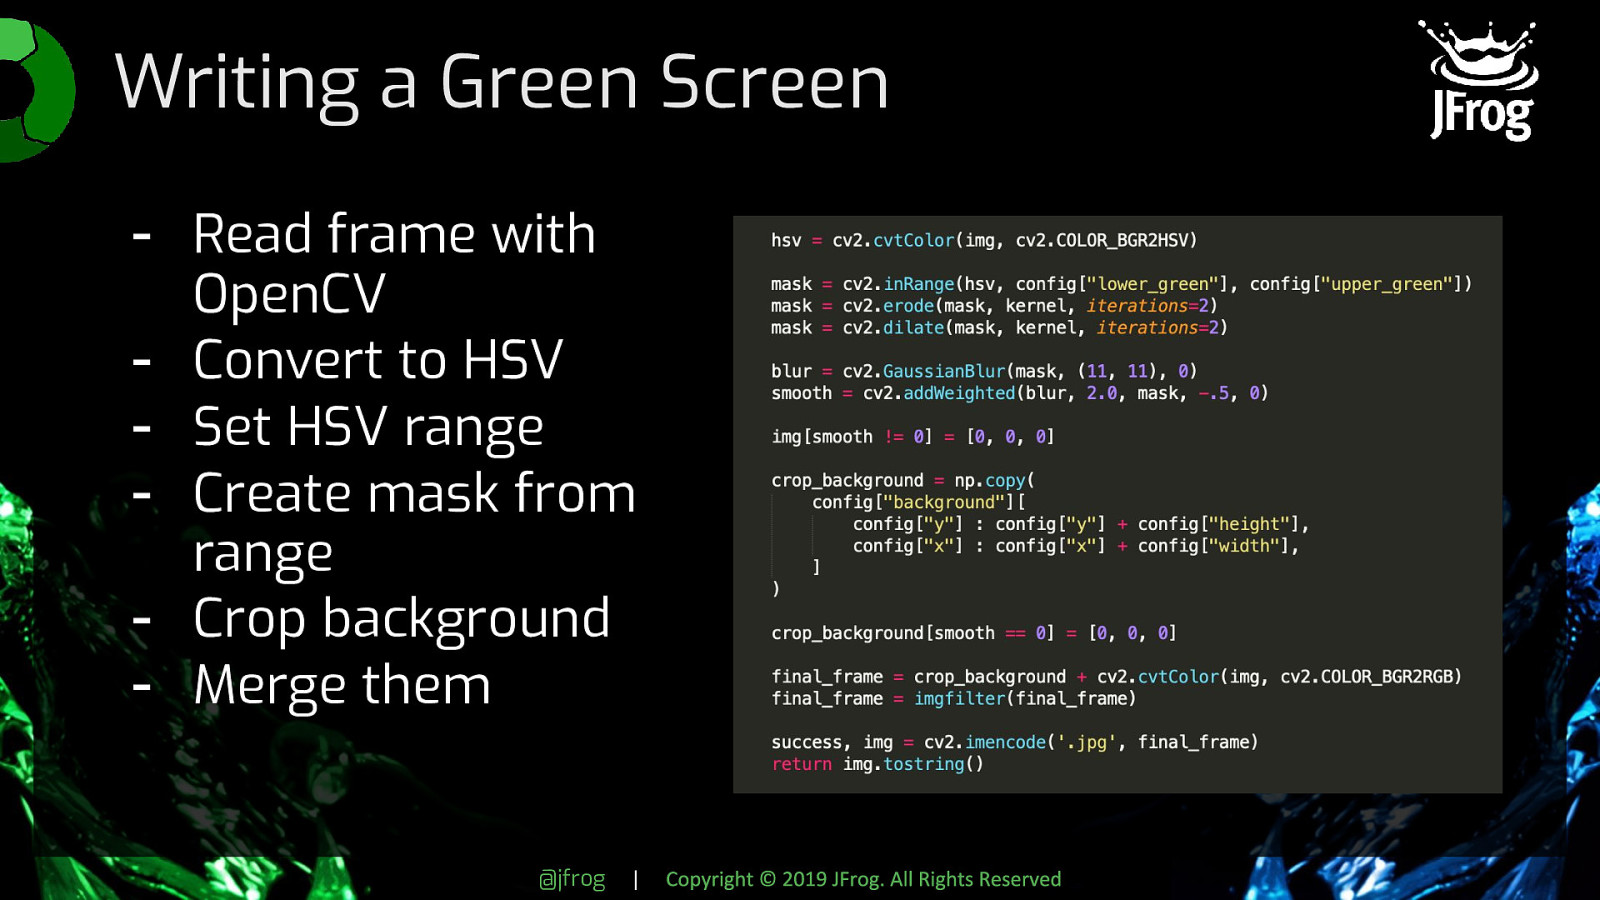
| Copyright © 2019 JFrog. All Rights Reserved In its simplest form, a script like this works by using OpenCV to read in a frame, convert it from RGB to HSV, and create a mask out of any parts of the image that fall within a range of HSV values that you define. You then use that mask to crop the background image you want and replace the corresponding spaces in the original image. To get the edges closer to perfect, you can erode and dilate the mask, maybe blur and smooth it as well. There’s a little bit of guesswork involved in finding the right high and low ends of your range, and lighting does affect it, so these steps help you fudge it a bit. Convert it back to RGB, then return the frame.
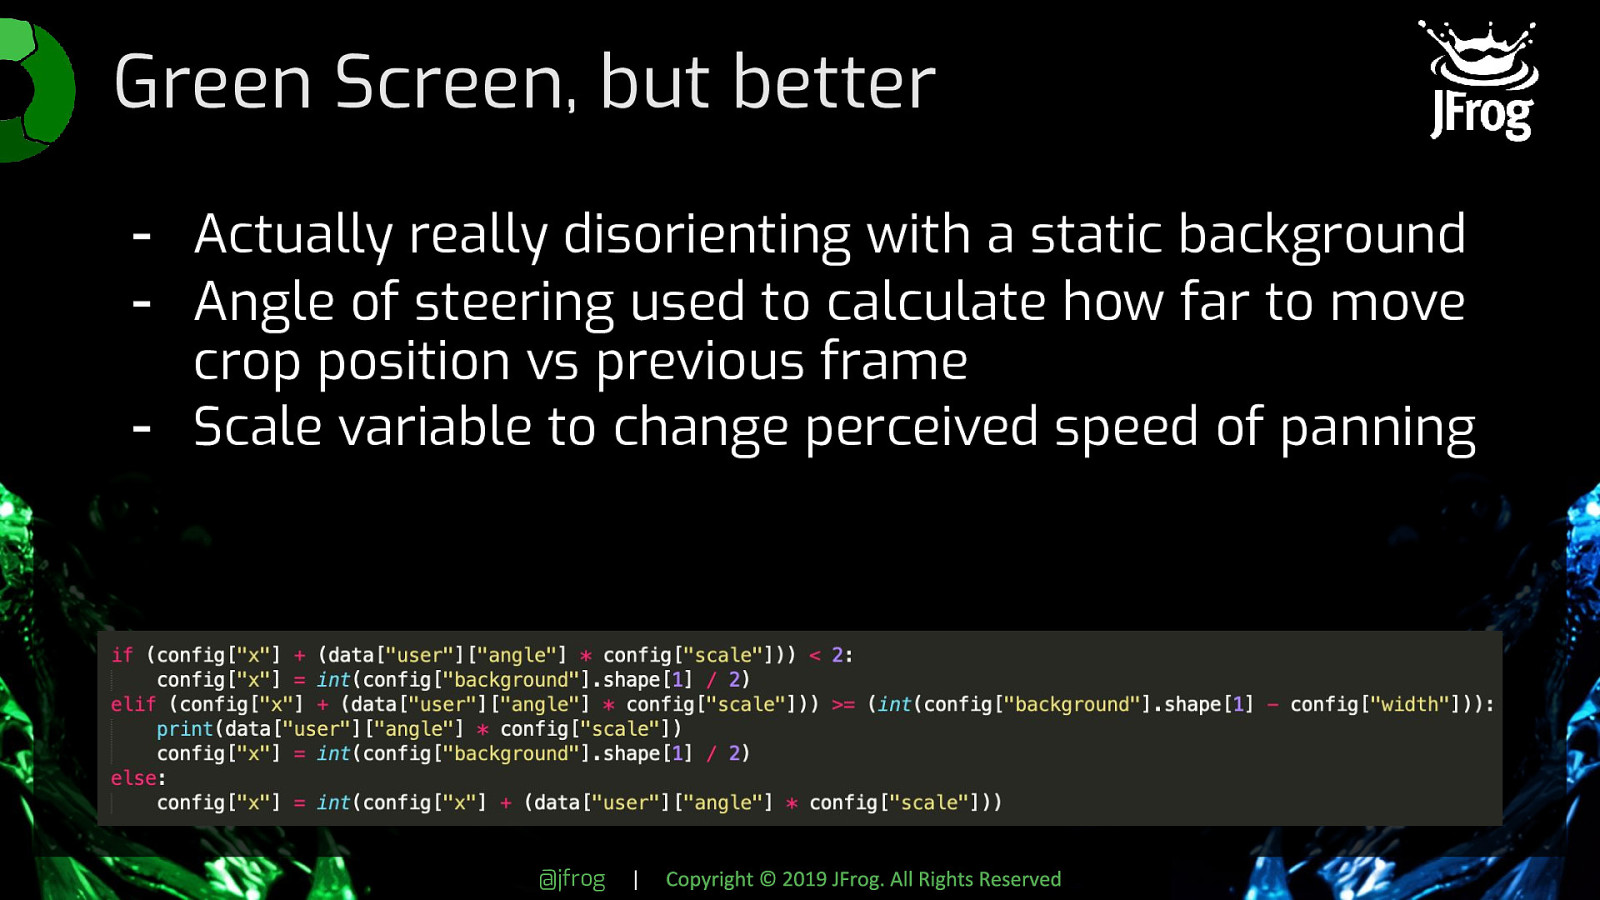
| Copyright © 2019 JFrog. All Rights Reserved Our greenscreen needed to simulate scenery on a drive, though, so we couldn’t just leave it static. The image had to appear to move as if you’re driving past it. Otherwise, it’s actually really, really disorienting. To do that, we used the current angle of the steering wheel and starting x and y coordinates to calculate how far we needed to move the area to crop for the background from one frame to the next. We also used a scale variable to increase or decrease the speed of the pan, making it feel like the driver was going faster or slower. We did also allow for image filters and different backgrounds to be applied as some of the “updates” people could push, and these also took place within the green screen script. Things like going from the desert to the countryside to outer space, inverting the colors, or flipping the image vertically. All of these used functions built into OpenCV, so no magic or hard work involved there.
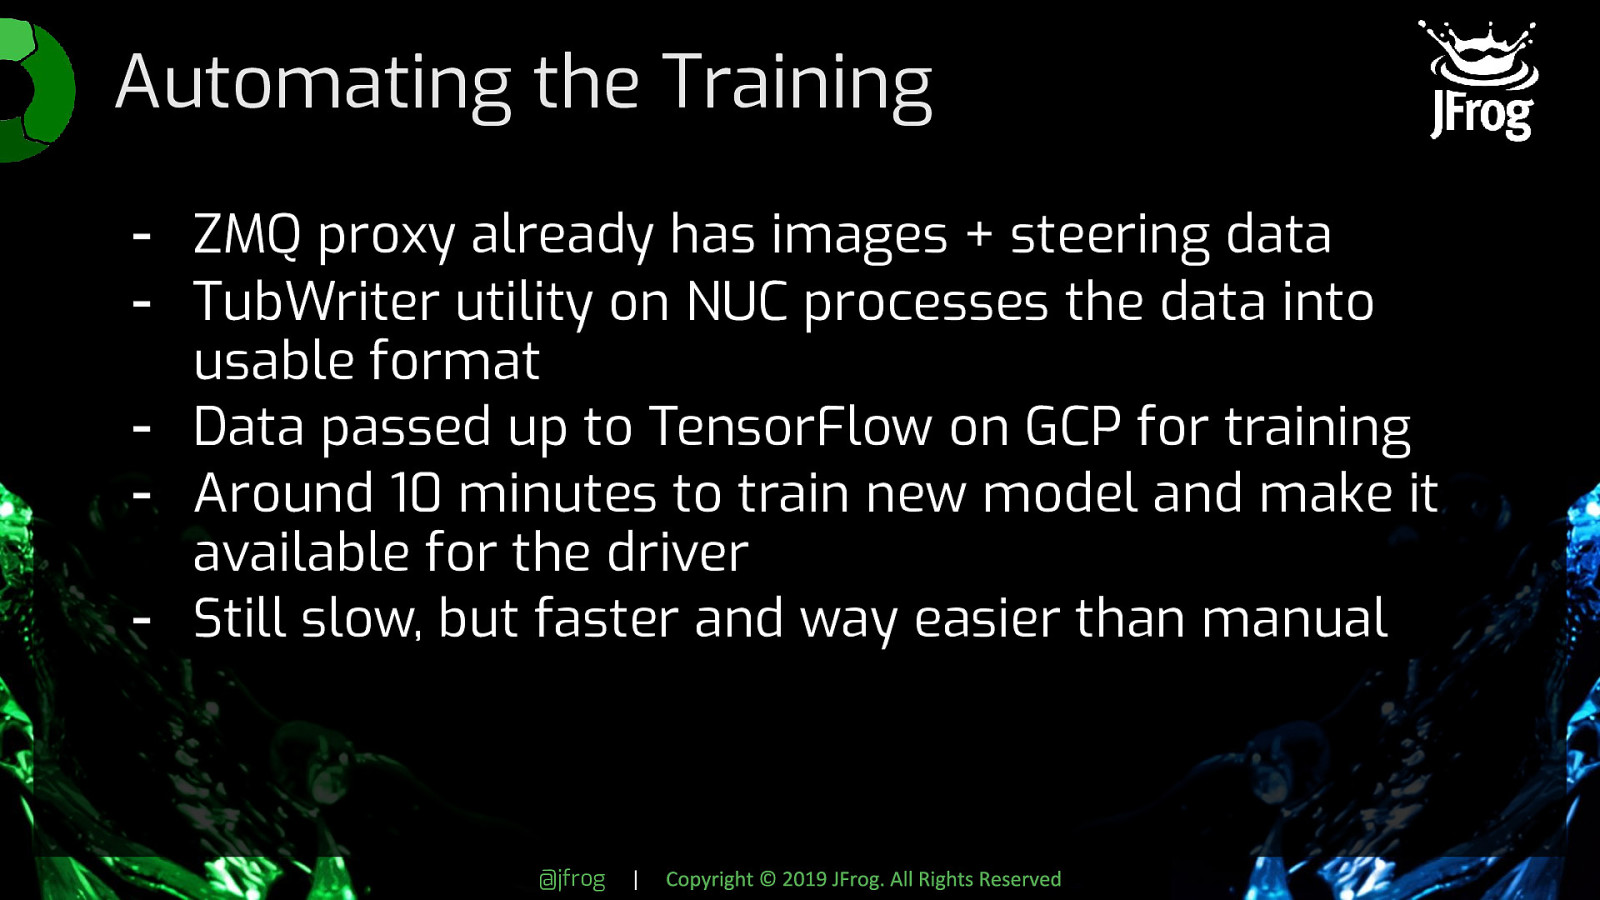
| Copyright © 2019 JFrog. All Rights Reserved Automating the training was relatively low-effort, once we got over some hurdles related to Tensorflow on GCP. Since we were getting the images and corresponding steering data from the car via our zmq proxy, we were able to pass that data along to a TubWriter utility also running on the NUC to collate the data, then pass it up to GCP to train the model there. Whenever a new model was available, the Driver’s UI would update to reflect that availability and allow the user to use that instead of driving the car manually. This was still pretty slow, up to 10 minutes, but it’s faster and easier than stopping the car, manually moving the data over, waiting for the model to train on a laptop, and then moving the model back.

| Copyright © 2019 JFrog. All Rights Reserved That’s how the flashy parts worked. Like I said, not revolutionary, but super fun to build and it’s a great opportunity to teach yourself about hardware, machine learning, message queues, and computer vision all in one project. I can’t publish the entire codebase for this demo, but if you’re interested in trying part or all of this system for yourself, I’m happy to send you more complete versions of what I talk about here or answer questions for you.
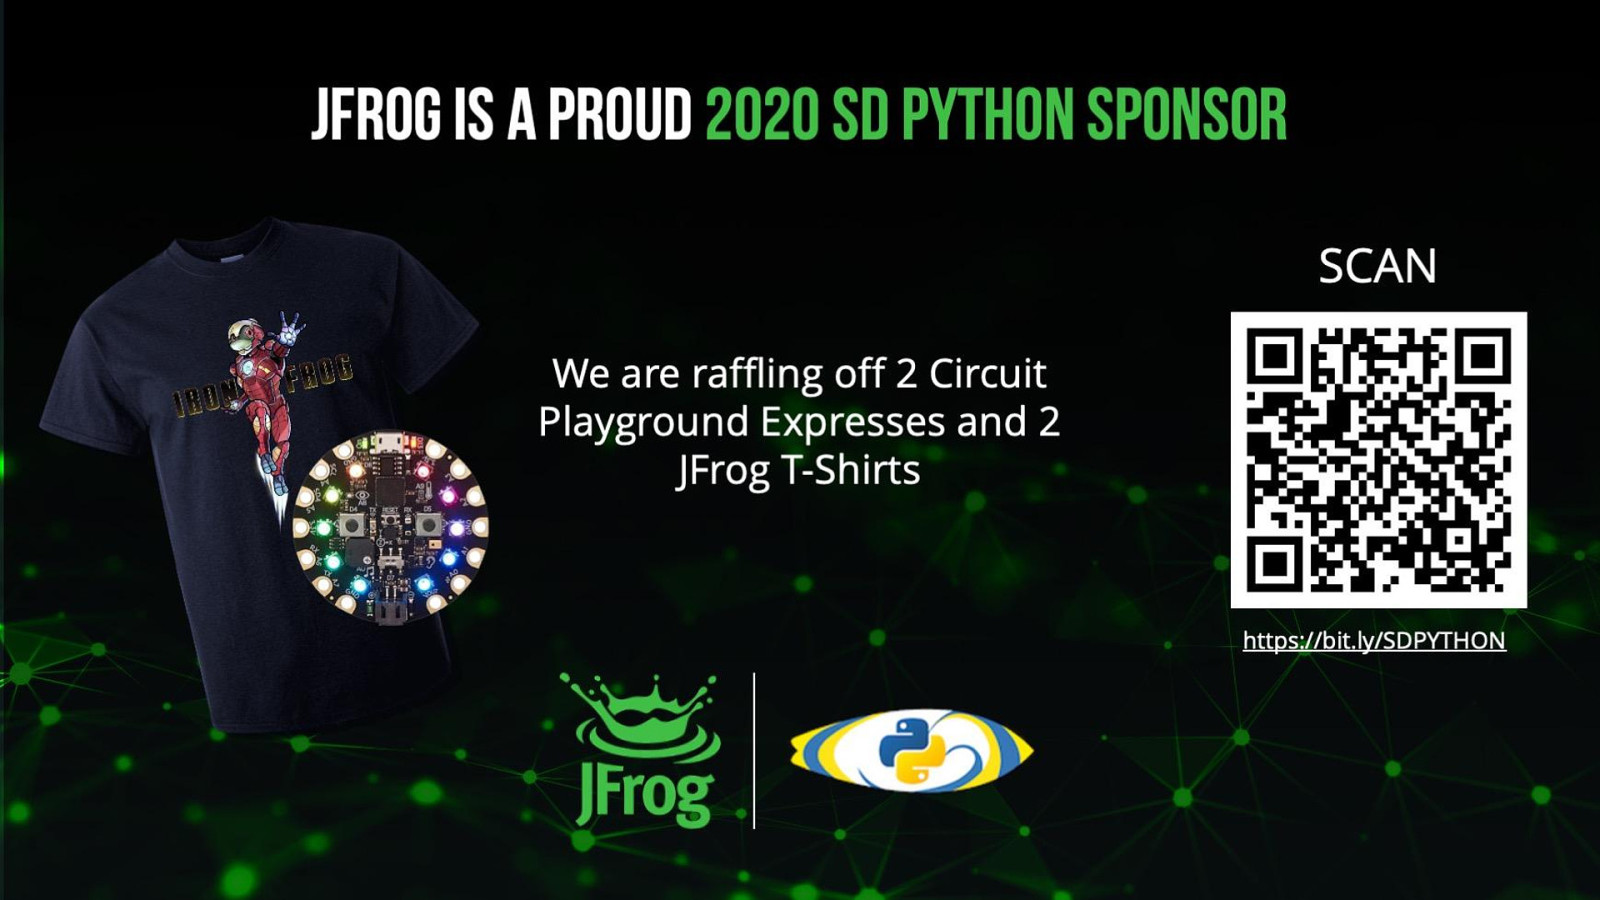
| Copyright © 2019 JFrog. All Rights Reserved Again, my name is Kat Cosgrove, and you can get a hold of me on Twitter at @Dixie3Flatline. We’re also raffling away two Circuit Playground Expresses and two JFrog T-shirts at the bitly link here, where you’ll find my slides as well. If you aren’t familiar with the Circuit Playground Express, it’s a small circuitboard made by Adafruit with a ring of Neopixel LEDs and a load of different kinds of sensors on board. It’s intended for teaching hardware hacking, but there are some practical applications for it as well. Most recently, I saw a woman use one to build a touchless countdown timer for hand washing. Programming it is done in a flavor of Python called Circuit Python, an open-source derivative of MicroPython. It’s designed for use on microcontrollers and has a lot of hardware bindings that aren’t included in standard Python, so it’s really easy to get up and running. I hope you enjoyed my talk! Any questions?