Sky’s the limit: Headless eCommerce with Next.js @Storyblok @lisi_linhart

A presentation at JSWorld in February 2021 in by Lisi Linhart

Sky’s the limit: Headless eCommerce with Next.js @Storyblok @lisi_linhart

Lisi Linhart Developer Experience @storyblok

What is headless eCommerce
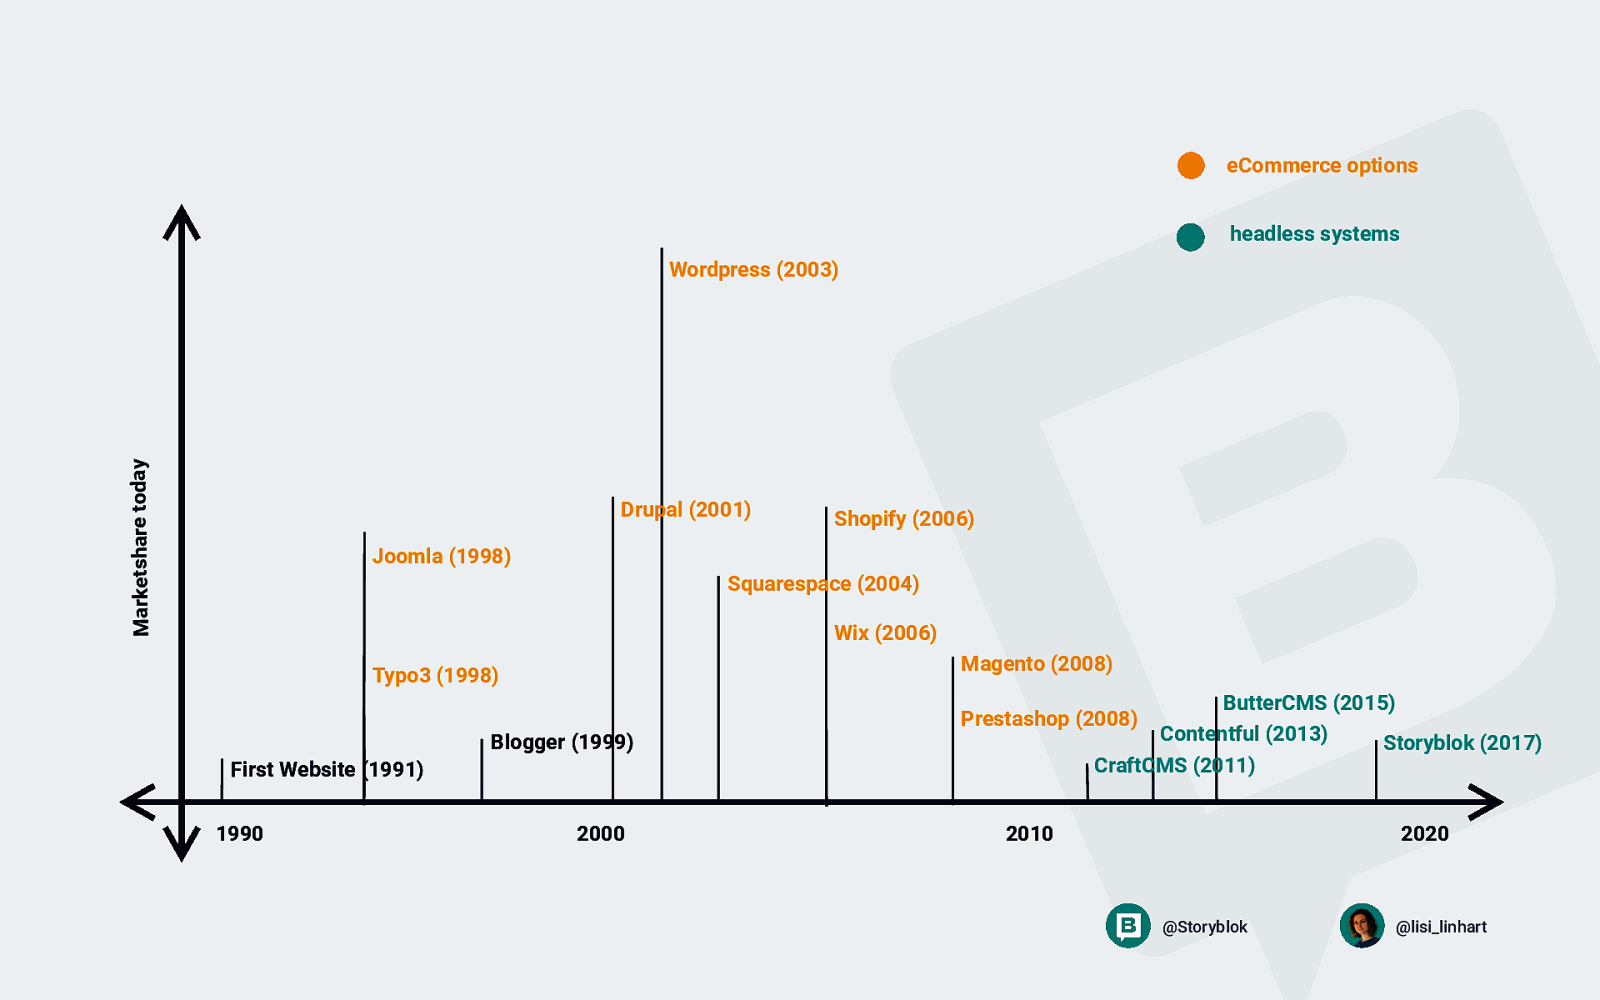
eCommerce options headless systems Marketshare today Wordpress (2003) Drupal (2001) Shopify (2006) Joomla (1998) Squarespace (2004) Wix (2006) Magento (2008) Typo3 (1998) Blogger (1999) First Website (1991) 1990 2000 ButterCMS (2015) Prestashop (2008) Contentful (2013) Storyblok (2017) CraftCMS (2011) 2010 2020 @Storyblok @lisi_linhart
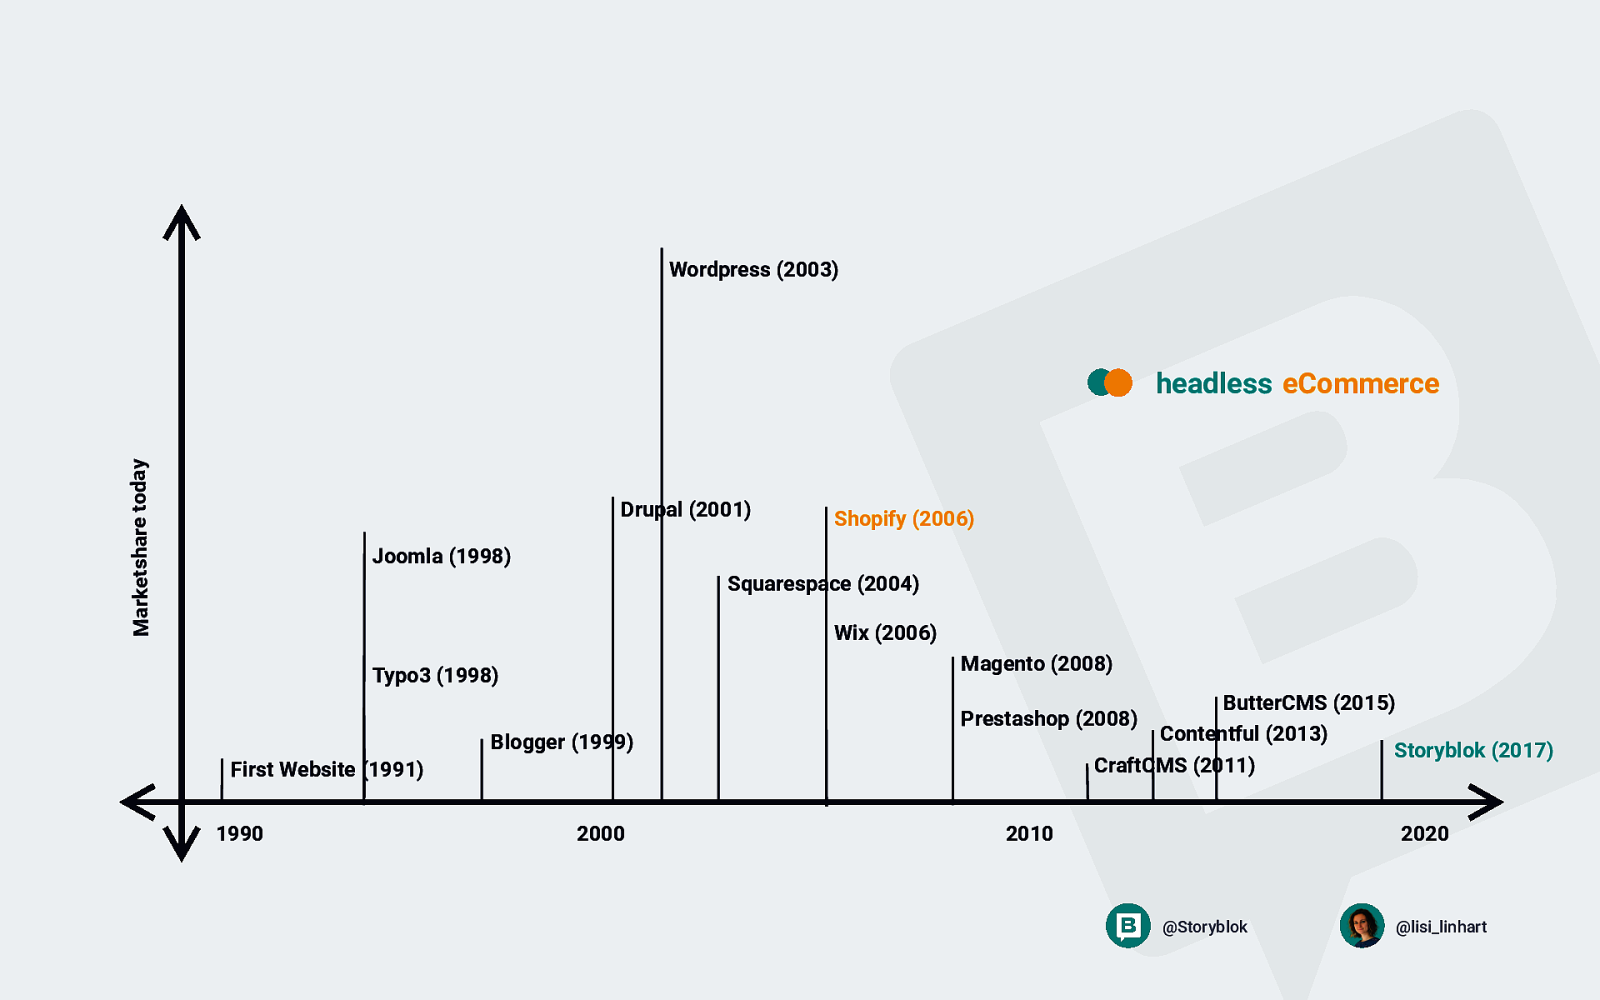
Wordpress (2003) Marketshare today headless eCommerce Drupal (2001) Shopify (2006) Joomla (1998) Squarespace (2004) Wix (2006) Magento (2008) Typo3 (1998) Blogger (1999) First Website (1991) 1990 2000 ButterCMS (2015) Prestashop (2008) Contentful (2013) Storyblok (2017) CraftCMS (2011) 2010 2020 @Storyblok @lisi_linhart
! Unicorn Dash
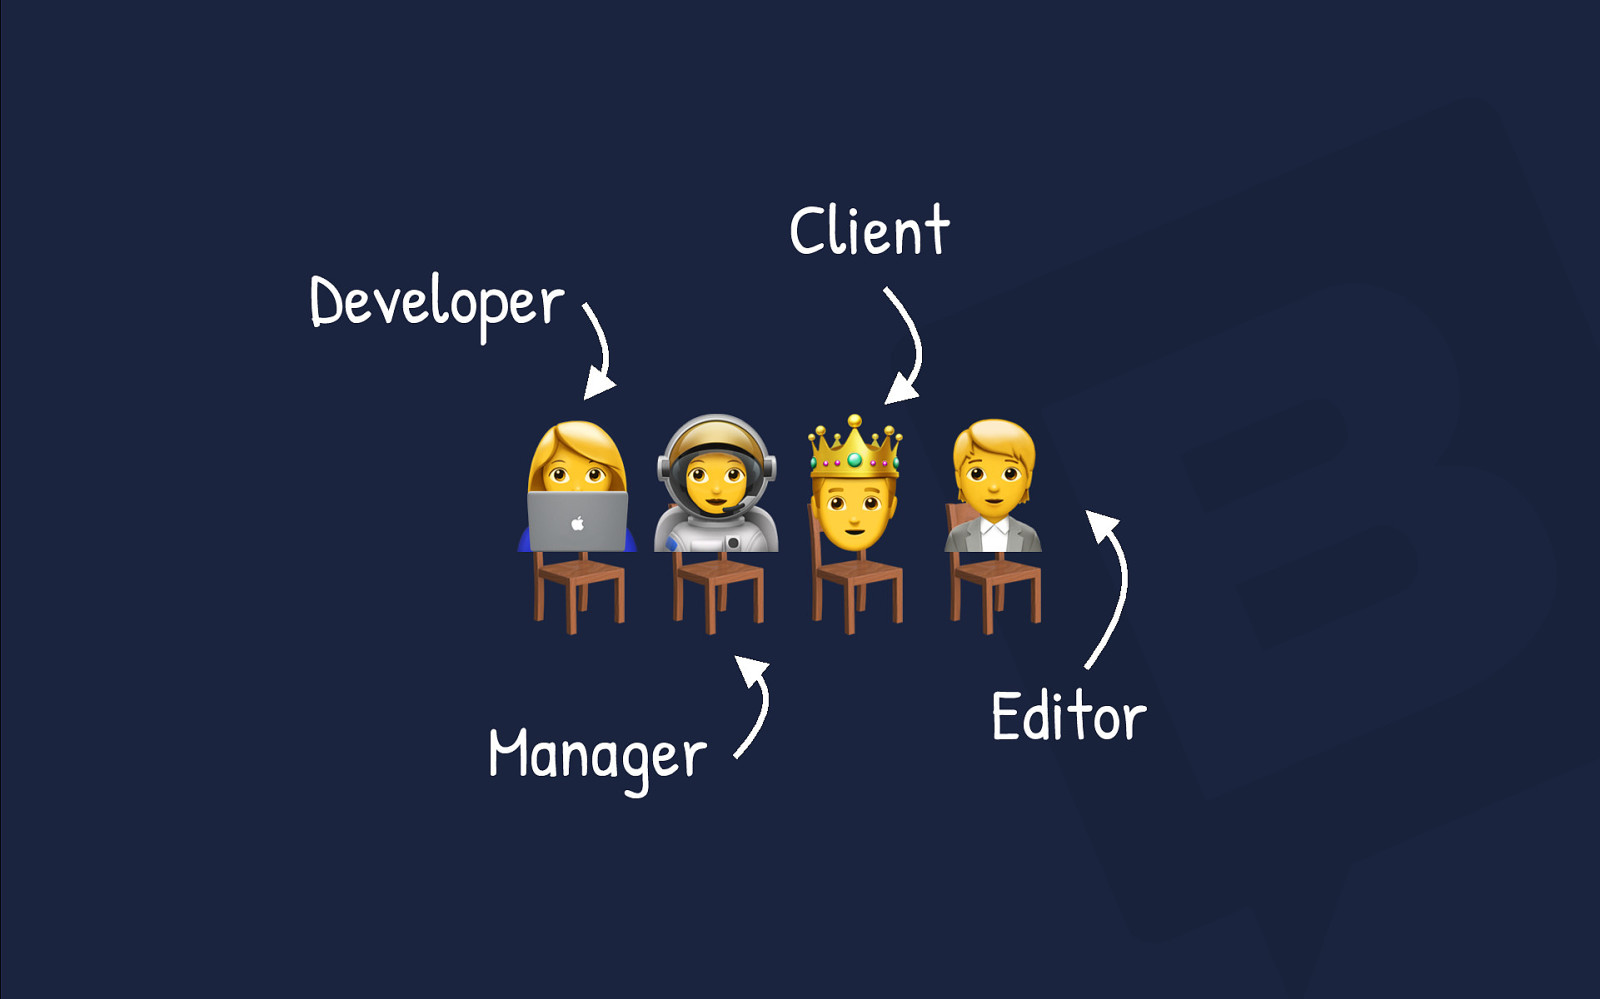
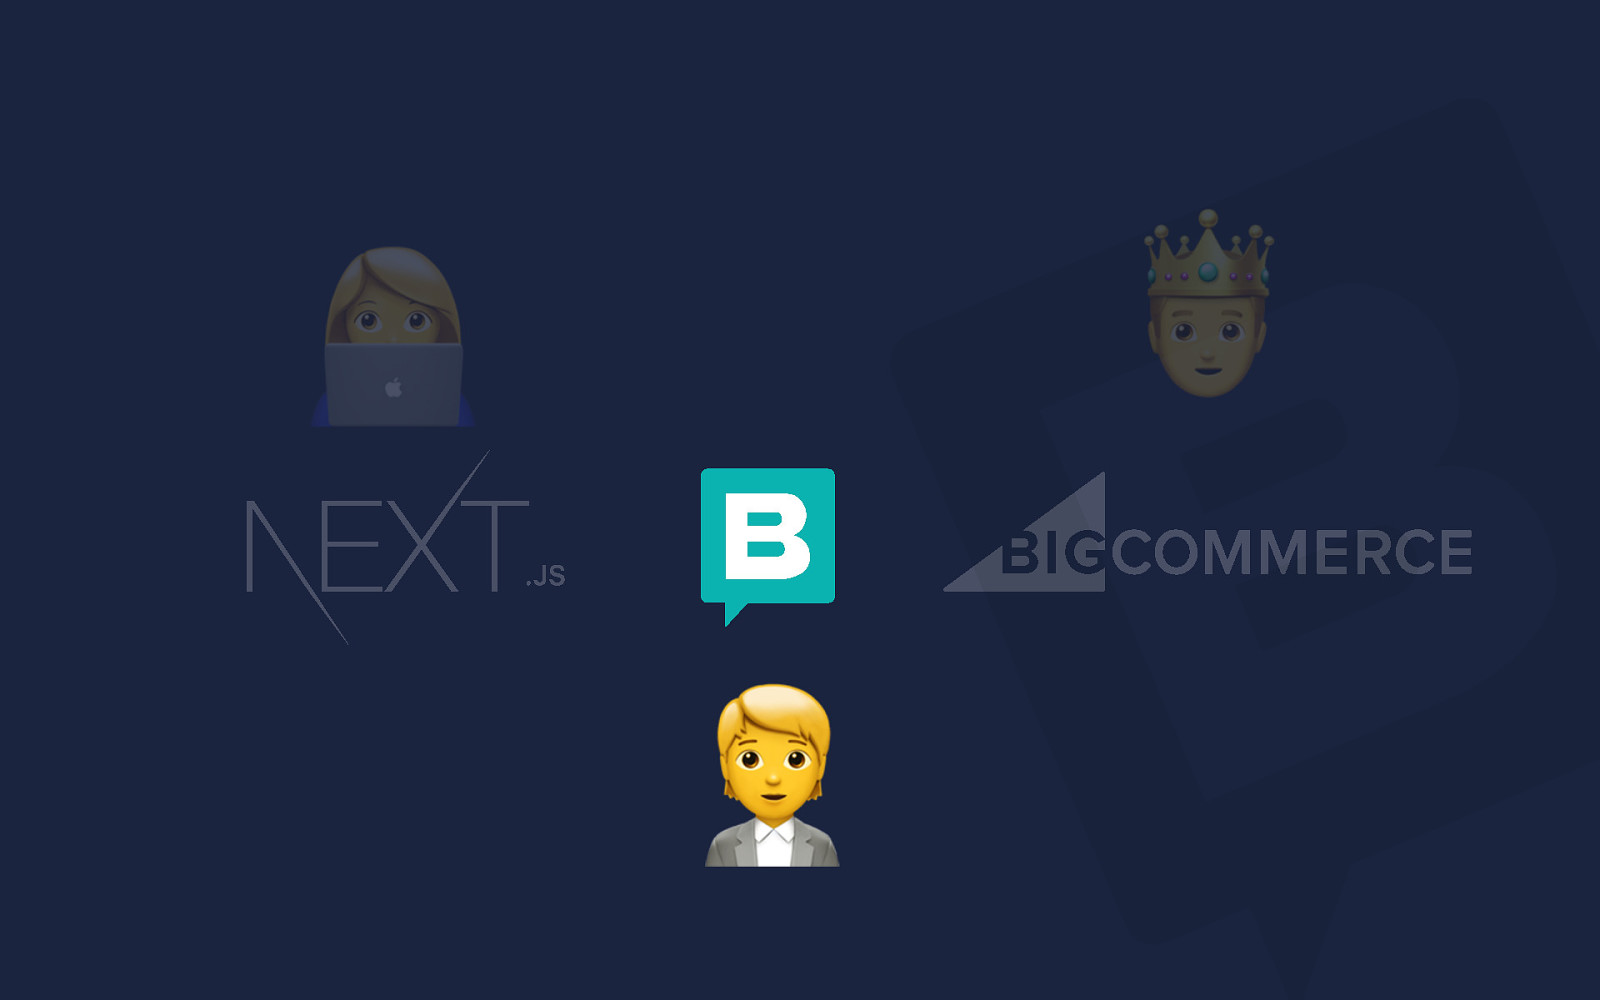
Developer Manager Client “#$% !!!! Editor
! I want a fast, good looking store, that works with my logisitics

!
! I want to create something that we can reuse for other stores to quickly develop new stores

!
! I want to be able to quickly & easily make changes and be able to discuss those changes
!
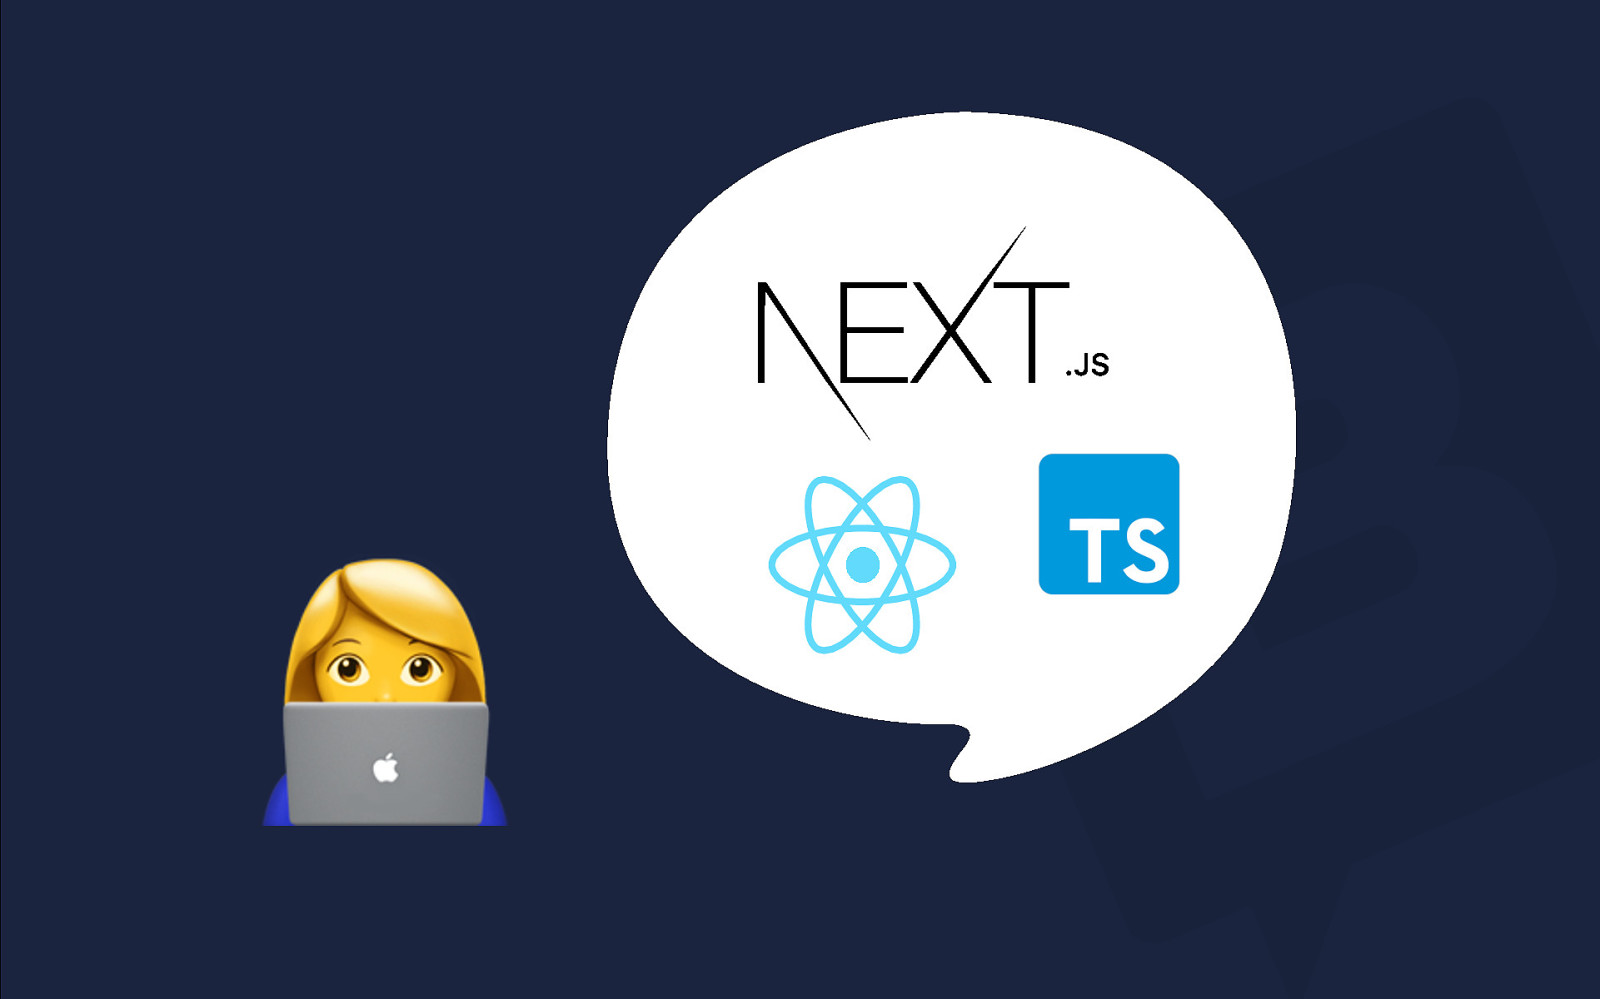
! If you want it to be quick and reusable, I want to use my own tech stack.
!
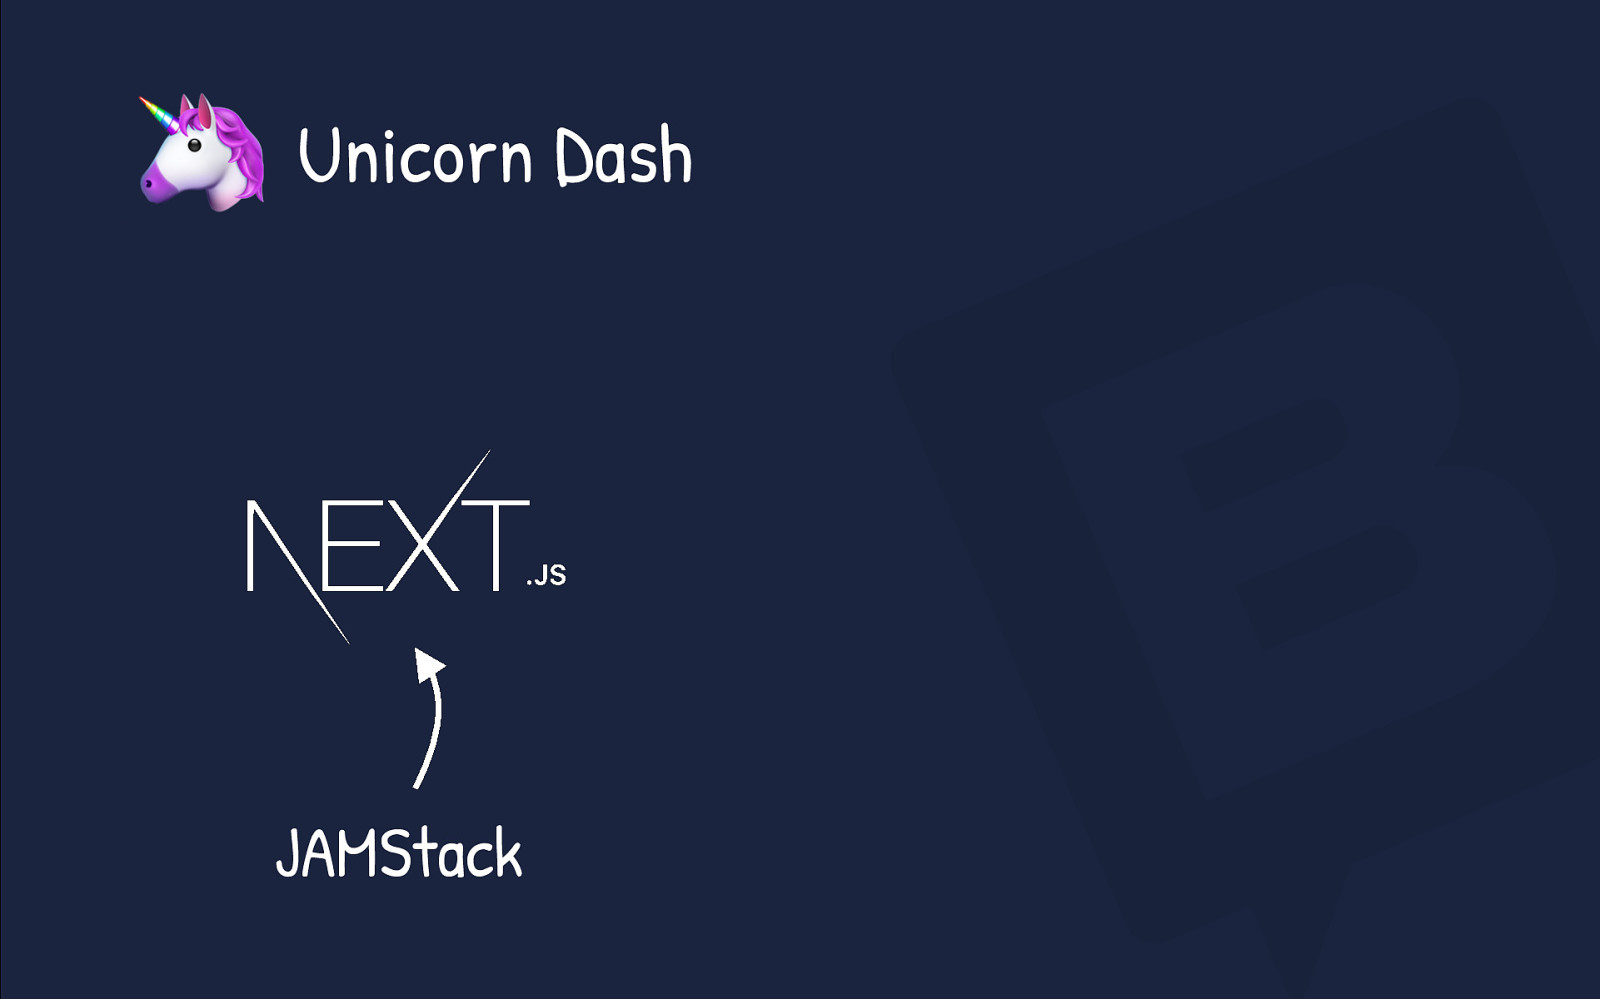
! Unicorn Dash JAMStack
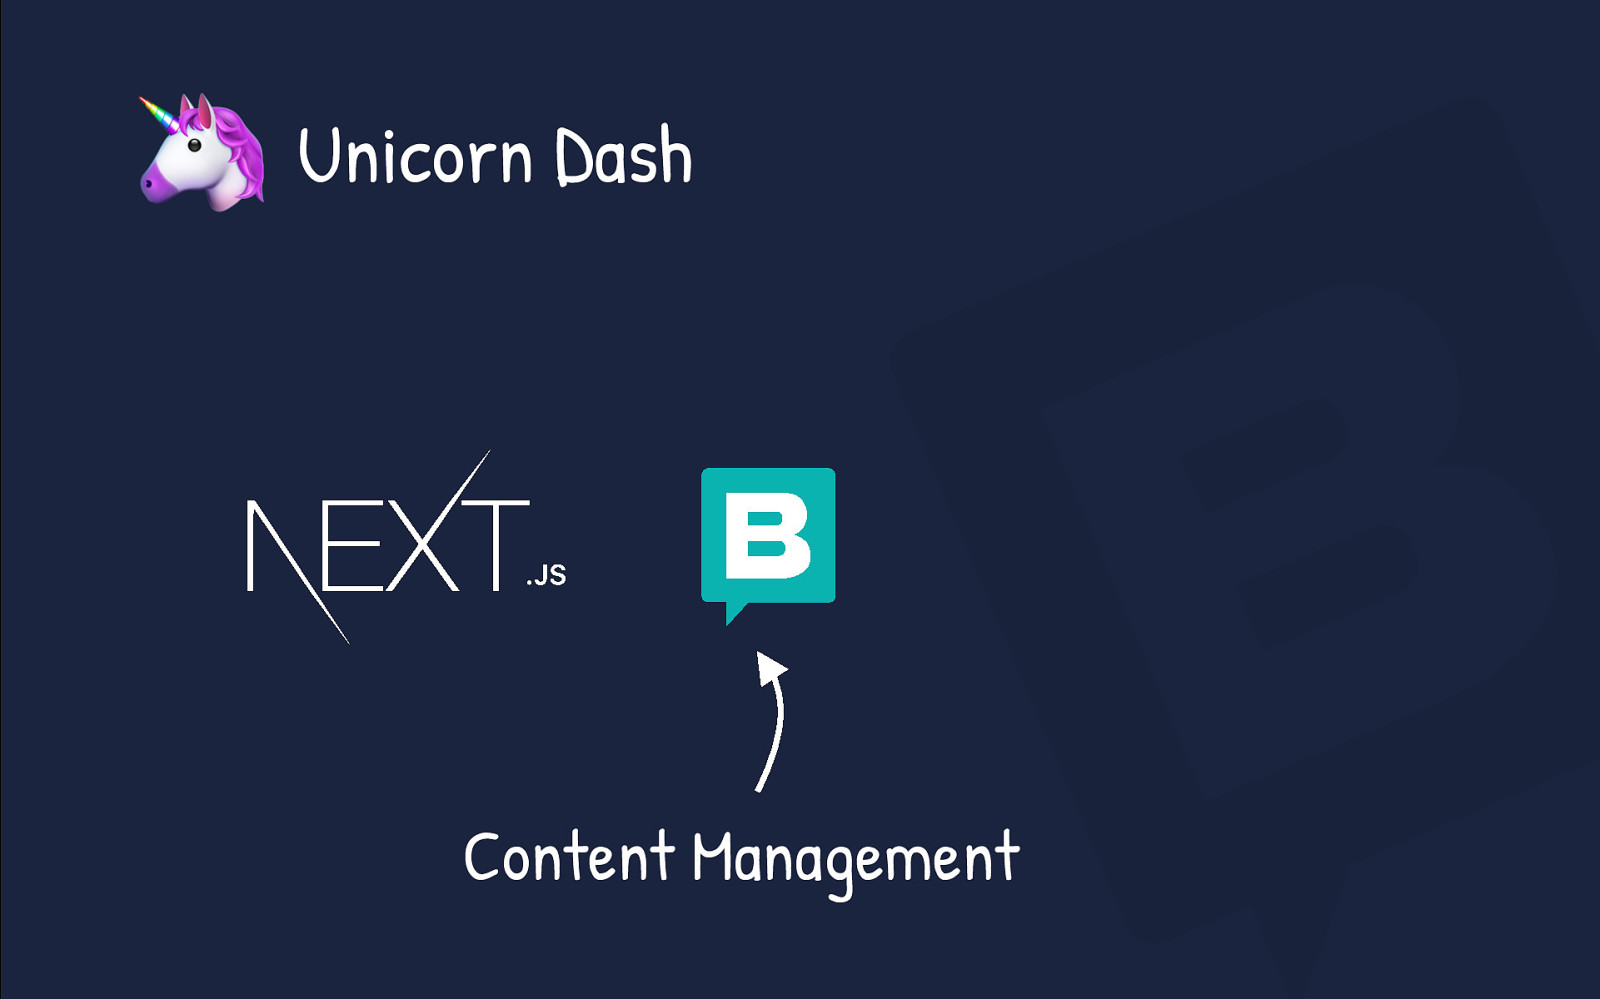
! Unicorn Dash Content Management
! Unicorn Dash eCommerce
! “
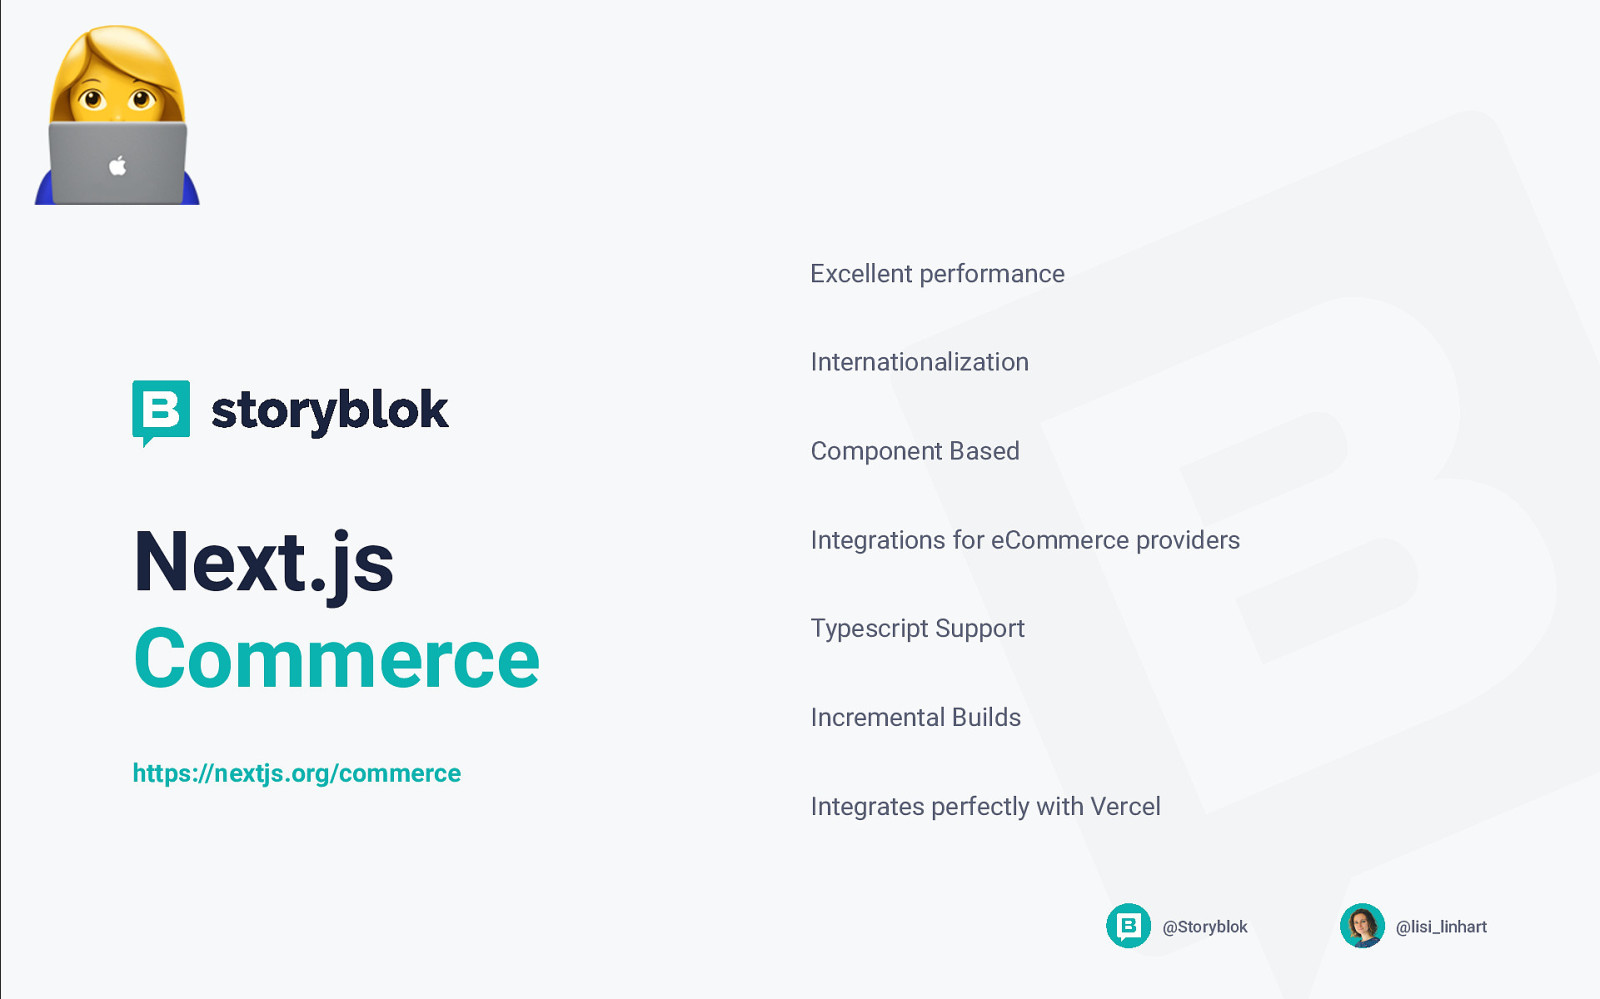
! Excellent performance Internationalization Component Based Next.js Commerce Integrations for eCommerce providers Typescript Support Incremental Builds https://nextjs.org/commerce Integrates perfectly with Vercel @Storyblok @lisi_linhart
!
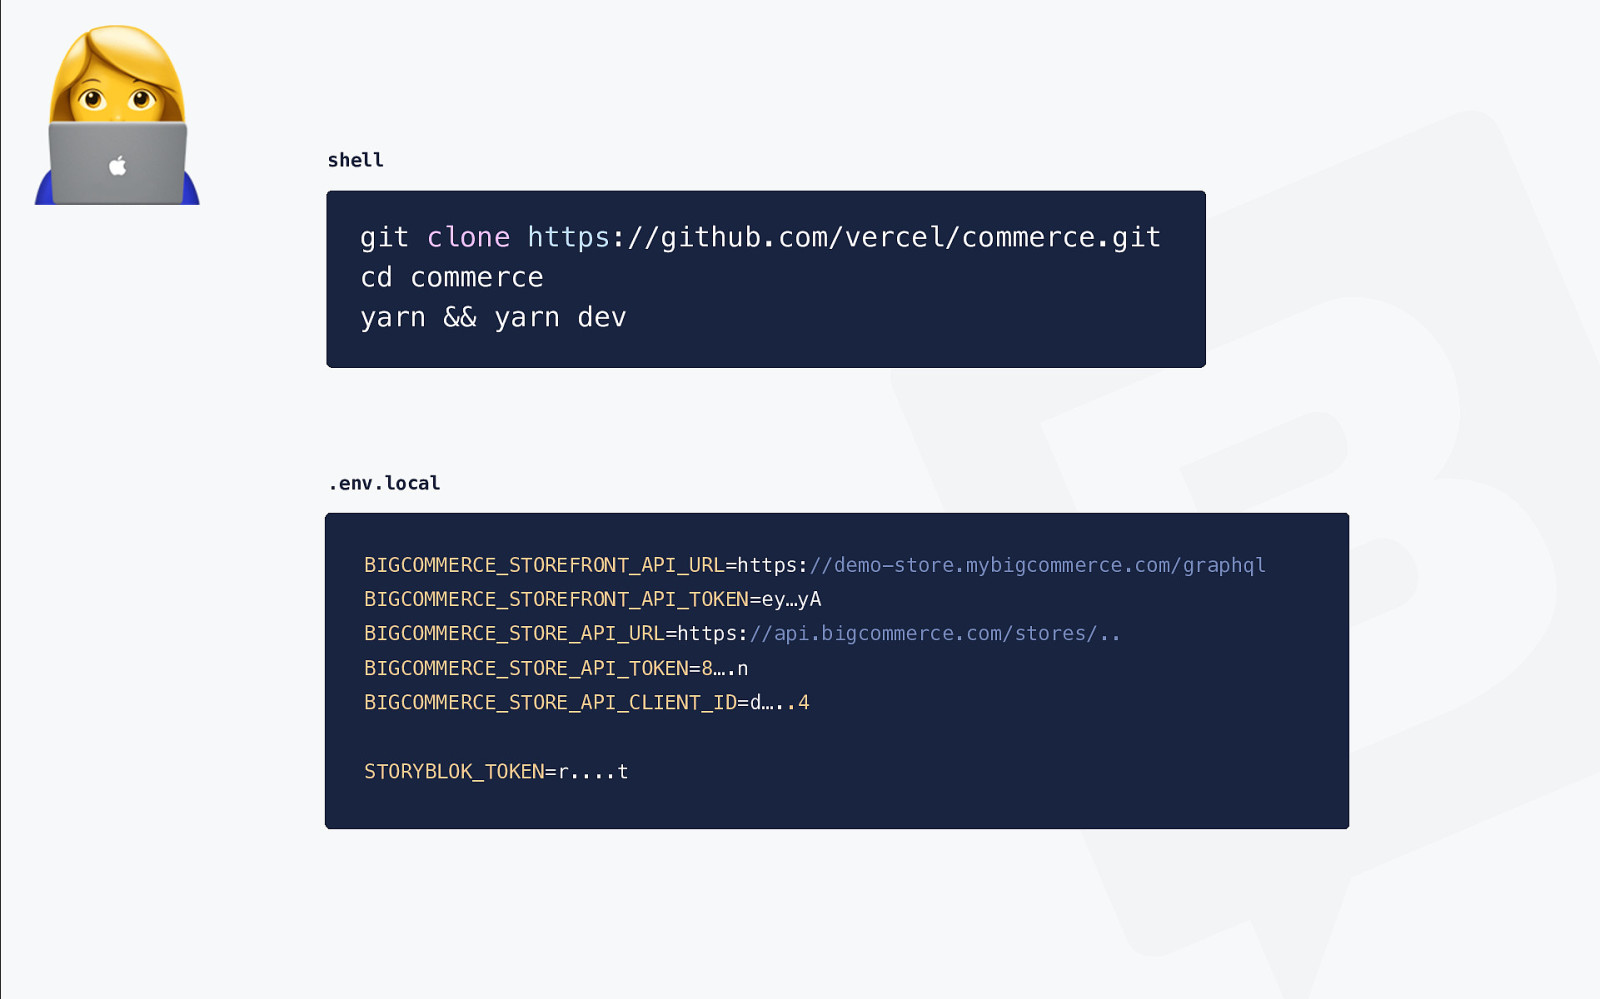
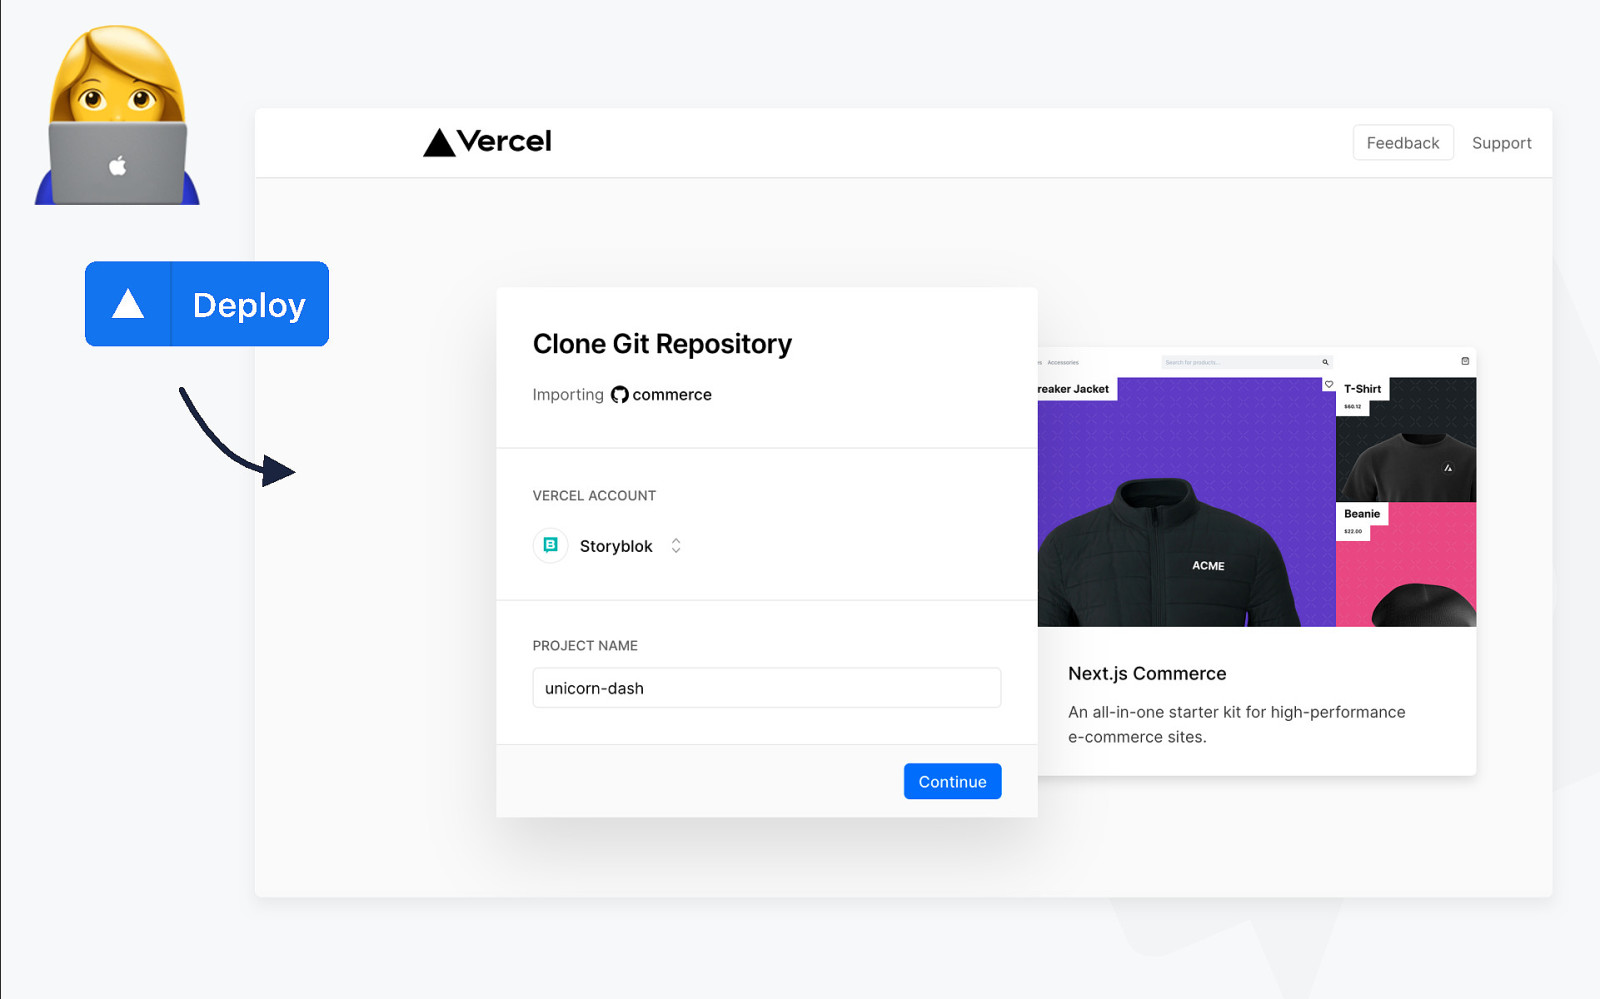
! shell git clone https://github.com/vercel/commerce.git cd commerce yarn && yarn dev .env.local BIGCOMMERCE_STOREFRONT_API_URL=https://demo-store.mybigcommerce.com/graphql BIGCOMMERCE_STOREFRONT_API_TOKEN=ey…yA BIGCOMMERCE_STORE_API_URL=https://api.bigcommerce.com/stores/.. BIGCOMMERCE_STORE_API_TOKEN=8….n BIGCOMMERCE_STORE_API_CLIENT_ID=d…..4 STORYBLOK_TOKEN=r….t
!
” !
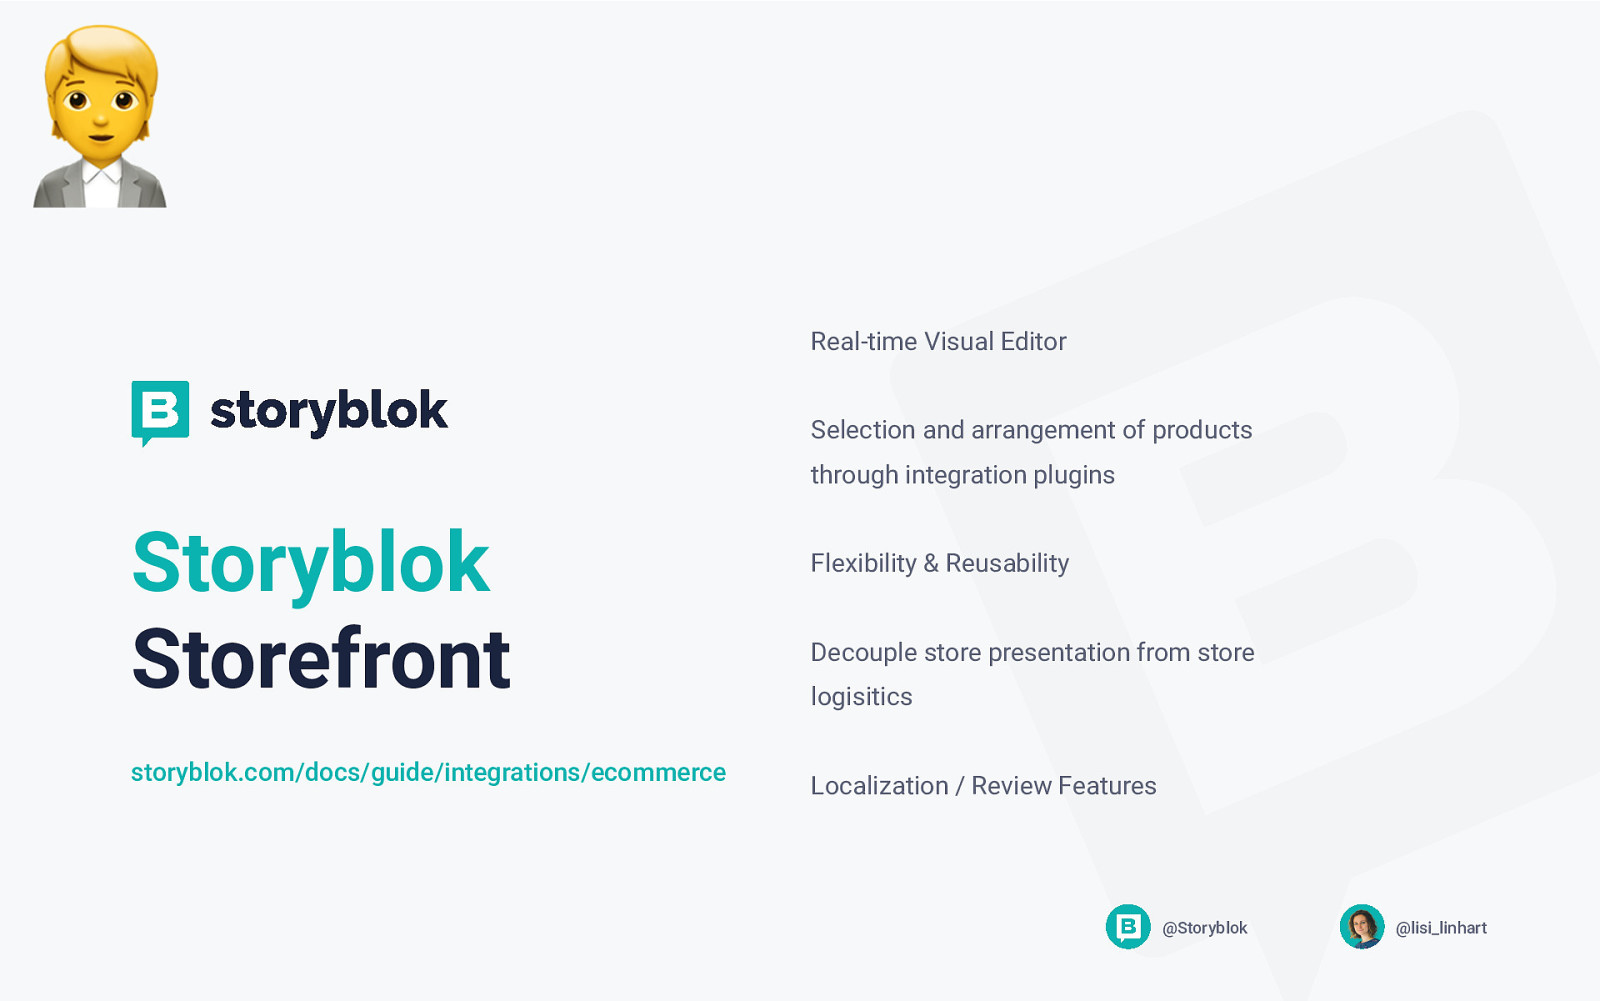
! Real-time Visual Editor Selection and arrangement of products through integration plugins Storyblok Storefront storyblok.com/docs/guide/integrations/ecommerce Flexibility & Reusability Decouple store presentation from store logisitics Localization / Review Features @Storyblok @lisi_linhart
! This Example github.com/storyblok/nextjsbigcommerce-starter/ storyblok.com/tp/storefront-nextbigcommerce
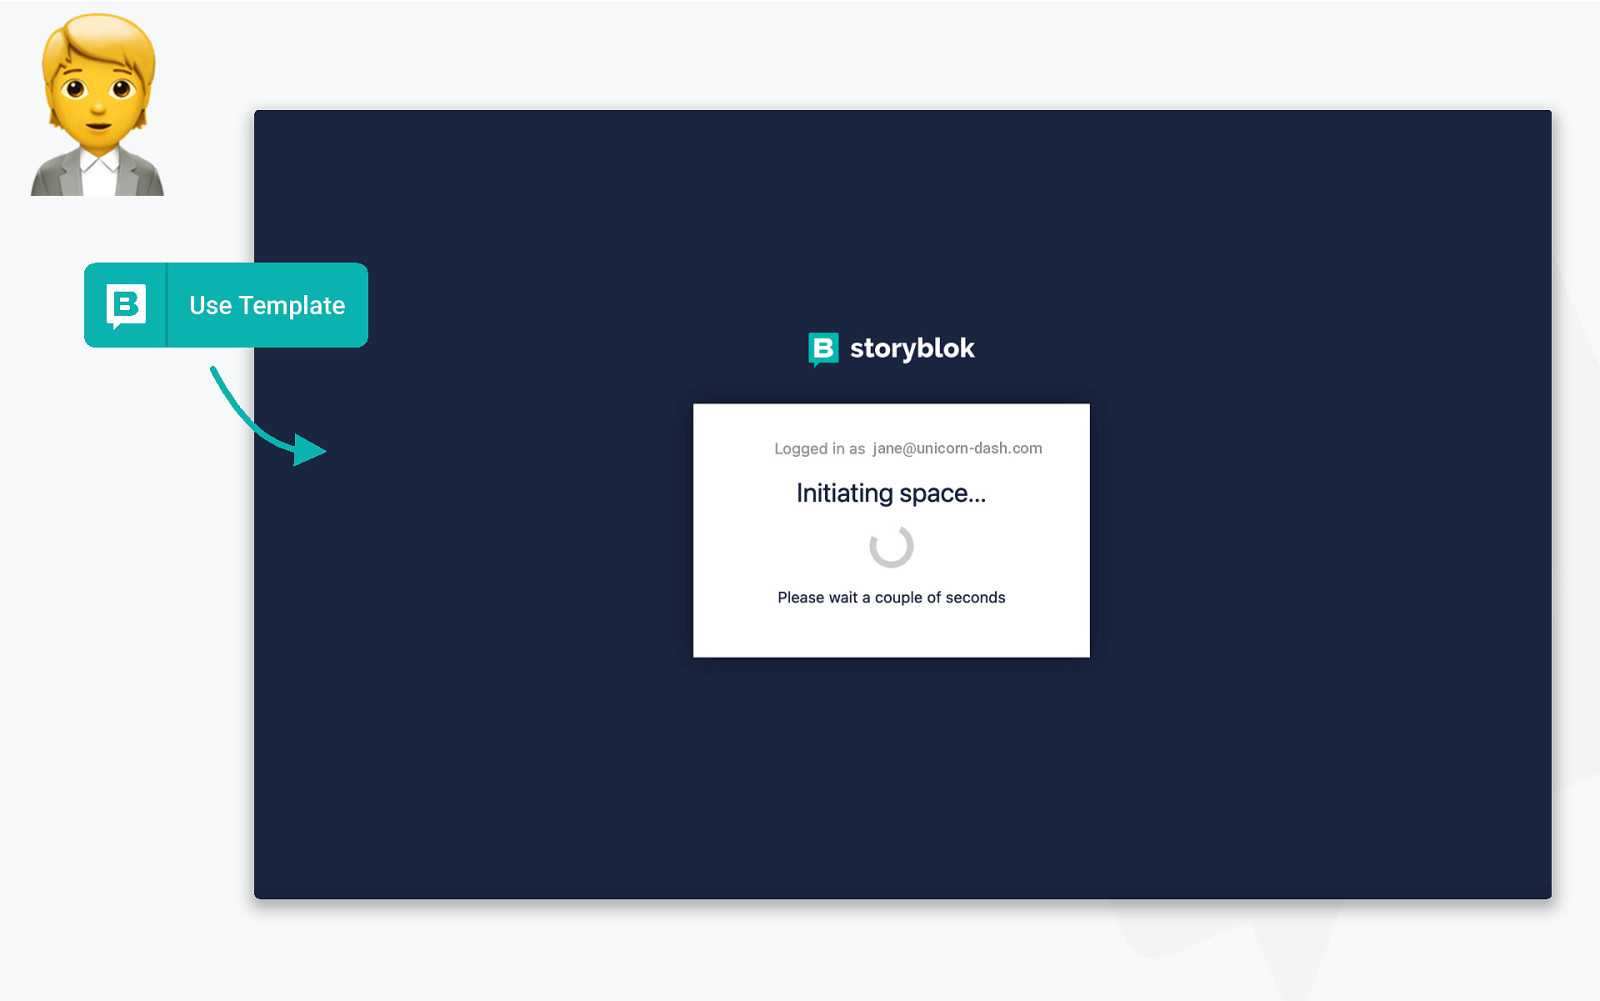
! Use Template jane@unicorn-dash.com
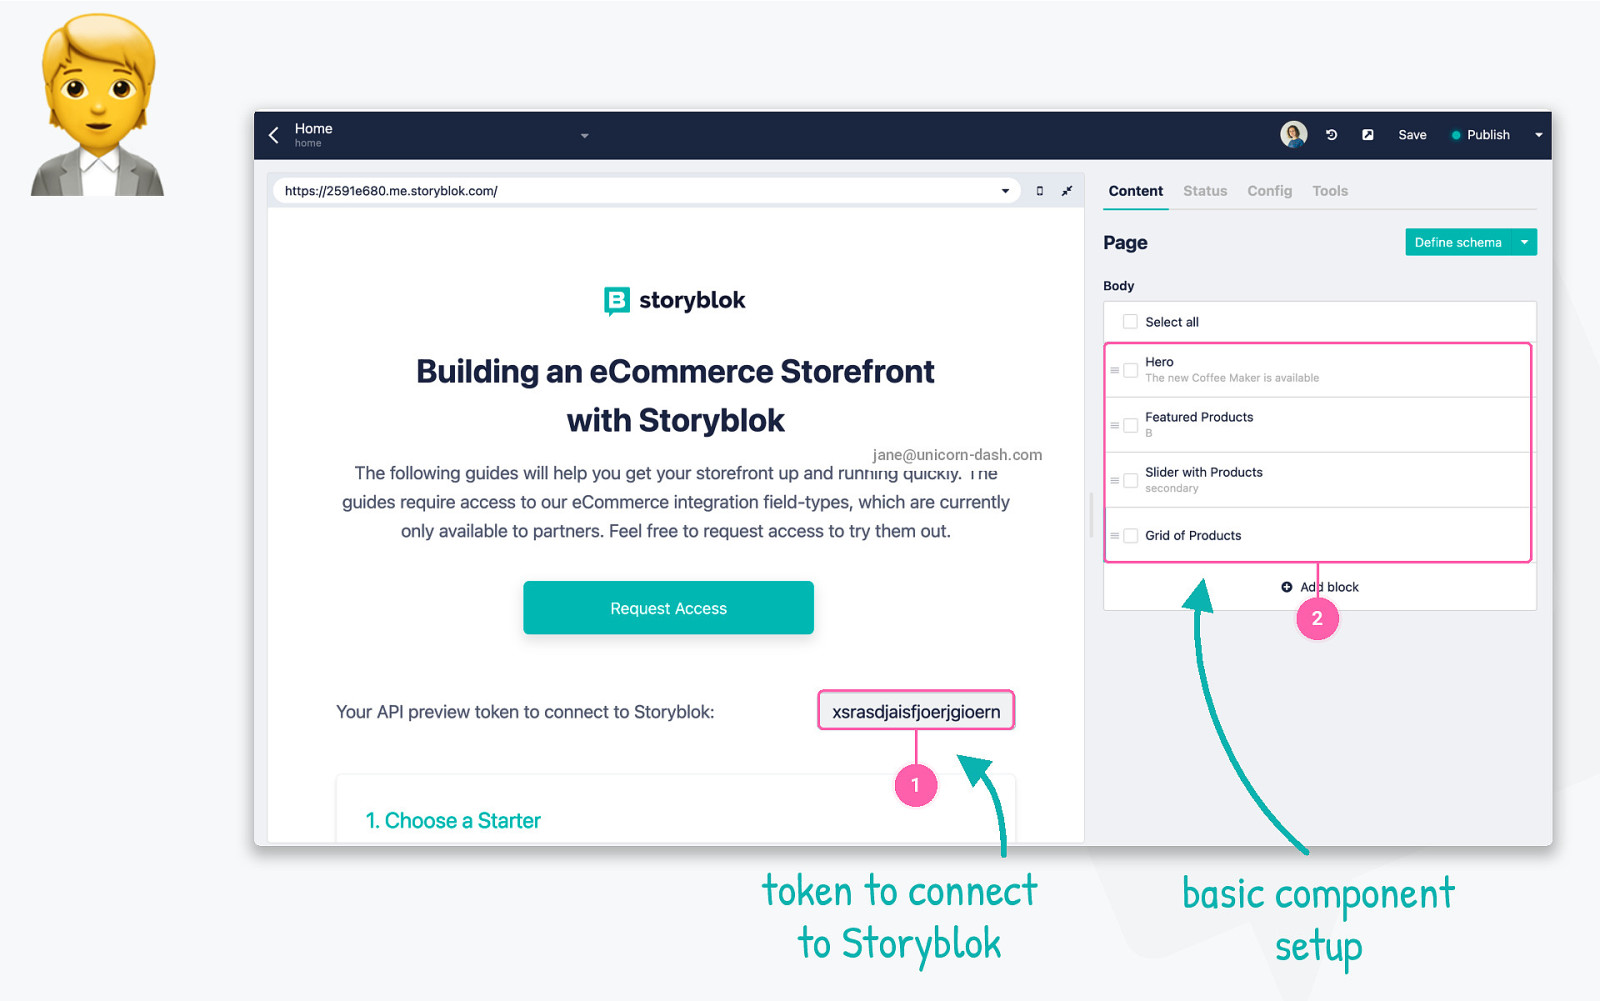
! jane@unicorn-dash.com 2 1 token to connect to Storyblok basic component setup
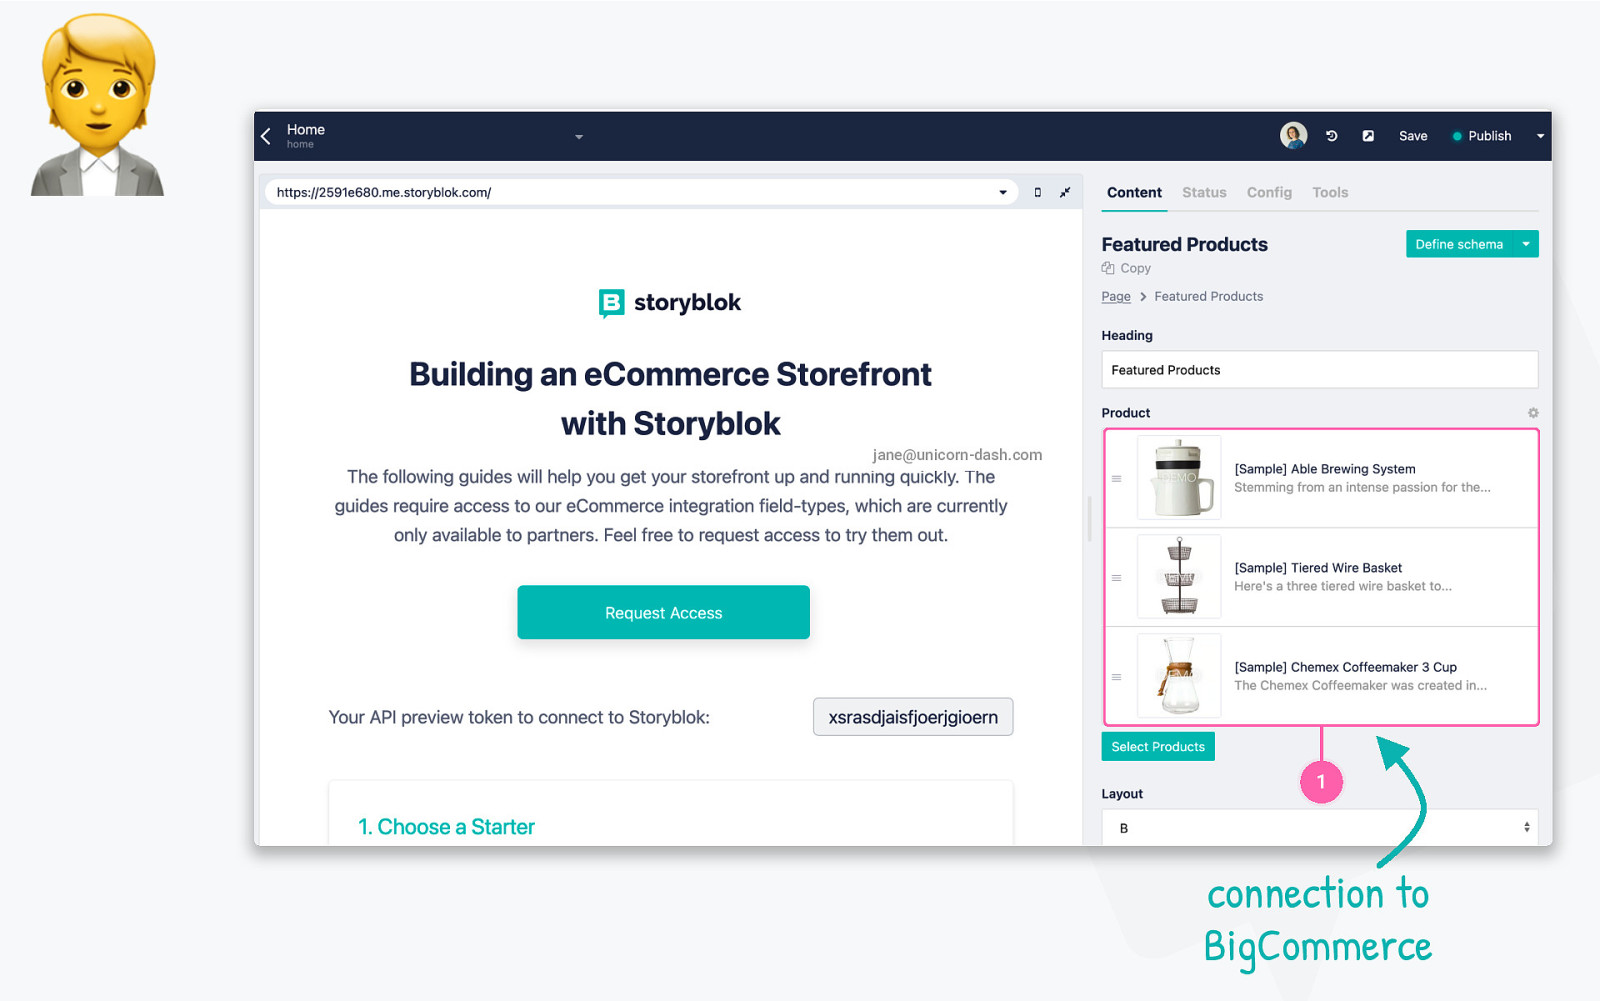
! jane@unicorn-dash.com 1 connection to BigCommerce
! ” #
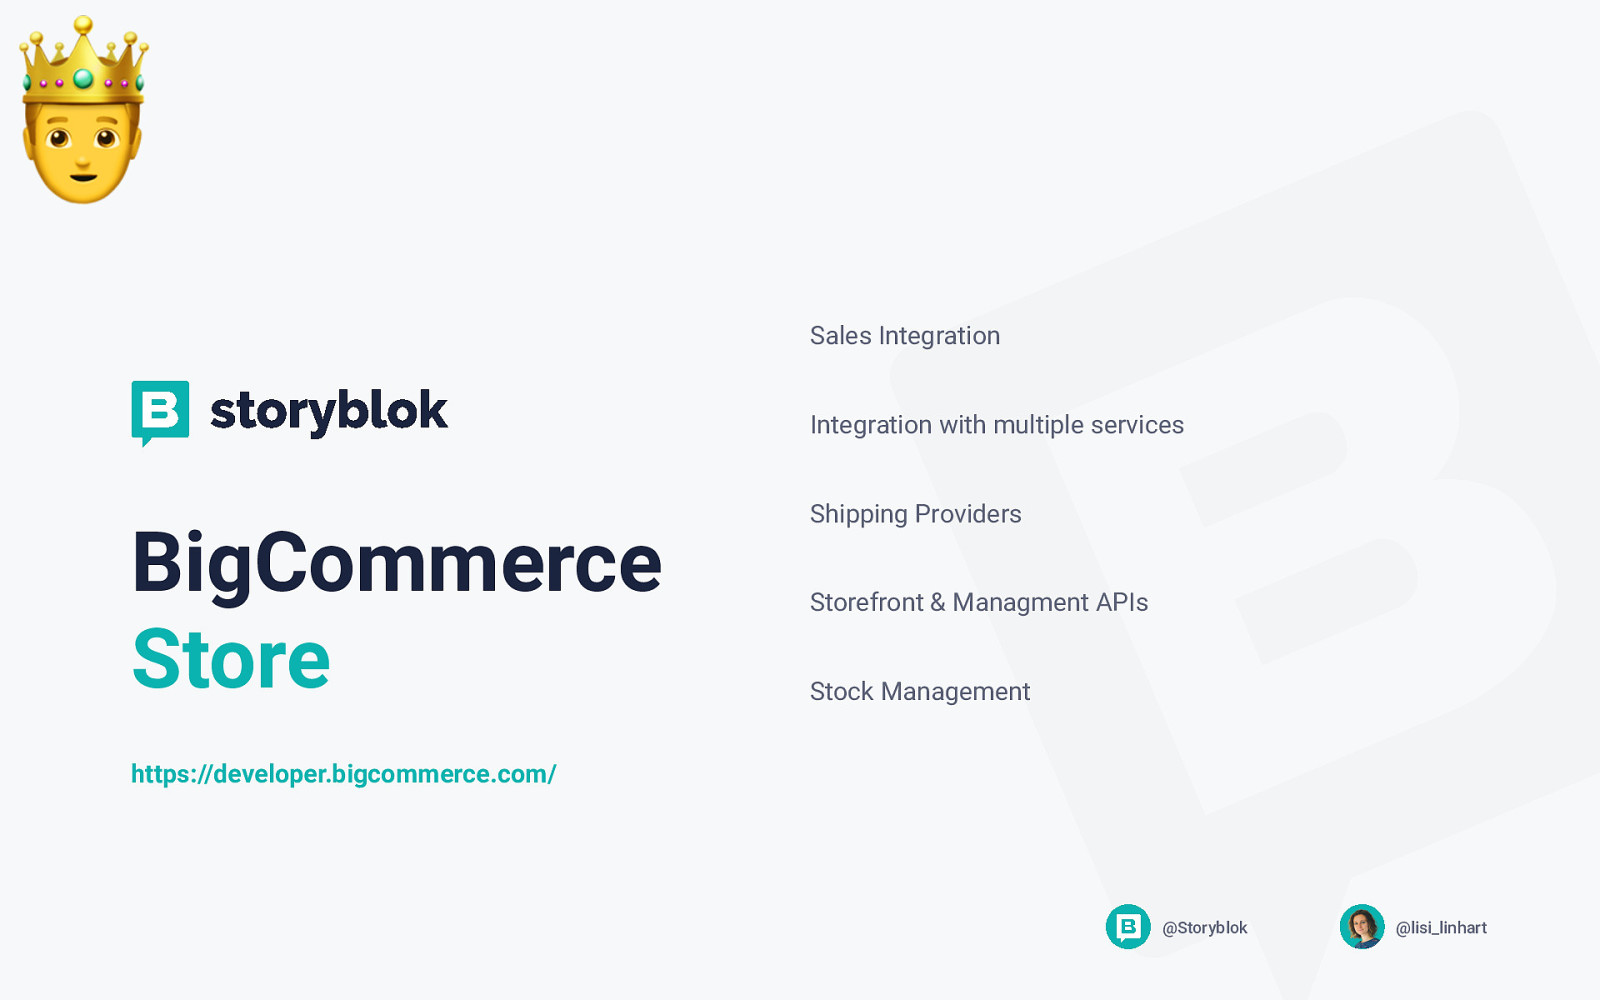
! Sales Integration Integration with multiple services BigCommerce Store Shipping Providers Storefront & Managment APIs Stock Management https://developer.bigcommerce.com/ @Storyblok @lisi_linhart
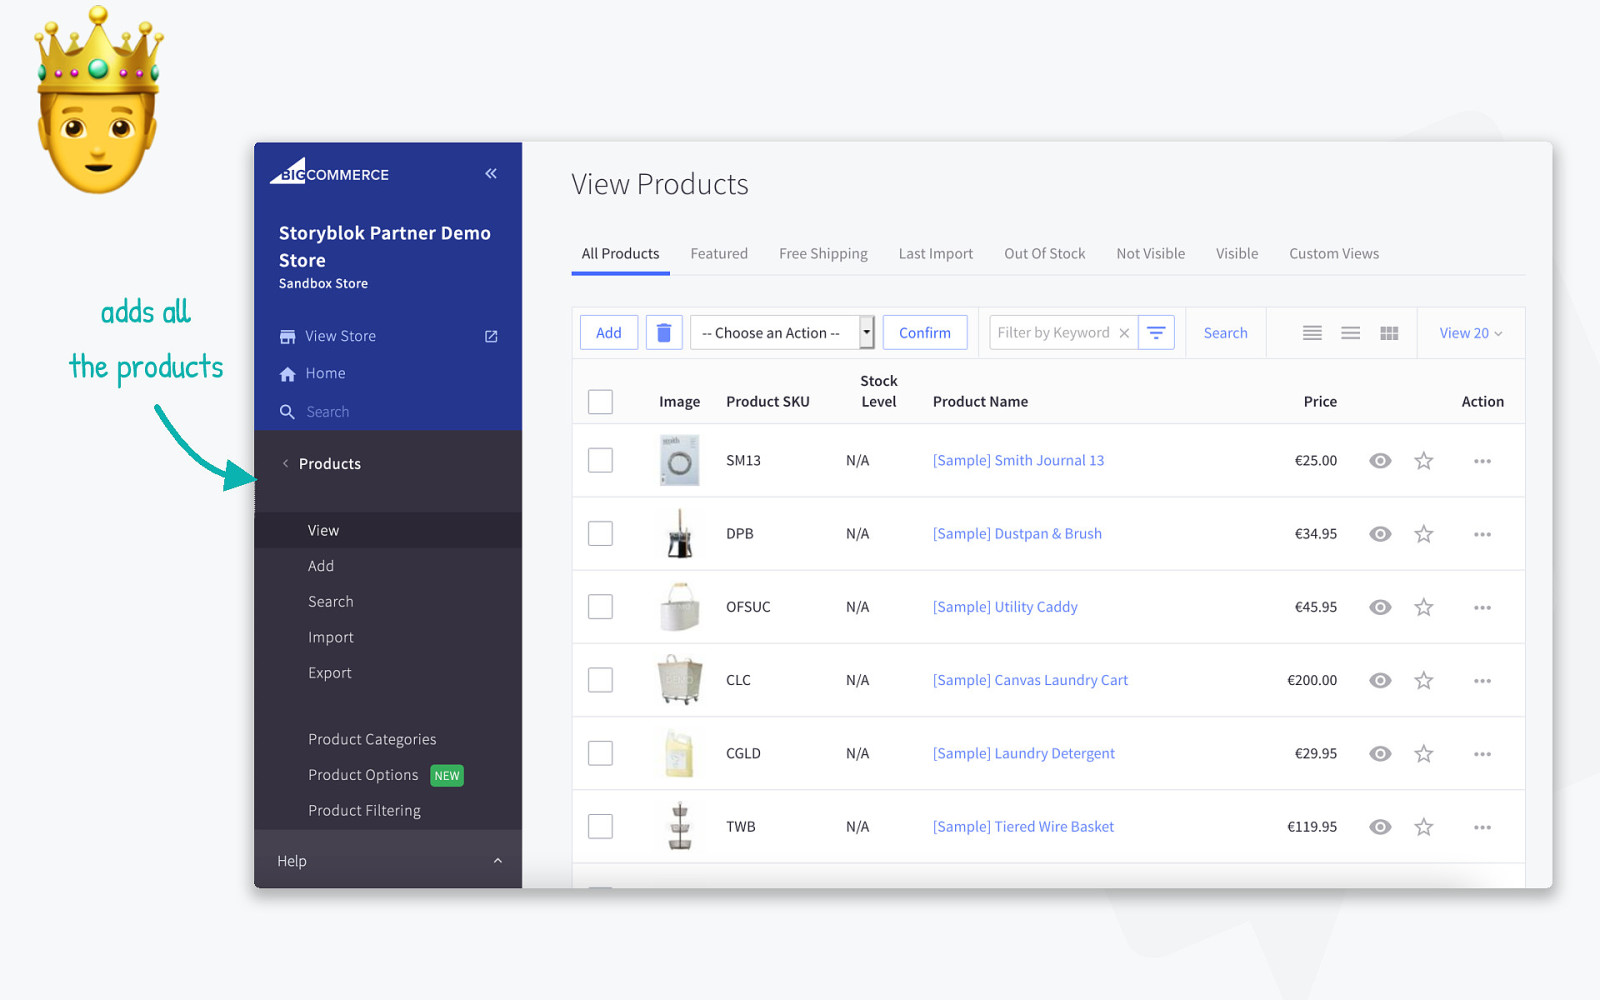
! adds a! the products
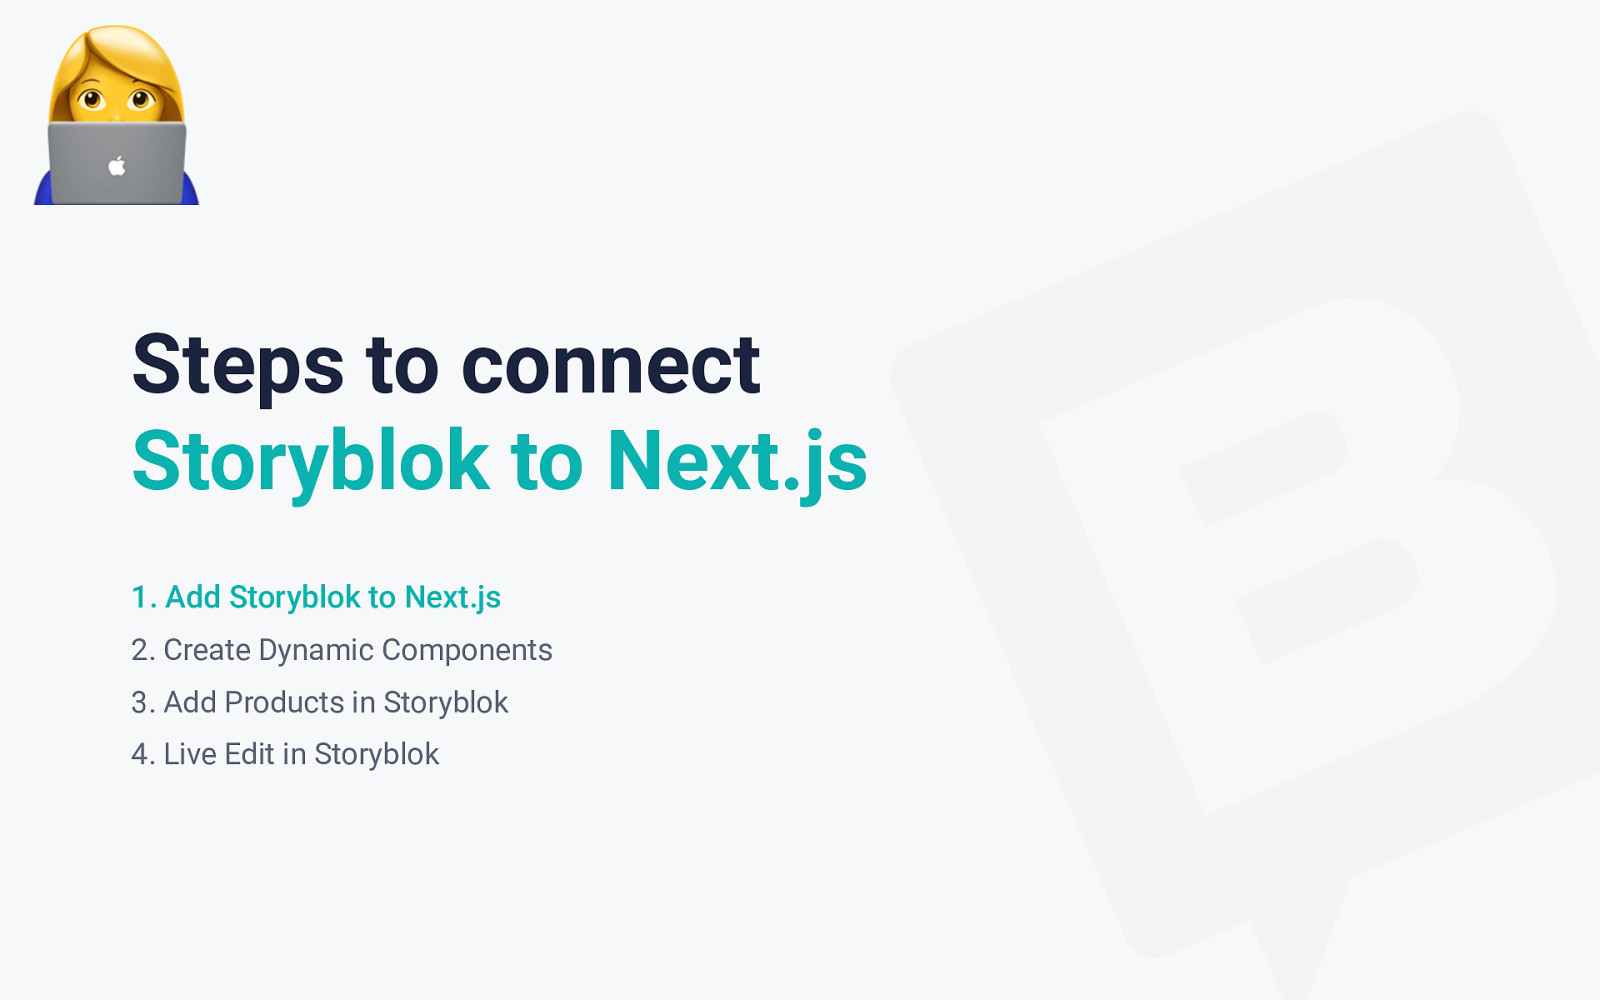
! Steps to connect Storyblok to Next.js 1. Add Storyblok to Next.js 2. Create Dynamic Components 3. Add Products in Storyblok 4. Live Edit in Storyblok
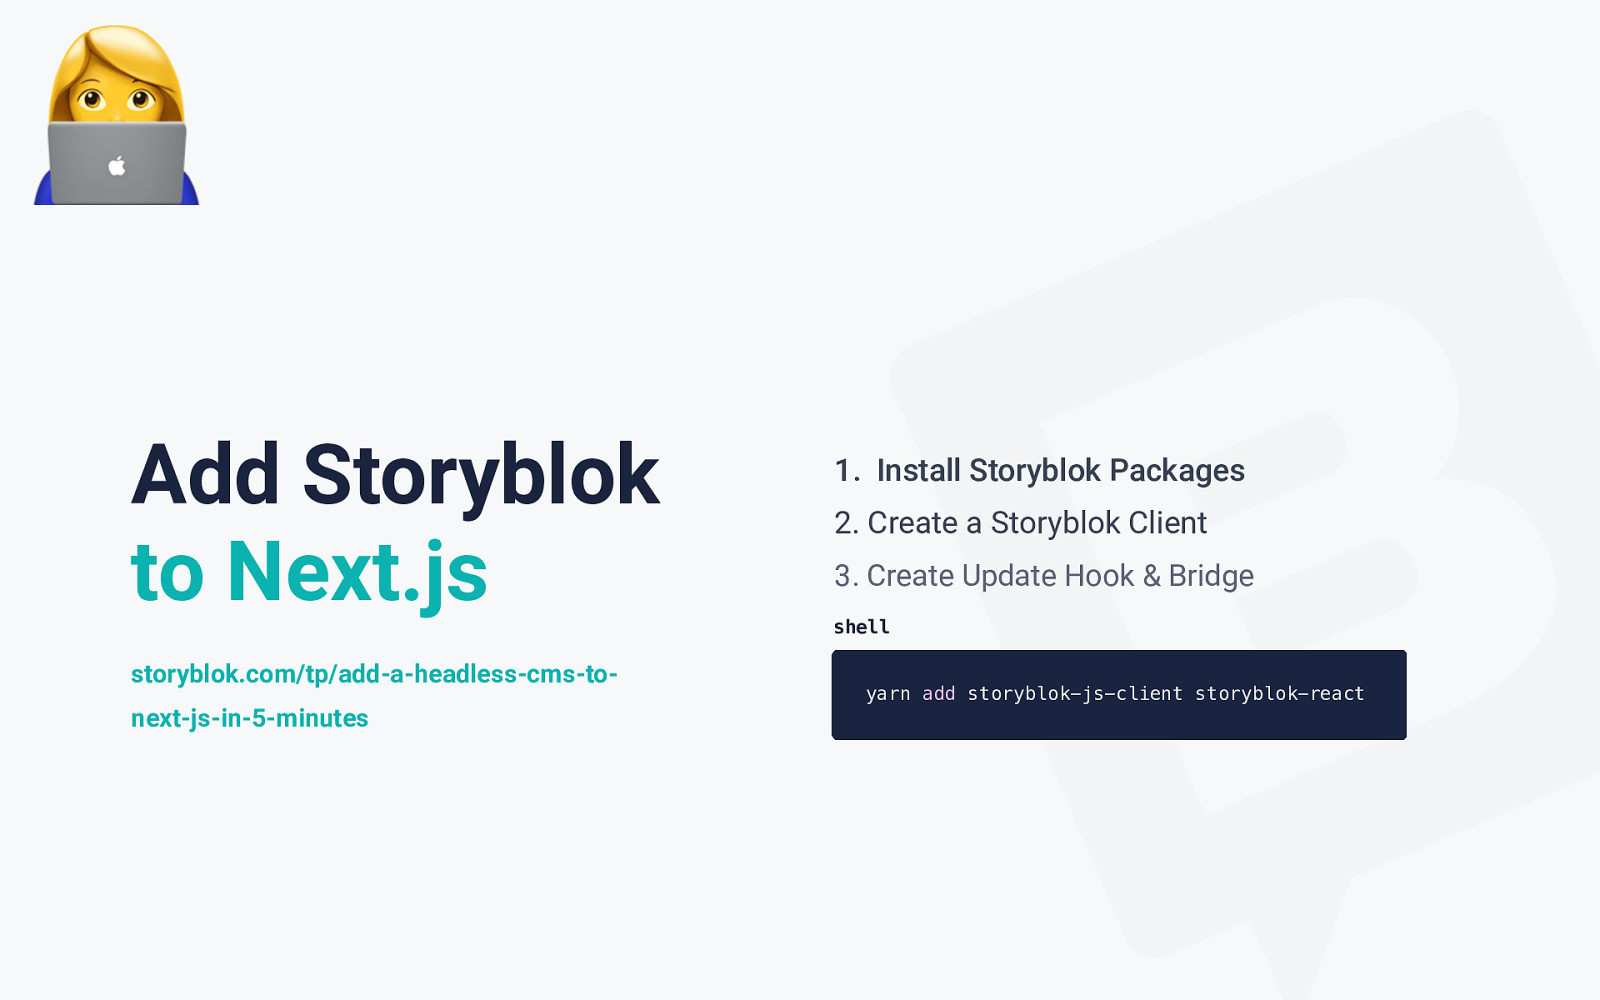
! Add Storyblok to Next.js storyblok.com/tp/add-a-headless-cms-tonext-js-in-5-minutes
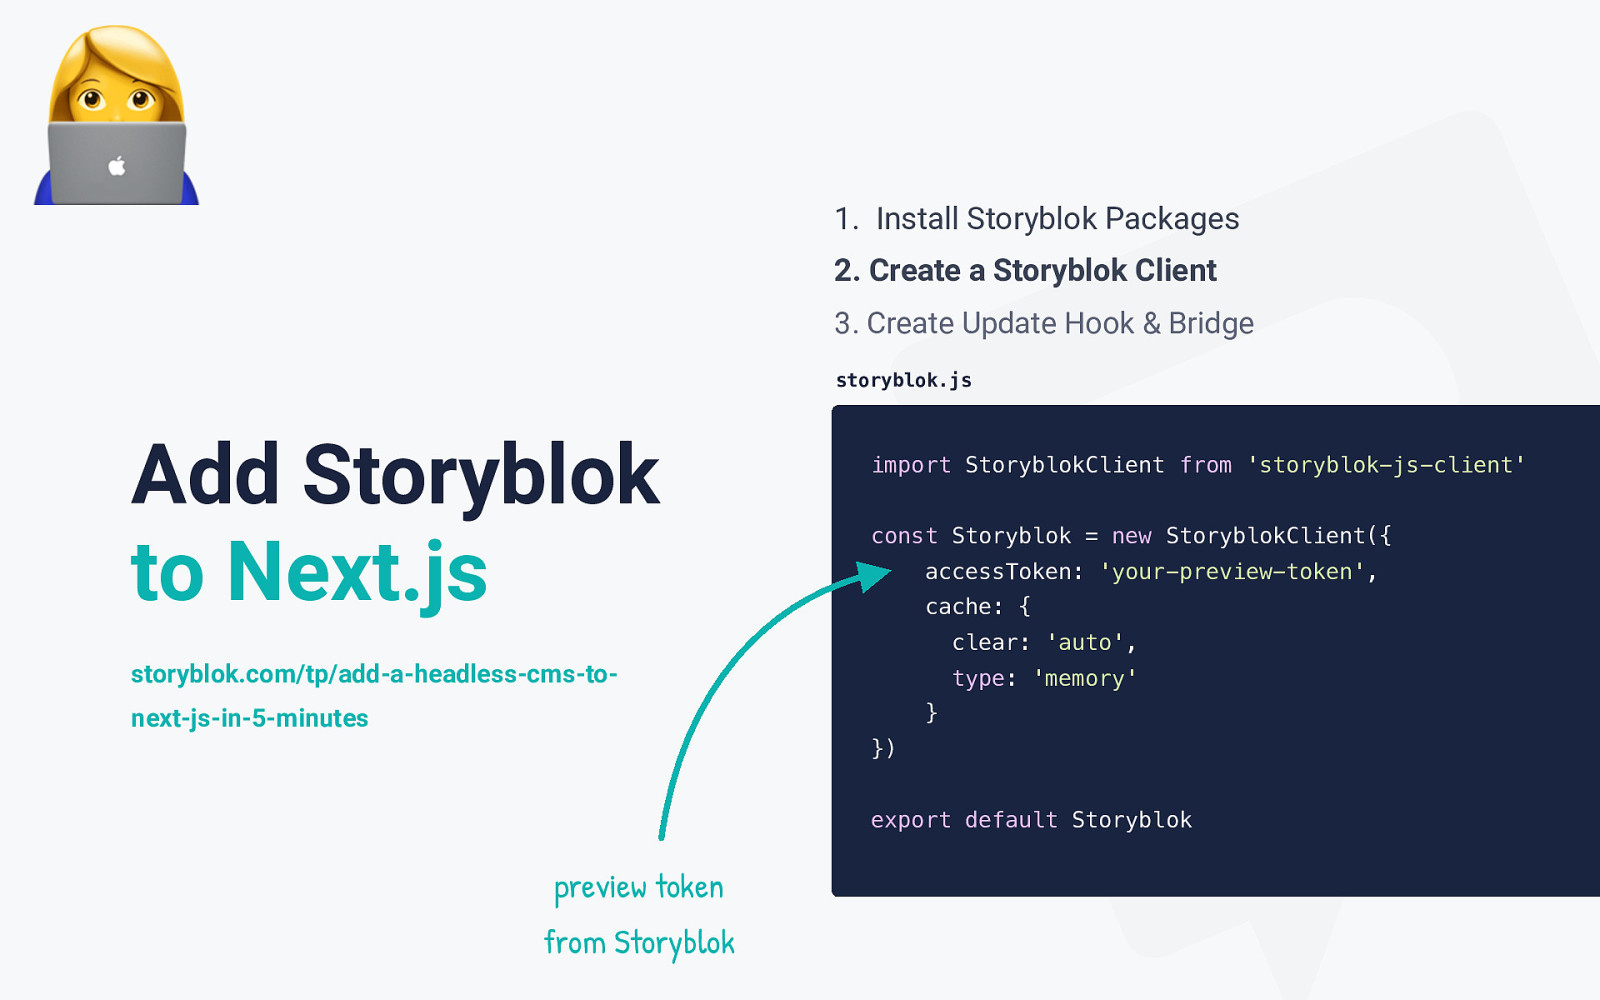
! 1. Install Storyblok Packages 2. Create a Storyblok Client 3. Create Update Hook & Bridge storyblok.js Add Storyblok to Next.js import StoryblokClient from ‘storyblok-js-client’ const Storyblok = new StoryblokClient({ accessToken: ‘your-preview-token’, cache: { clear: ‘auto’, storyblok.com/tp/add-a-headless-cms-to- type: ‘memory’ } next-js-in-5-minutes }) export default Storyblok preview token from Storyblok

! 1. Install Storyblok Packages 2. Create a Storyblok Client 3. Create Update Hook & Bridge storyblok.js Add Storyblok to Next.js export function useStoryblok(originalStory) { let [story, setStory] = useState(originalStory); function initEventListeners() { // adds the event listeners // and calls setStory } function addBridge(callback) { // adds the bridge <script> tag } storyblok.com/tp/add-a-headless-cms-tonext-js-in-5-minutes useEffect(() => { // first load the bridge, then initialize the event listeners addBridge(initEventListeners); }); return story; }
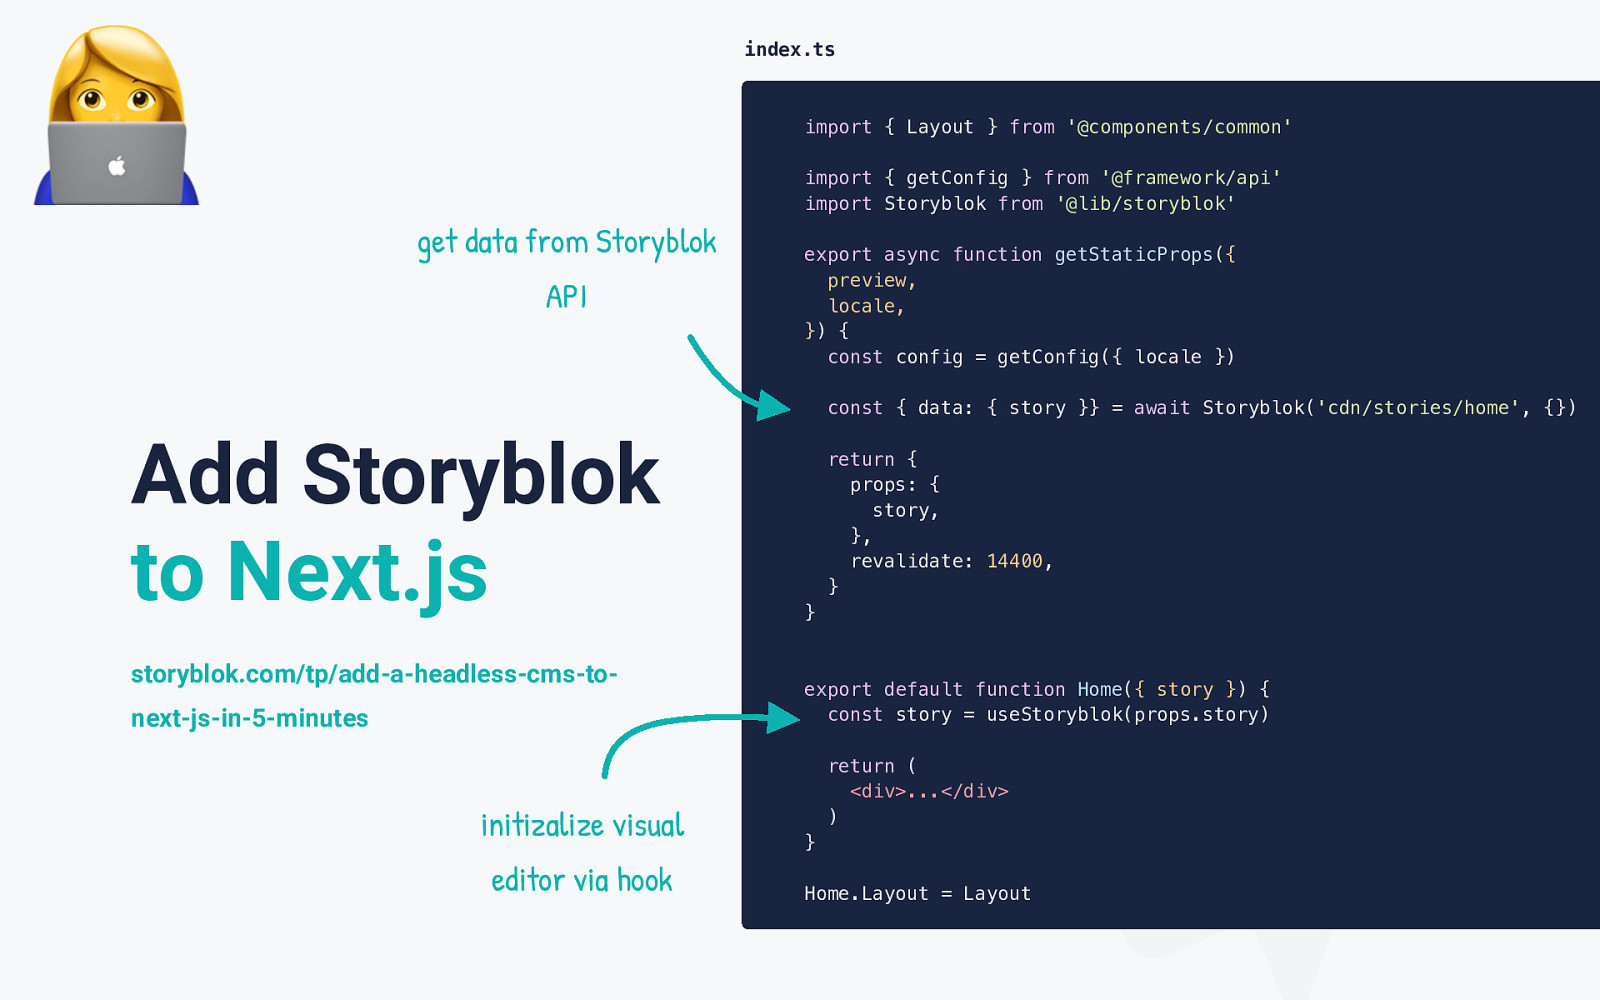
! index.ts import { Layout } from ‘@components/common’ import { getConfig } from ‘@framework/api’ import Storyblok from ‘@lib/storyblok’ get data from Storyblok API export async function getStaticProps({ preview, locale, }) { const config = getConfig({ locale }) const { data: { story }} = await Storyblok(‘cdn/stories/home’, {}) Add Storyblok to Next.js storyblok.com/tp/add-a-headless-cms-tonext-js-in-5-minutes initizalize visual editor via hook return { props: { story, }, revalidate: 14400, } } export default function Home({ story }) { const story = useStoryblok(props.story) return ( <div>…</div> ) } Home.Layout = Layout
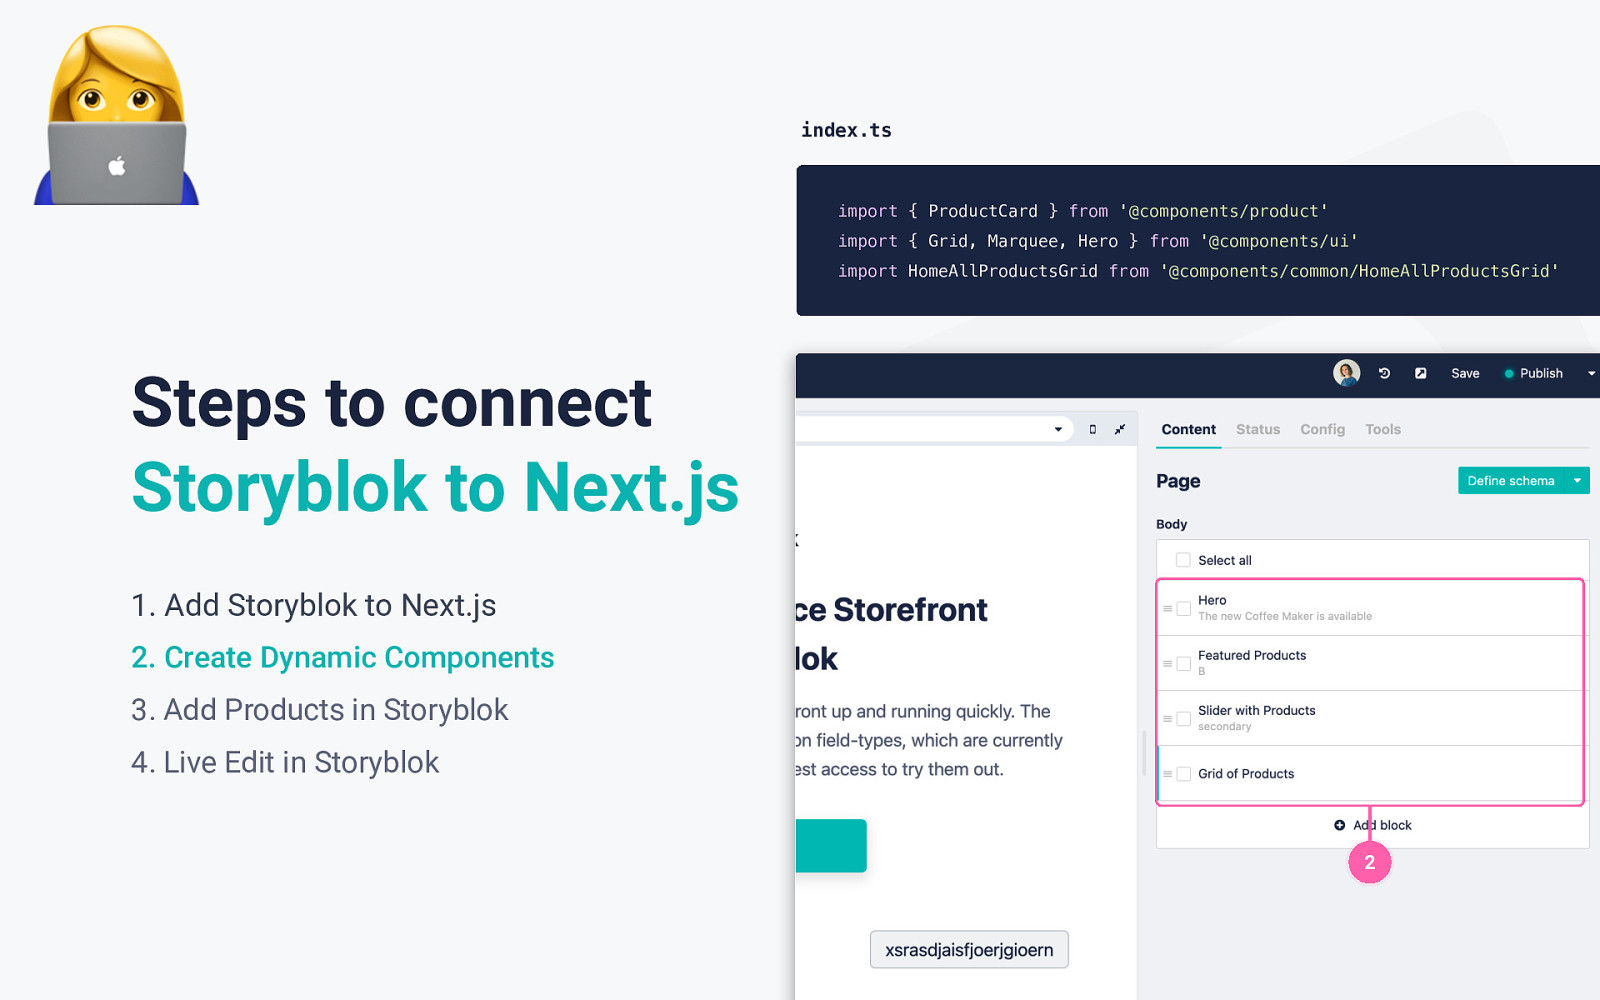
! index.ts import { ProductCard } from ‘@components/product’ import { Grid, Marquee, Hero } from ‘@components/ui’ import HomeAllProductsGrid from ‘@components/common/HomeAllProductsGrid’ Steps to connect Storyblok to Next.js 1. Add Storyblok to Next.js 2. Create Dynamic Components 3. Add Products in Storyblok 4. Live Edit in Storyblok 2
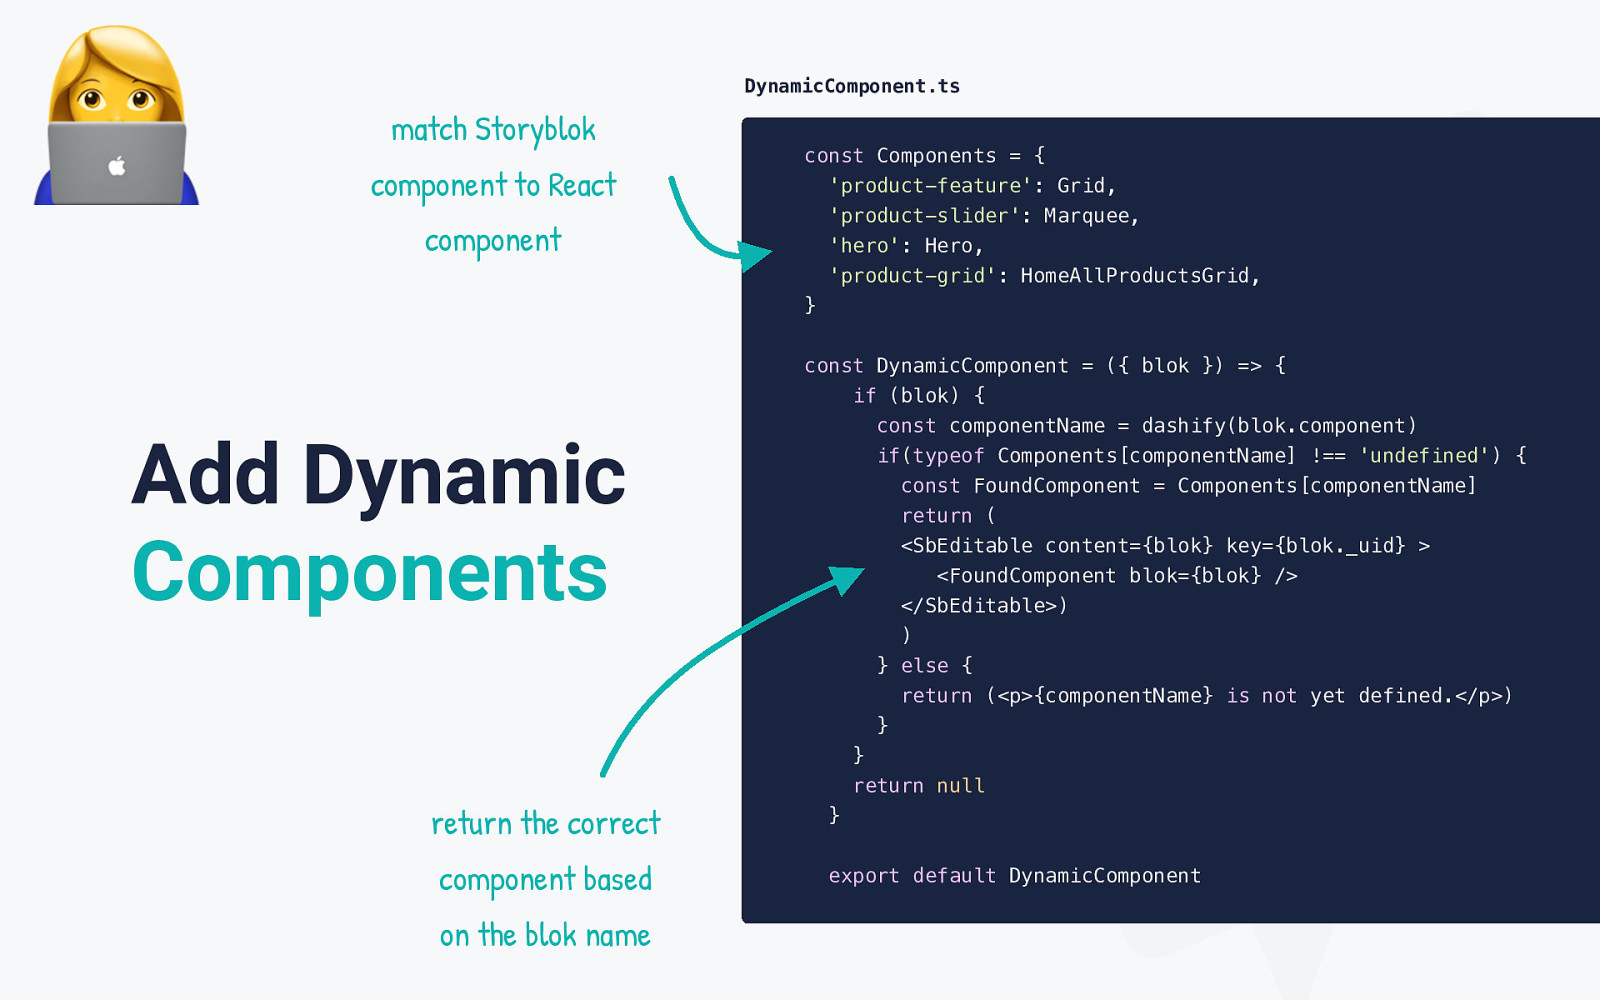
! DynamicComponent.ts match Storyblok component to React component Add Dynamic Components return the correct component based on the blok name const Components = { ‘product-feature’: Grid, ‘product-slider’: Marquee, ‘hero’: Hero, ‘product-grid’: HomeAllProductsGrid, } const DynamicComponent = ({ blok }) => { if (blok) { const componentName = dashify(blok.component) if(typeof Components[componentName] !== ‘undefined’) { const FoundComponent = Components[componentName] return ( <SbEditable content={blok} key={blok._uid} > <FoundComponent blok={blok} /> </SbEditable>) ) } else { return (<p>{componentName} is not yet defined.</p>) } } return null } export default DynamicComponent
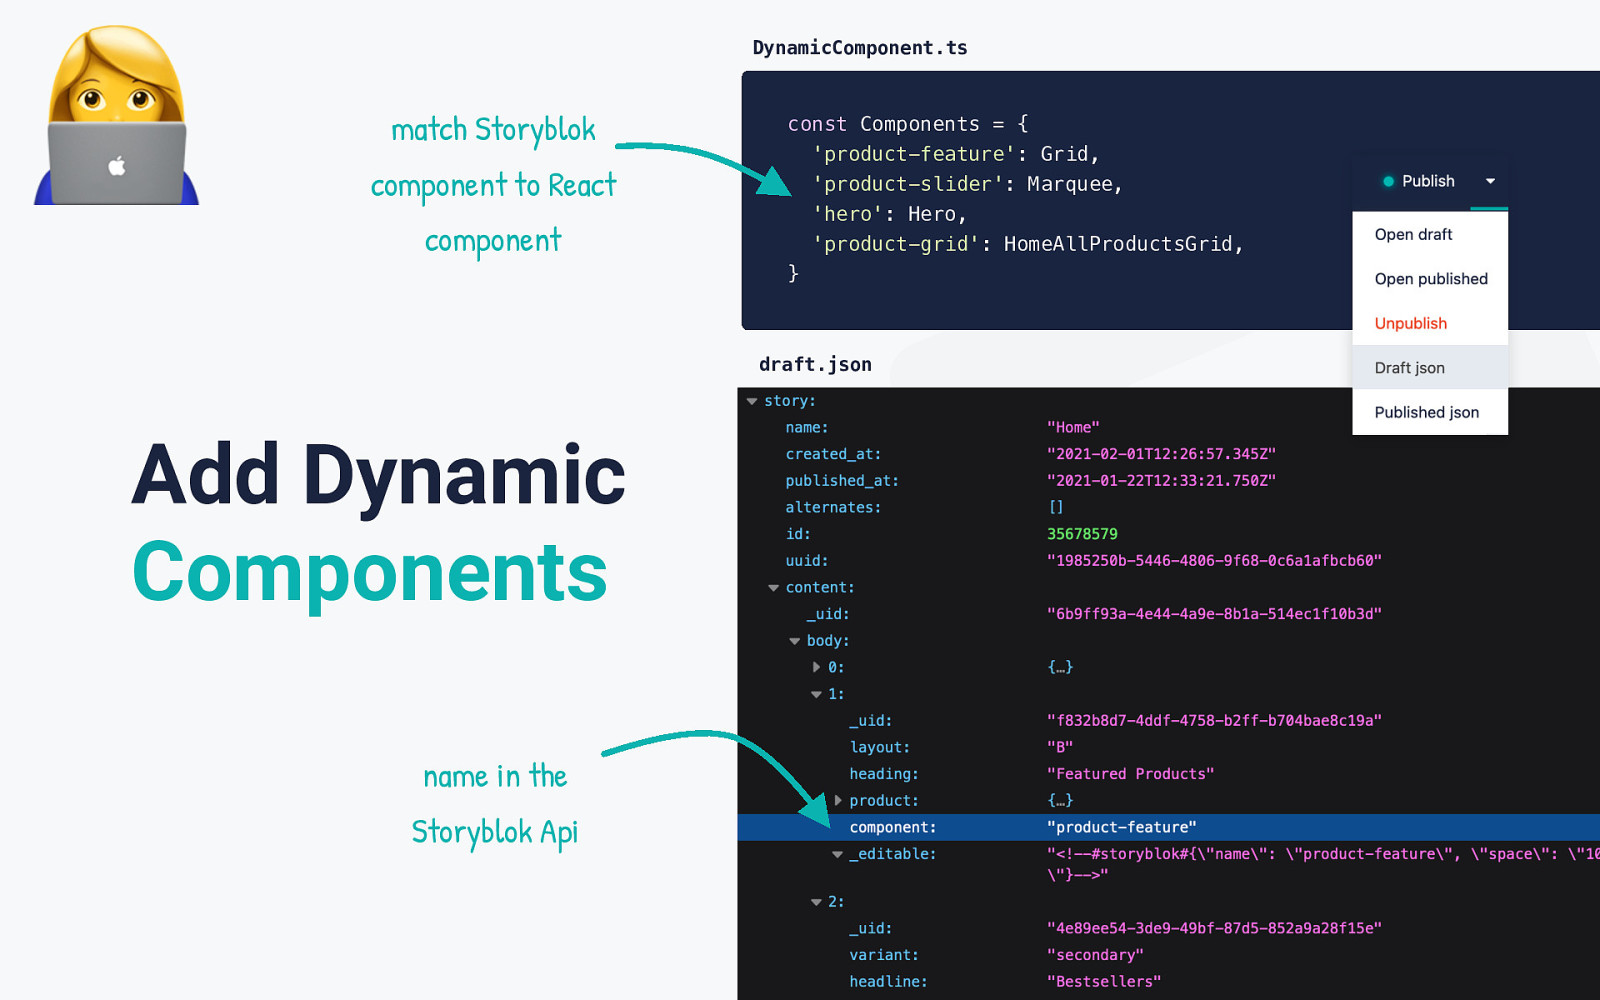
! DynamicComponent.ts match Storyblok component to React component Add Dynamic Components const Components = { ‘product-feature’: Grid, ‘product-slider’: Marquee, ‘hero’: Hero, ‘product-grid’: HomeAllProductsGrid, } const DynamicComponent = ({ blok }) => { draft.json if (blok) { const componentName = dashify(blok.component) if(typeof Components[componentName] !== ‘undefined’) { const FoundComponent = Components[componentName] return (<FoundComponent blok={blok} />) } else { return (<p>{componentName} is not yet defined.</p>) } } return null } export default DynamicComponent name in the Storyblok Api
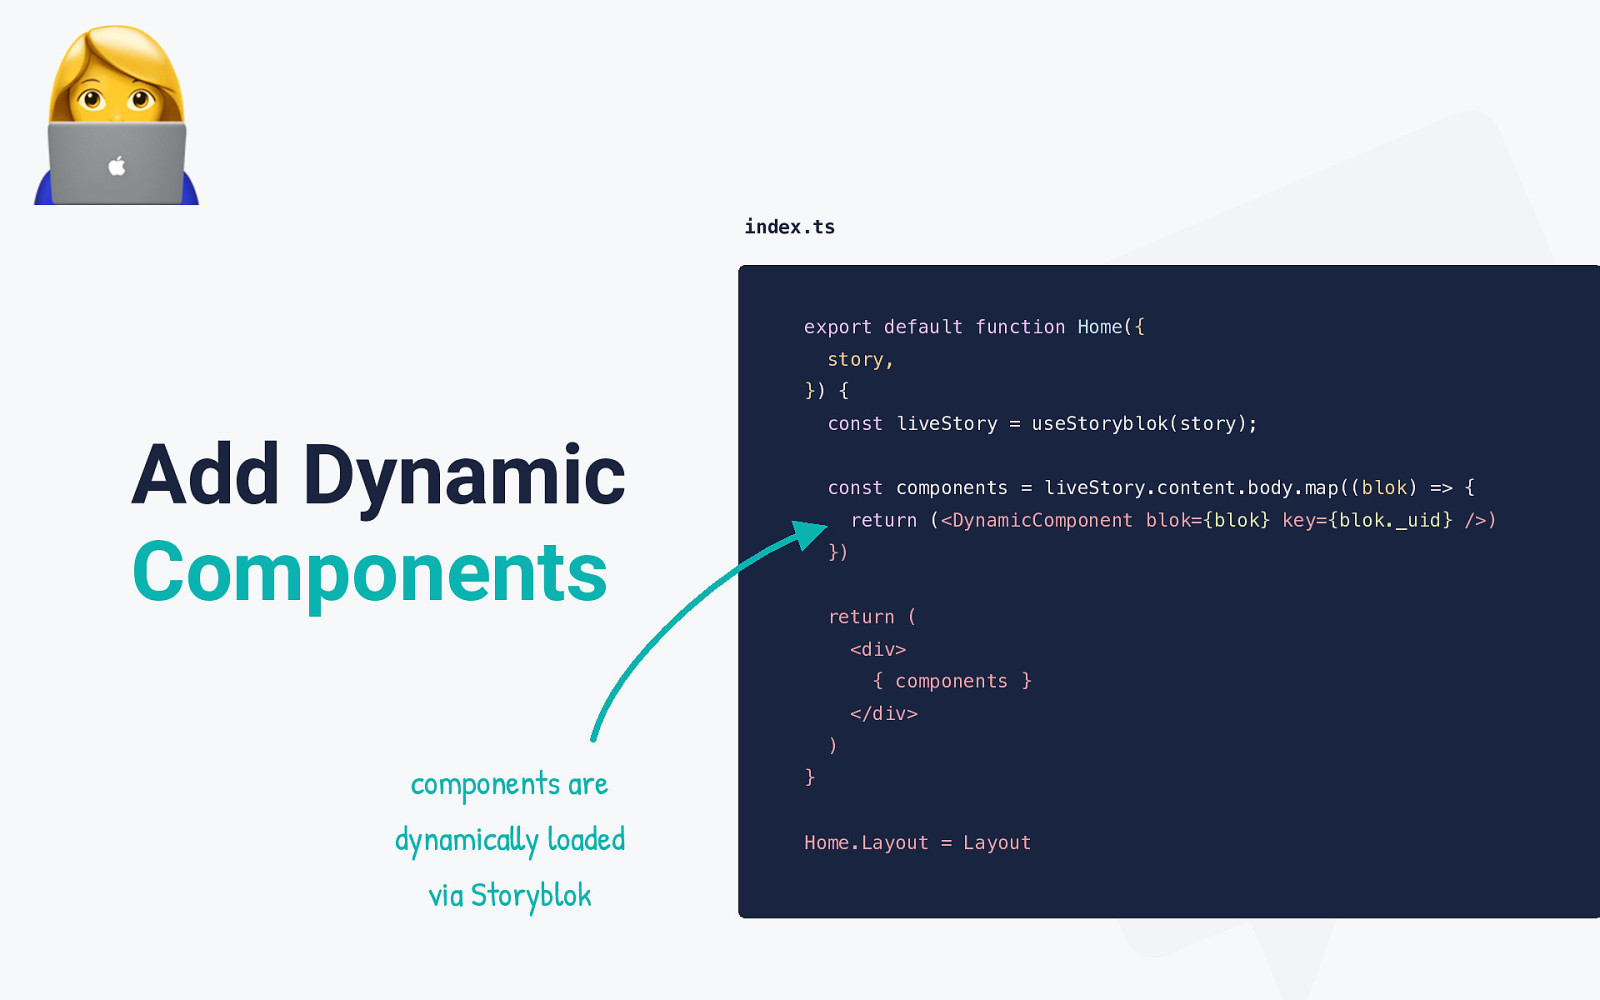
! index.ts export default function Home({ story, }) { const liveStory = useStoryblok(story); Add Dynamic Components const components = liveStory.content.body.map((blok) => { return (<DynamicComponent blok={blok} key={blok._uid} />) }) return ( <div> { components } </div> ) components are dynamica!y loaded via Storyblok } Home.Layout = Layout
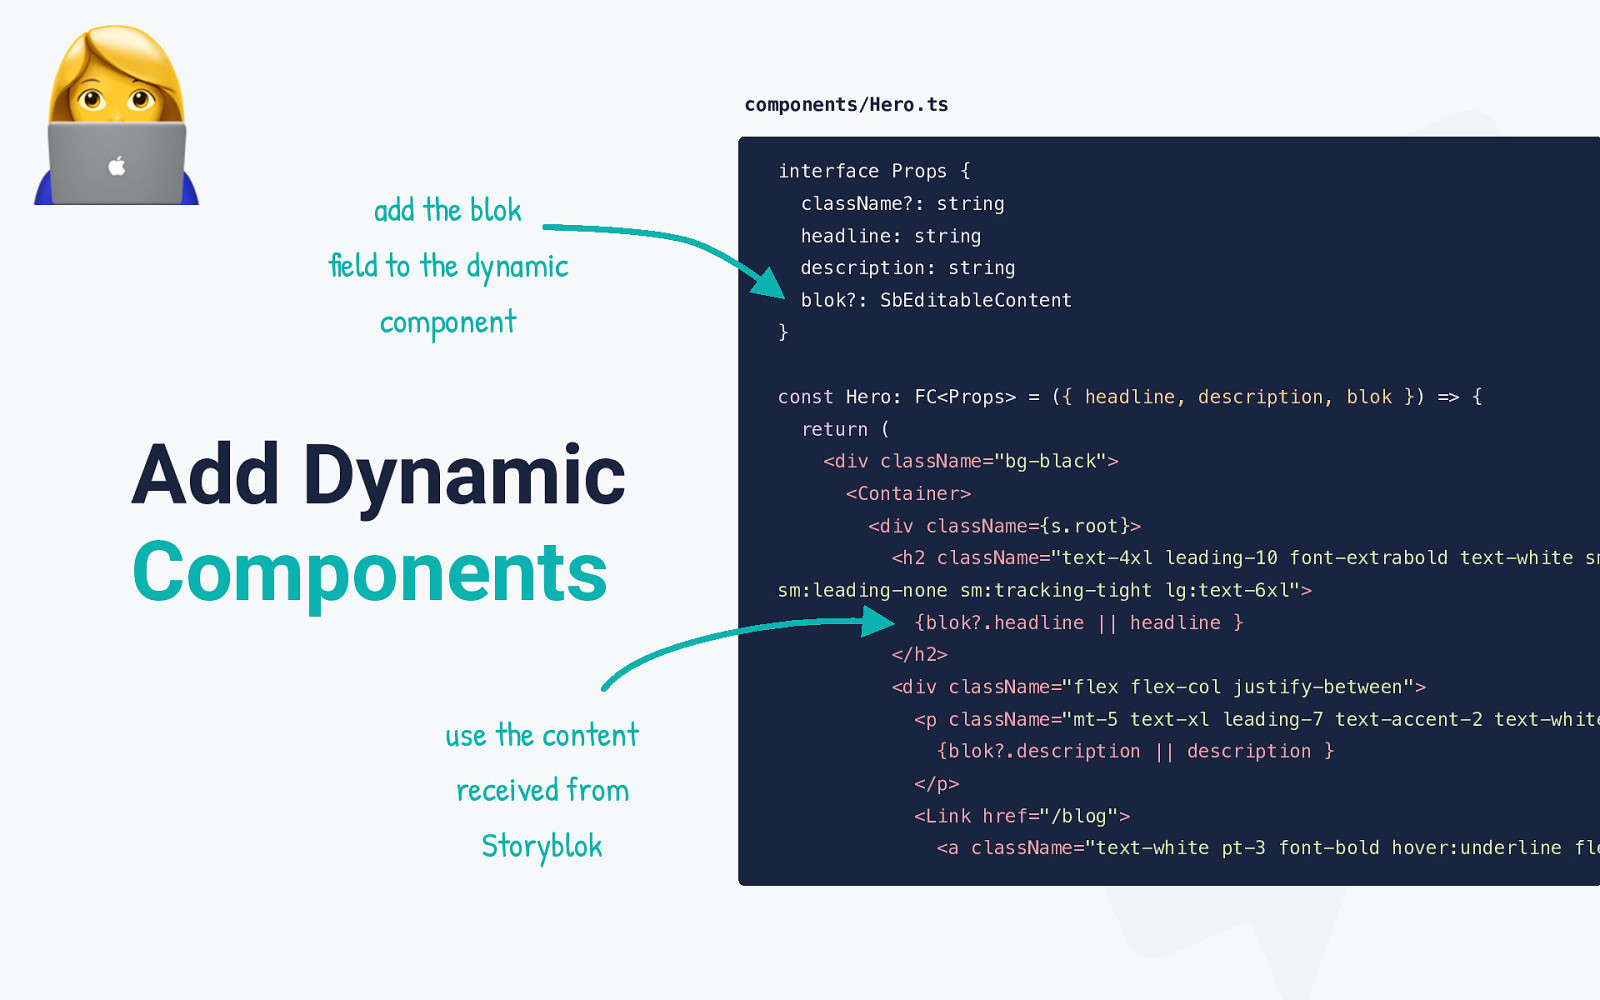
! components/Hero.ts interface Props { add the blok className?: string headline: string !eld to the dynamic component description: string blok?: SbEditableContent } const Hero: FC<Props> = ({ headline, description, blok }) => { Add Dynamic Components return ( <div className=”bg-black”> <Container> <div className={s.root}>
<h2 className=”text-4xl leading-10 font-extrabold text-white sm sm:leading-none sm:tracking-tight lg:text-6xl”> {blok?.headline || headline } </h2> <div className=”flex flex-col justify-between”> use the content received from Storyblok <p className=”mt-5 text-xl leading-7 text-accent-2 text-white {blok?.description || description } </p> <Link href=”/blog”> <a className=”text-white pt-3 font-bold hover:underline fle cursor-pointer w-max-content”> Read it here <RightArrow width=”20” heigh=”20” className=”ml-1” /> </a>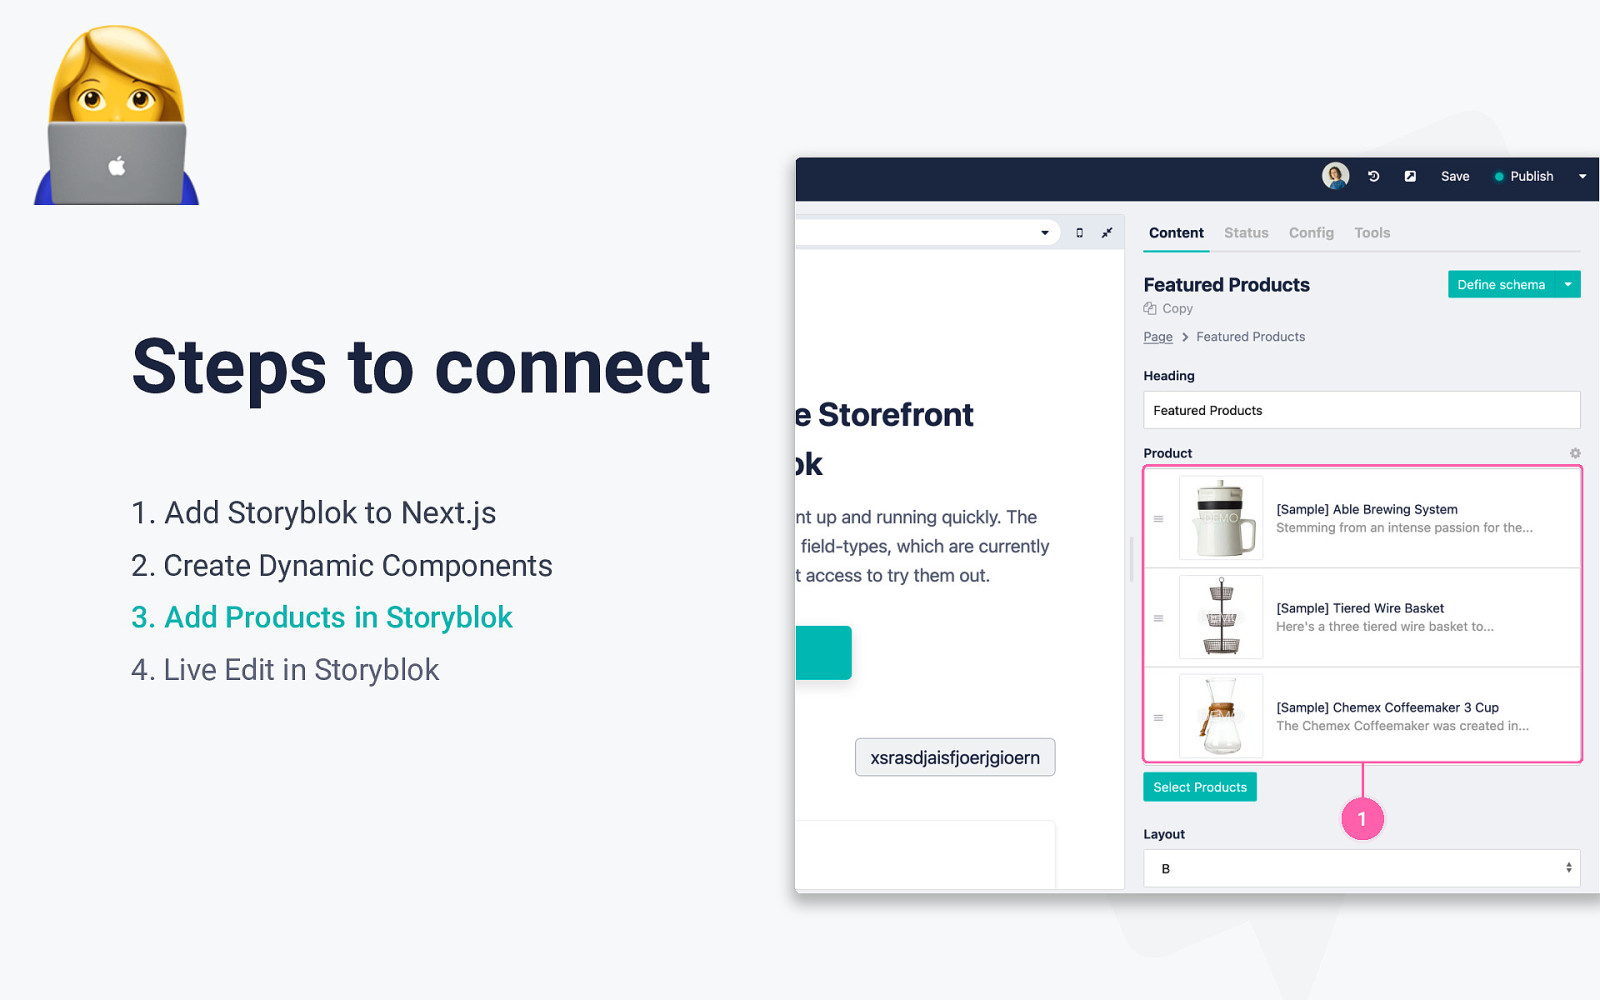
! Steps to connect 1. Add Storyblok to Next.js 2. Create Dynamic Components 3. Add Products in Storyblok 4. Live Edit in Storyblok 1
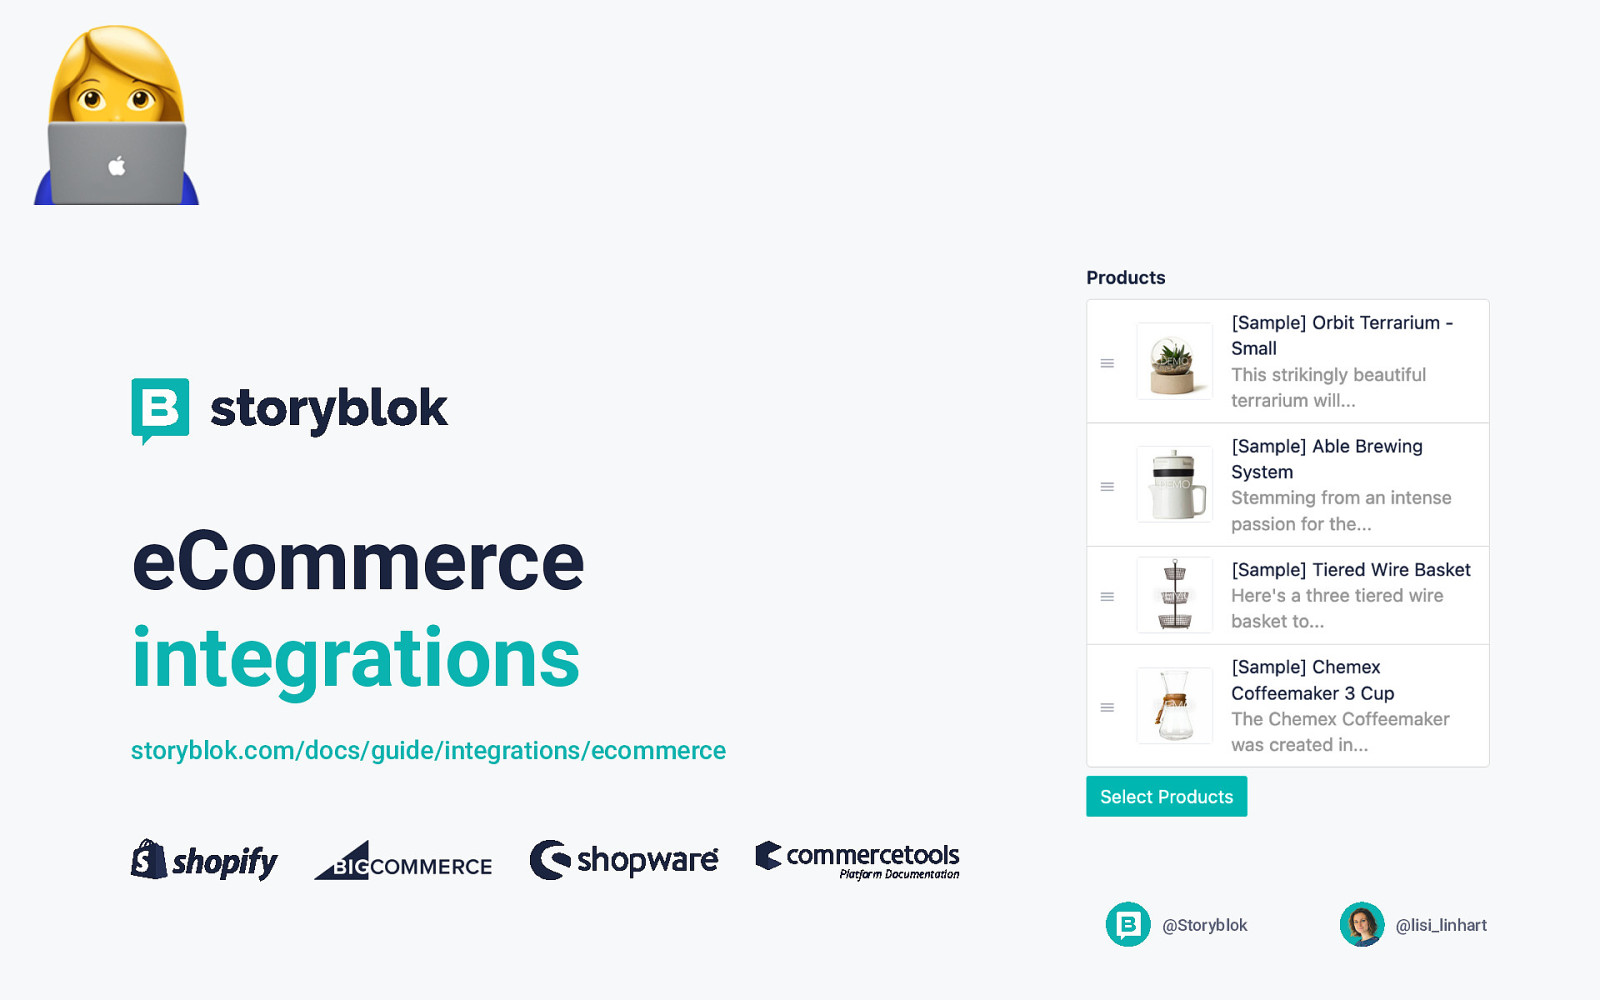
! eCommerce integrations storyblok.com/docs/guide/integrations/ecommerce @Storyblok @lisi_linhart
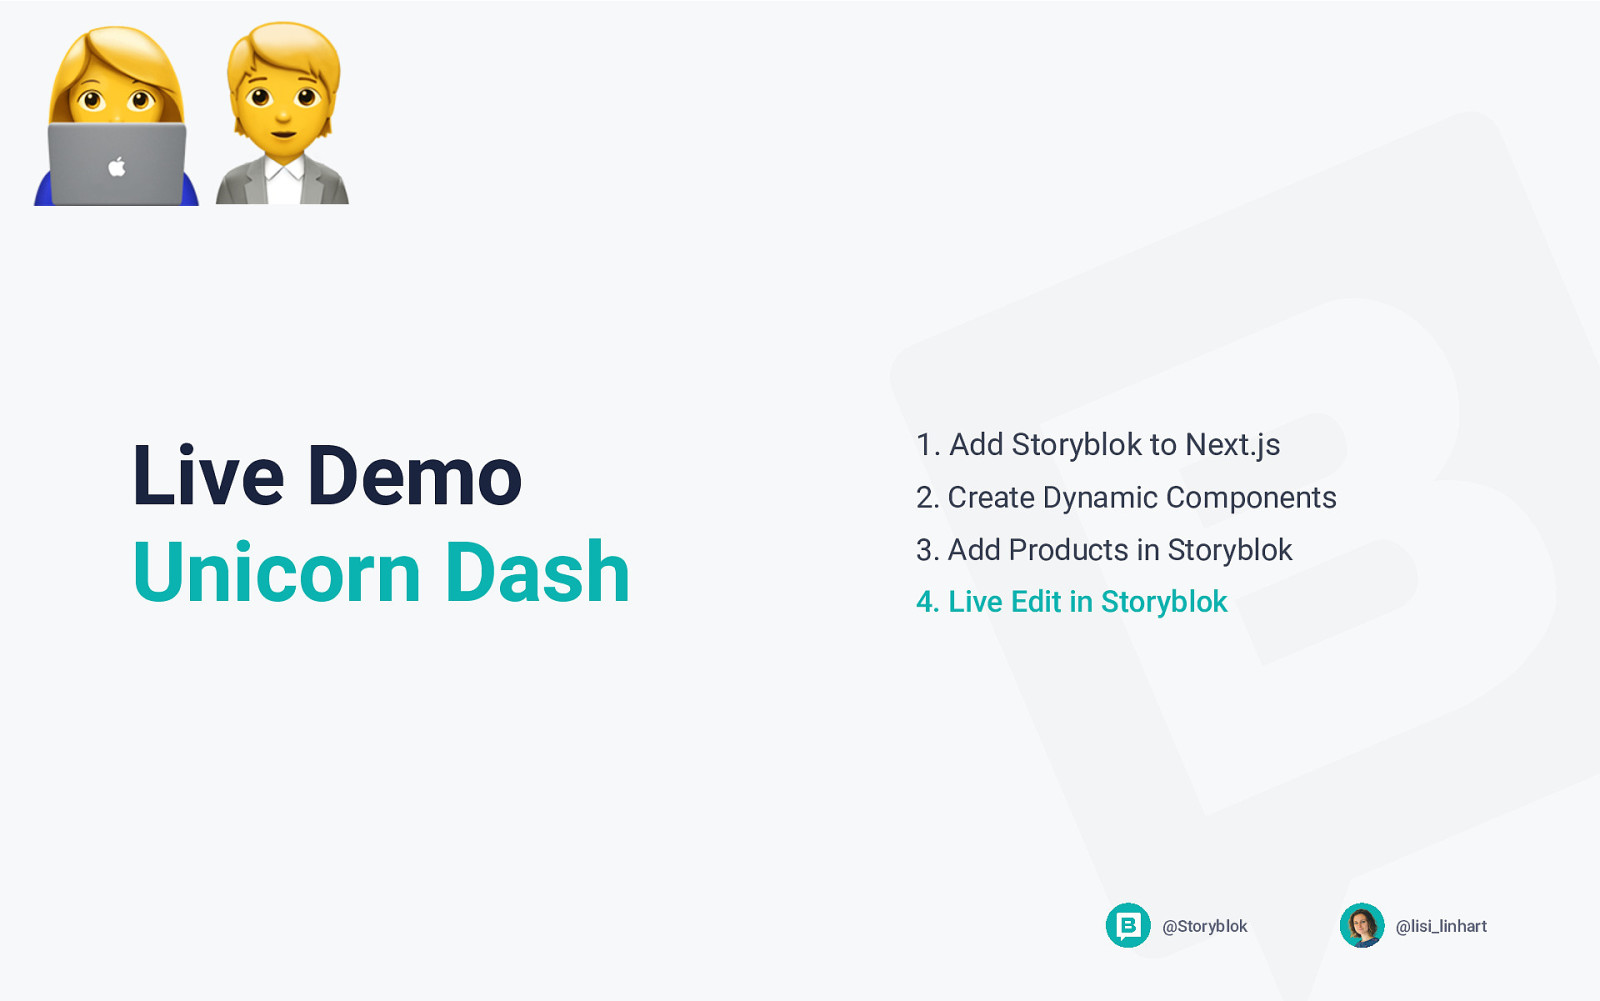
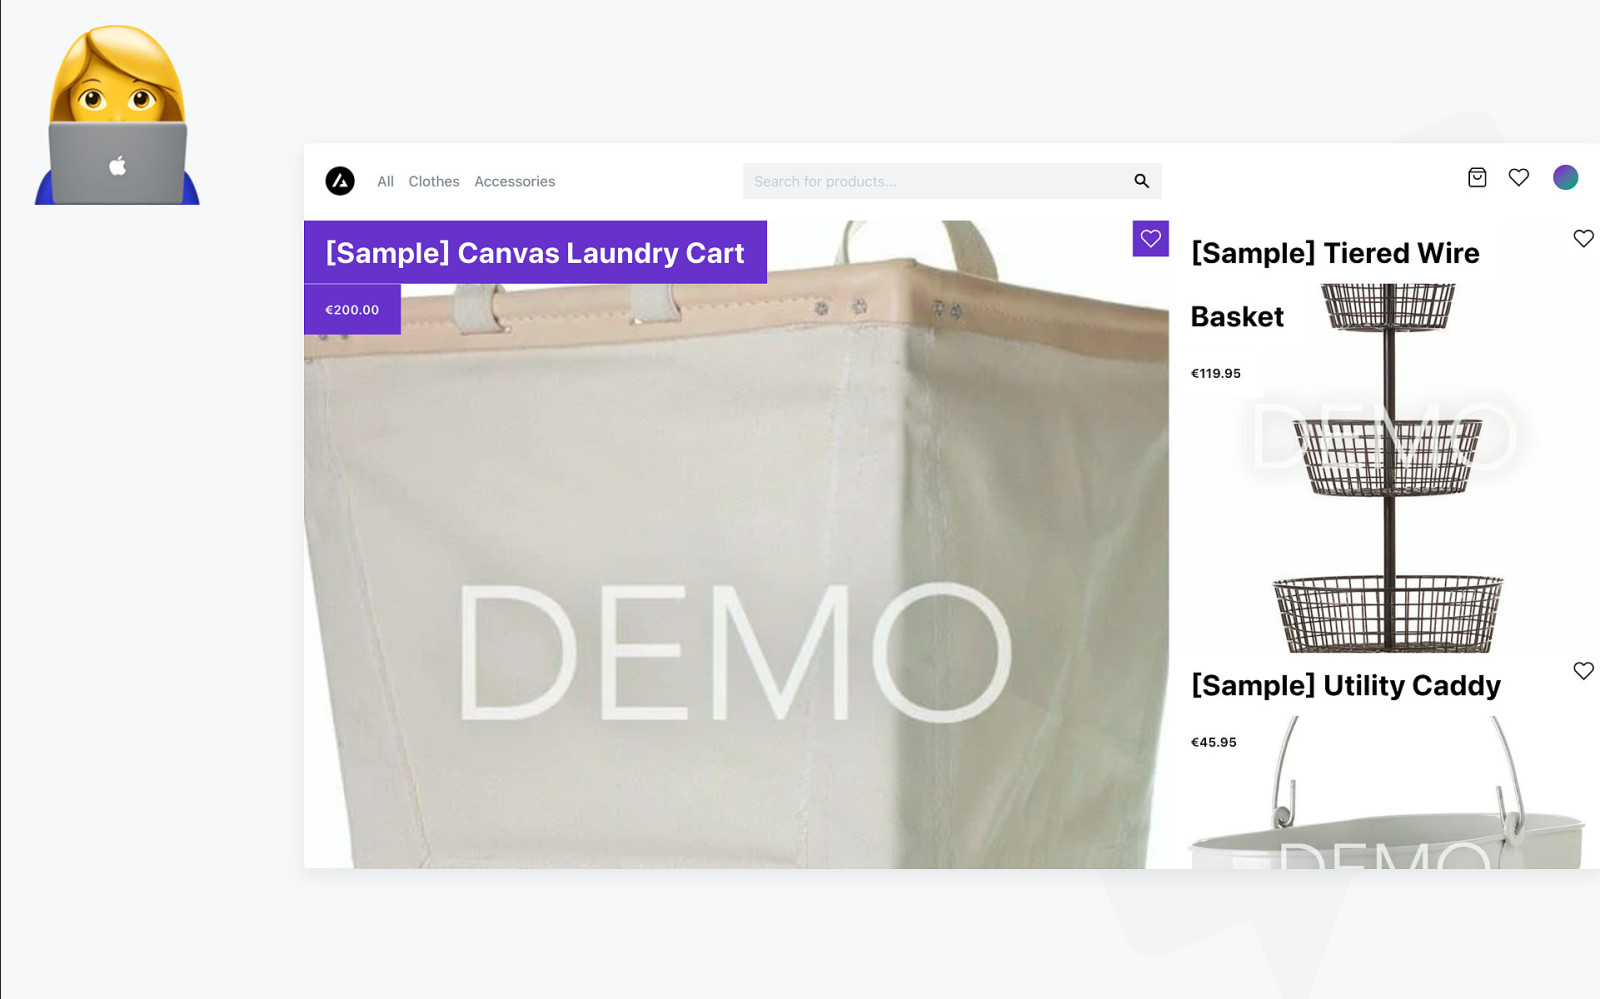
” ! Live Demo Unicorn Dash
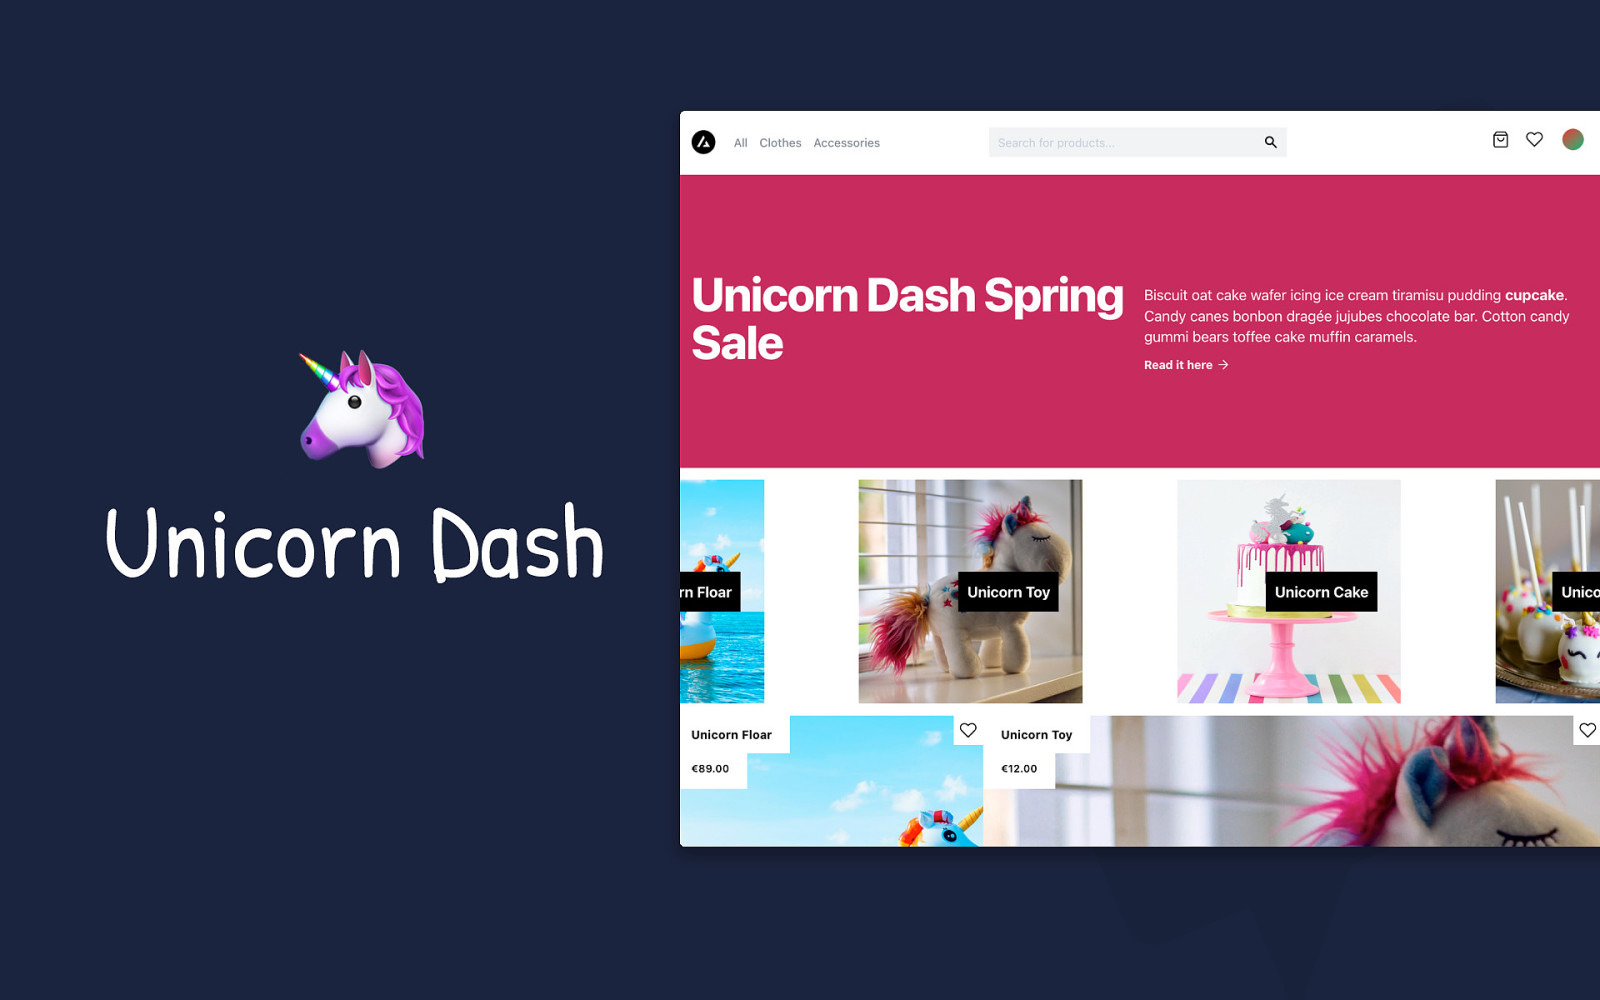
! Unicorn Dash
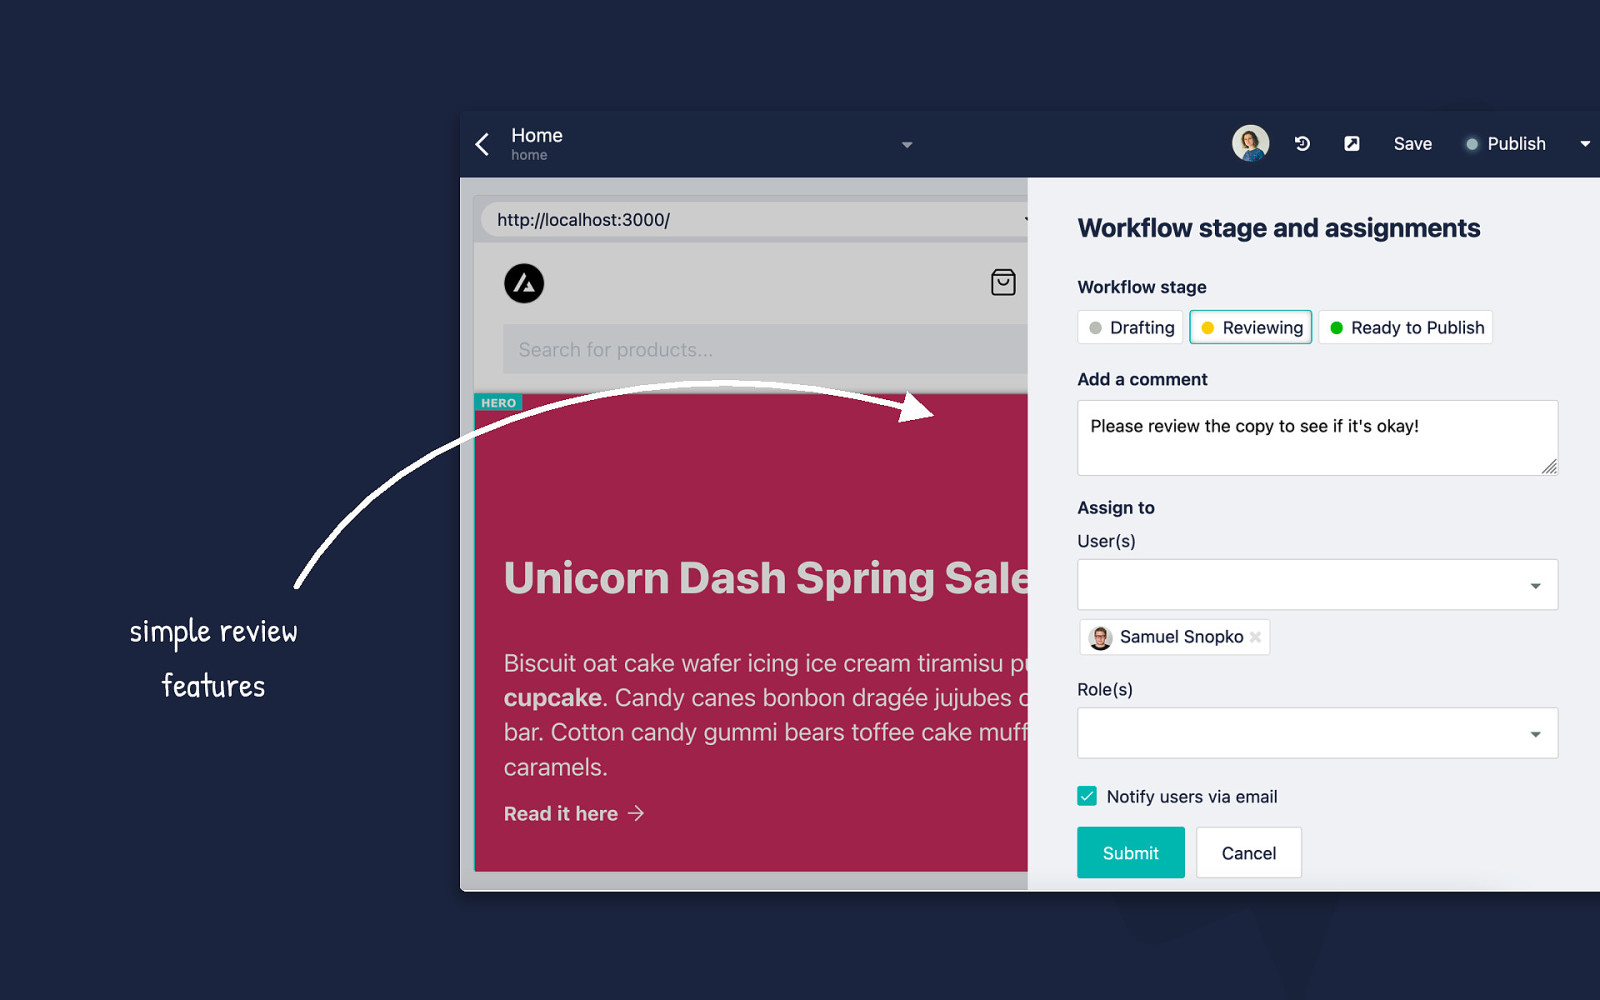
simple review features
!”#$ ☕☕☕☕
! It’s great the components are already set up and can easily be adapted in Storyblok
! We have another client that needs a similar setup, we wi! reuse the same components
! I can easily prepare & discuss the campaign for the next big launch
! This meets our requirements. We wi! se! globa!y in no time
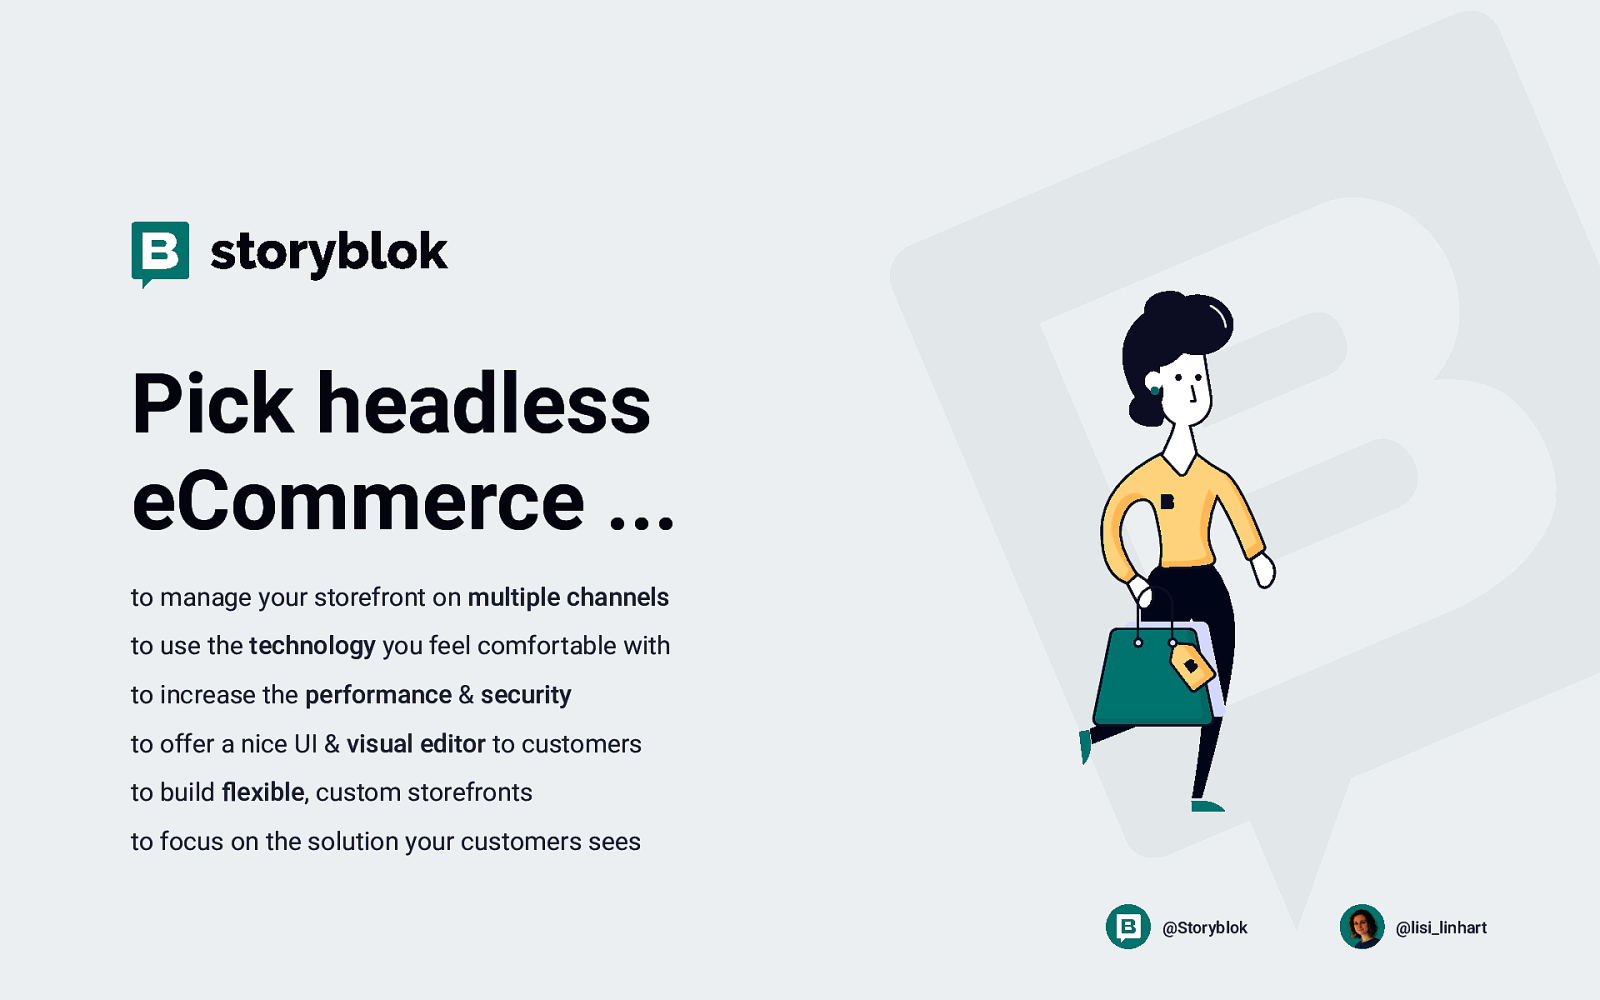
Pick headless eCommerce … to manage your storefront on multiple channels to use the technology you feel comfortable with to increase the performance & security to offer a nice UI & visual editor to customers to build flexible, custom storefronts to focus on the solution your customers sees @Storyblok @lisi_linhart

A sneak peak into the future headless eCommerce Friday February 26 Samuel Snopko, Head of DevRel @storyblok
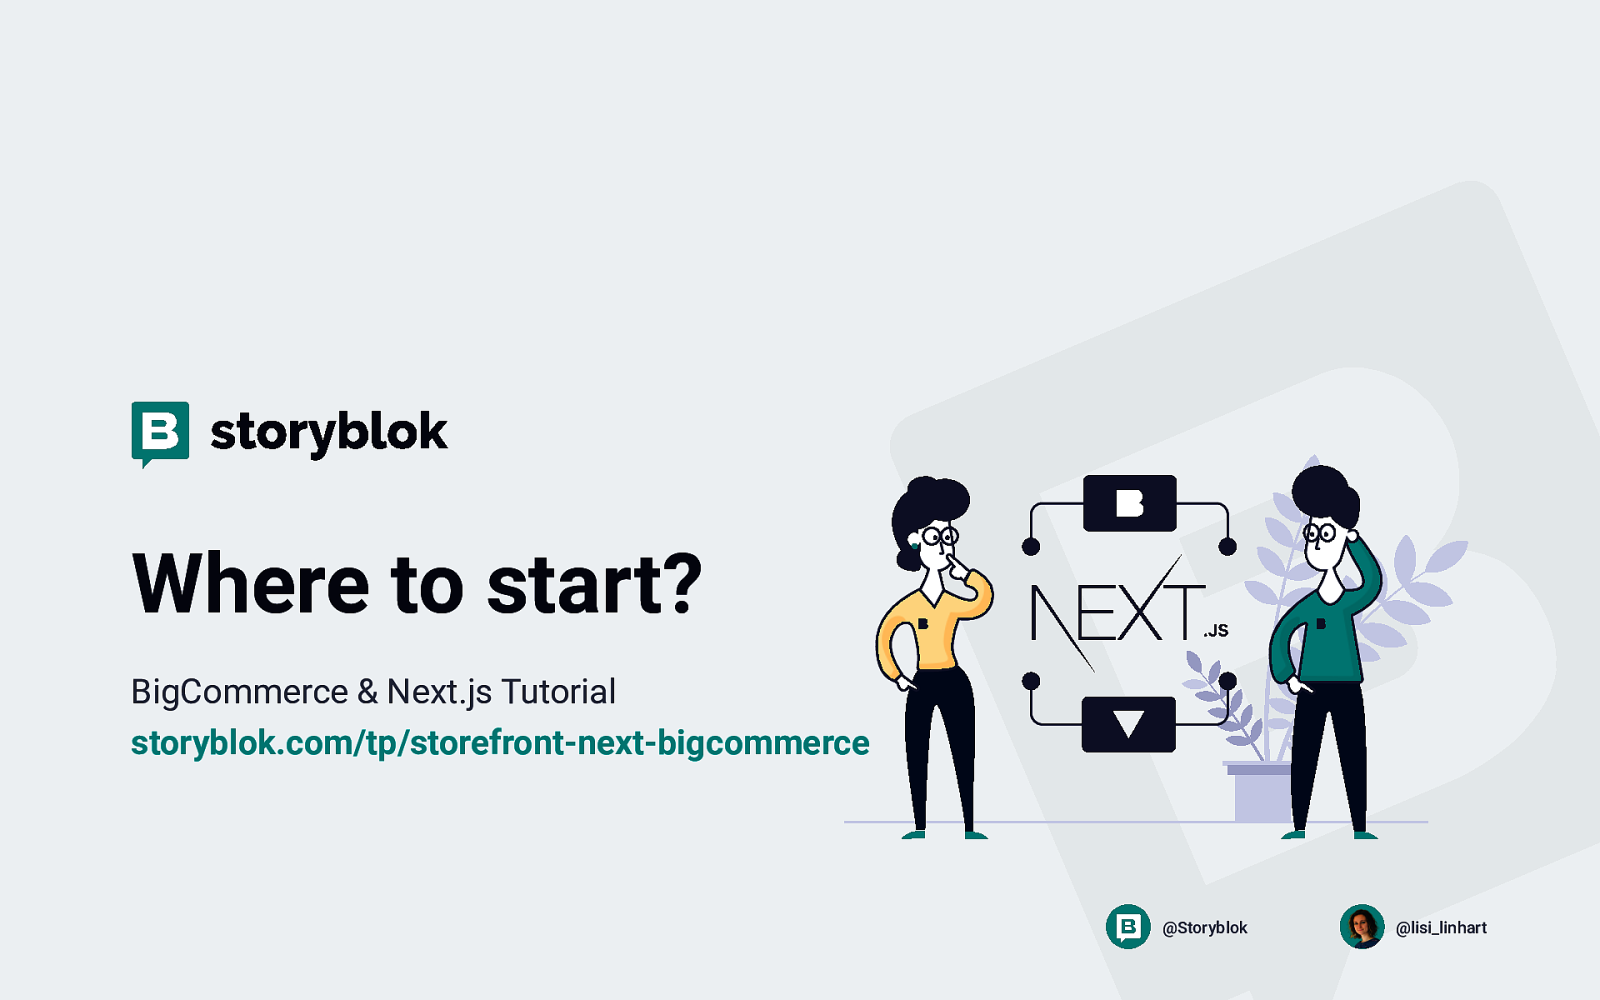
Where to start? BigCommerce & Next.js Tutorial storyblok.com/tp/storefront-next-bigcommerce @Storyblok @lisi_linhart

Developer community Mike Penz Check our discord and join the ranks of our ambassadors @Storyblok @lisi_linhart
Thank you !