
A presentation at DDD Perth in August 2019 in Perth WA, Australia by Mandy Michael

Hi everyone, my name is Mandy, i am a front end developer and the development manager at Seven West Media here in Perth. My passion is experimenting with front end technologies I like to see how we can combine techniques that we already use on the front end and create new and exciting experiences in our web projects. So that is what we are going to be doing today, - we are going to look at some experiments.
Mandy Michael @mandymichael @mandy_kerr
Specifically we are going to have some fun with device sensors and browser apis. Given the short time we have i will focus specifically on Speech Recognition API The Device Orientation API Light Sensor

What i would like you to remember is that the talk is called “FUN” with sensors and browser apis, because i like to play and tinker, so that is what my examples are going to be. I haven’t built anything particulary serious with it, but I see this as a good opportunity to start thinking about how you might be able to make the most of them in your work, experiments or side projects. Some of my examples will have really good browser support, and some are still very experimental, but i’d say remember that Everything we have on the web started out as a piece of experimental technology so let’s see what we can do with it and have a little fun along the way.
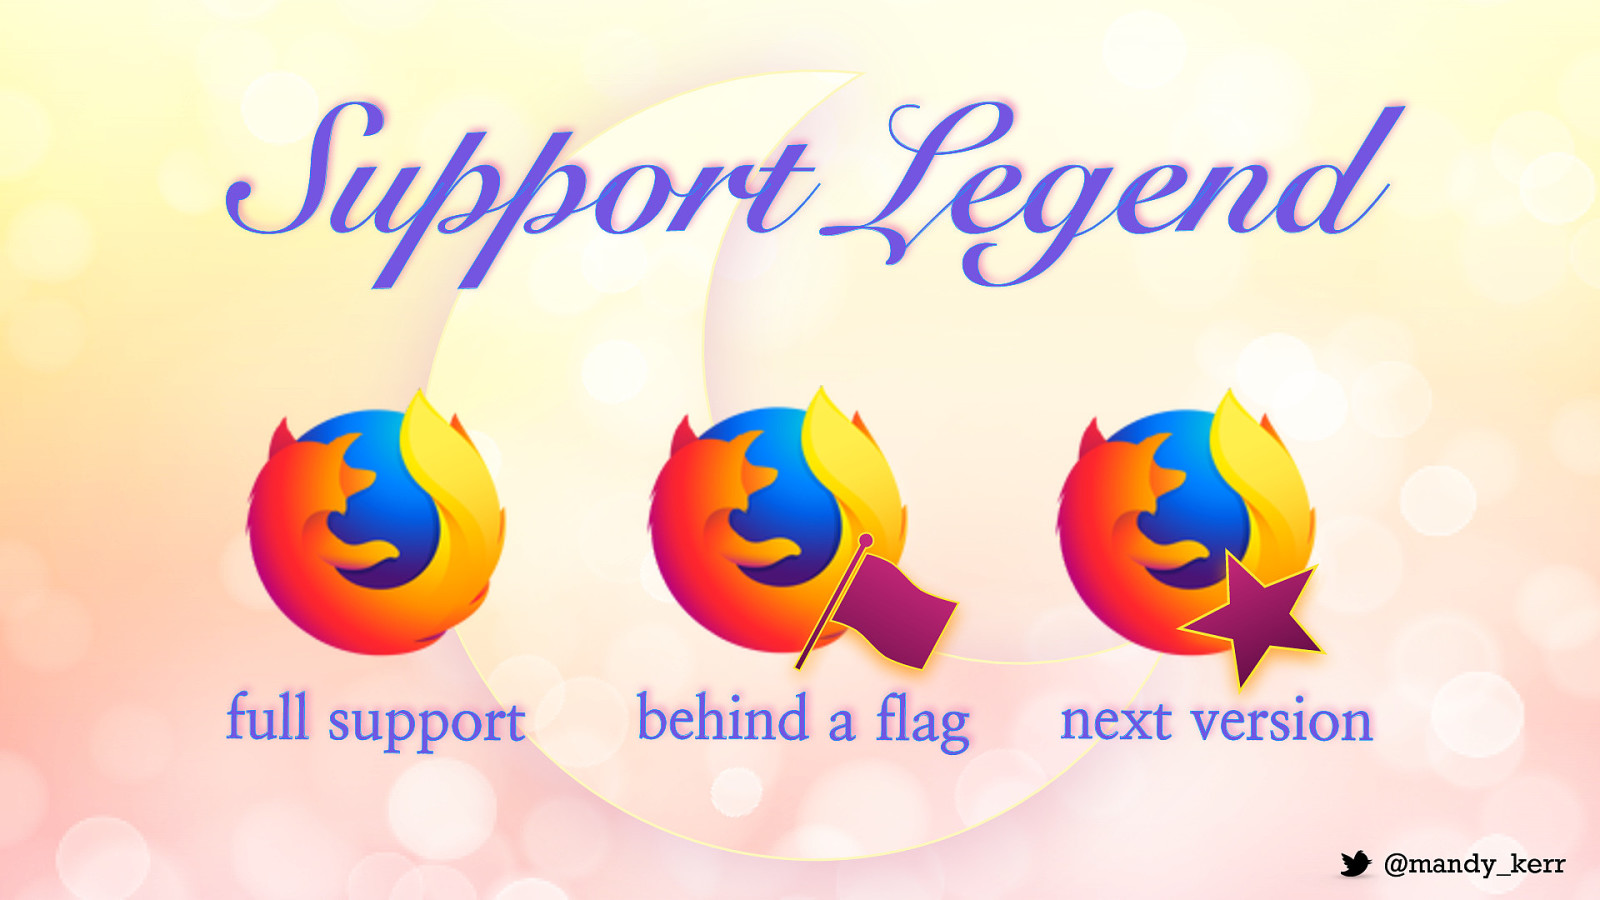
Support Legend full support behind a flag next version
So to start off we’ll look at some audio and speech demos.
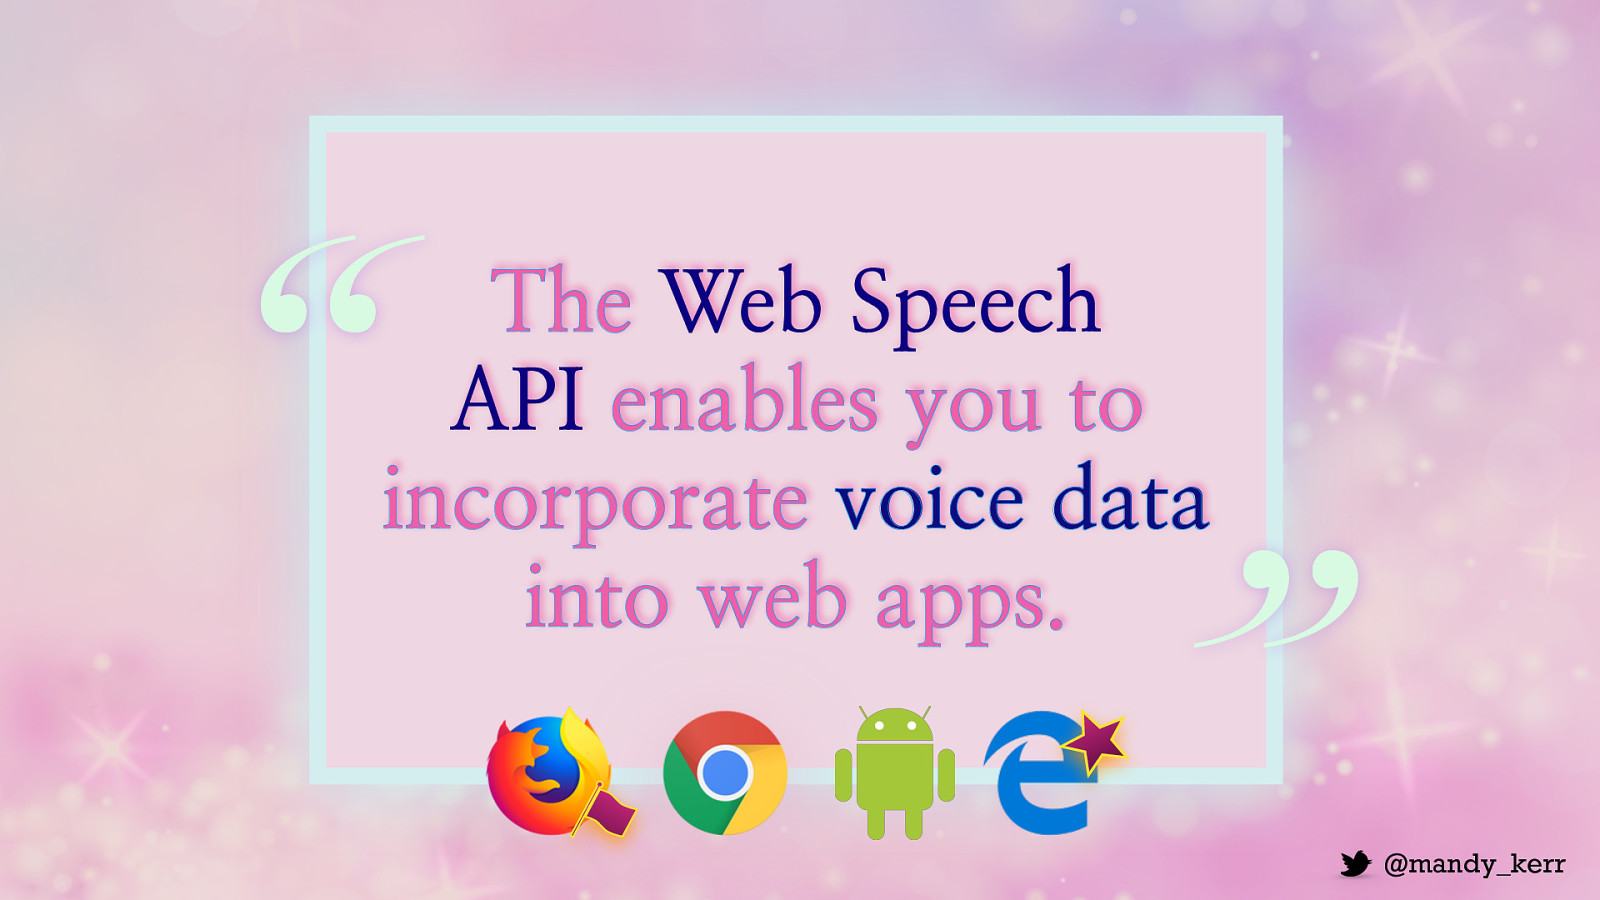
“ The Web Speech API enables you to incorporate voice data into web apps. ”
I want to start with The Web Speech API is made up of two separate interfaces. SpeechRecognition for understanding human voice and turning it into text and SpeechSynthesis which reads out text in a computer generated voice. We are going to look at SpeechRecognition today, but if you want to check out synthesis i recommend the Mozilla Docs they have some great examples.

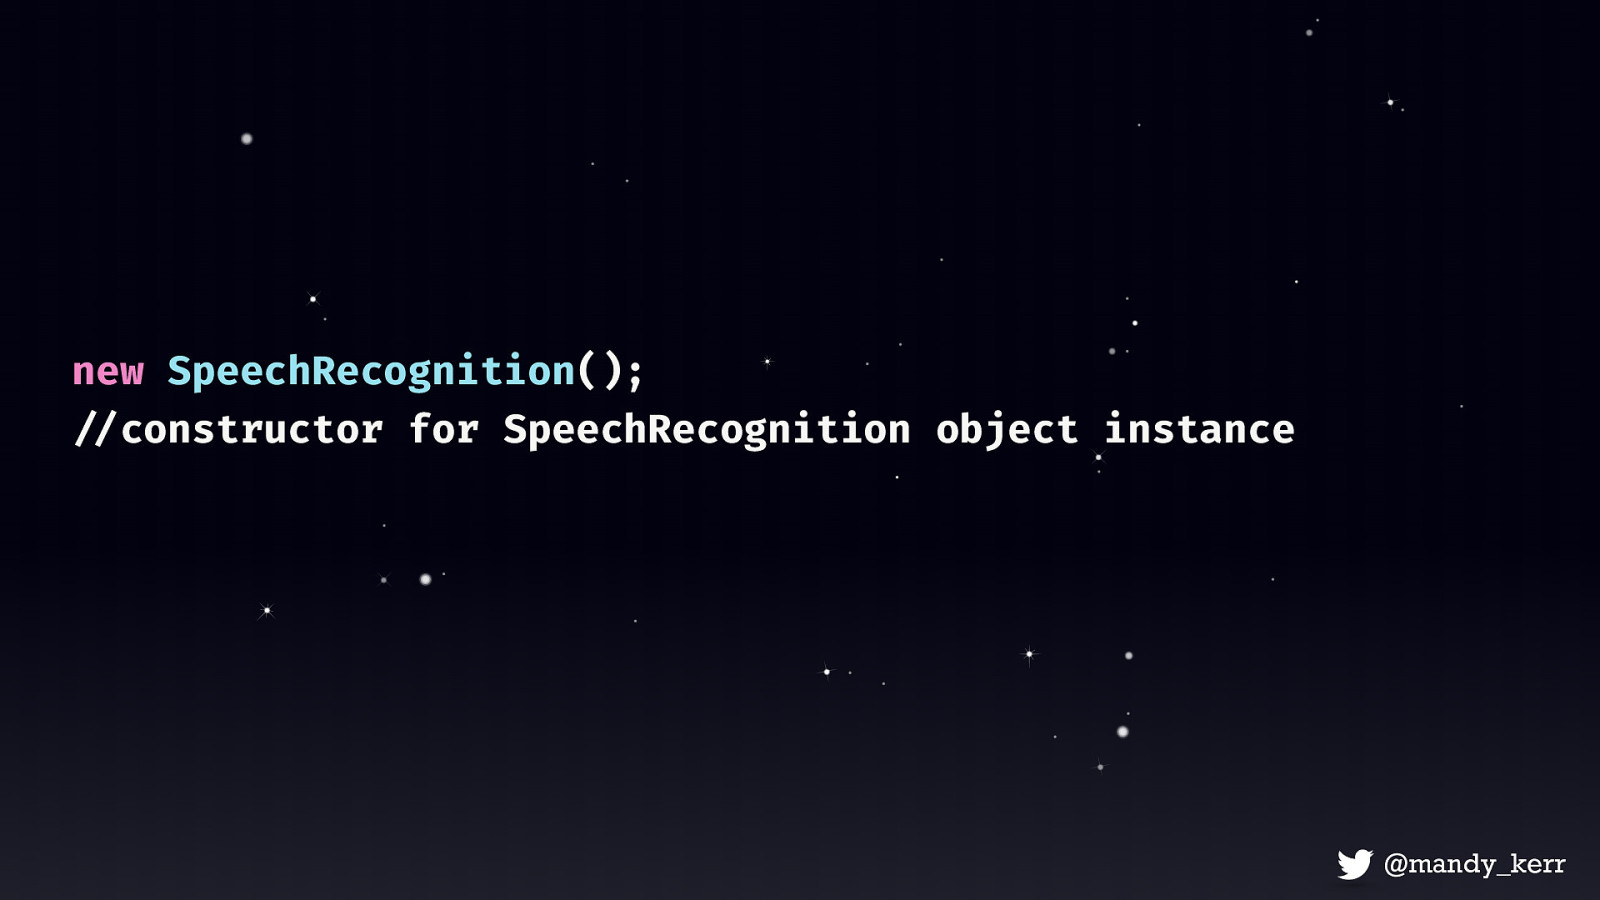
To get started we’ll need a few things SpeechRecognition() constructor which will create a new SpeechRecognition object instance and that will give us access to all the API’s methods and properties. there are quite a few of them but we’ll keep it pretty simple today.
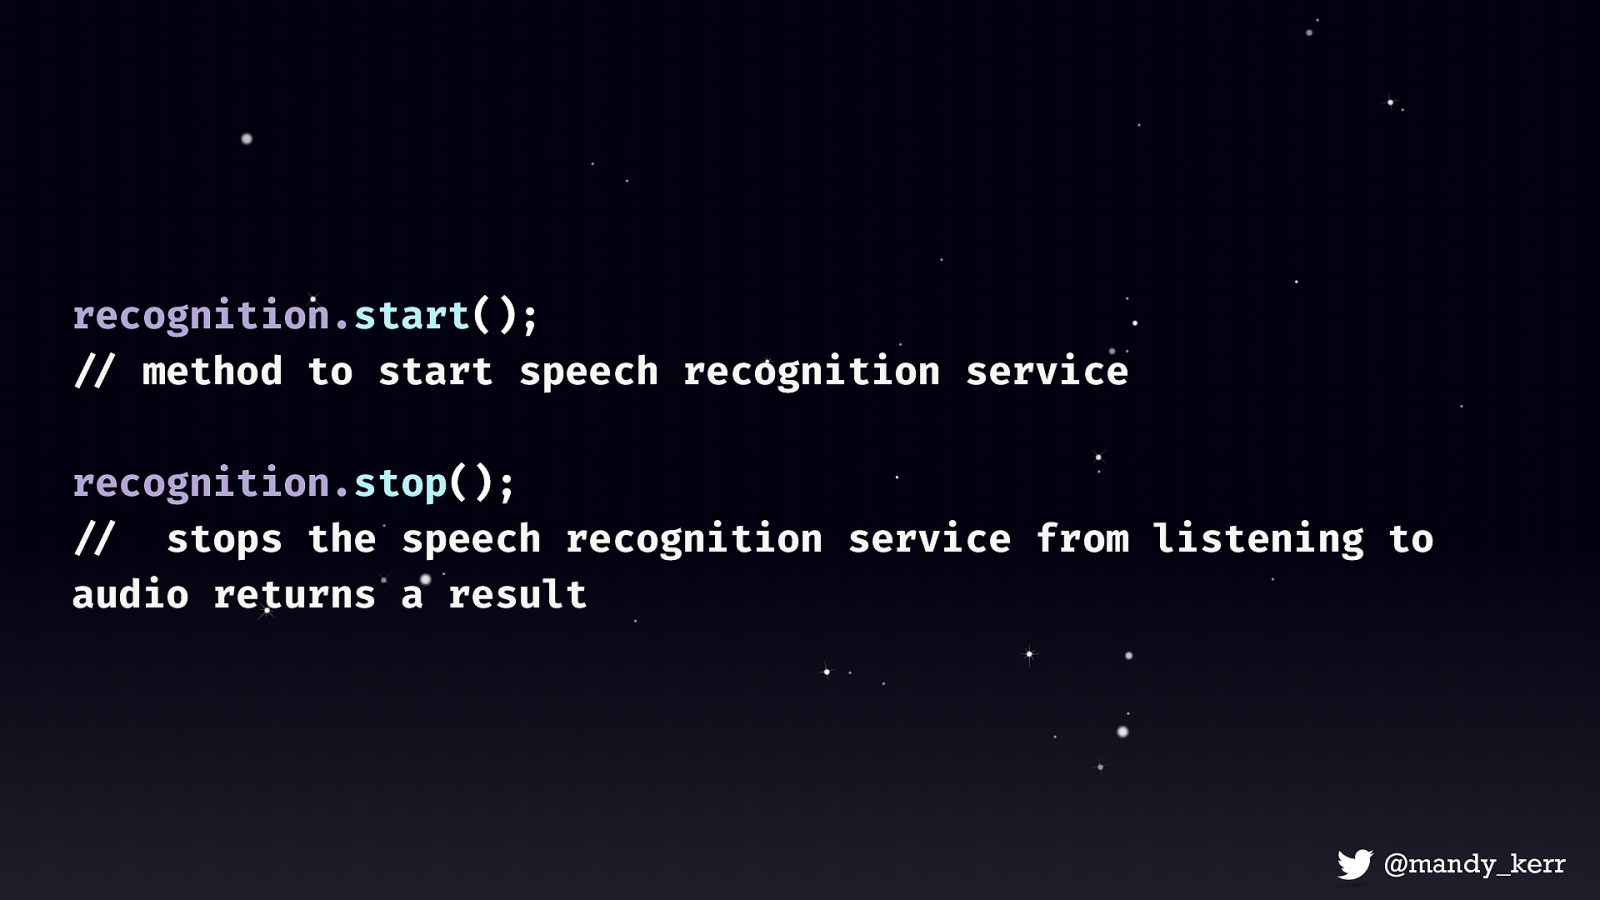
Next we need recognition.start () - the start() method starts the speech recognition service listening to incoming audio recognition.stop () - stops the speech recognition service from listening to audio, and attempts to return a result from the audio captured
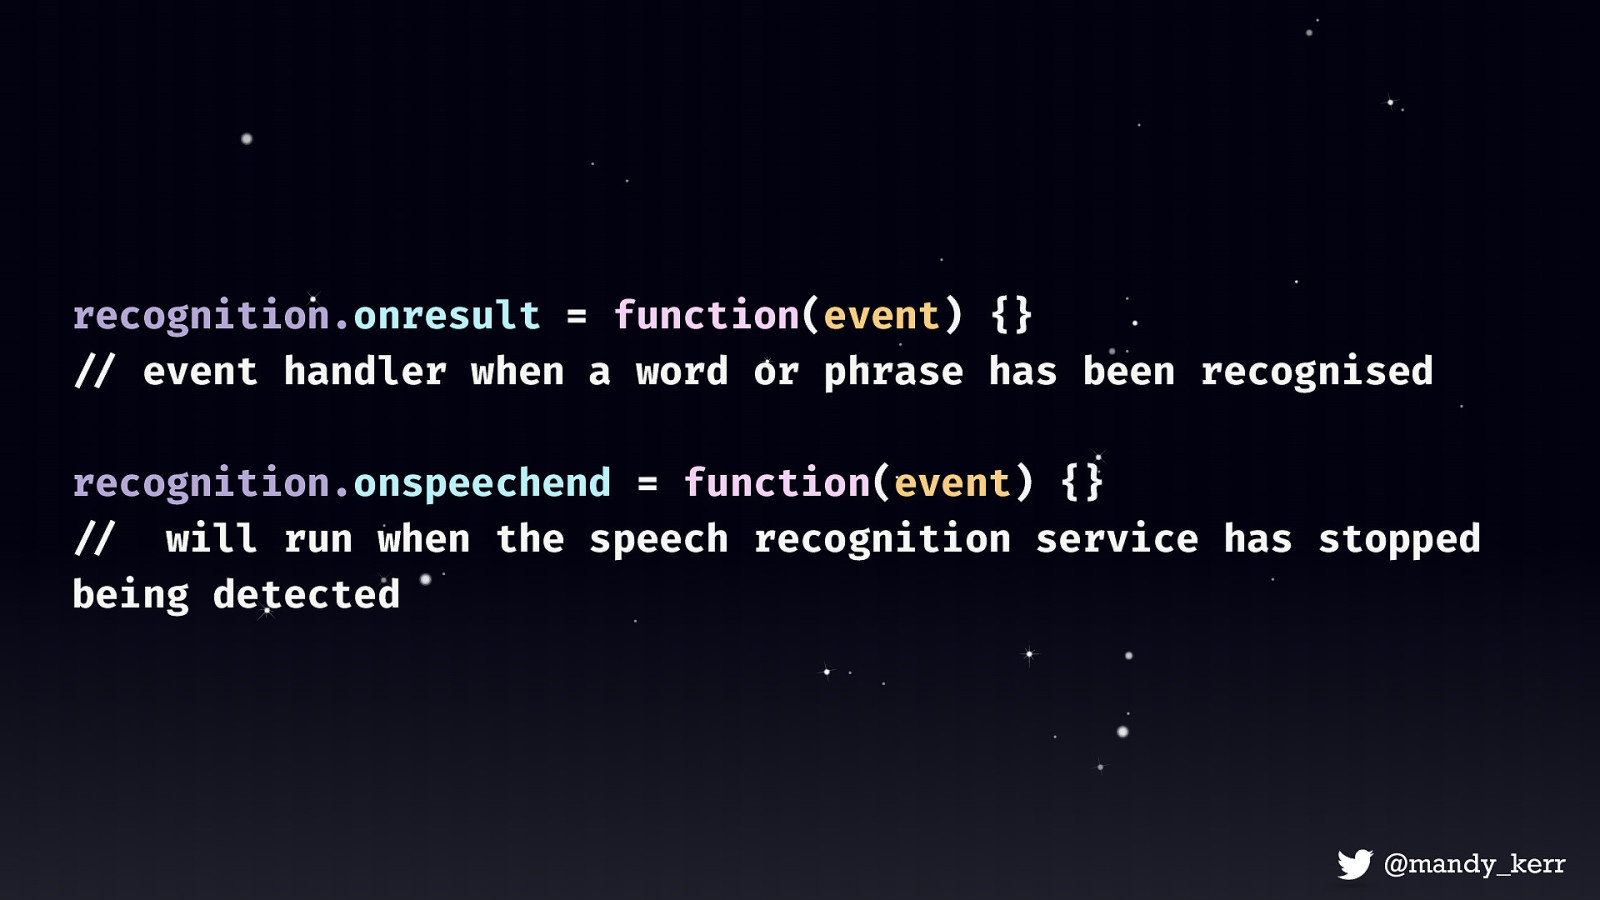
Then we’ll also need a couple of event handlers. Most of them simply listen for changes in the recognition status. onresult - property that will run when the service returns a result. This is special because it’s executed every time the user speaks a word or several words in quick succession. onspeechend - will run when the speech recognition service has stopped being detected
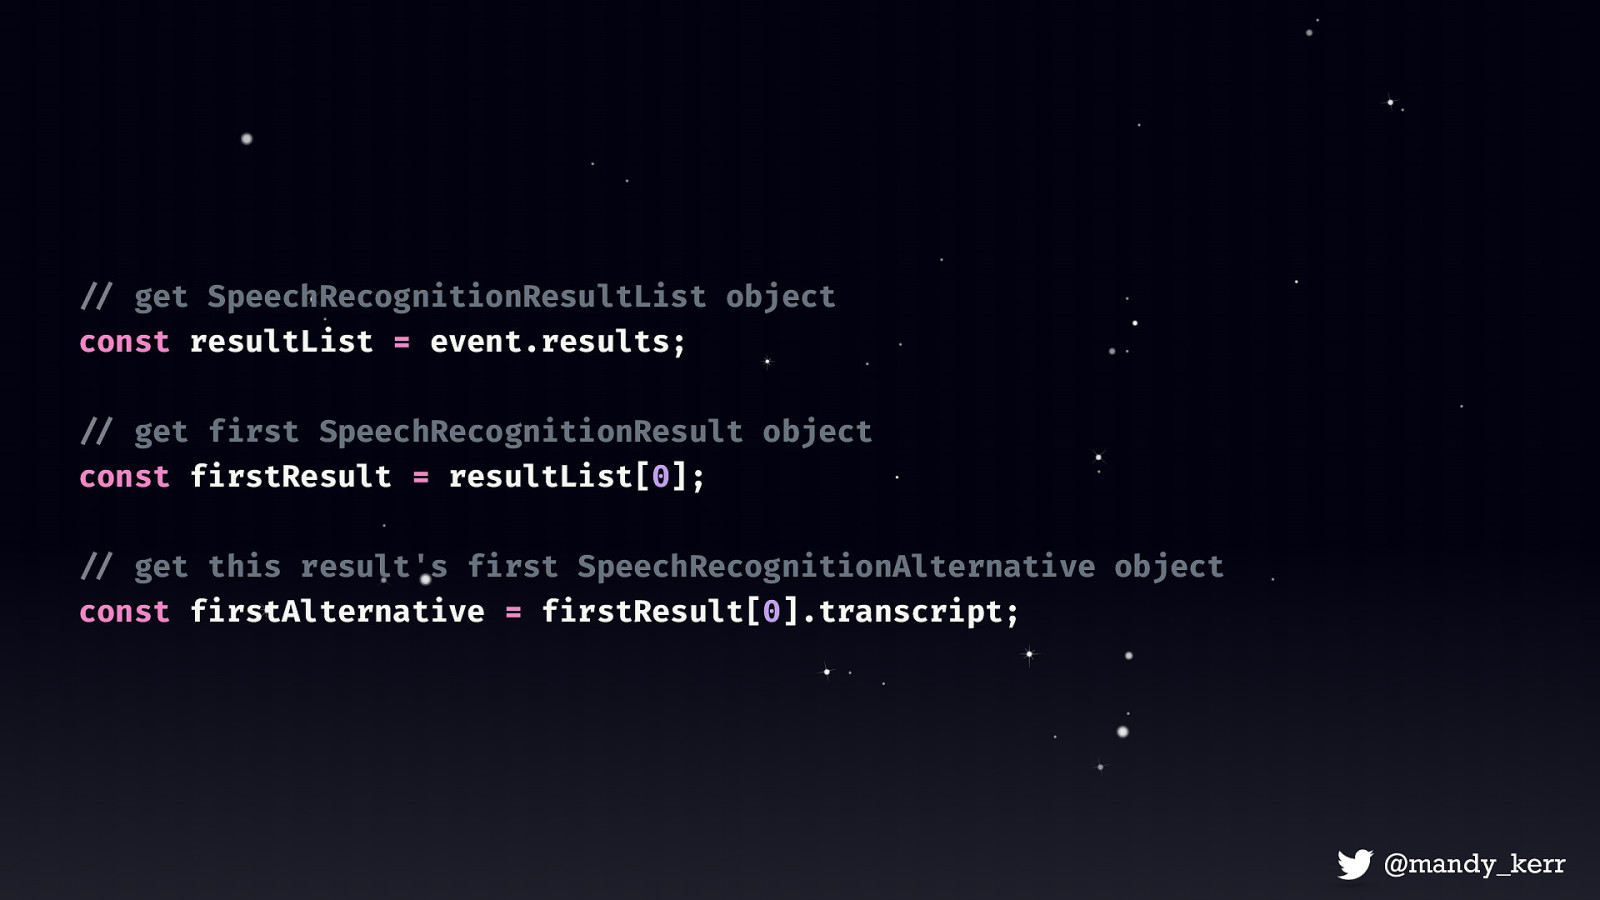
The last thing we need is to access the results, which we can access with the SpeechRecongitionResultsList object, which is basically a collection of information about the result. This contains the first result object This result contains an item called a SpeechRecognitionAlternative object and SpeechRecognitionAlternative contains what we really want - the transcript which is what it thinks it heard from the mic This sounds confusing, but the reason it exists, is because a result can, if you decide to, contain multiple “alternative” interpretations of what you said. By default it’s only 1, but if you want to get fancy you can return multiple result options each with a “confidence rating”. We’ll just focus on a single result today.
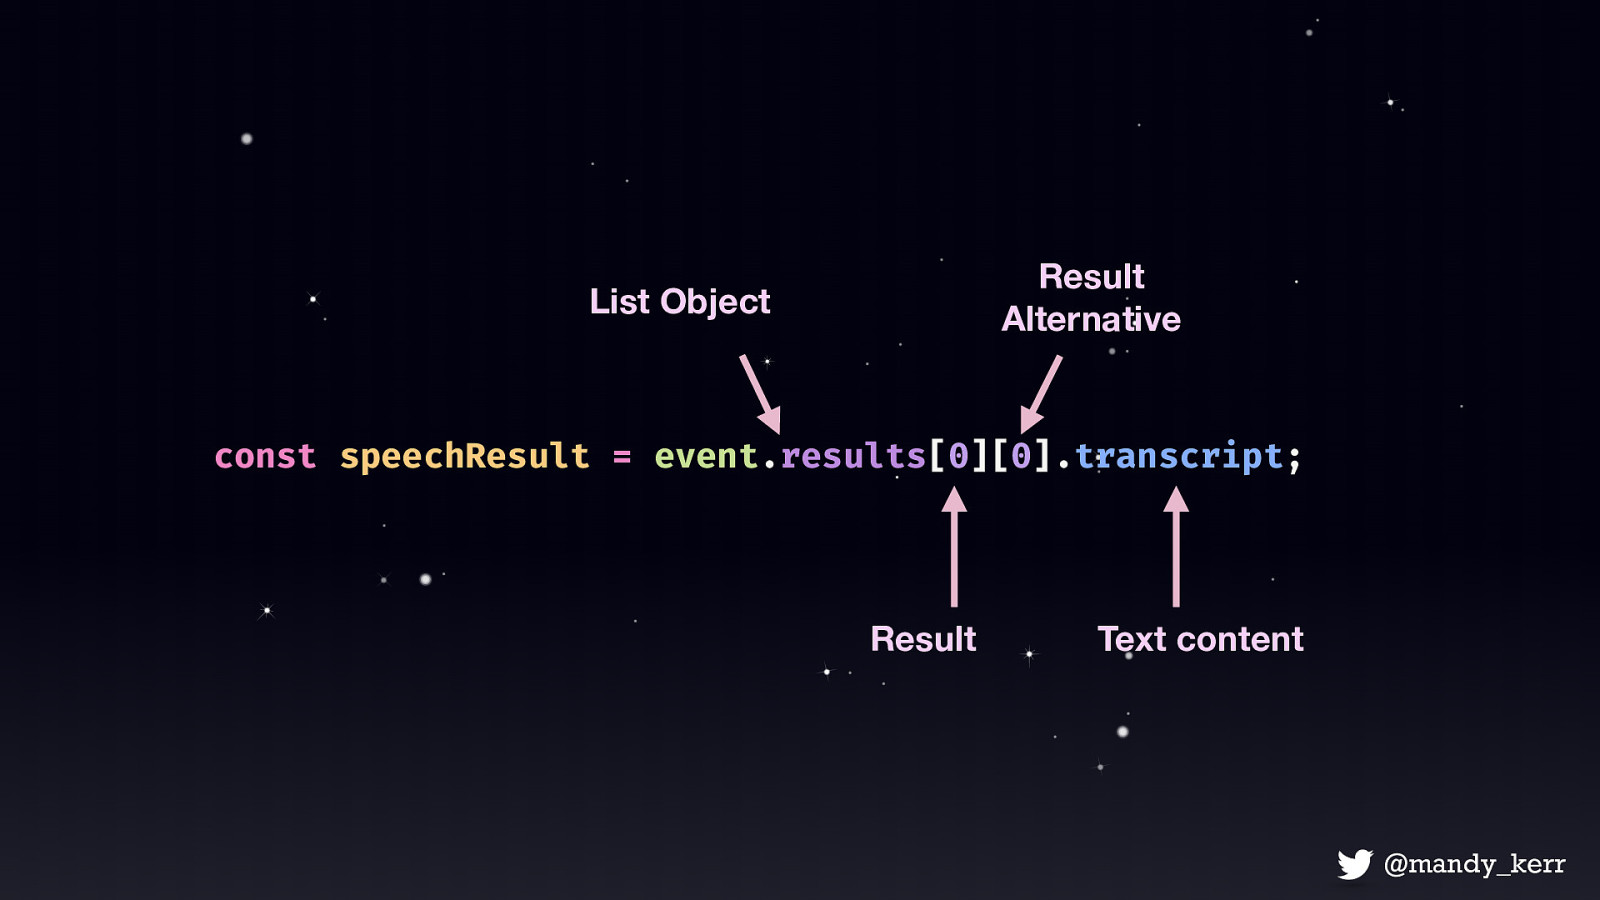
So first we get the List object Then we access the first result Then the first alternative then the transcript.
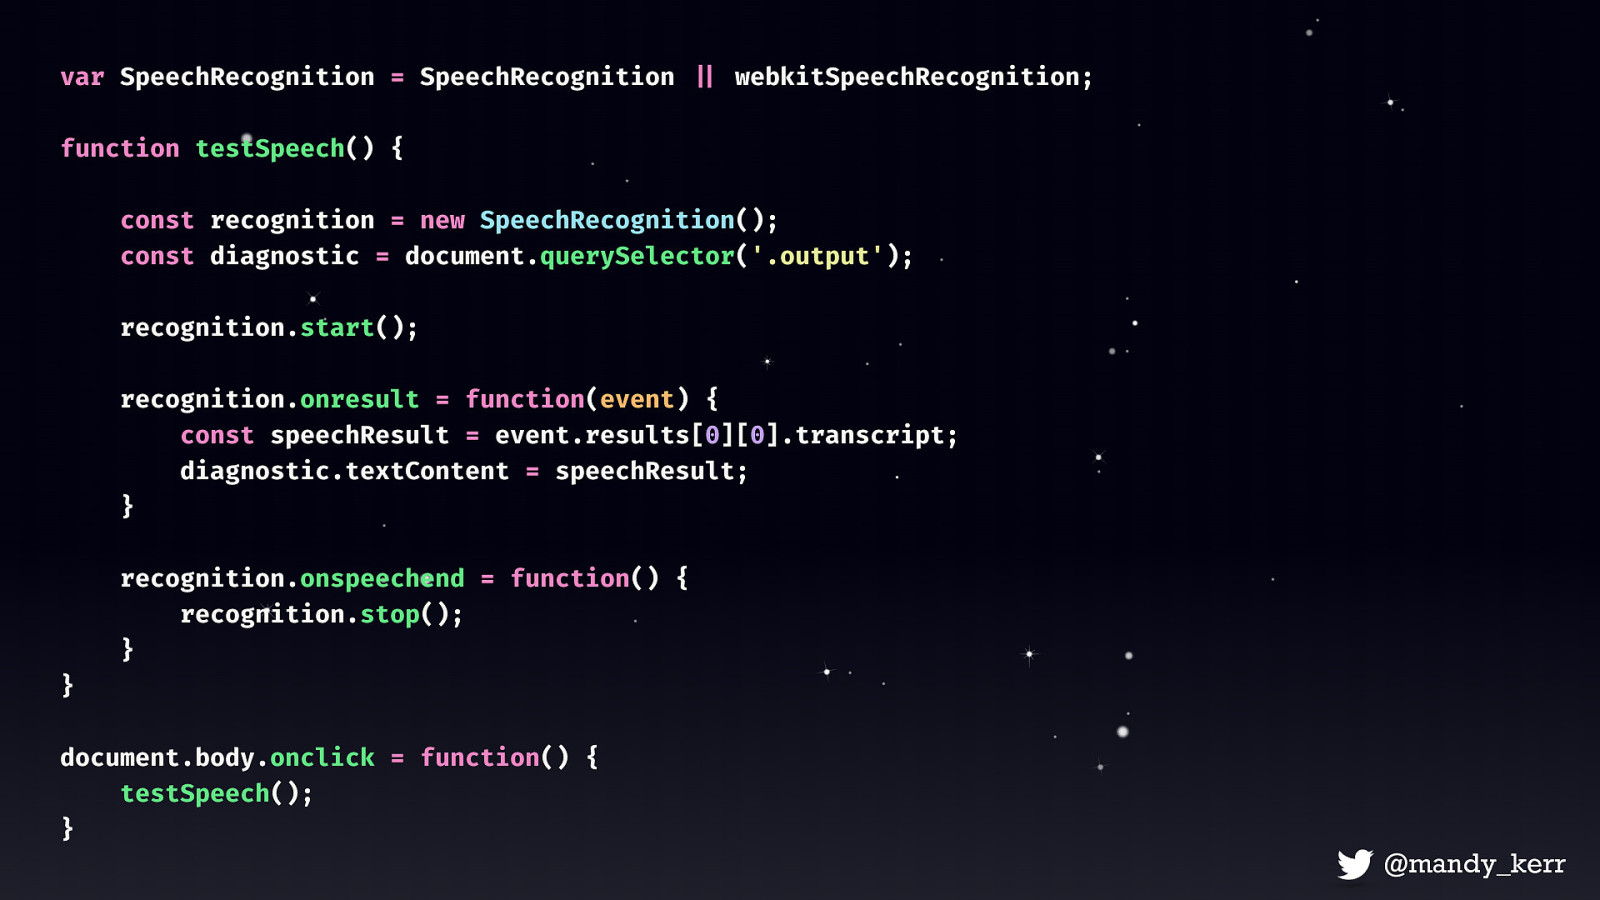
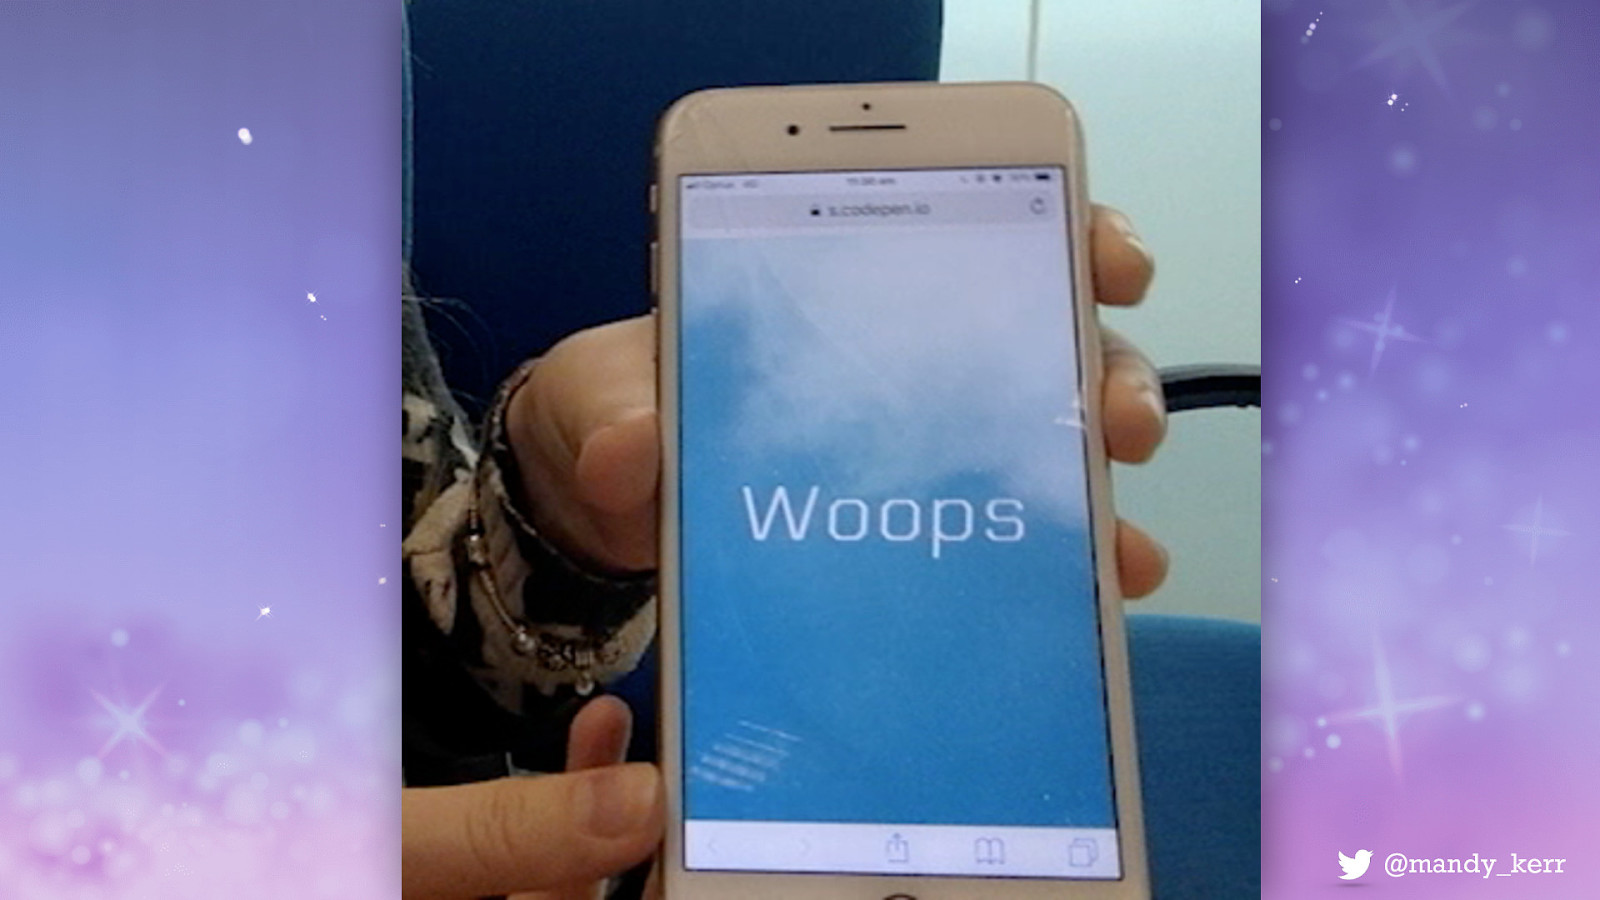
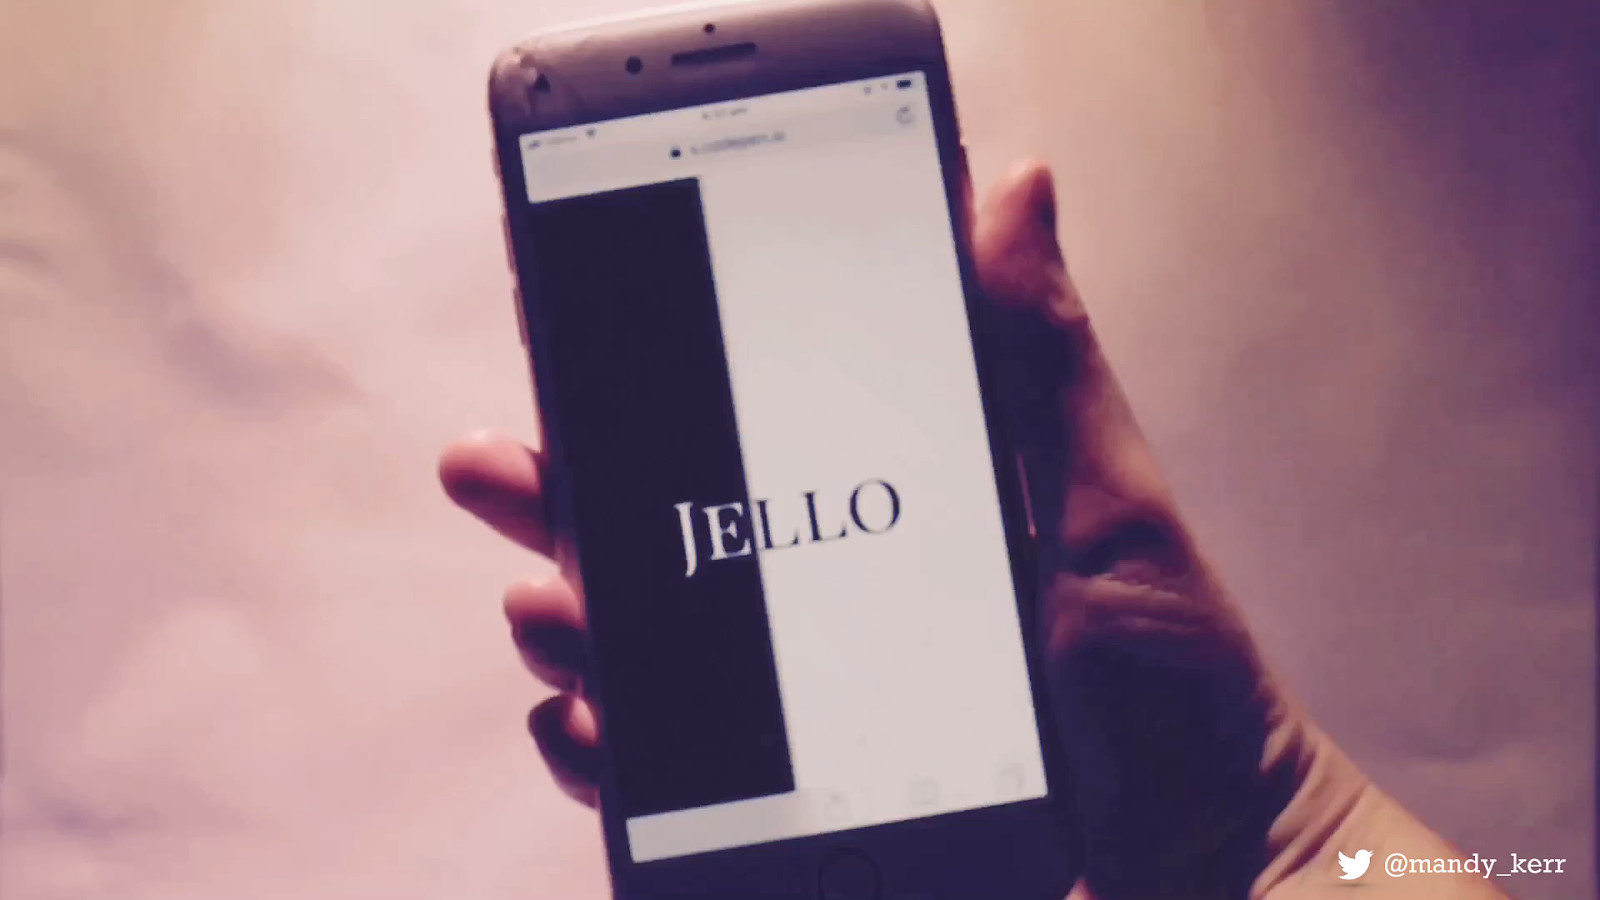
So if we put that all together we get something like this
Once you have these basics, you can start combining them to do all sorts of things.
“ Audio & speech allow for more interactive and more accessible experiences. ”
Orientation Sensors

“ The accelerometer detects a change to the orientation of the device. ” Many of our web-enabled devices have a gyroscope and accelerometer that can determine a devices orientation. This is commonly see in mobile devices to automatically rotate the display so that it’s the correct way up.
So there are a few key things we’ll need First the Device Orientation Event which is what provides information on the physical orientation of the device that we are using. Then we can access the Device Orientation Event Properties Alpha, Beta and Gamma. These each represent different number values depending on the device orientation.

event.alpha;
Alpha represents the rotation on a flat surface, and can be a number from 0 to 360 kind of like a level
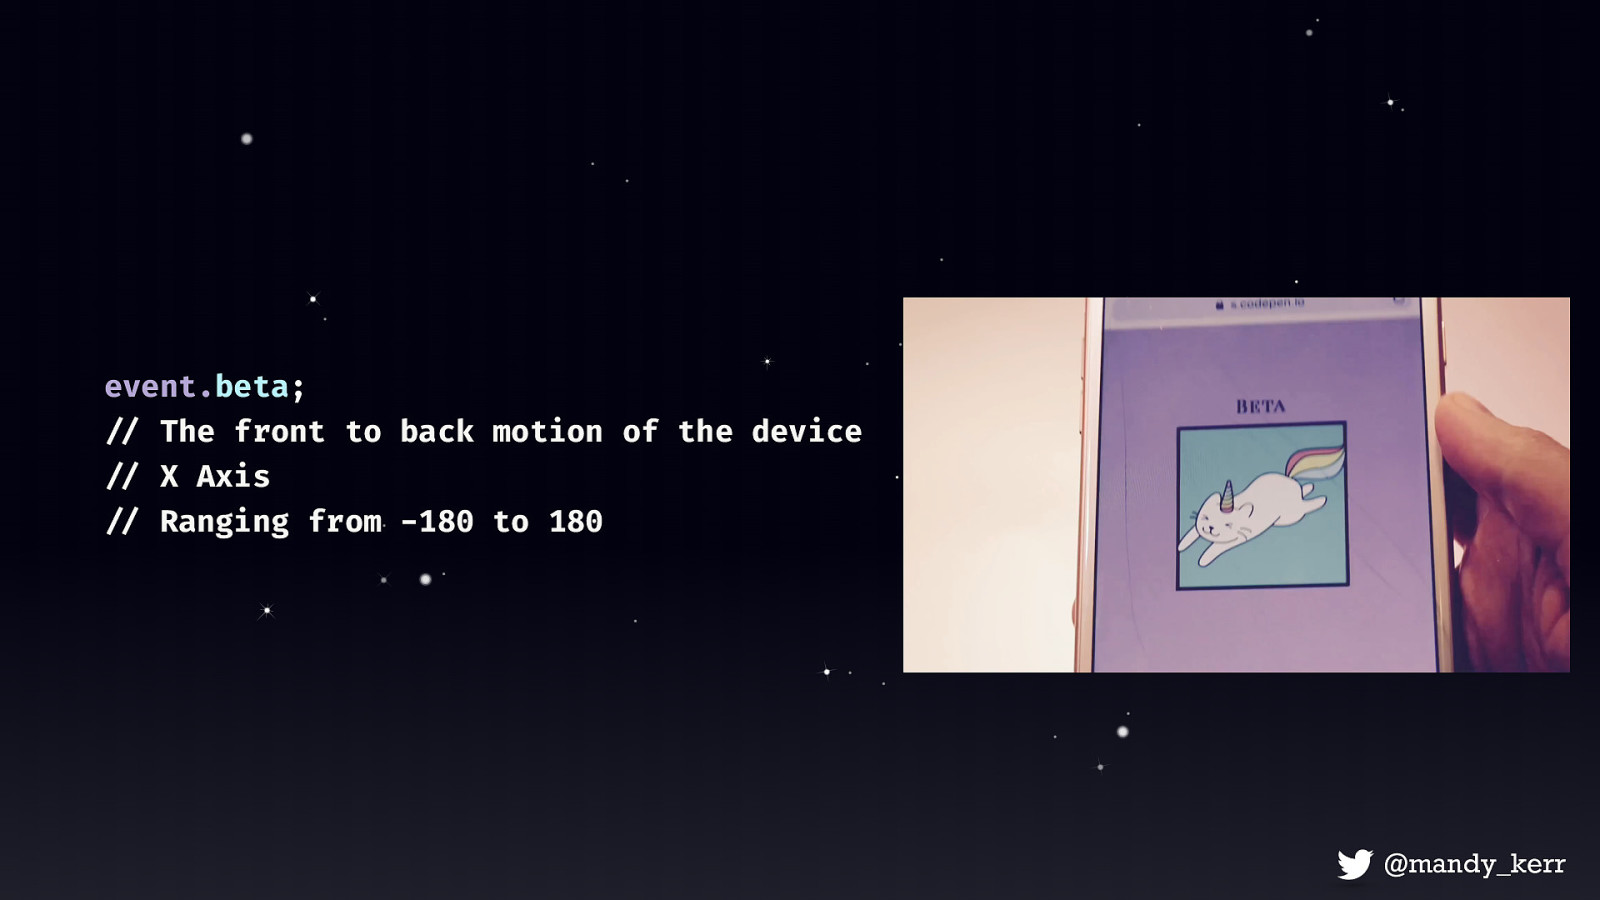
event.beta; Beta represents tilting forward and backwards, with a range of -180 to 180
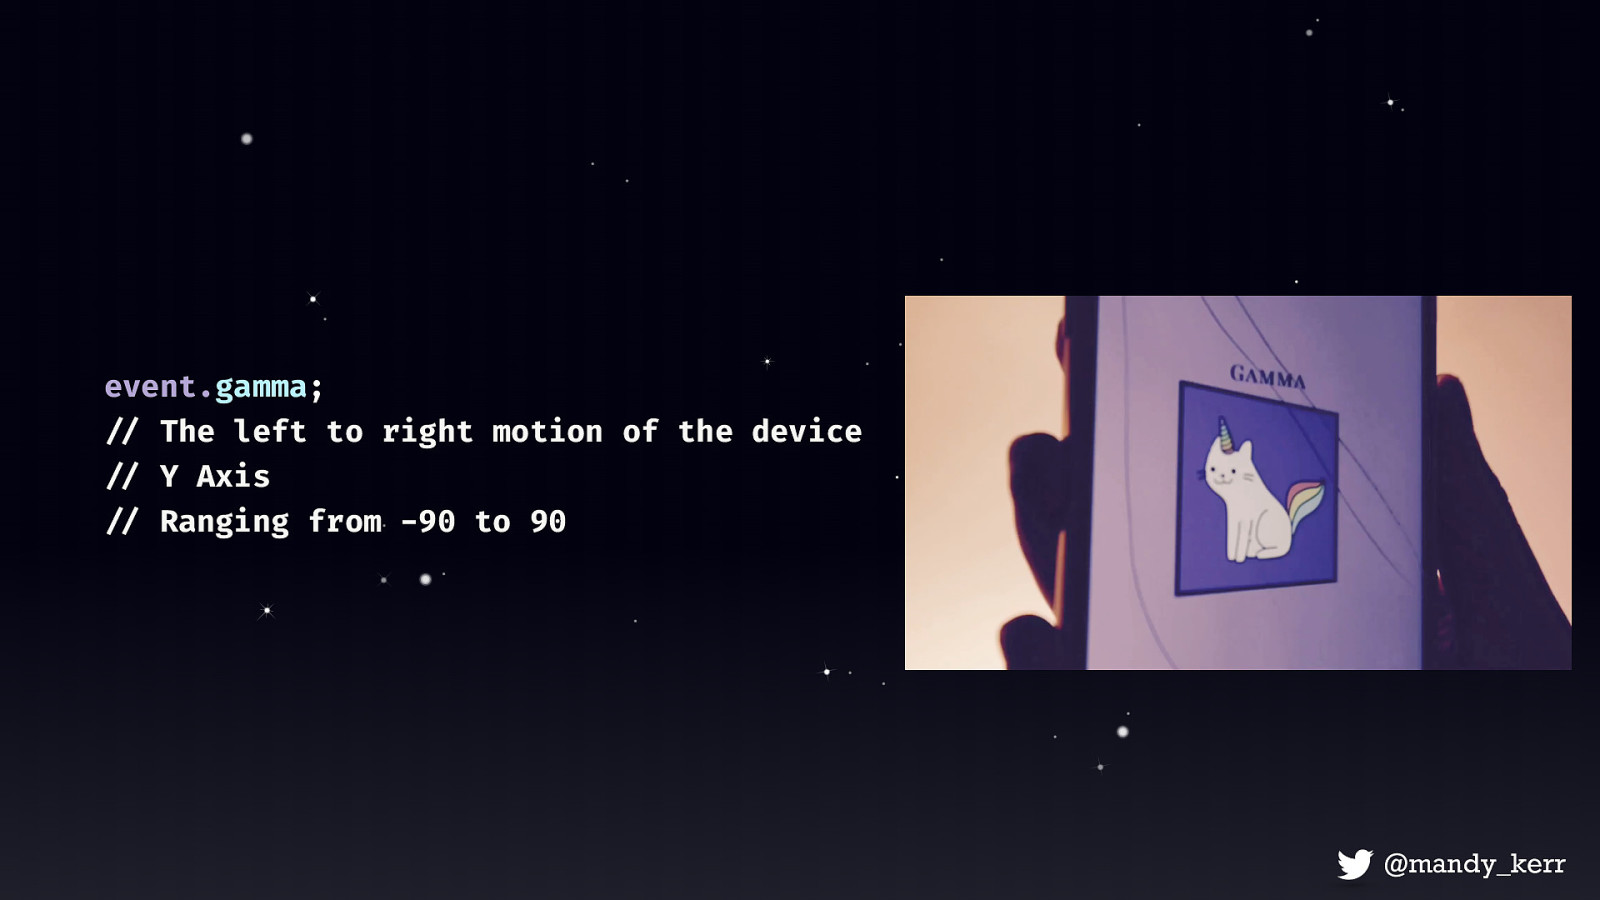
event.gamma; Gamma is tilting left or right, which represents a range from -90 to 90.
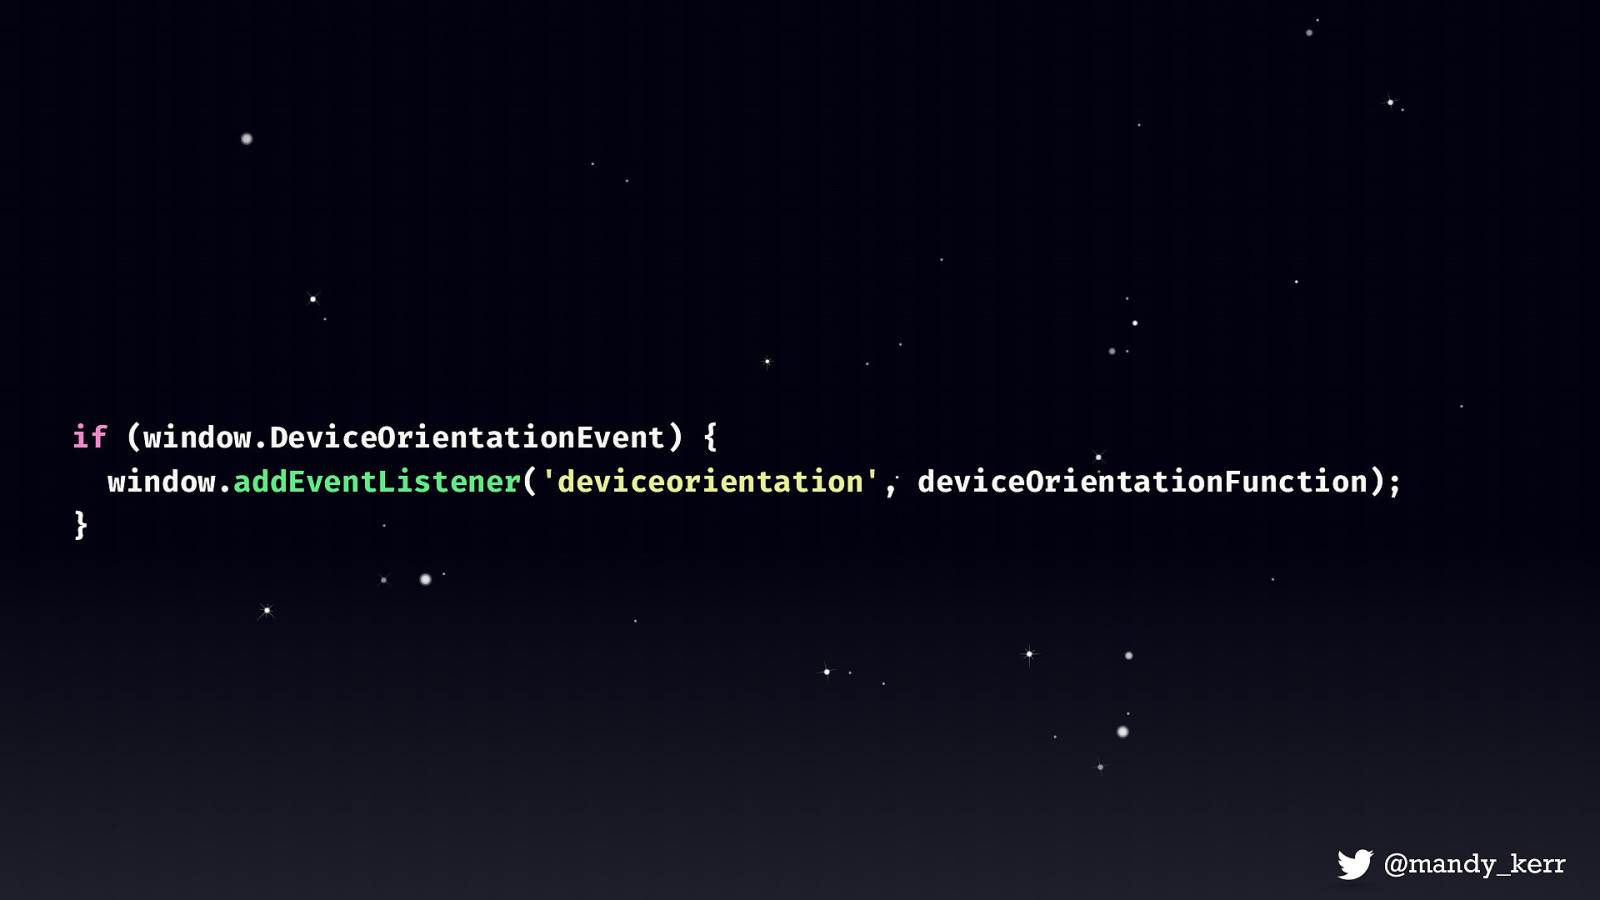
if (window.DeviceOrientationEvent) { window.addEventListener(‘deviceorientation’, deviceOrientationFunction); }
First we want to check to see if the DeviceOrientationEvent exists - this is just to make sure that we have access to the device information before we try to do anything. If we have access to the event we can add a deviceorientation event listener to the window and pass in a function that executes some code.
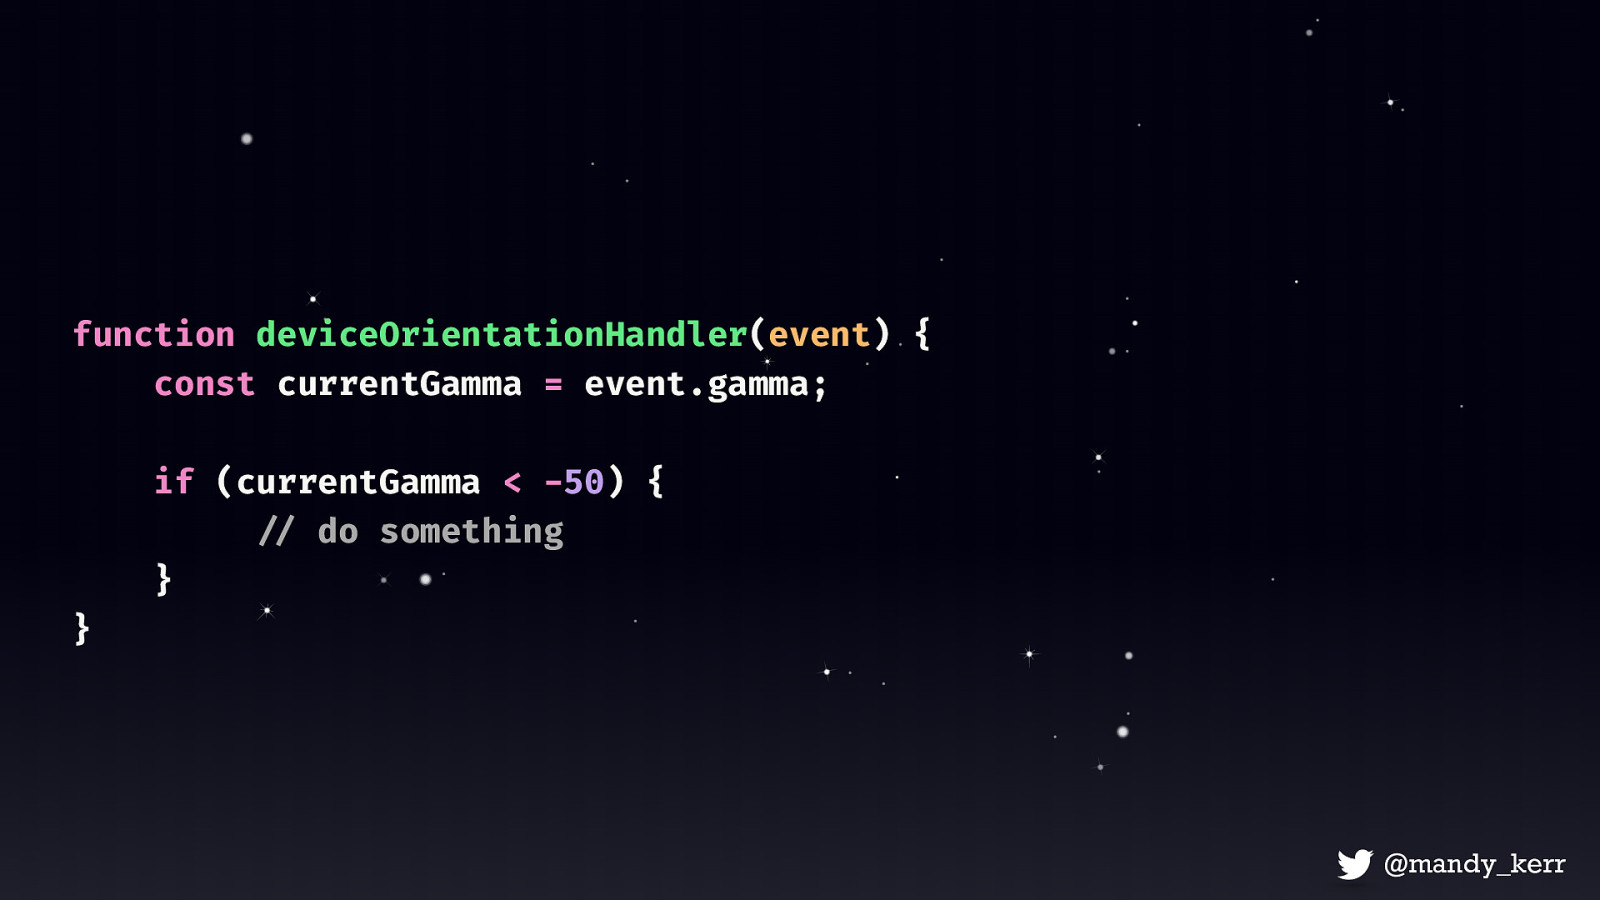
function deviceOrientationHandler(event) { const currentGamma = event.gamma; if (currentGamma < -50) { !// do something } }
Inside the function we can then access the alpha, gamma and beta properties i mentioned earlier in order to do something.
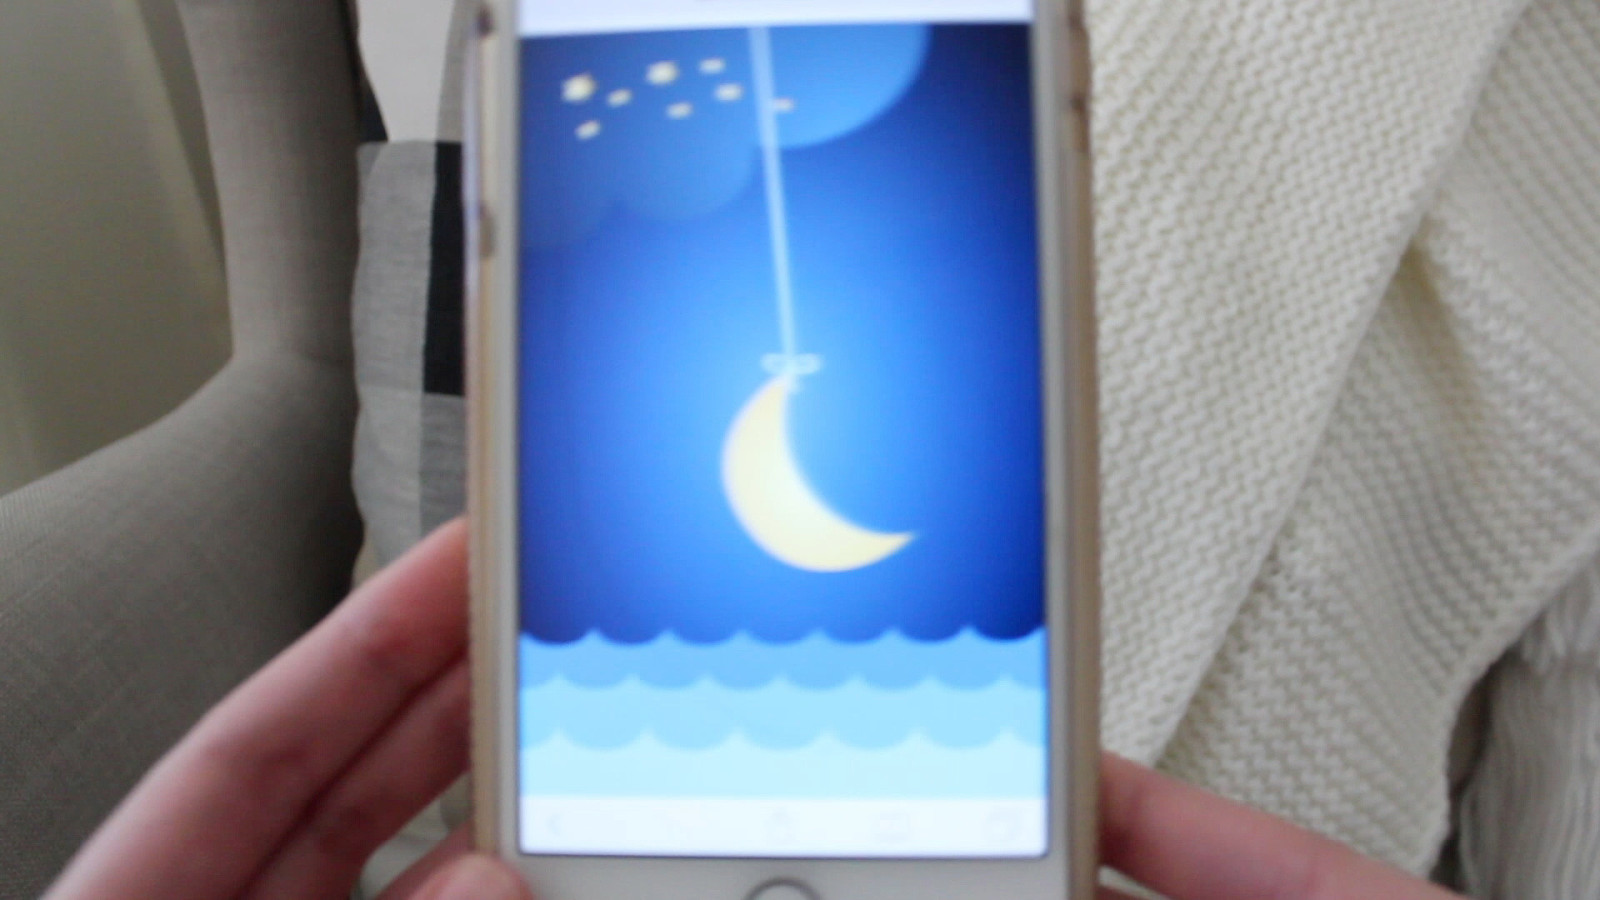
“ We can move on from static, predetermined interactions and allow the user to shape the experience. ”
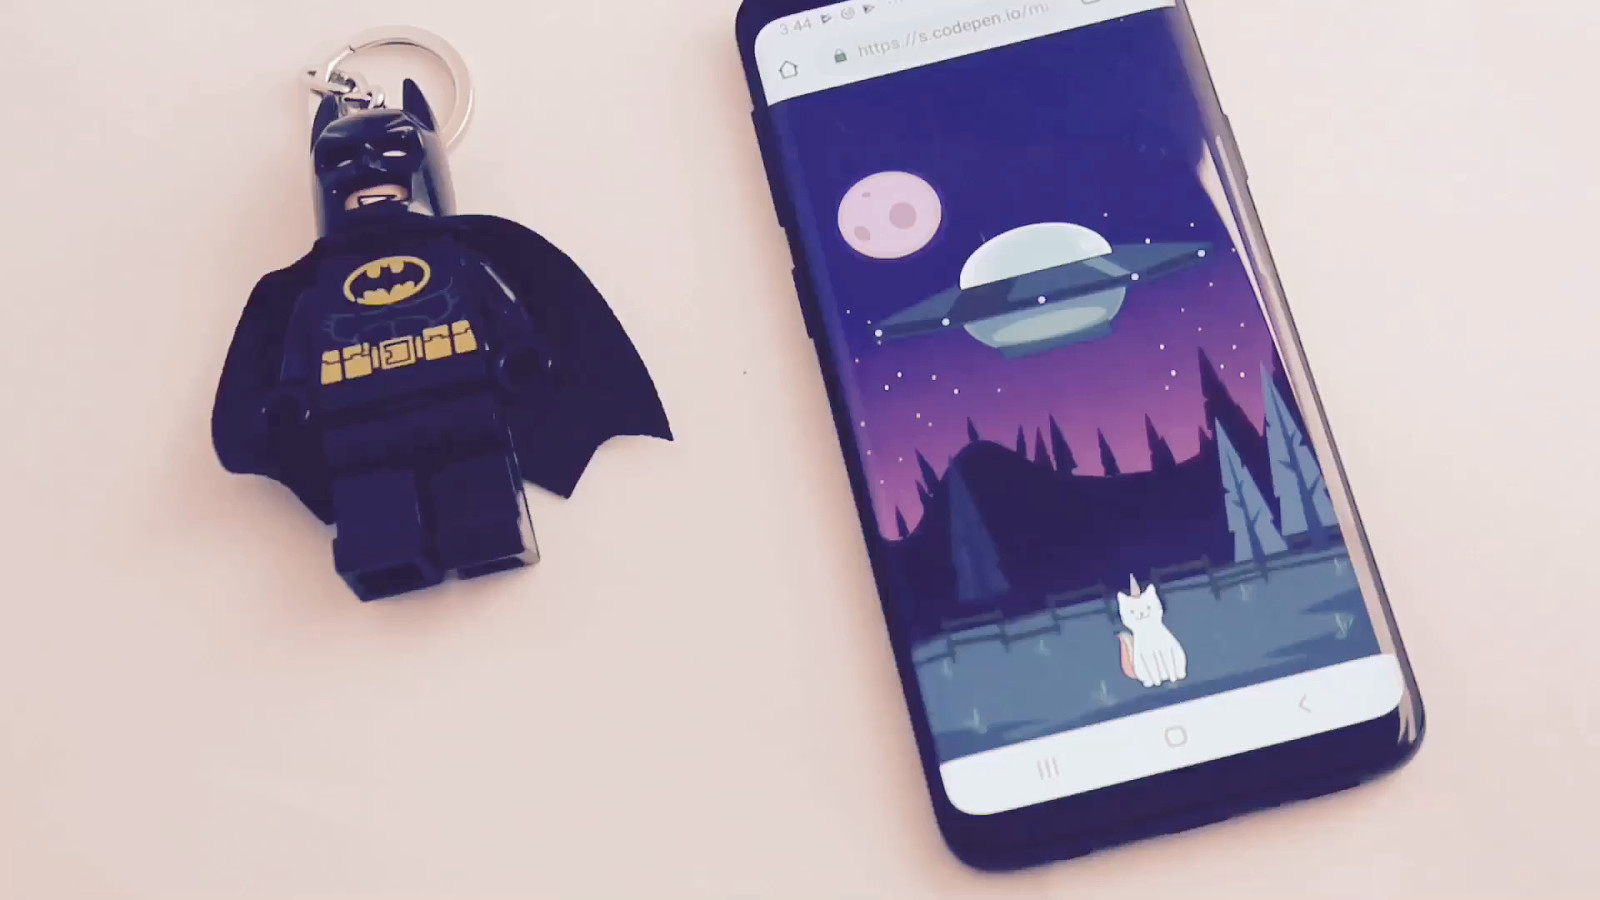
The use of orientation and motion are often seen in games or augmented reality. But it’s also used on the web for updating map information, like turn by turn navigation, or even subtle UI effects like parallax. While people are making more use of it for those subtle UI effects what I think is really exciting is that it offers us the opportunity to add an additional dimension to our storytelling and interactive experiences. Right now a lot of what we create on the web is static, aside from basic things like hover states or predetermined animations. But with device orientation we can create an experience that takes information from our users environment and uses that to tell the story. To me that is really amazing, and allows us to begin to create more immersive and engaging stories and allow the user to be a part of that experience.
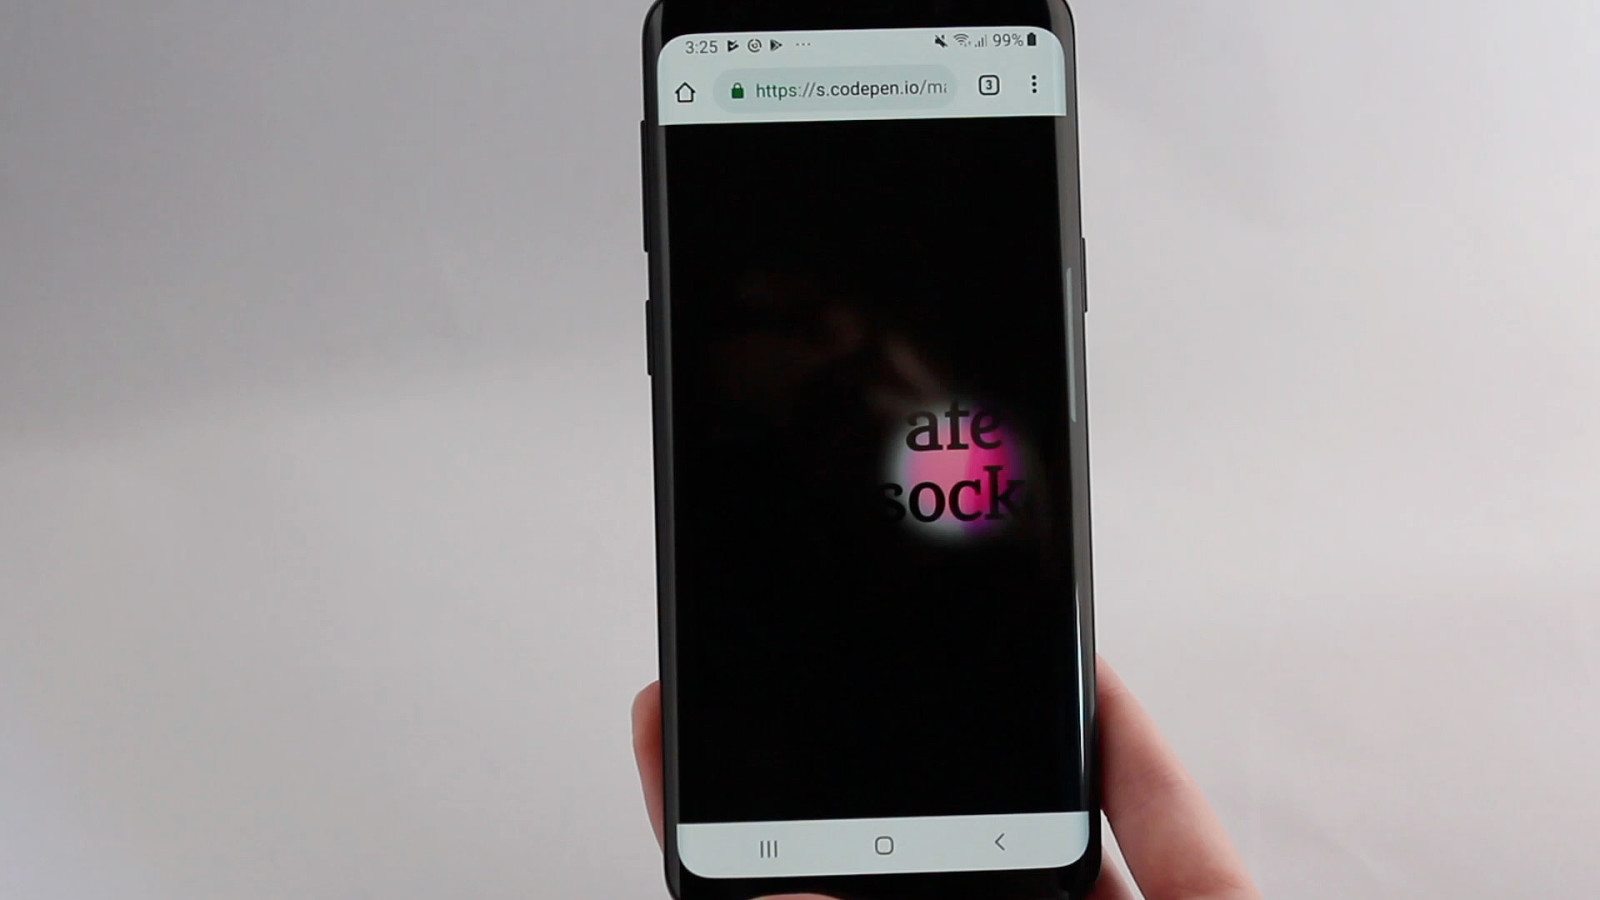
“ A photodetector that is used to sense the amount of ambient light present. Ambient light sensors can be found in all sorts of devices like mobile phones, laptops and tvs. It senses the amount of ambient light in the room and is most often it’s used to dim screen brightness. ”
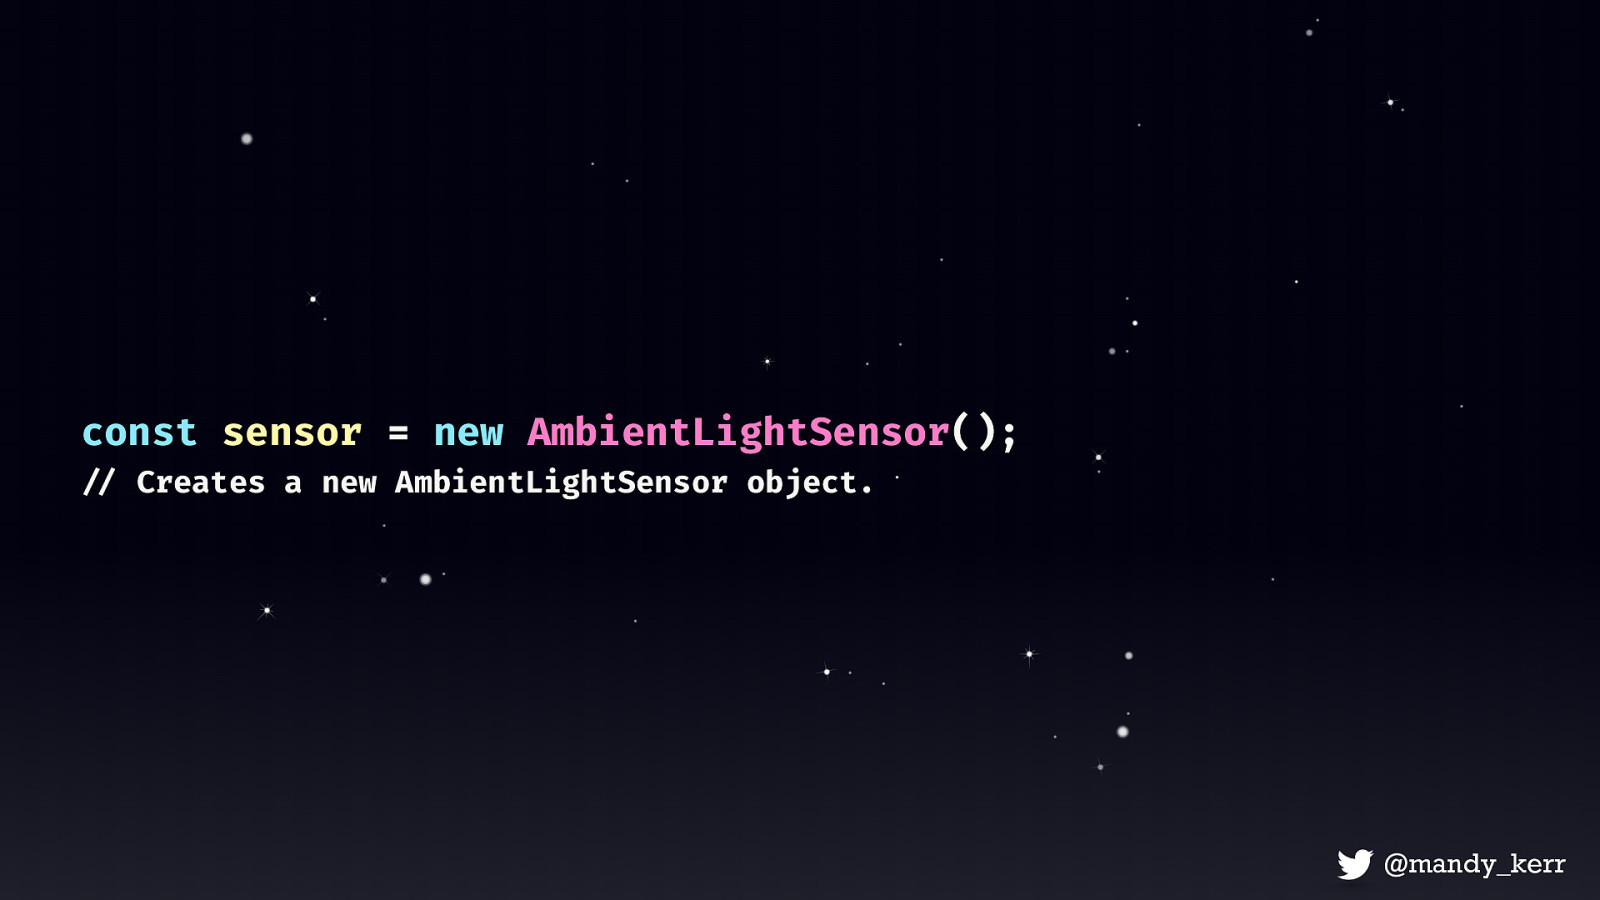
const sensor = new AmbientLightSensor(); !// Creates a new AmbientLightSensor object.
Much like the Device Orientation API we need to create a new instance which will give us access to the AmbientLightSensor
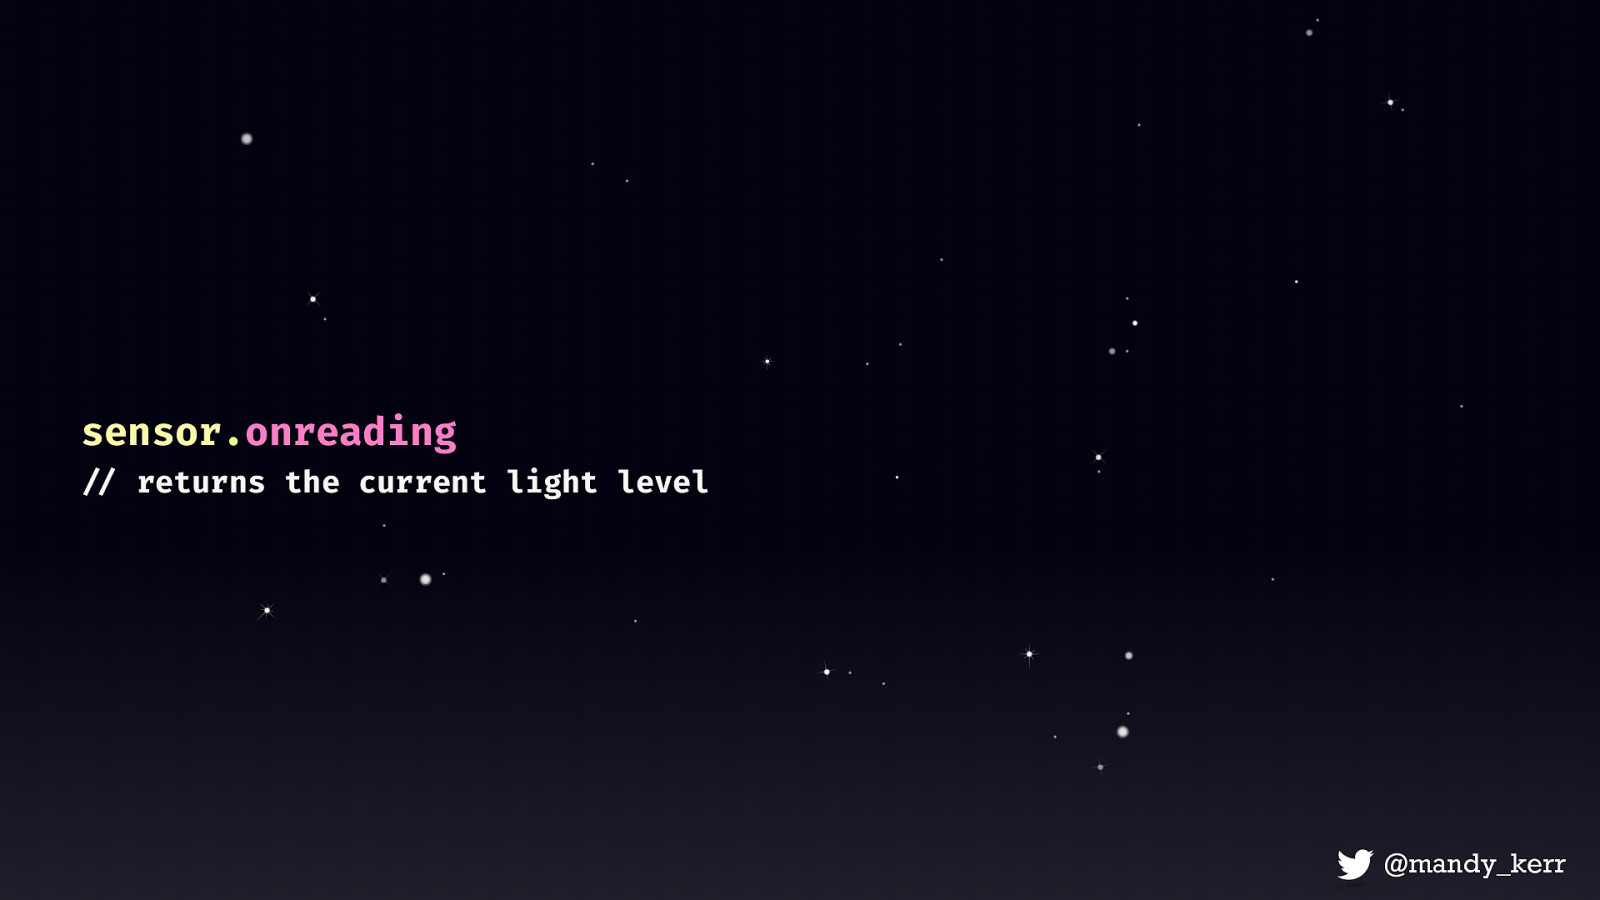
sensor.onreading !// returns the current light level
We’ll also need the onreading event handler - this is not specifically part of the ambient light sensor api, instead this is part of the Sensor interface which contains a bunch of properties, event handlers, and methods that any sensor can use. The onreading EventHandler is called when a reading is taken The reading frequency is decided by you, you can pass an optional value to the sensor’s constructor which will specify the number of readings per second.
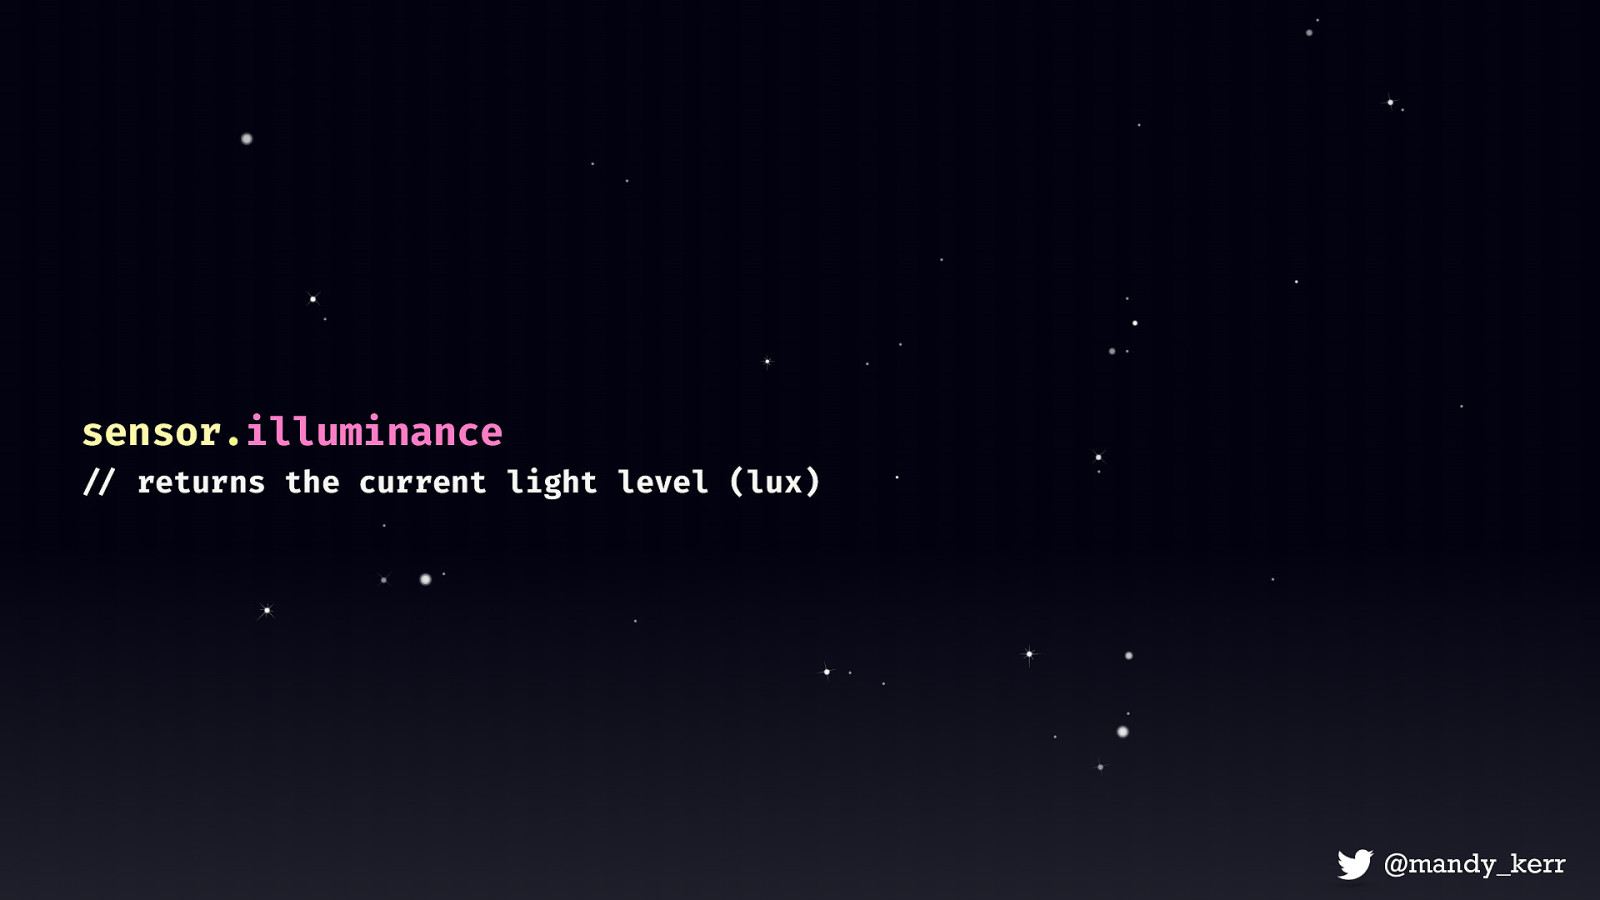
sensor.illuminance !// returns the current light level (lux)
Finally we can access the illuminance which is the only property attached to the Ambient Light Sensor.
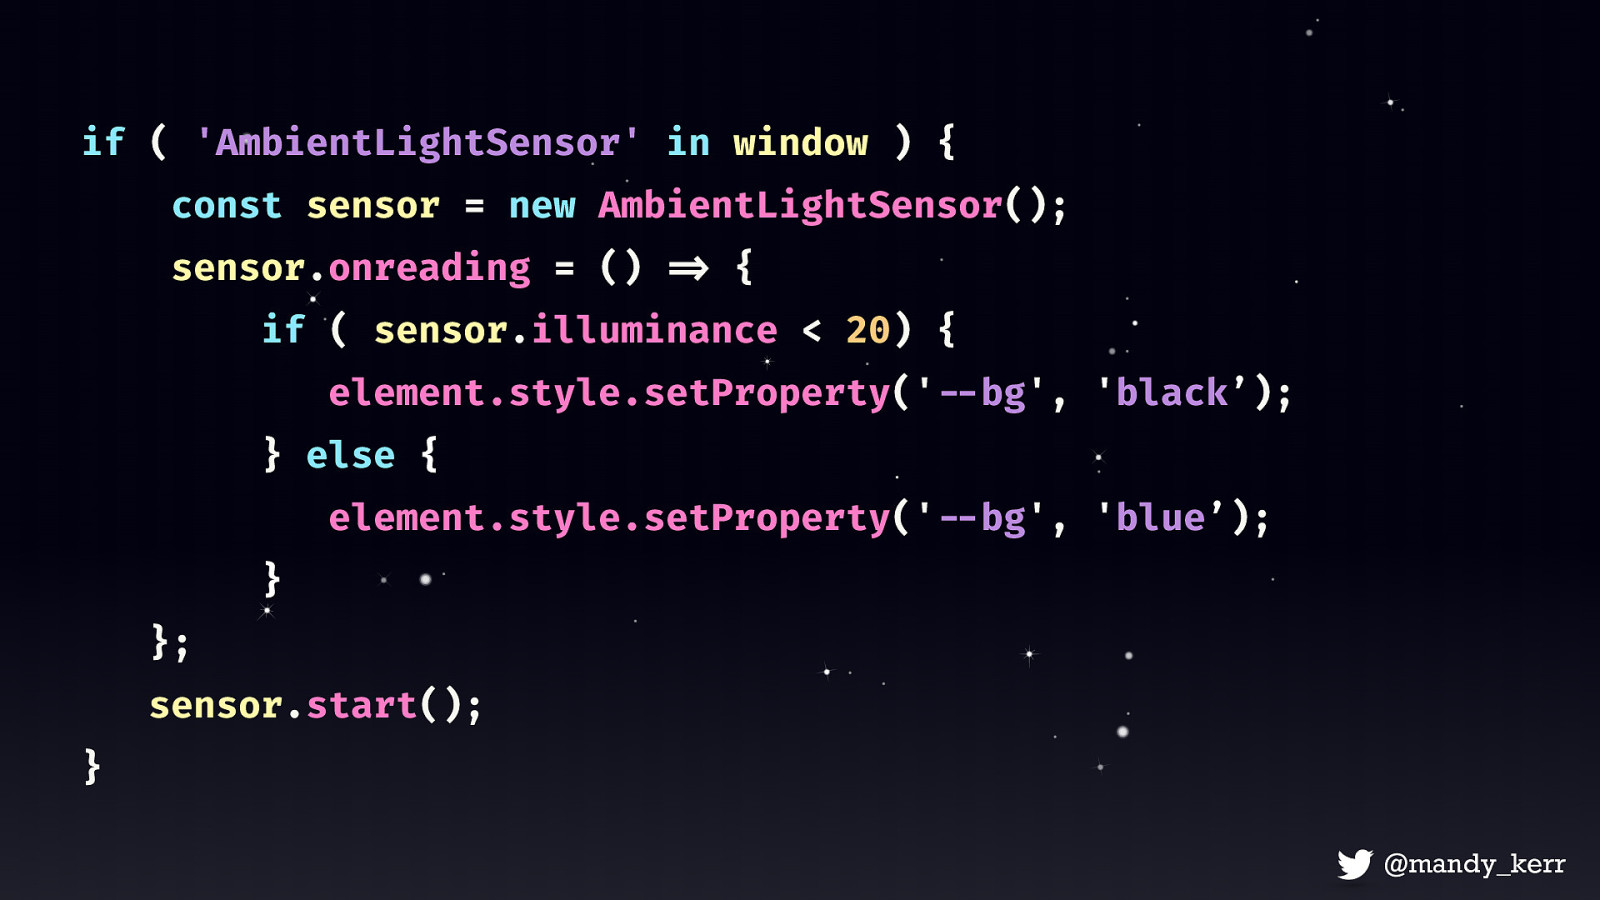
if ( ‘AmbientLightSensor’ in window ) { const sensor = new AmbientLightSensor(); sensor.onreading = () !=> { if ( sensor.illuminance < 20) { element.style.setProperty(‘!—bg’, ‘black’); } else { element.style.setProperty(‘!—bg’, ‘blue’); } }; sensor.start(); }

Font: Tiny by Jack Halten Fahnestock
we can improve legibility of our text with new features allowing us to query the characteristics of the user’s display or light-level This demo currently only works behind a flag, the support isn’t great but the opportunity is there for us in the future.
“ Don’t be limited by what we can already do, the web is still young and there is so much for us to create. ”
You could create puzzles or other interactive experiences that require multiple inputs in order to complete them. Like escape the room.
developer.mozilla.org/docs/Web/API developer.mozilla.org/docs/Web/API/Sensor_APIs developer.mozilla.org/docs/Web/API/SpeechRecognition developer.mozilla.org/docs/Web/API/AmbientLightSensor developer.mozilla.org/docs/Web/API/DeviceOrientationEvent https://developer.mozilla.org/en-US/docs/Web/API/SpeechRecognition