CODELAND 2018 | BY MONICA POWELL CREATE A BLOG WITH JEKYLL
A presentation at Codeland in May 2018 in New York, NY, USA by Monica Powell
CODELAND 2018 | BY MONICA POWELL CREATE A BLOG WITH JEKYLL
2 CREATE A BLOG WITH JEKYLL FOLLOW ALONG ▸ Demo Site: ▸ https://m0nica.github.io/dactl/ ▸ GitHub Repository: ▸ https://github.com/M0nica/dactl ▸ Slides: ▸ http://aboutmonica.com/codeland/jekyll.pdf Monica Powell • Codeland 2018 @waterproofheart • www.aboutmonica.com
3 CREATE A BLOG WITH JEKYLL ABOUT US! Monica Powell, I’m a long-time #CodeNewbie! I currently lead e-mail marketing at Jopwell and periodically write for FreeCodeCamp, Hacker Noon and Code Like A Girl. ! Twitter: @waterproofheart Nia Murrell is a self-taught developer and long-time coding enthusiast. She is an active member of the L.A. tech community who volunteers as a developer for small businesses and as a TA for the L.A. chapter of Girl Develop It. 🔗 www.aboutmonica.com/ 🔗 https://dev.niamurrell.com Monica Powell • Codeland 2018 @waterproofheart • www.aboutmonica.com
4 CREATE A BLOG WITH JEKYLL ICE BREAKER - WHY ARE YOU HERE? ▸ Name ▸ Why do you want to create a technical blog? What are you hoping to gain from having a blog? Monica Powell • Codeland 2018 @waterproofheart • www.aboutmonica.com
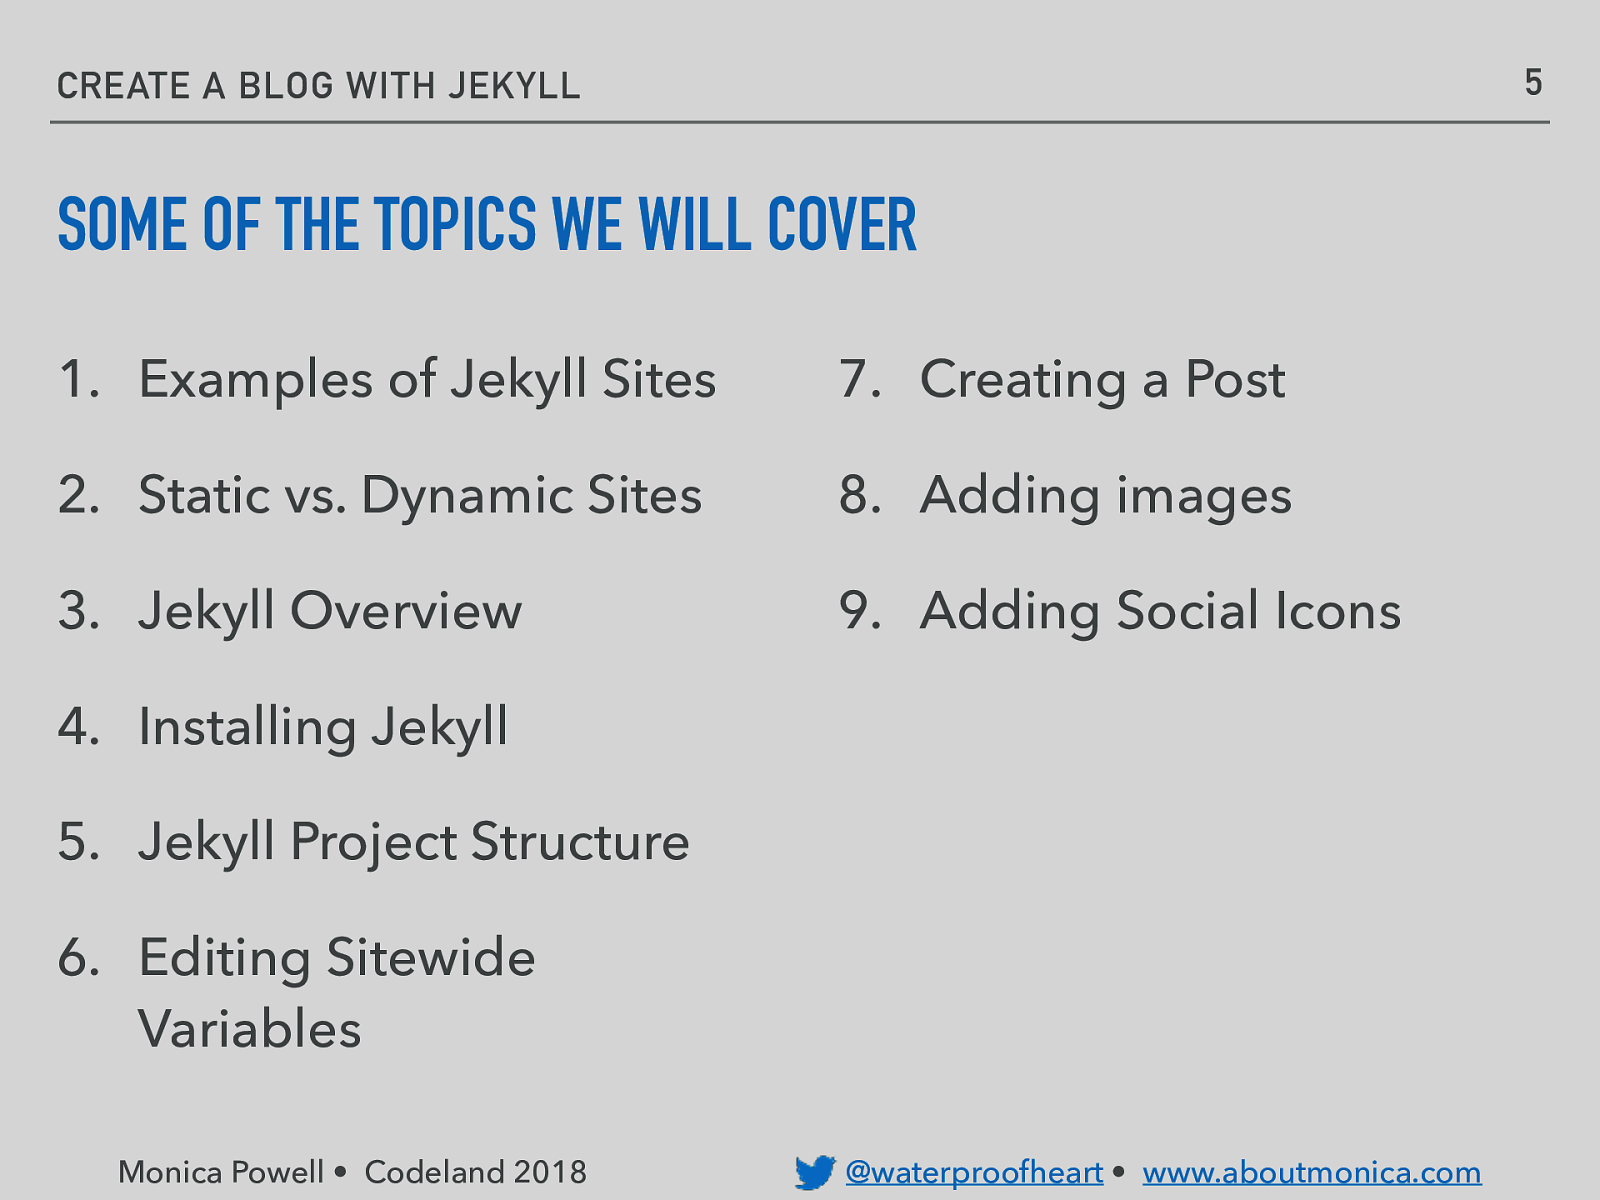
5 CREATE A BLOG WITH JEKYLL SOME OF THE TOPICS WE WILL COVER 1. Examples of Jekyll Sites 7. Creating a Post 2. Static vs. Dynamic Sites 8. Adding images 3. Jekyll Overview 9. Adding Social Icons 4. Installing Jekyll 5. Jekyll Project Structure 6. Editing Sitewide Variables Monica Powell • Codeland 2018 @waterproofheart • www.aboutmonica.com
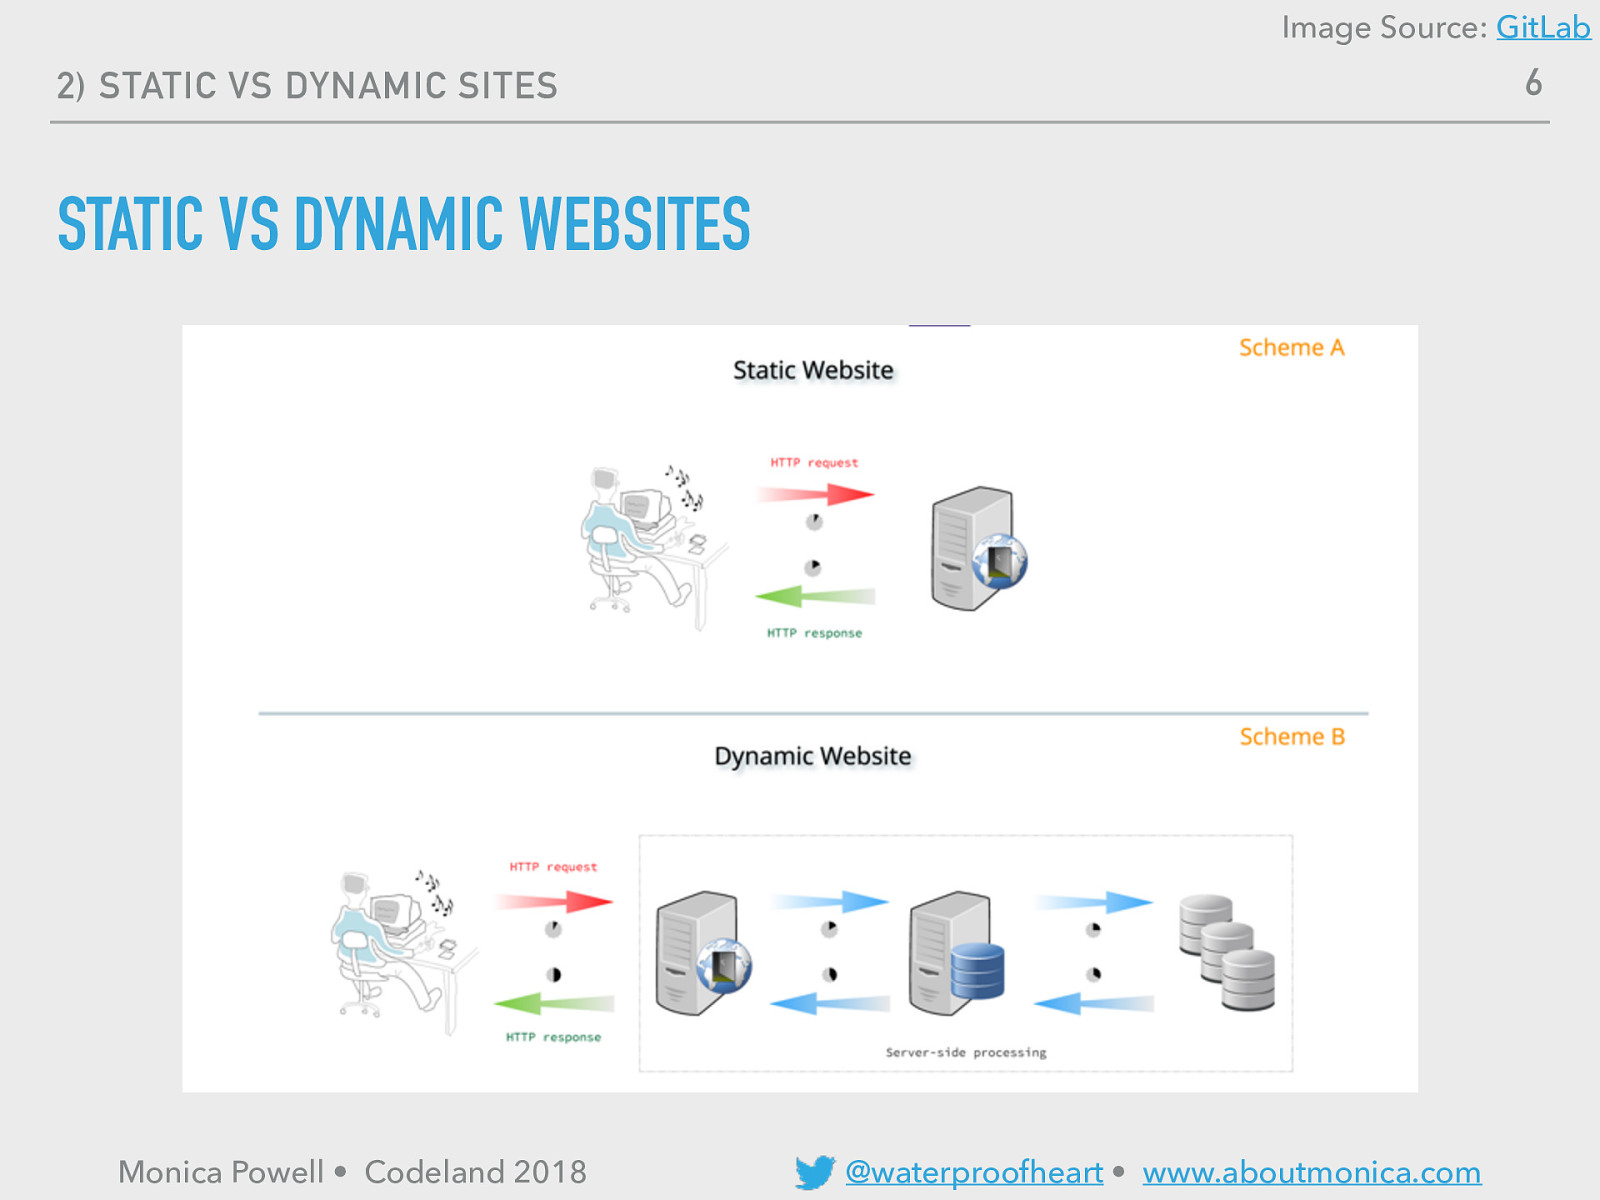
Image Source: GitLab 6 2) STATIC VS DYNAMIC SITES STATIC VS DYNAMIC WEBSITES Monica Powell • Codeland 2018 @waterproofheart • www.aboutmonica.com
8
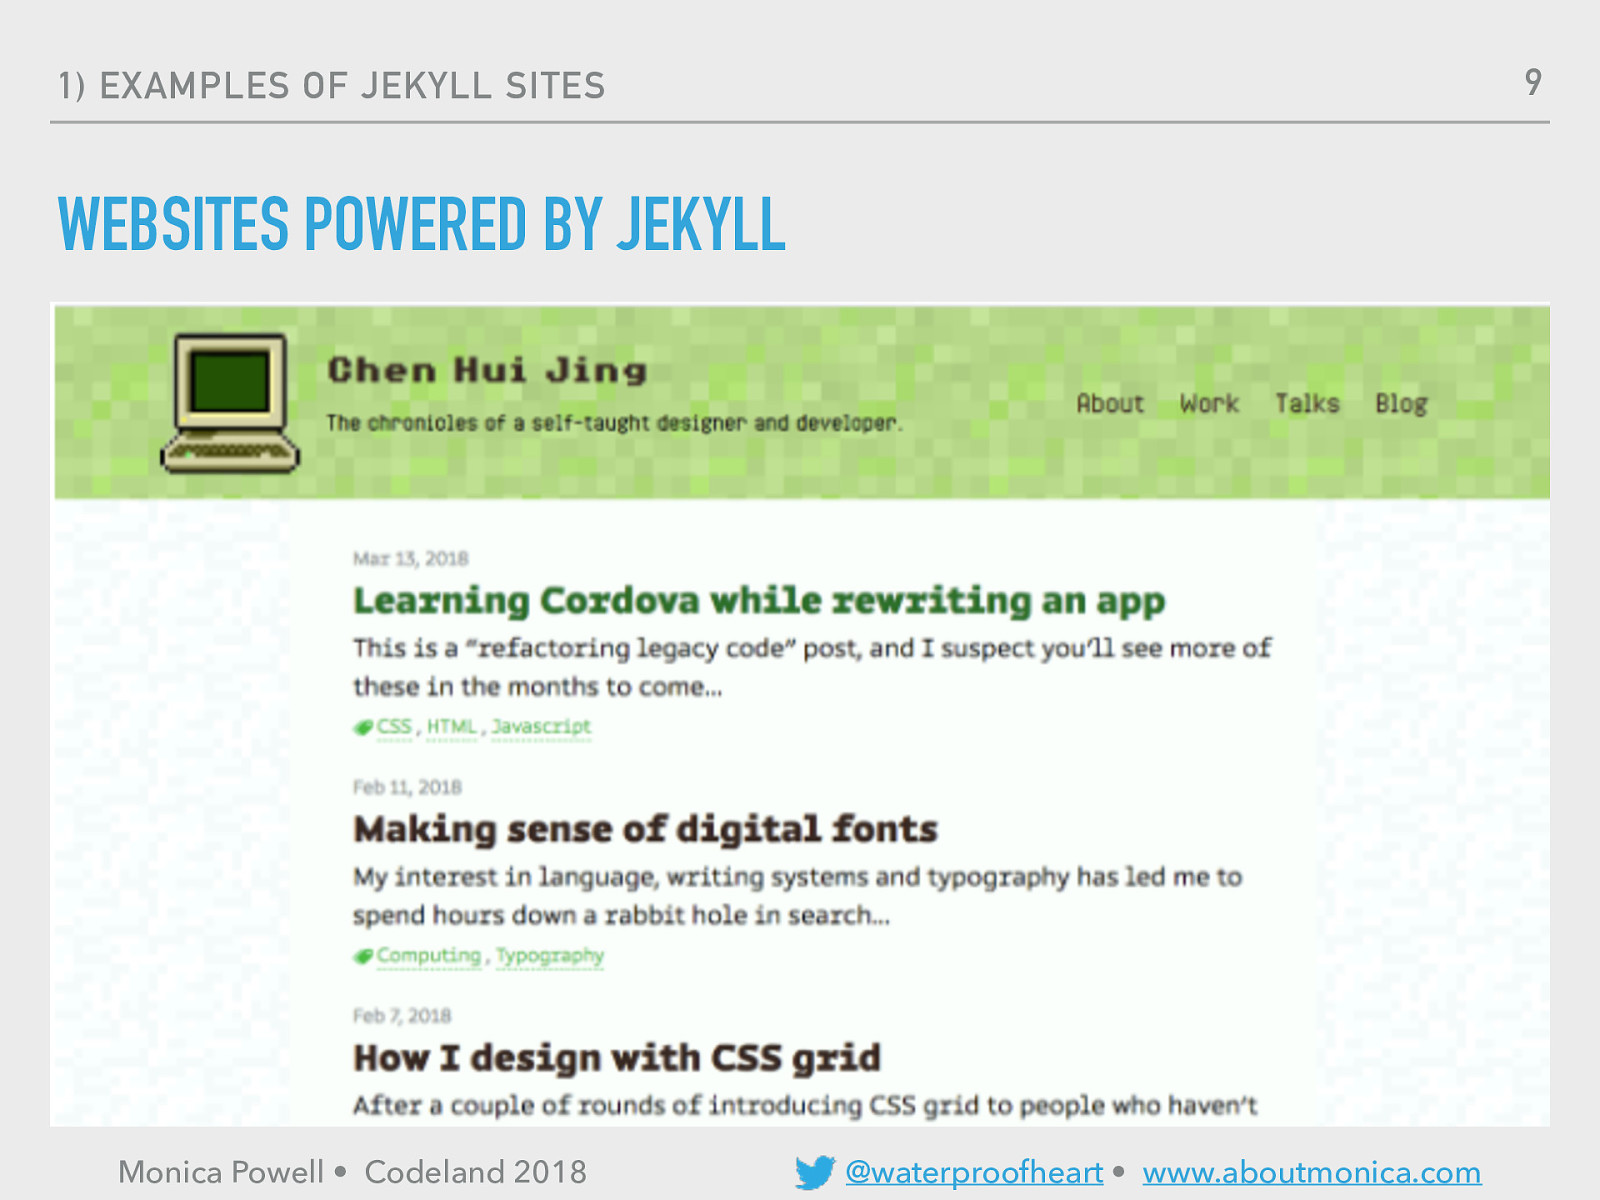
9
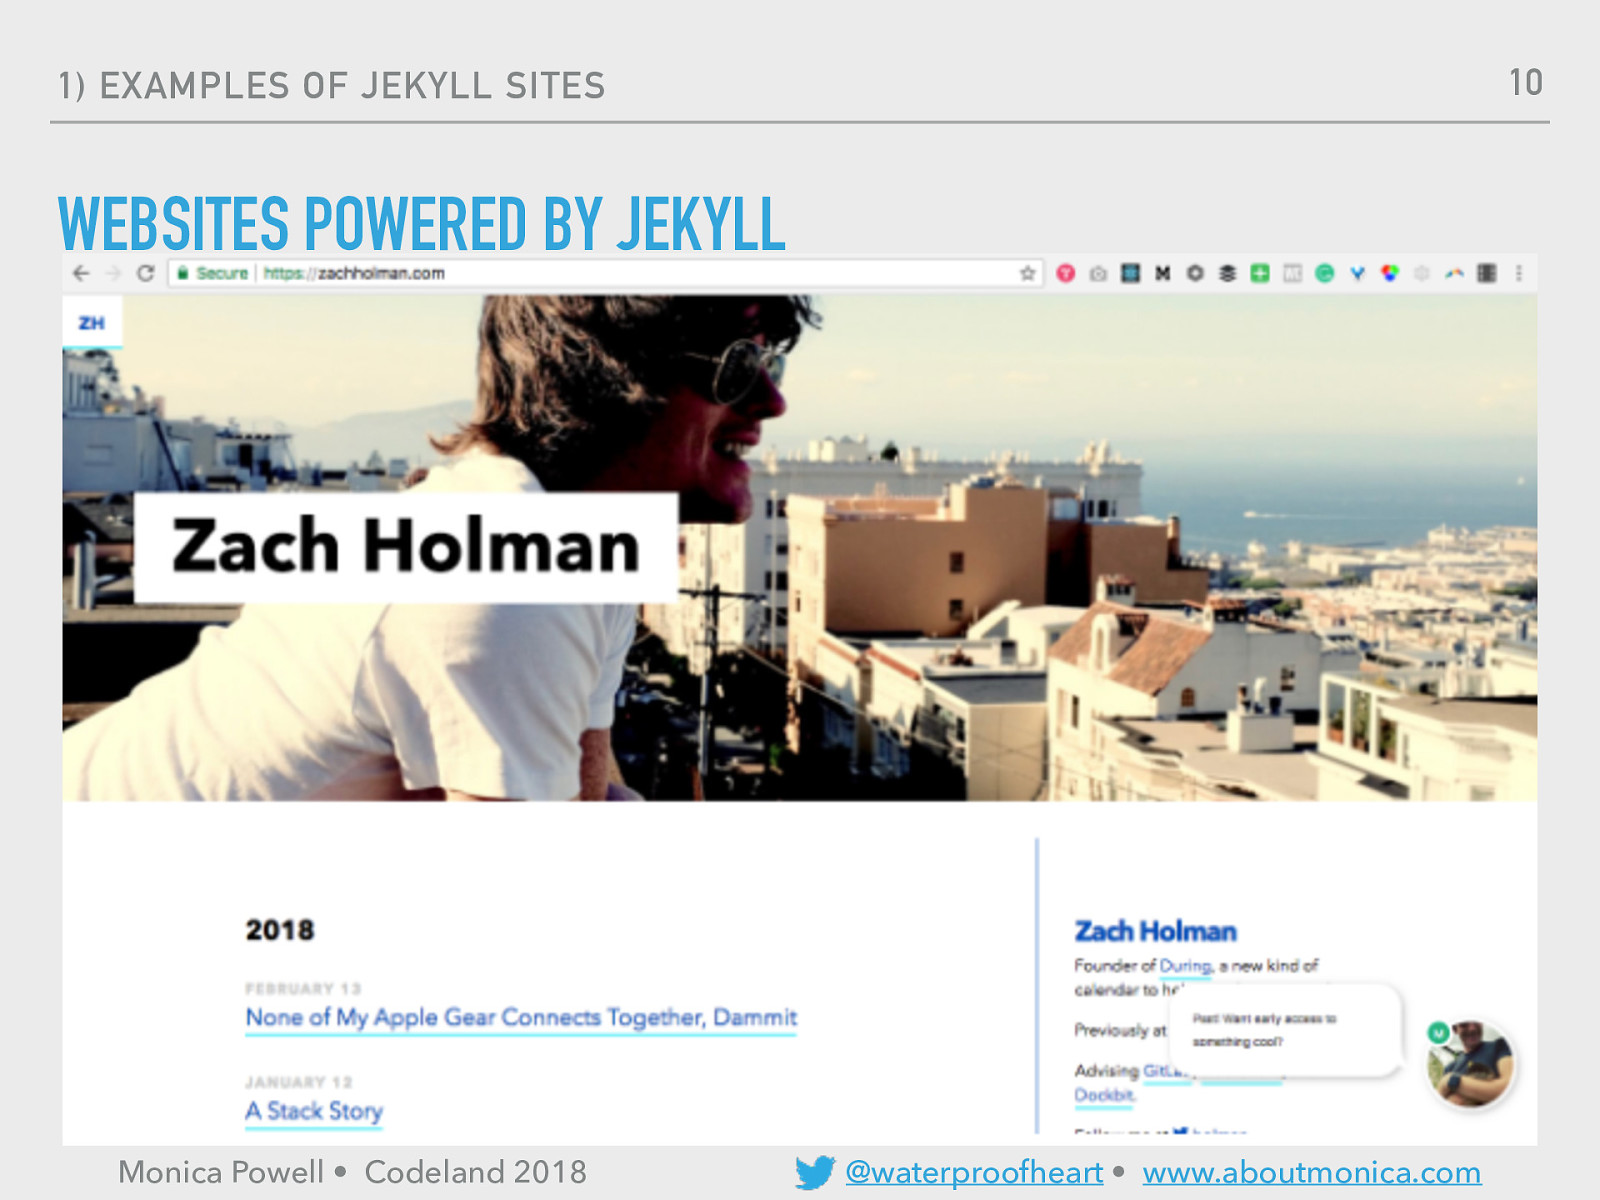
10
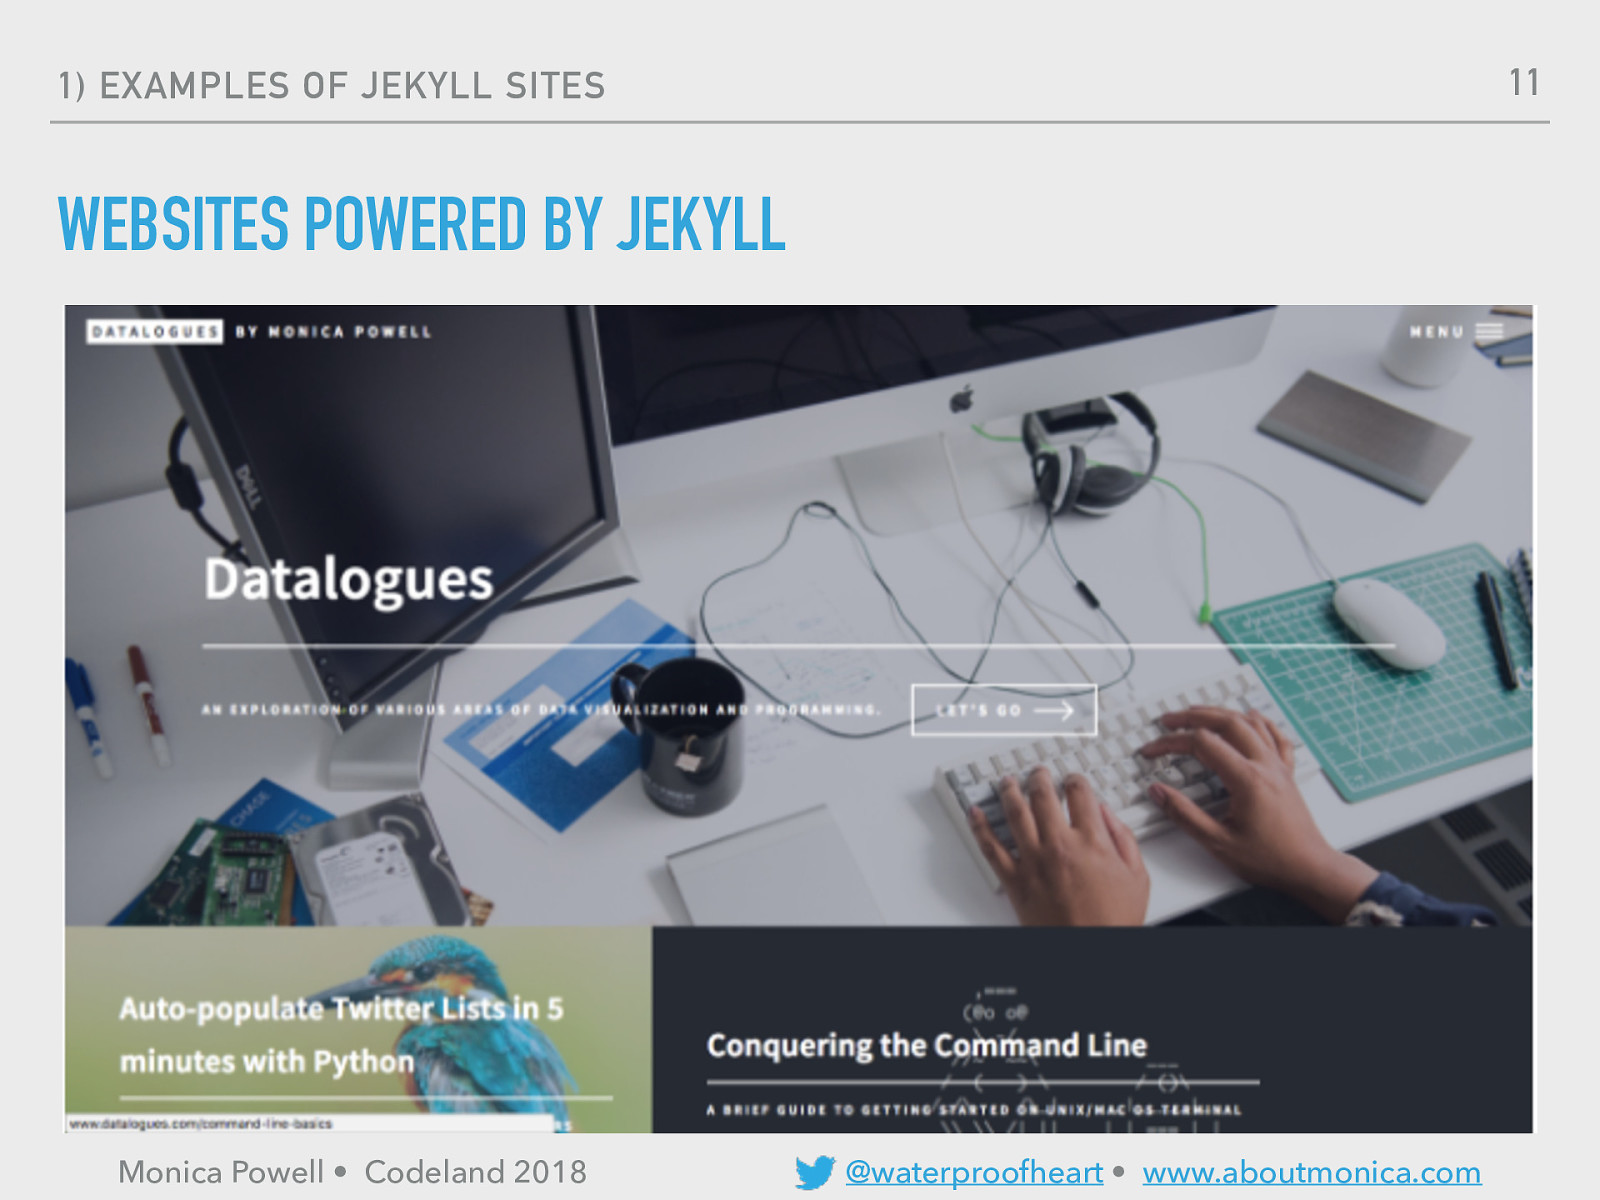
11
12
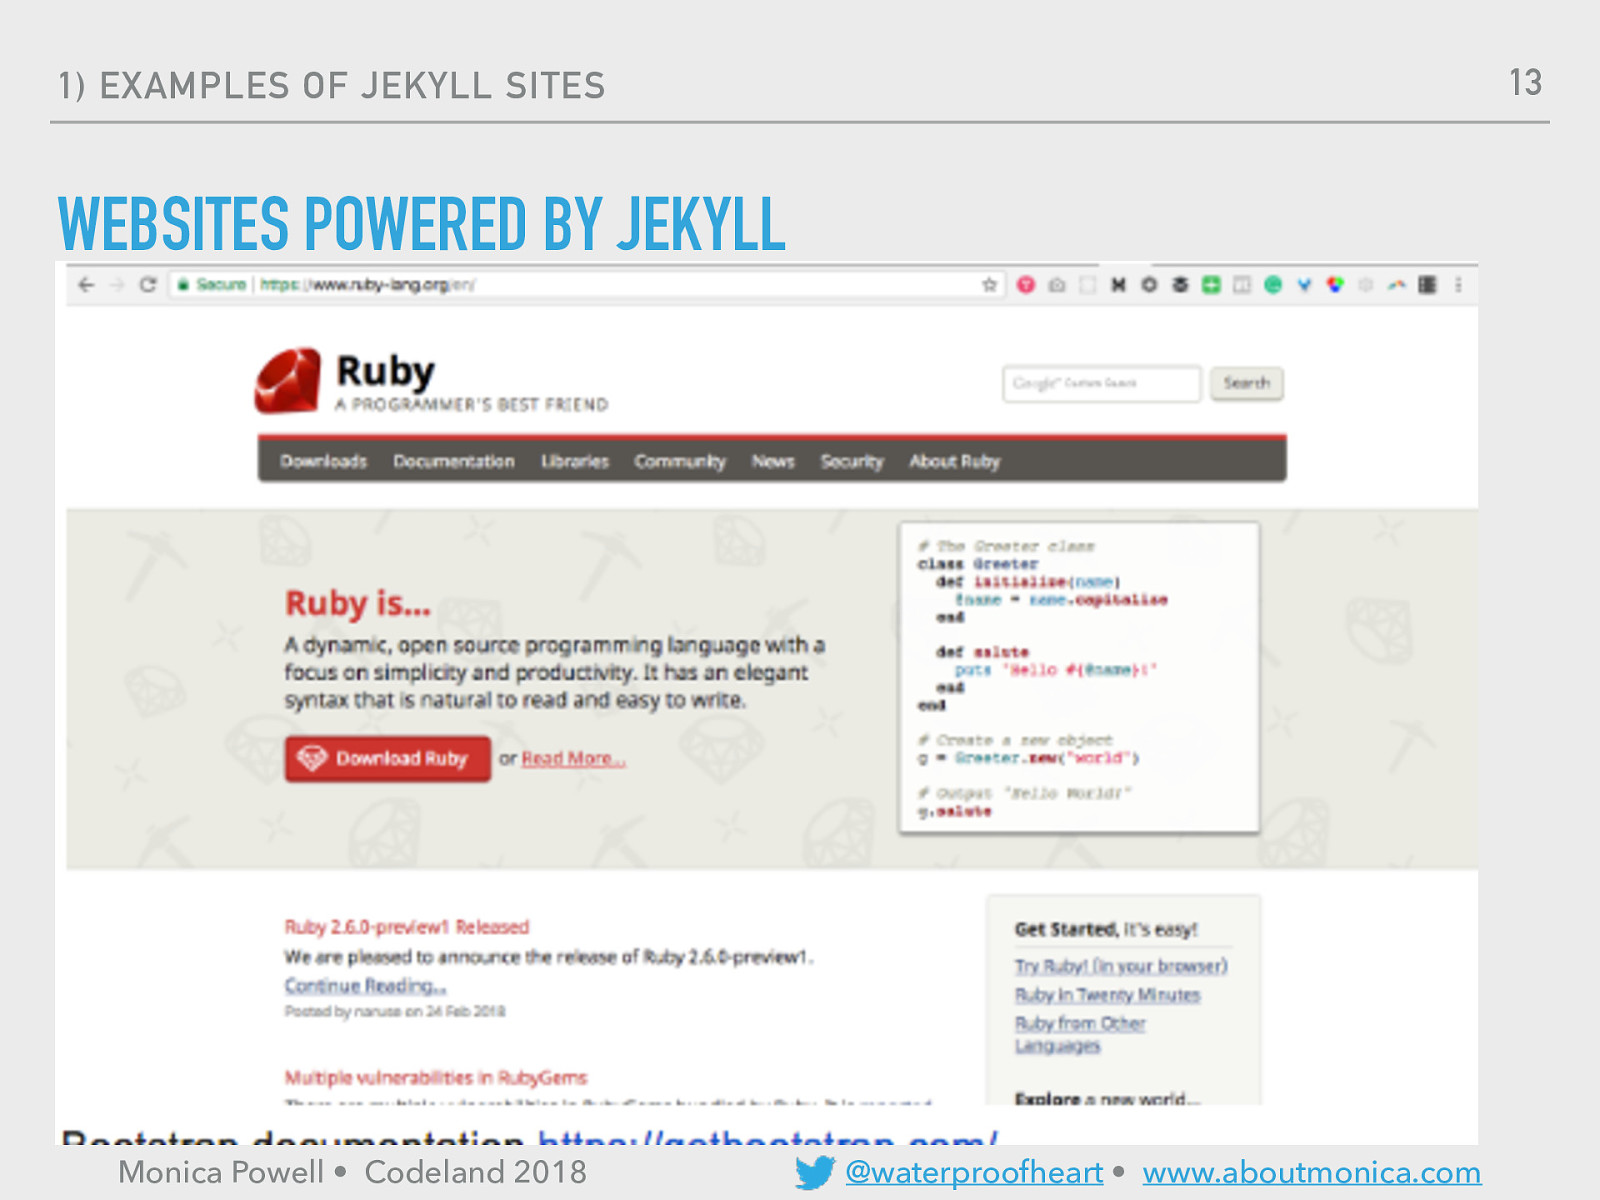
13

INSTALLATION FEST
15 4) INSTALLING JEKYLL TOOLS WE WILL BE USING TODAY: ‣ Command Line/Terminal ‣ Text Editor ‣ Web Browser Monica Powell • Codeland 2018 @waterproofheart • www.aboutmonica.com
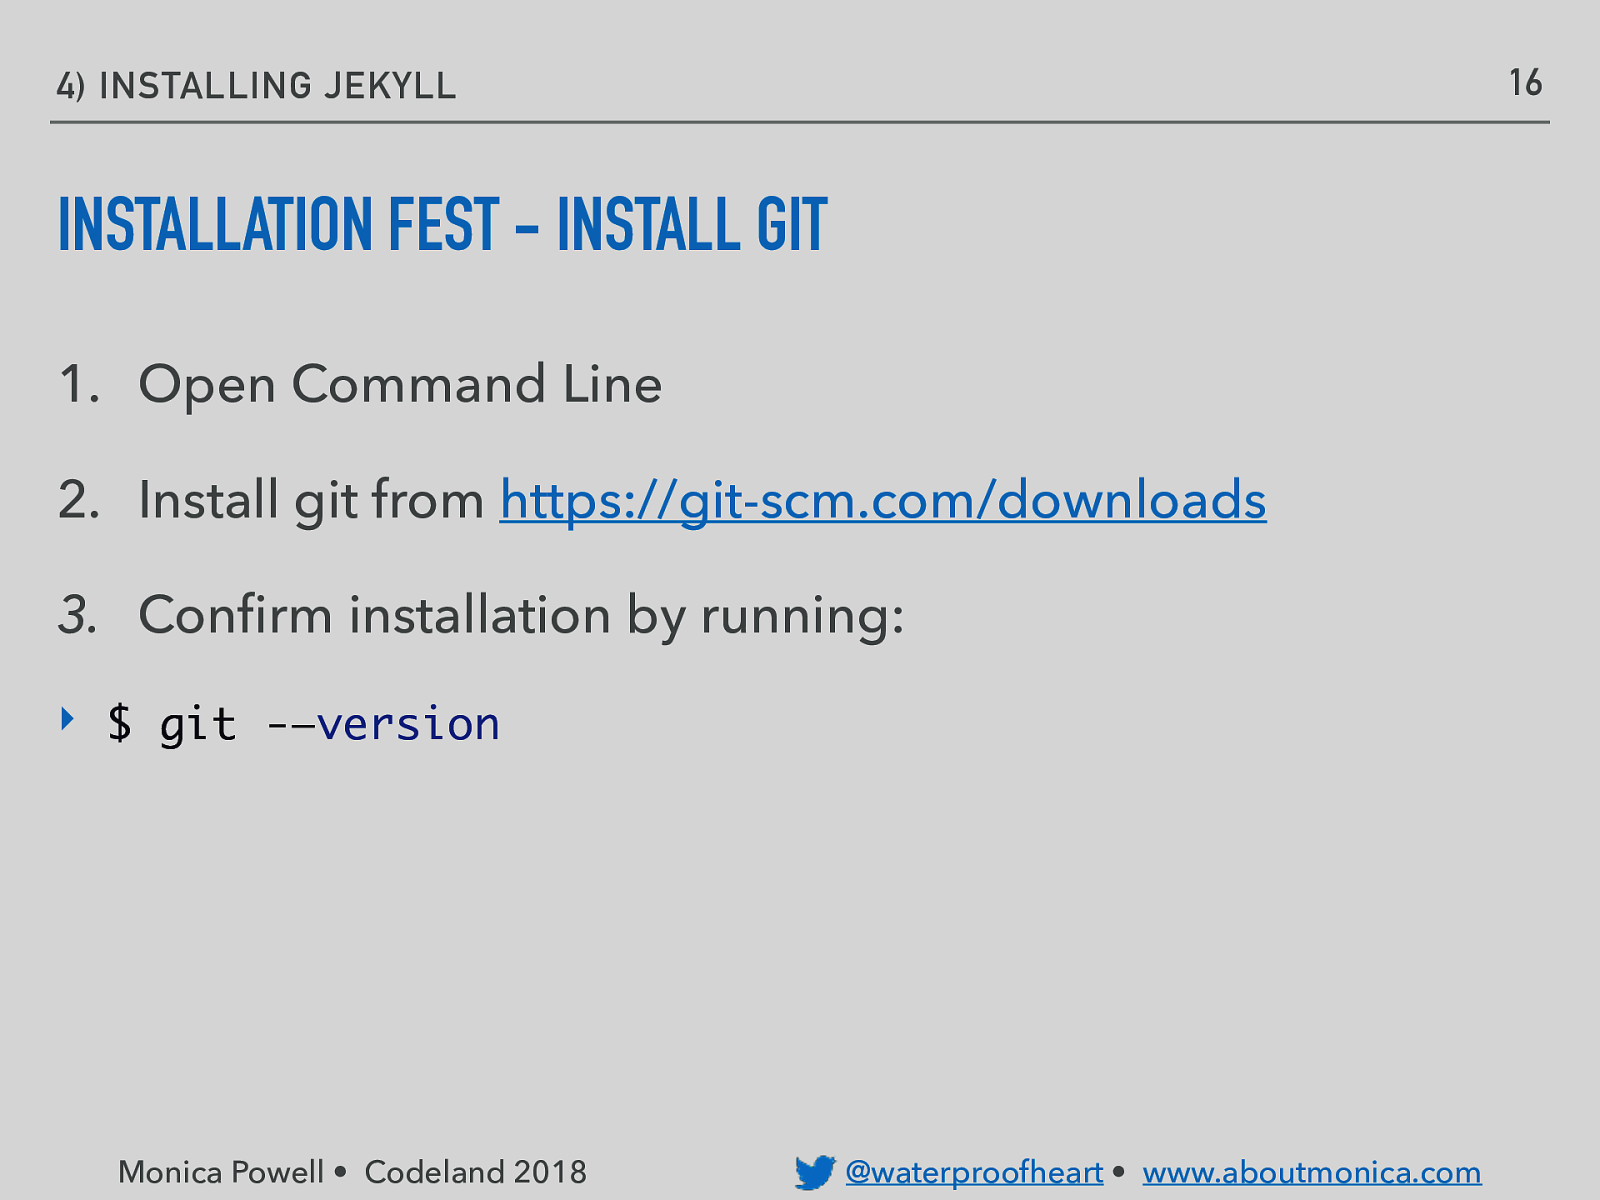
16 4) INSTALLING JEKYLL INSTALLATION FEST - INSTALL GIT 1. Open Command Line 2. Install git from https://git-scm.com/downloads 3. Confirm installation by running: ‣ $ git -—version Monica Powell • Codeland 2018 @waterproofheart • www.aboutmonica.com
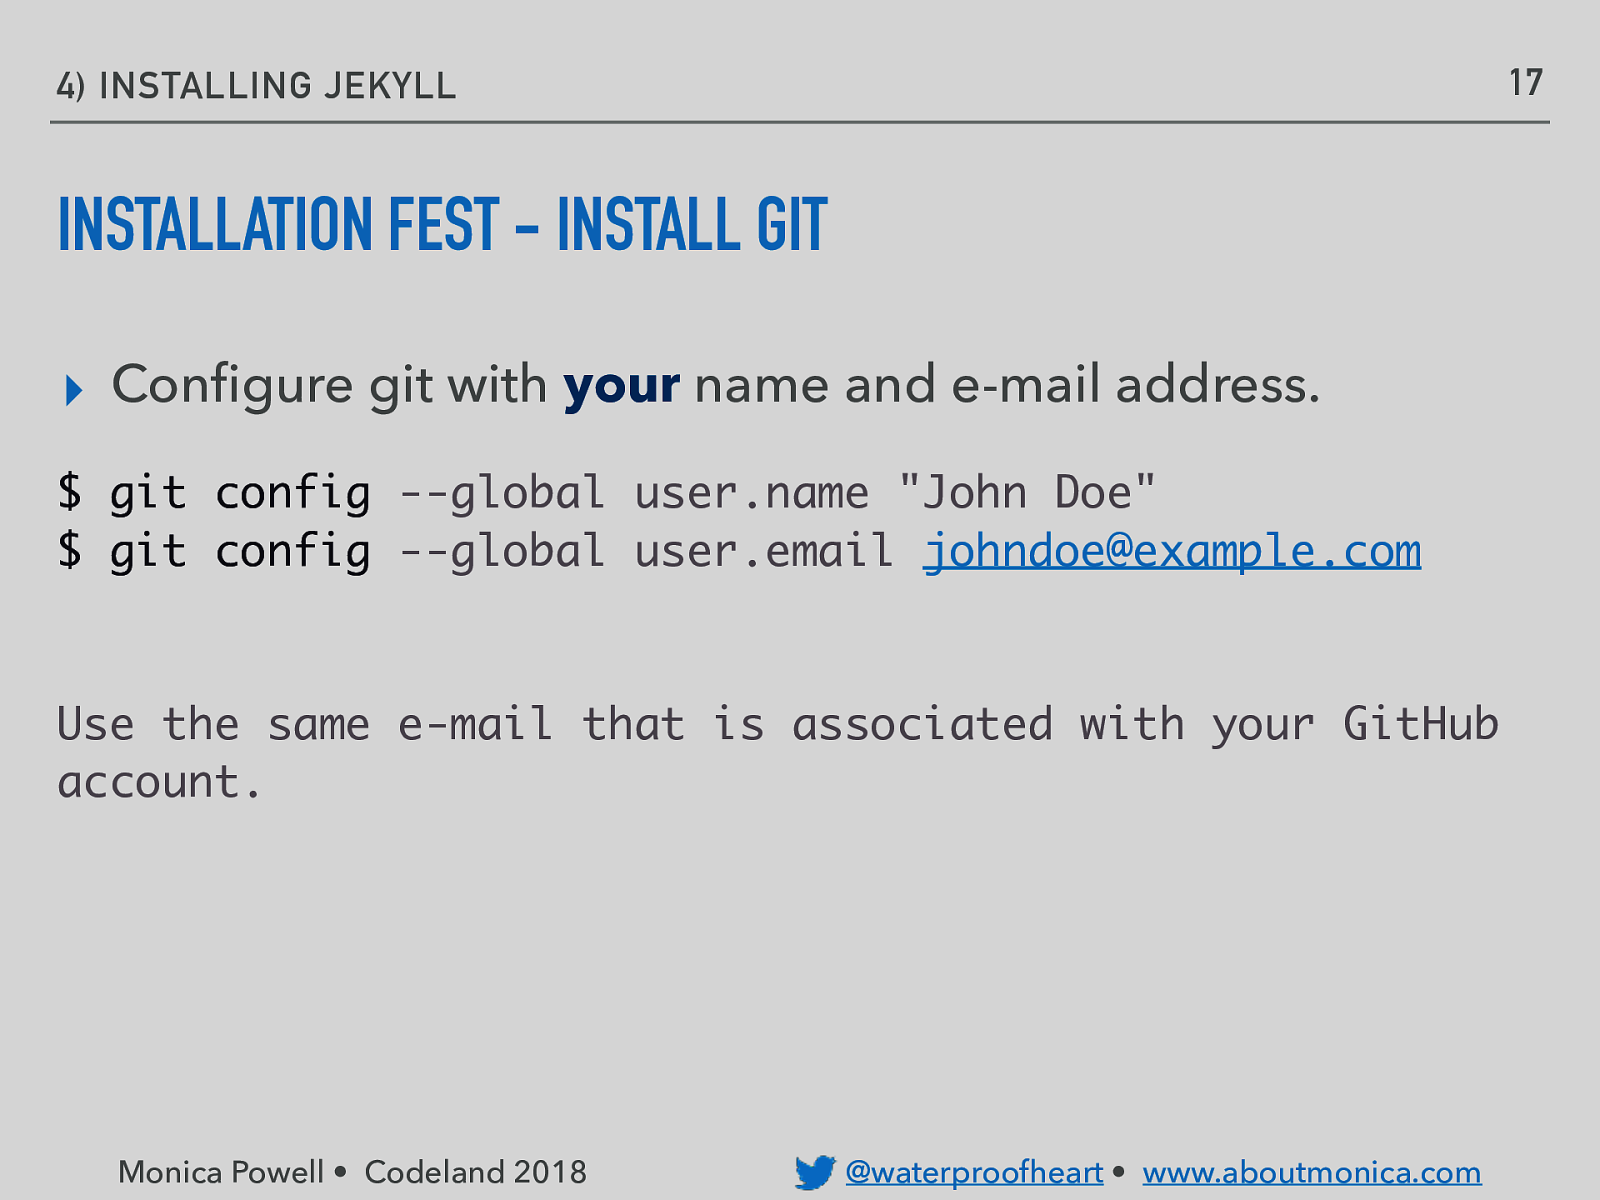
17 4) INSTALLING JEKYLL INSTALLATION FEST - INSTALL GIT ▸ Configure git with your name and e-mail address. $ git config —global user.name “John Doe” $ git config —global user.email johndoe@example.com Use the same e-mail that is associated with your GitHub account. Monica Powell • Codeland 2018 @waterproofheart • www.aboutmonica.com
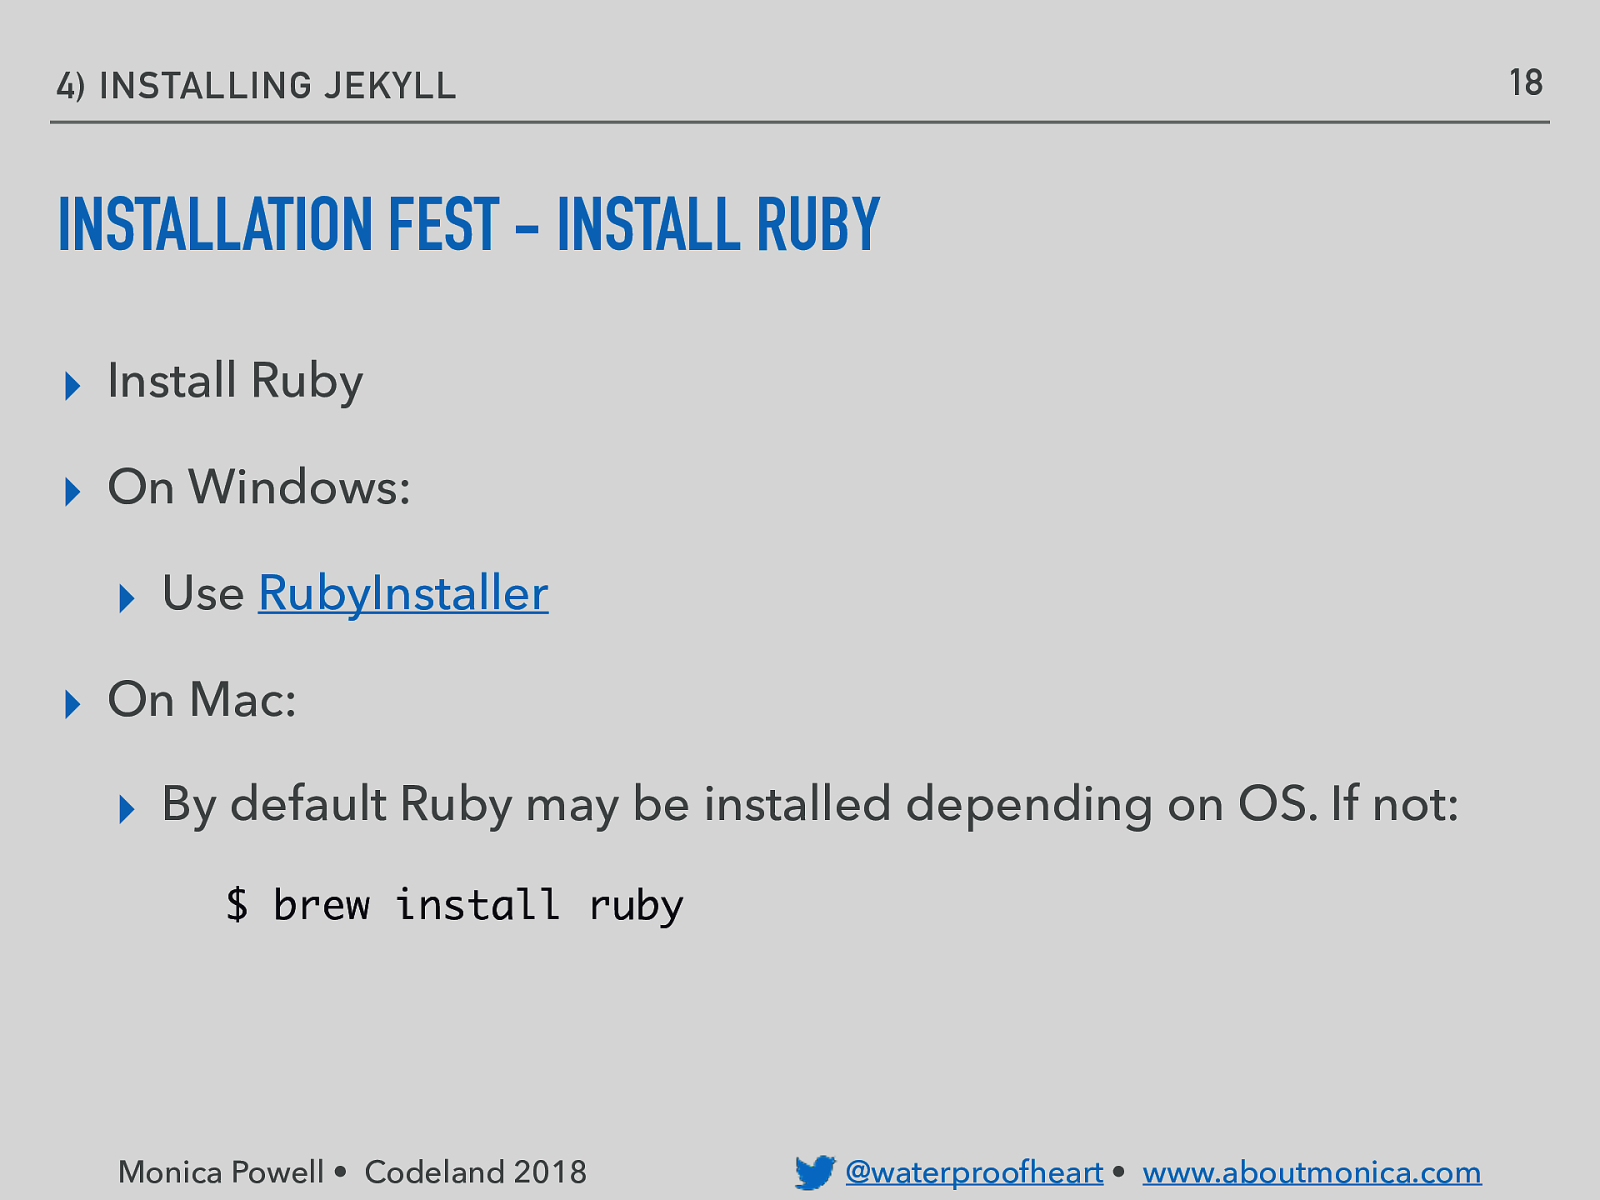
18 4) INSTALLING JEKYLL INSTALLATION FEST - INSTALL RUBY ▸ Install Ruby ▸ On Windows: ▸ Use RubyInstaller ▸ On Mac: ▸ By default Ruby may be installed depending on OS. If not: $ brew install ruby Monica Powell • Codeland 2018 @waterproofheart • www.aboutmonica.com
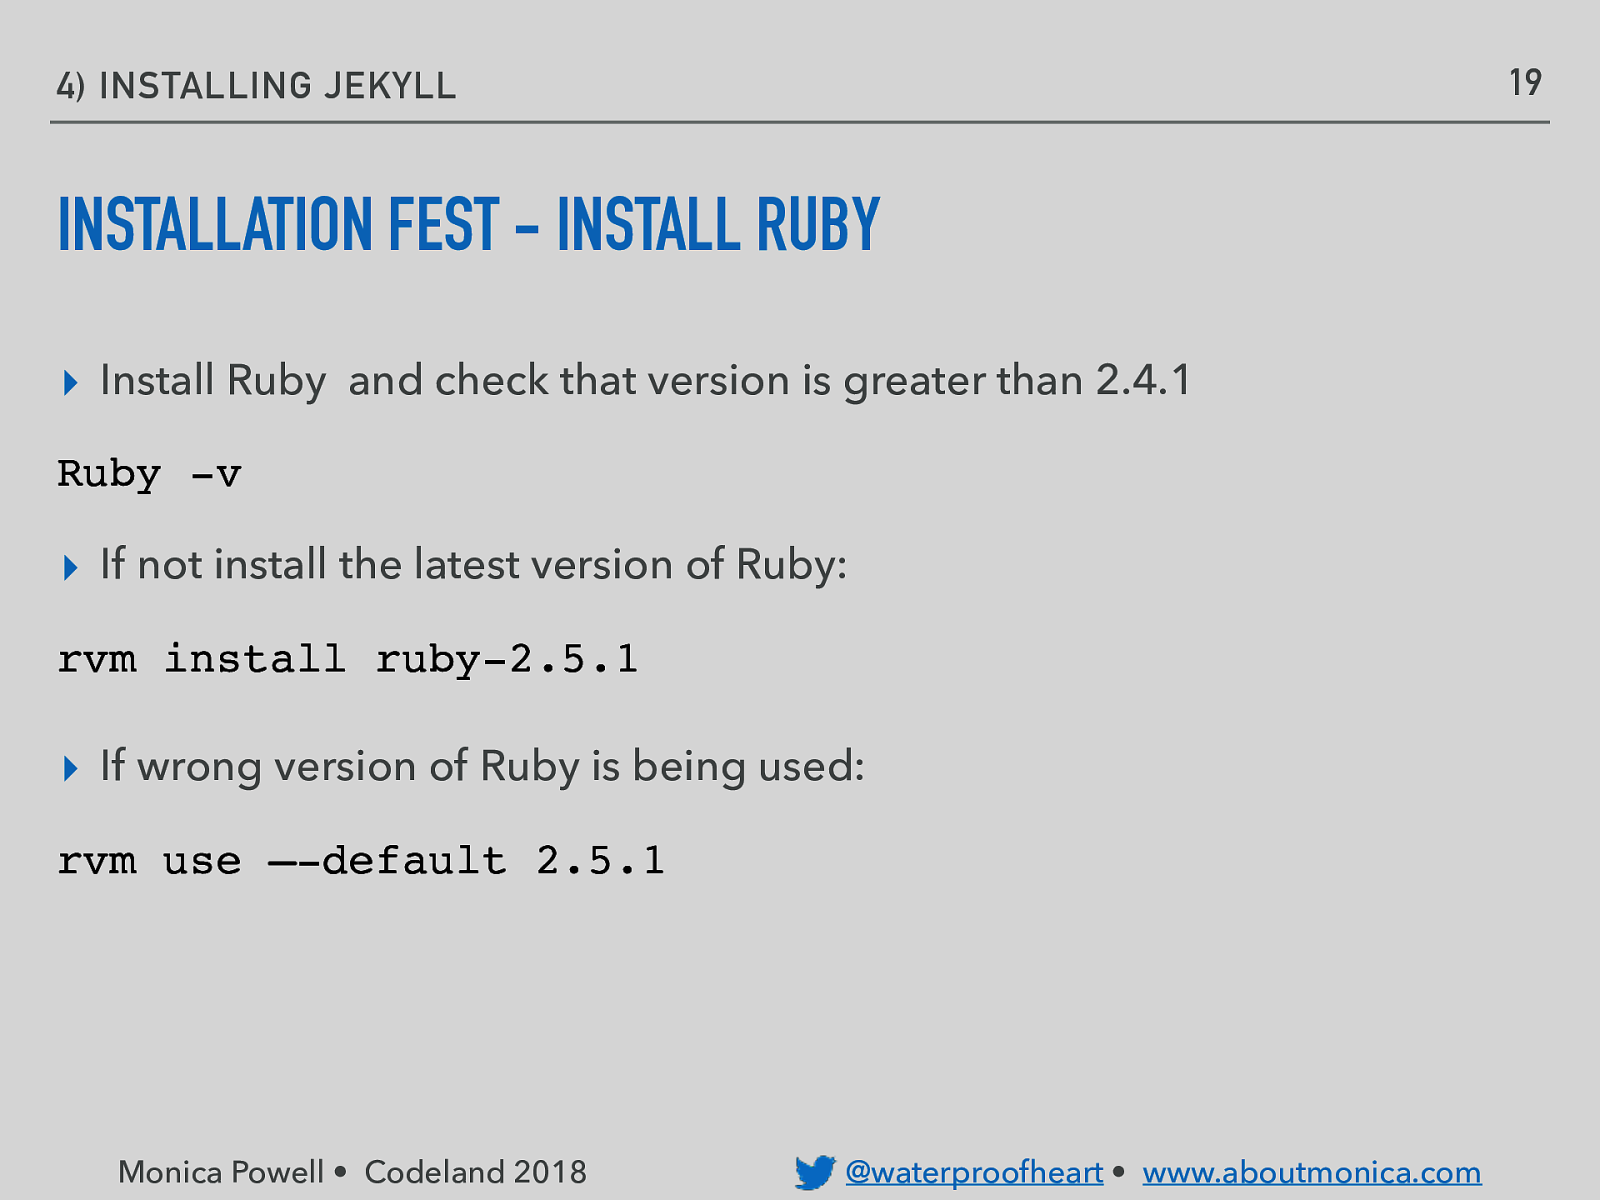
19 4) INSTALLING JEKYLL INSTALLATION FEST - INSTALL RUBY ▸ Install Ruby and check that version is greater than 2.4.1 Ruby -v ▸ If not install the latest version of Ruby: rvm install ruby-2.5.1 ▸ If wrong version of Ruby is being used: rvm use —-default 2.5.1 Monica Powell • Codeland 2018 @waterproofheart • www.aboutmonica.com
20 4) INSTALLING JEKYLL INSTALLATION FEST - INSTALL PROJECT ▸ On GitHub.com fork this repository https://github.com/ M0nica/dactl Monica Powell • Codeland 2018 @waterproofheart • www.aboutmonica.com
21 4) INSTALLING JEKYLL INSTALLATION FEST - INSTALL PROJECT ▸ On command line: ▸ Git clone https://github.com/YOUR_USERNAME/dactl ▸ Note: GitHub may prompt you to login with your credentials. Monica Powell • Codeland 2018 @waterproofheart • www.aboutmonica.com
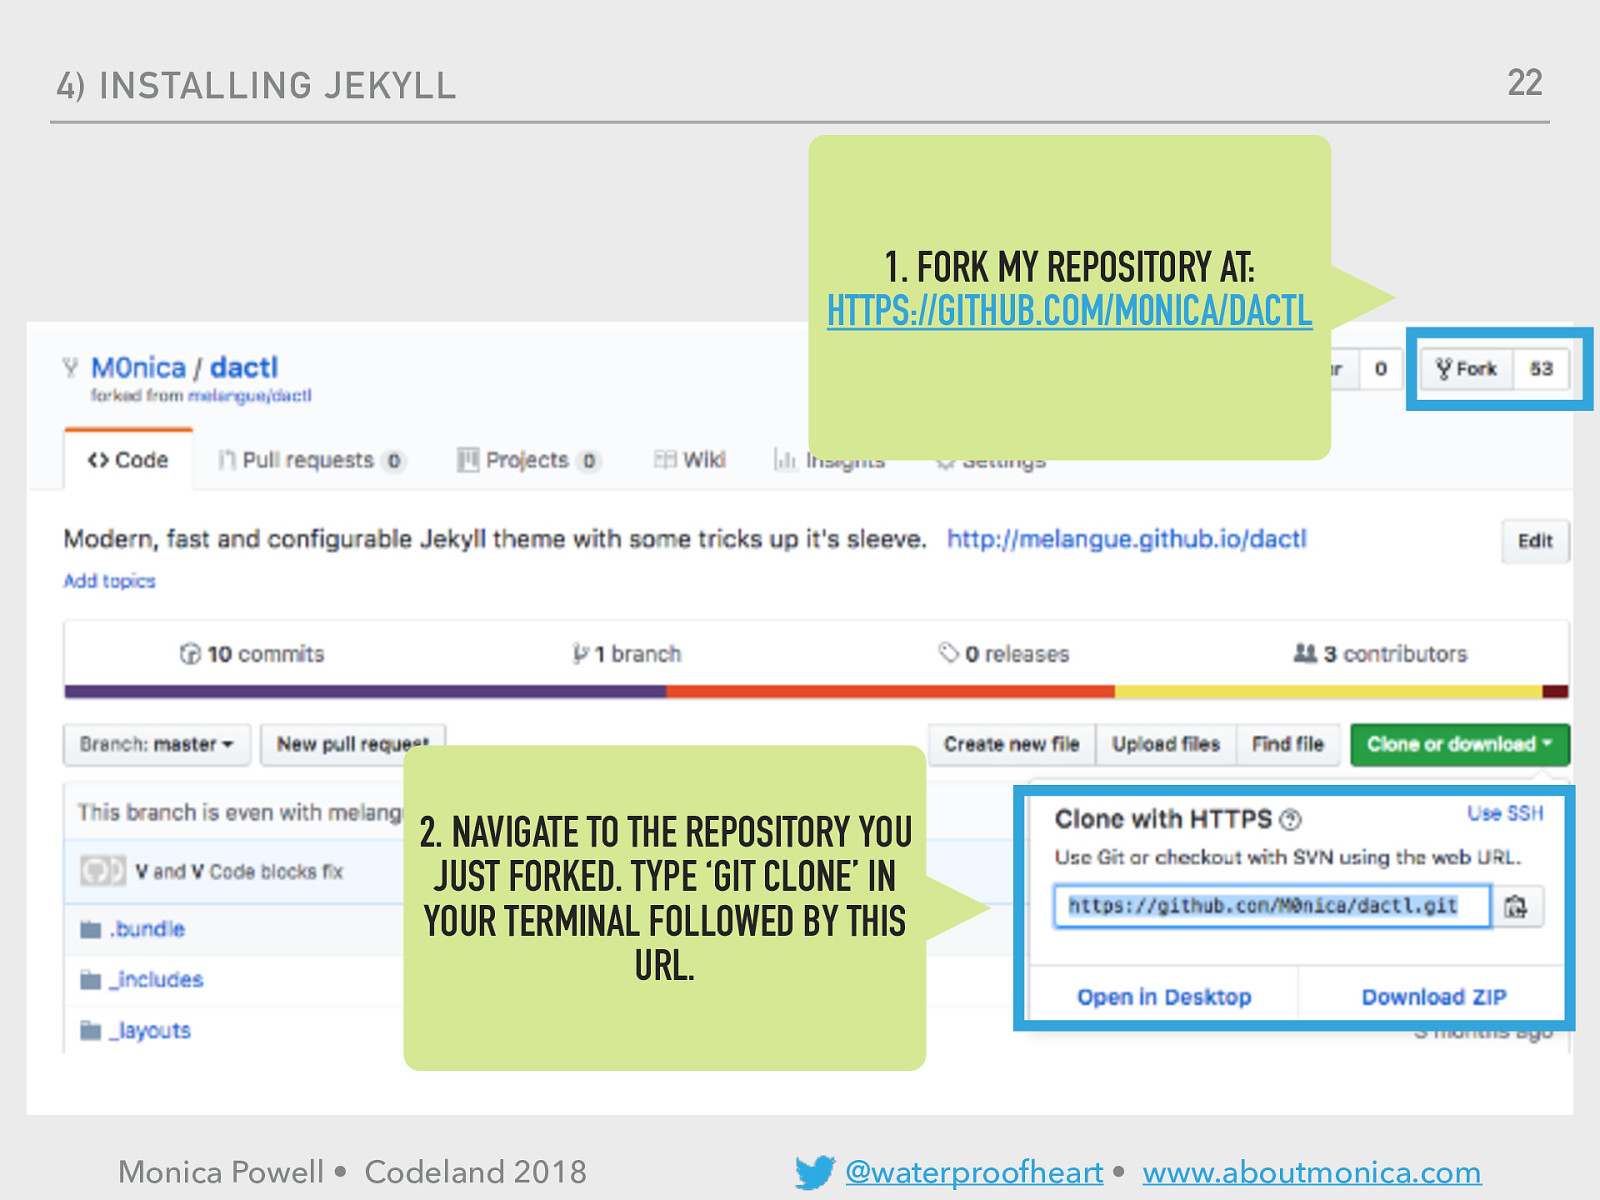
22 4) INSTALLING JEKYLL
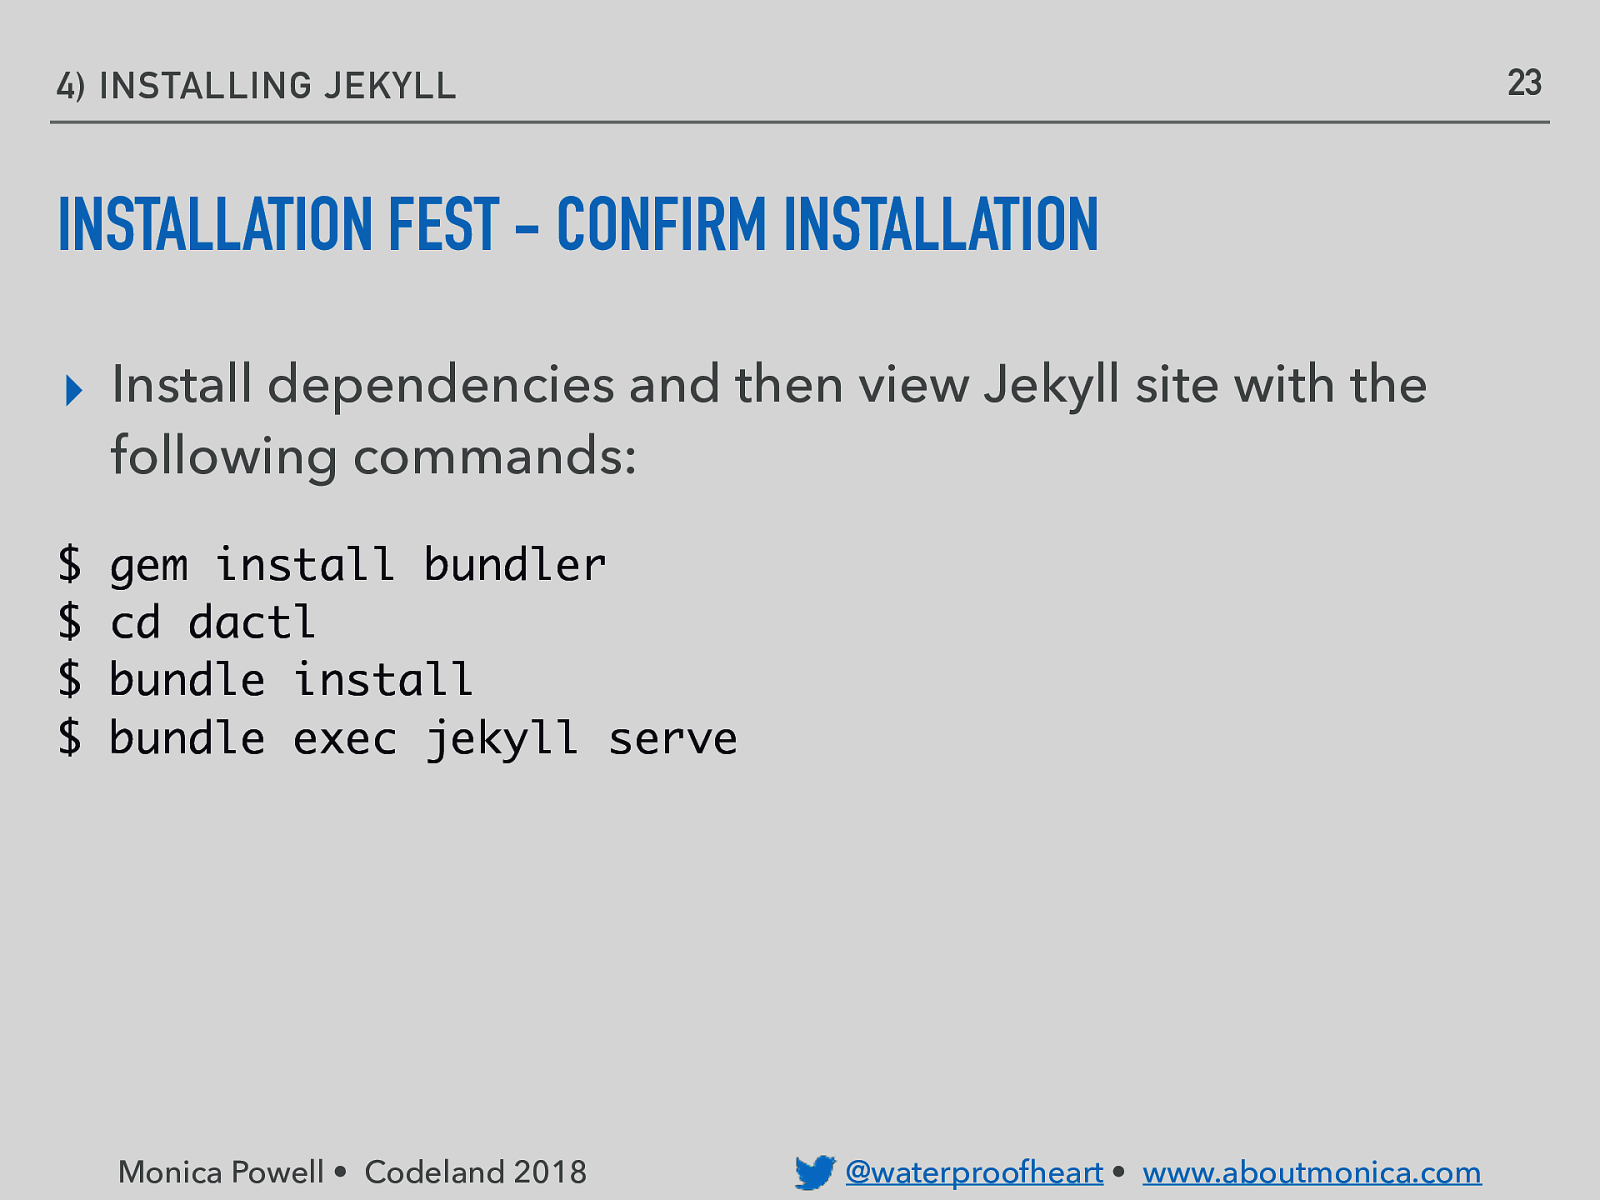
23 4) INSTALLING JEKYLL INSTALLATION FEST - CONFIRM INSTALLATION ▸ Install dependencies and then view Jekyll site with the following commands: $ $ $ $ gem install bundler cd dactl bundle install bundle exec jekyll serve Monica Powell • Codeland 2018 @waterproofheart • www.aboutmonica.com
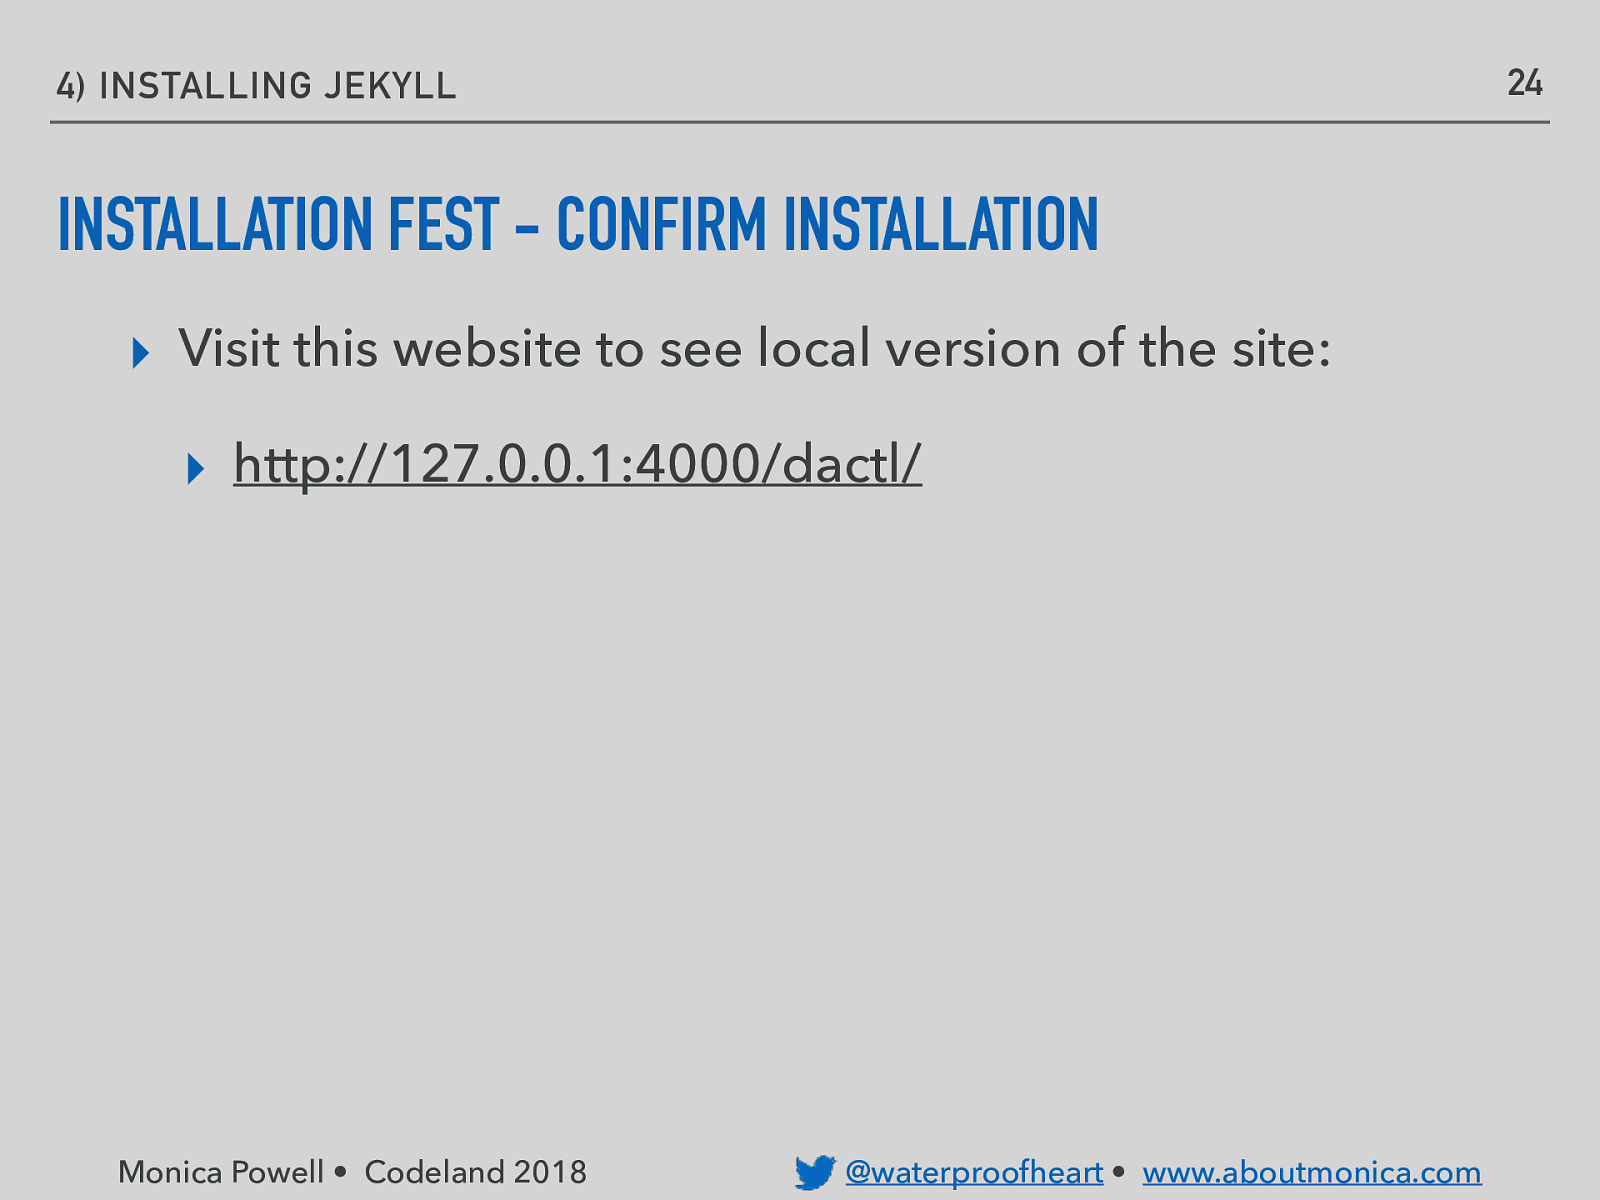
24 4) INSTALLING JEKYLL INSTALLATION FEST - CONFIRM INSTALLATION ▸ Visit this website to see local version of the site: ▸ http://127.0.0.1:4000/dactl/ Monica Powell • Codeland 2018 @waterproofheart • www.aboutmonica.com
EDITING JEKYLL SITE
26 CREATE A BLOG WITH JEKYLL YAML _CONFIG.YML ‣ Let’s introduce our blog to the world wide web by giving it a title and description! ‣ We will need to edit the _config.yml file to accomplish this. Monica Powell • Codeland 2018 @waterproofheart • www.aboutmonica.com
27 CREATE A BLOG WITH JEKYLL YAML _CONFIG.YML ‣ Activity: Edit site url, title and description in the _config.YML file. ‣ Hint: server can be reset by typing “ctrl + C” in terminal followed by “bundle exec jekyll serve”. Monica Powell • Codeland 2018 @waterproofheart • www.aboutmonica.com

WRITE FIRST BLOG POST
29 CREATE A BLOG WITH JEKYLL WRITE FIRST BLOG POST ‣ Jekyll required file name format for blog posts: ‣ YEAR-MONTH-DAY-title.MARKUP ‣ E.g., 2018-05-04-code-land—is-awesome.md ‣ Learn more about excerpts here: https://m0nica.github.io/ dactl/posts/post-excerpts-lead-paragraphs Monica Powell • Codeland 2018 Source: Jekyll Documentation @waterproofheart • www.aboutmonica.com
30 CREATE A BLOG WITH JEKYLL YAML FRONT MATTER “Any file that contains a YAML* front matter block will be processed by Jekyll as a special file. The front matter must be the first thing in the file and must take the form of valid YAML set between triple-dashed lines.” (Source: Jekyll Documentation) Monica Powell • Codeland 2018 @waterproofheart • www.aboutmonica.com
31 CREATE A BLOG WITH JEKYLL YAML FRONT MATTER ‣ Activity: create the front matter for a new post and view it on local server. ‣ Tip: Create a catchy headline to draw readers in! Monica Powell • Codeland 2018 @waterproofheart • www.aboutmonica.com
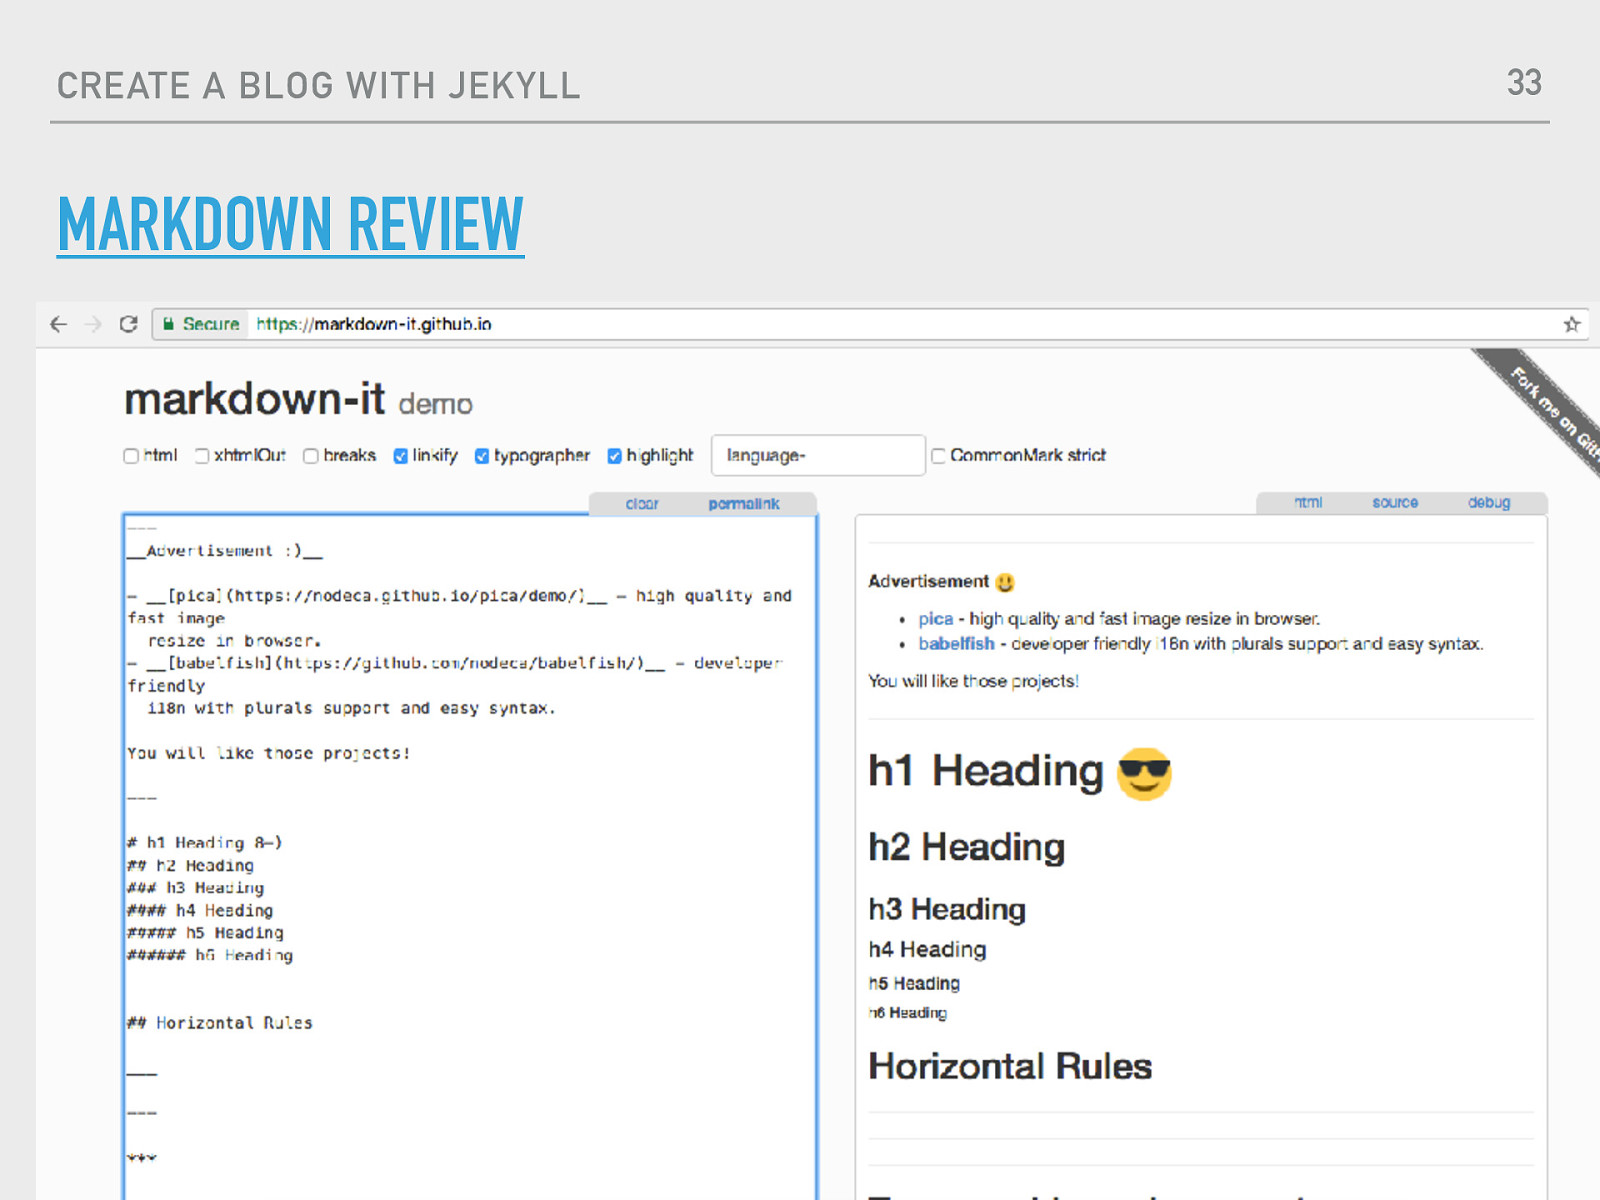
32 CREATE A BLOG WITH JEKYLL MARKDOWN REVIEW ‣ https://markdown-it.github.io/ ‣ Activity: Write a short post in Markdown about something(s) you’ve learned or enjoyed at Codeland so far! Monica Powell • Codeland 2018 @waterproofheart • www.aboutmonica.com
CREATE A BLOG WITH JEKYLL 33 MARKDOWN REVIEW Monica Powell • Codeland 2018 Source: Jekyll Documentation @waterproofheart • www.aboutmonica.com
34 CREATE A BLOG WITH JEKYLL YAML FRONT MATTER ‣ Activity edit post: ‣ Change photo overlay in front matter of our post from red to blue, green, purple or orange. Monica Powell • Codeland 2018 @waterproofheart • www.aboutmonica.com
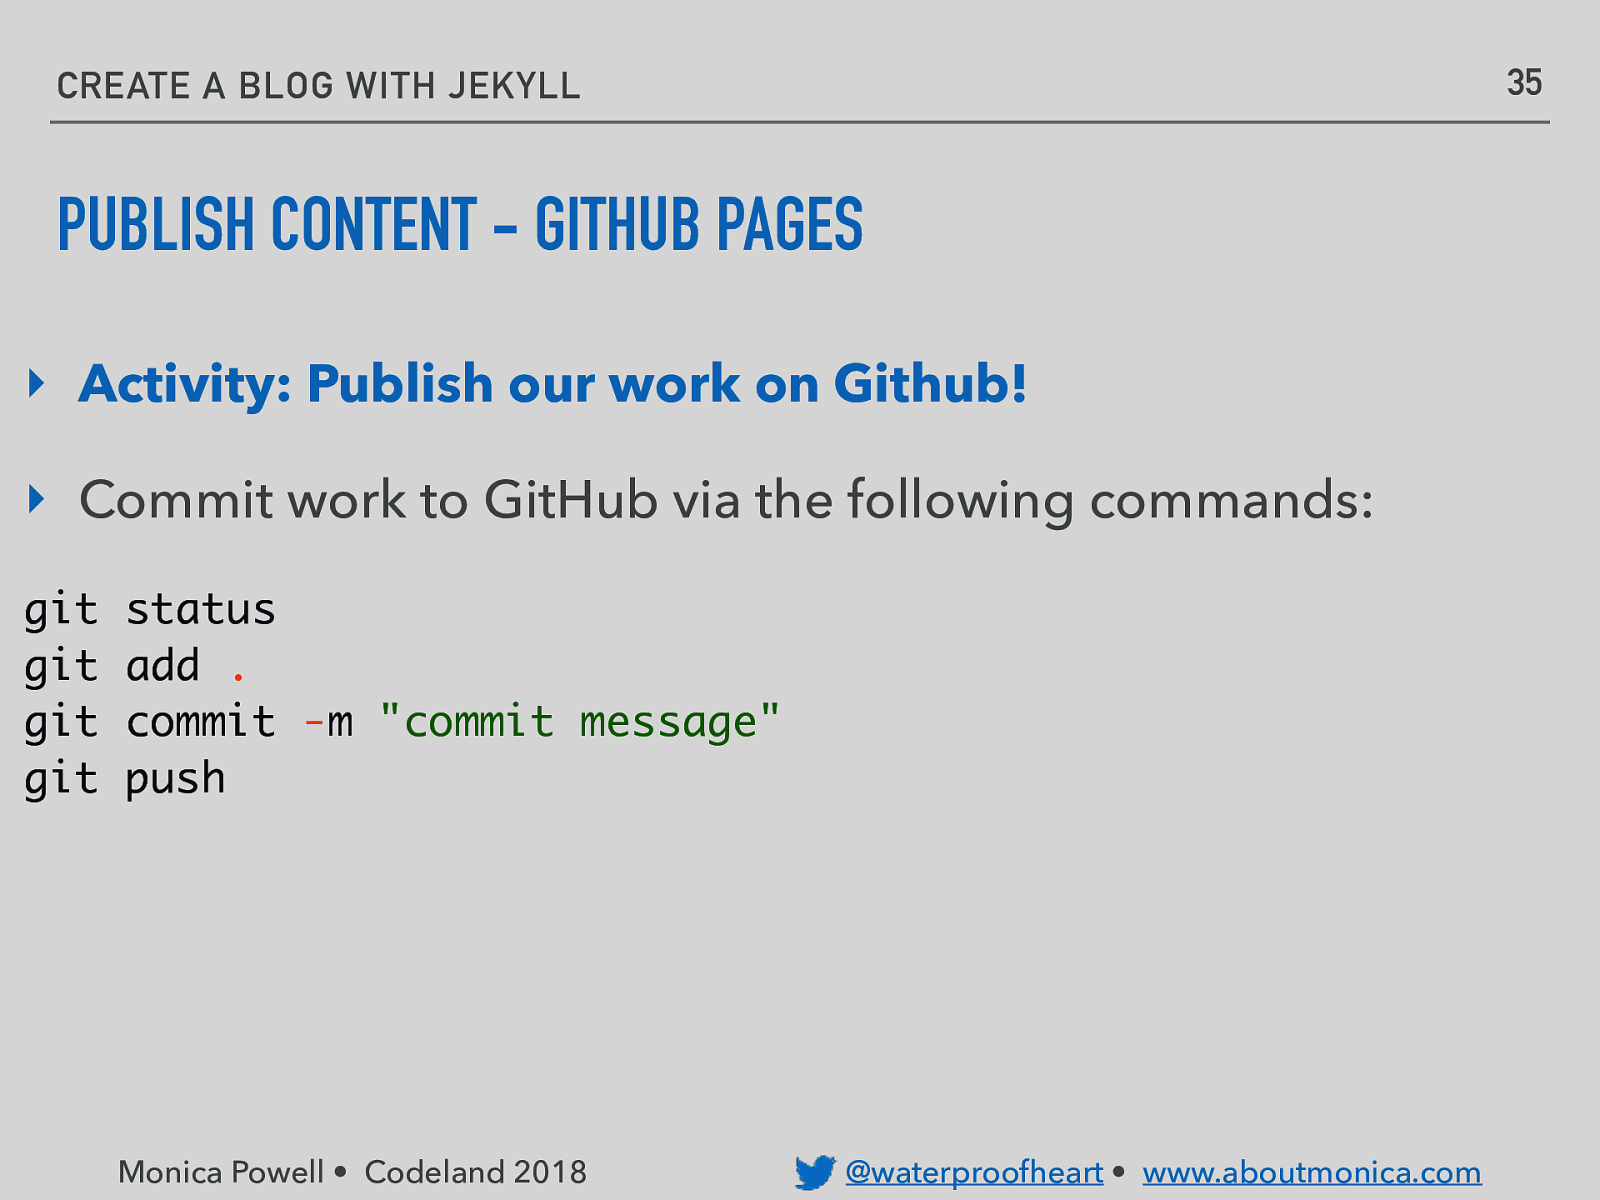
35 CREATE A BLOG WITH JEKYLL PUBLISH CONTENT - GITHUB PAGES ‣ Activity: Publish our work on Github! ‣ Commit work to GitHub via the following commands: git git git git status add . commit -m “commit message” push Monica Powell • Codeland 2018 @waterproofheart • www.aboutmonica.com
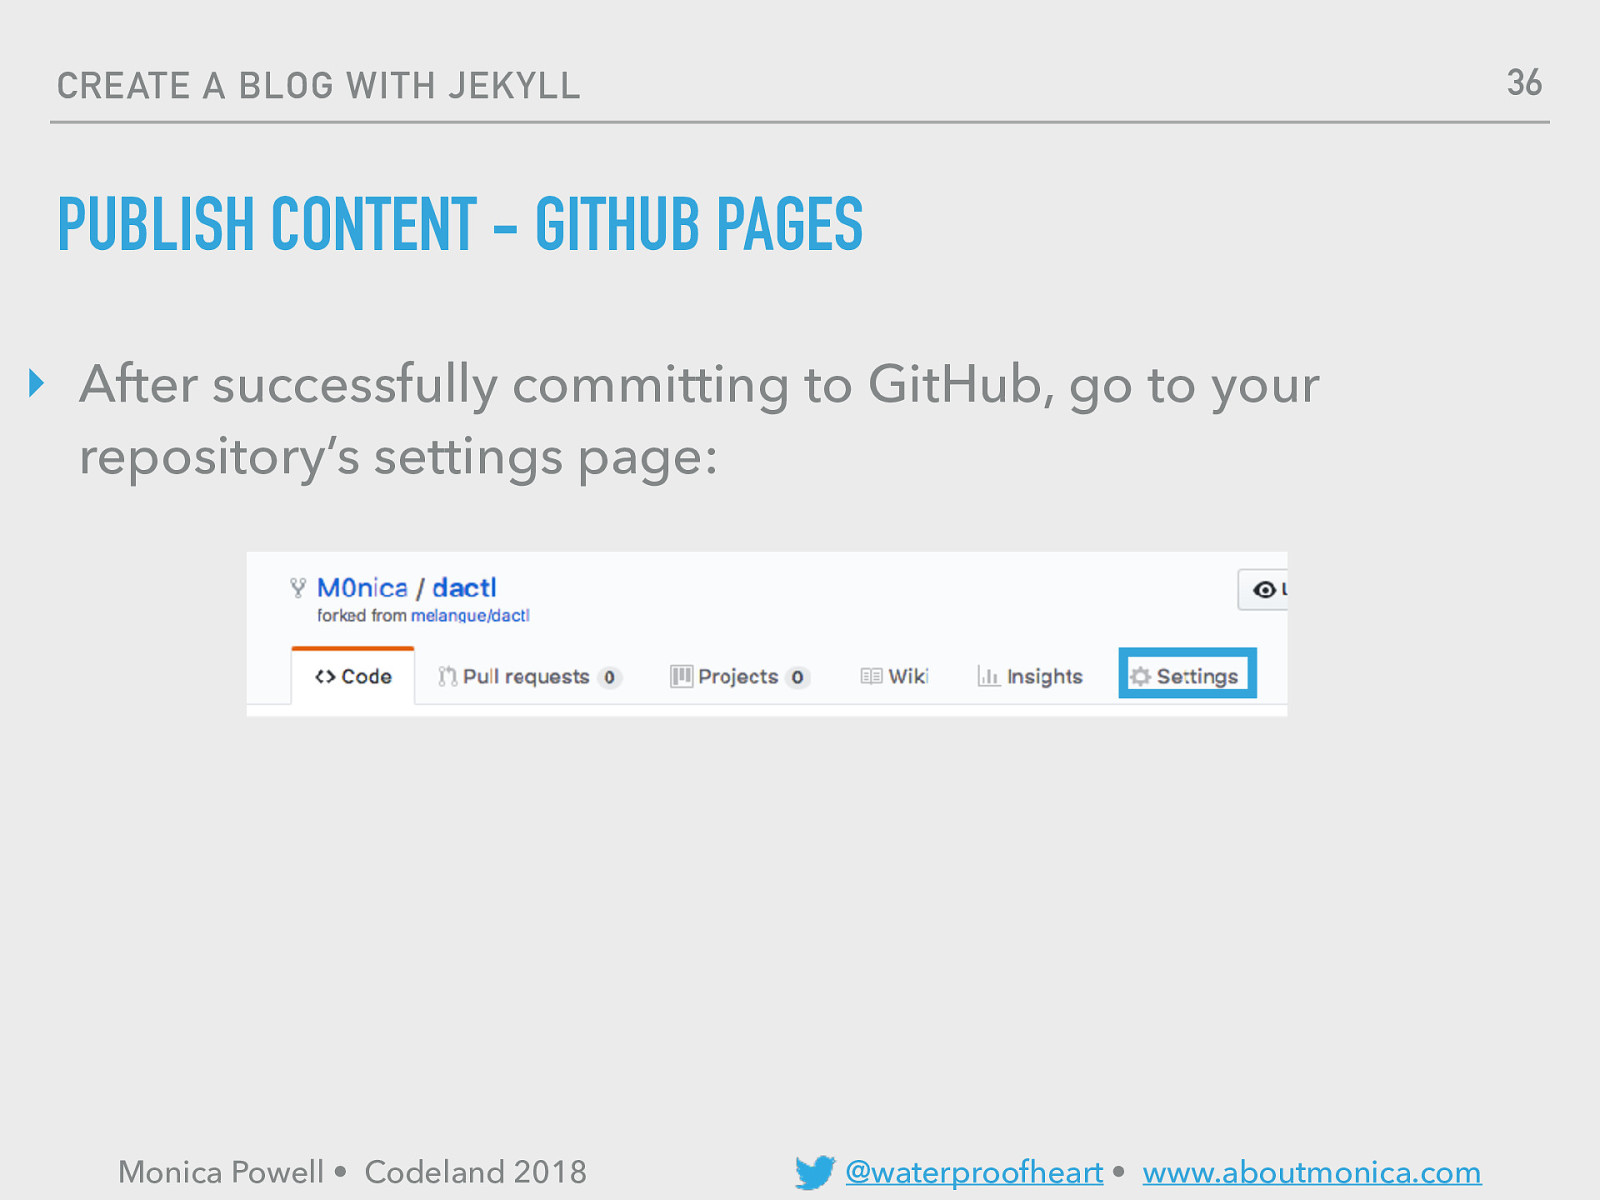
36 CREATE A BLOG WITH JEKYLL PUBLISH CONTENT - GITHUB PAGES ‣ After successfully committing to GitHub, go to your repository’s settings page: Monica Powell • Codeland 2018 @waterproofheart • www.aboutmonica.com
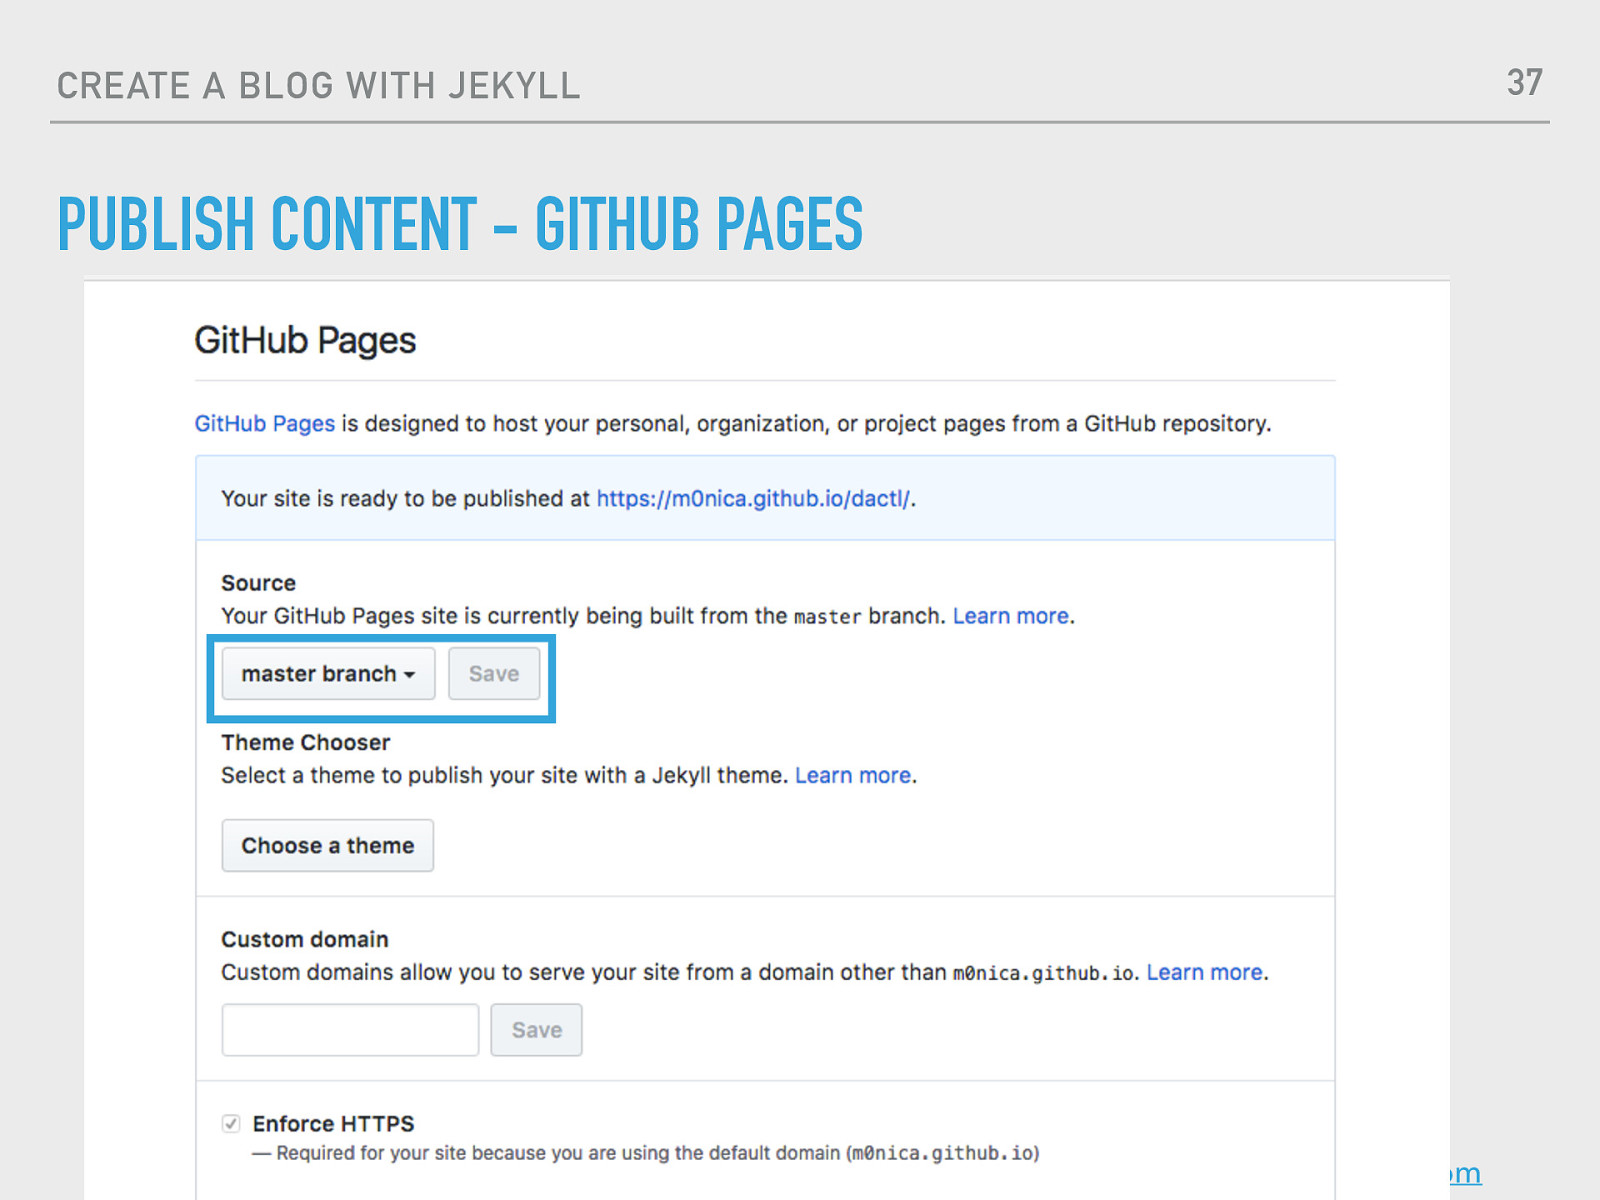
37 CREATE A BLOG WITH JEKYLL PUBLISH CONTENT - GITHUB PAGES Monica Powell • Codeland 2018 @waterproofheart • www.aboutmonica.com
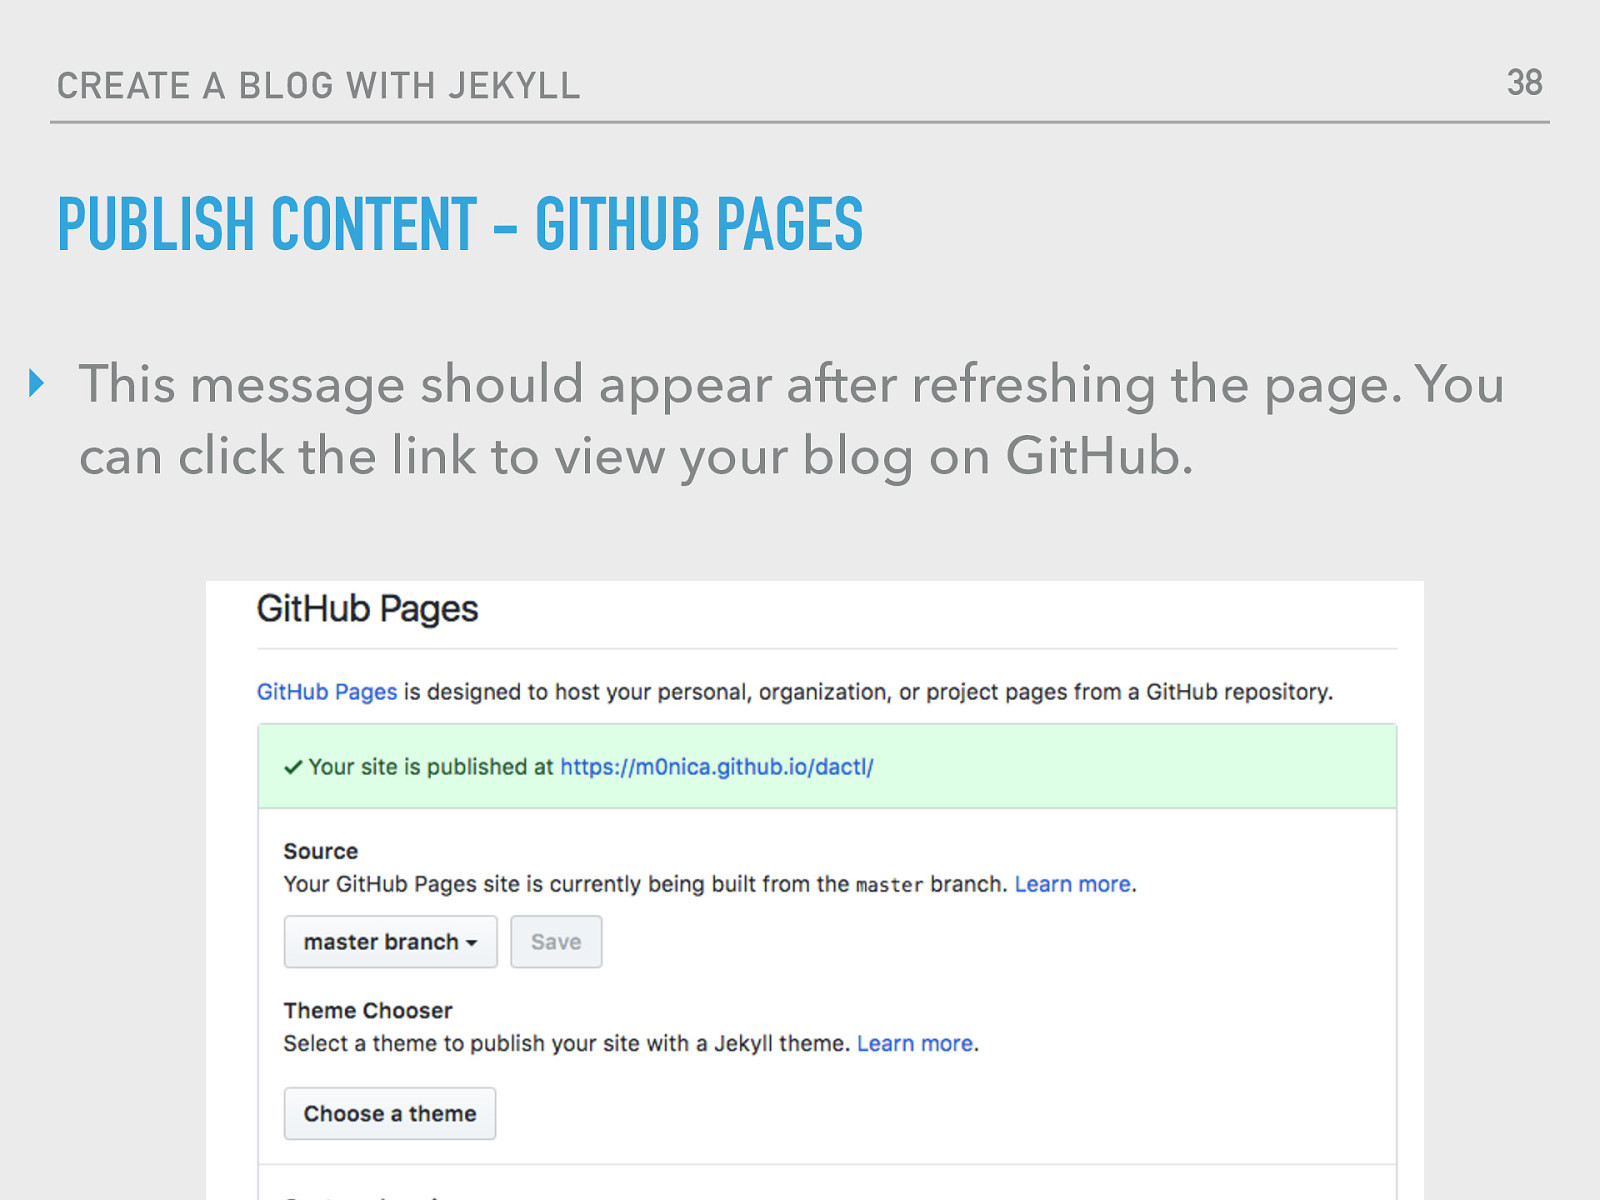
38 CREATE A BLOG WITH JEKYLL PUBLISH CONTENT - GITHUB PAGES ‣ This message should appear after refreshing the page. You can click the link to view your blog on GitHub. Monica Powell • Codeland 2018 @waterproofheart • www.aboutmonica.com
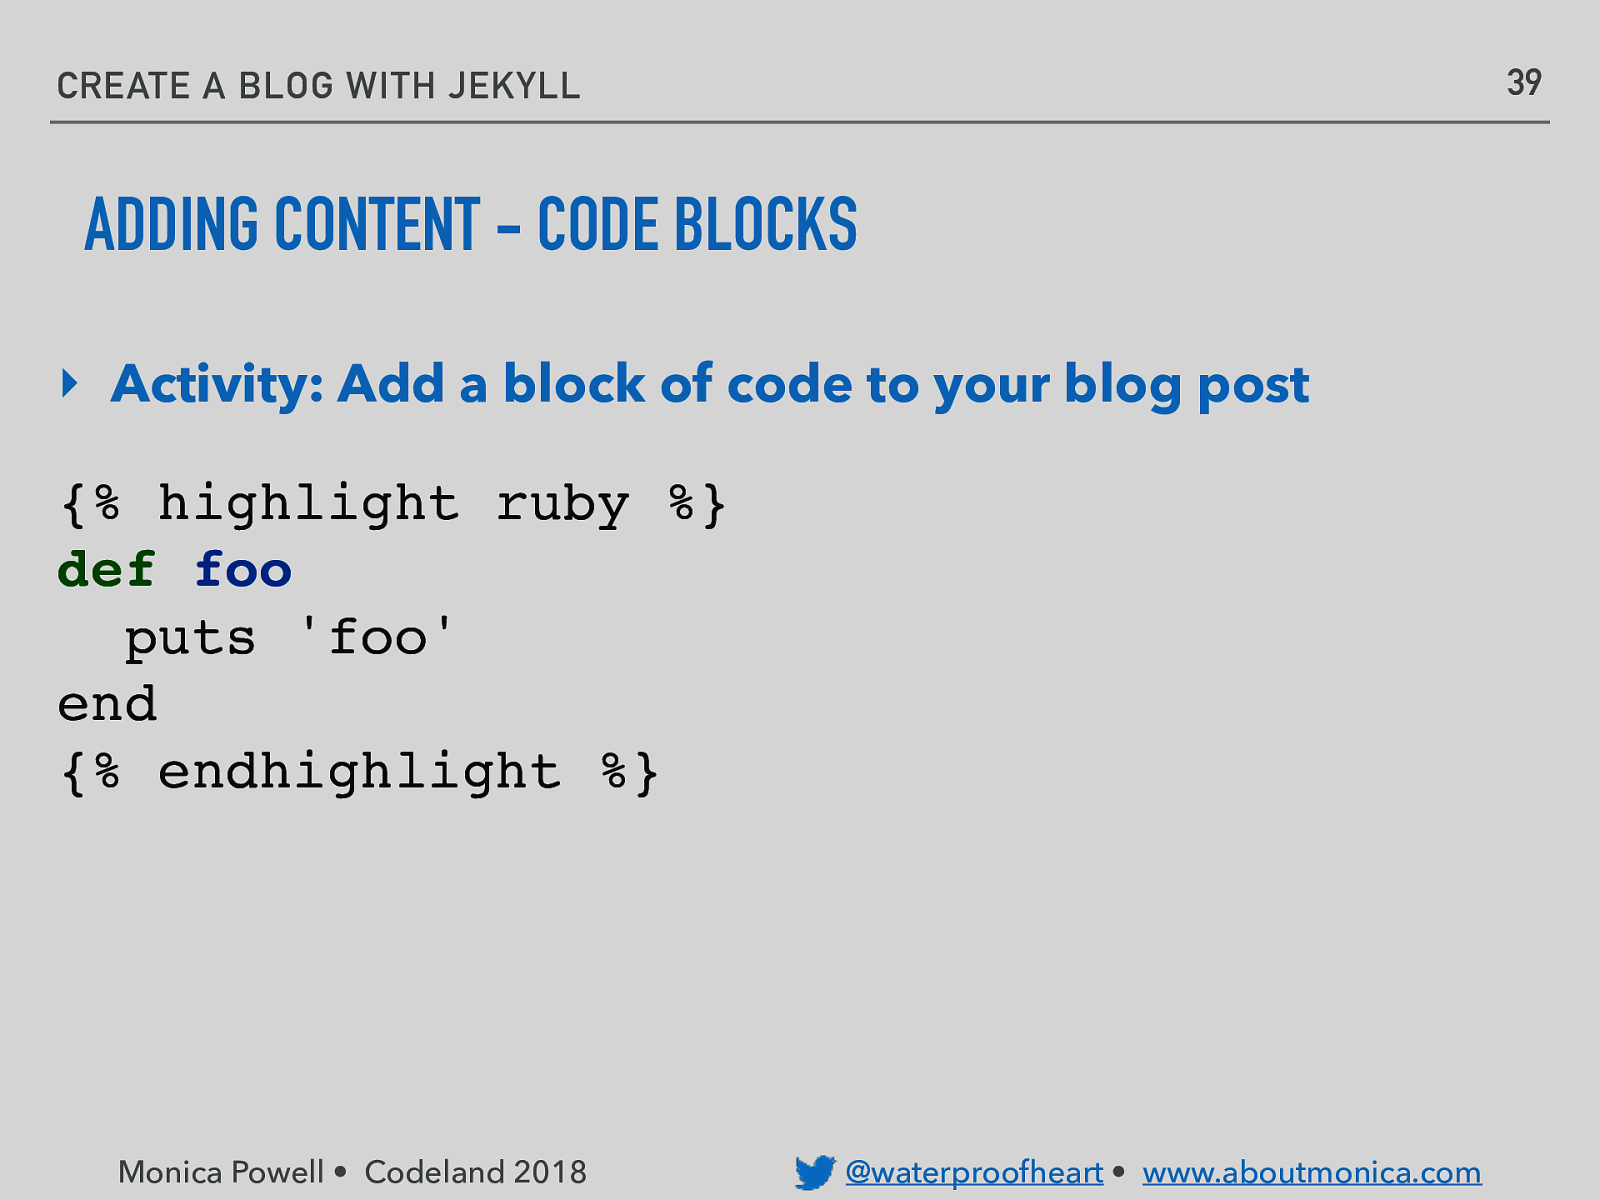
39 CREATE A BLOG WITH JEKYLL ADDING CONTENT - CODE BLOCKS ‣ Activity: Add a block of code to your blog post {% highlight ruby %} def foo puts ‘foo’ end {% endhighlight %} Monica Powell • Codeland 2018 @waterproofheart • www.aboutmonica.com
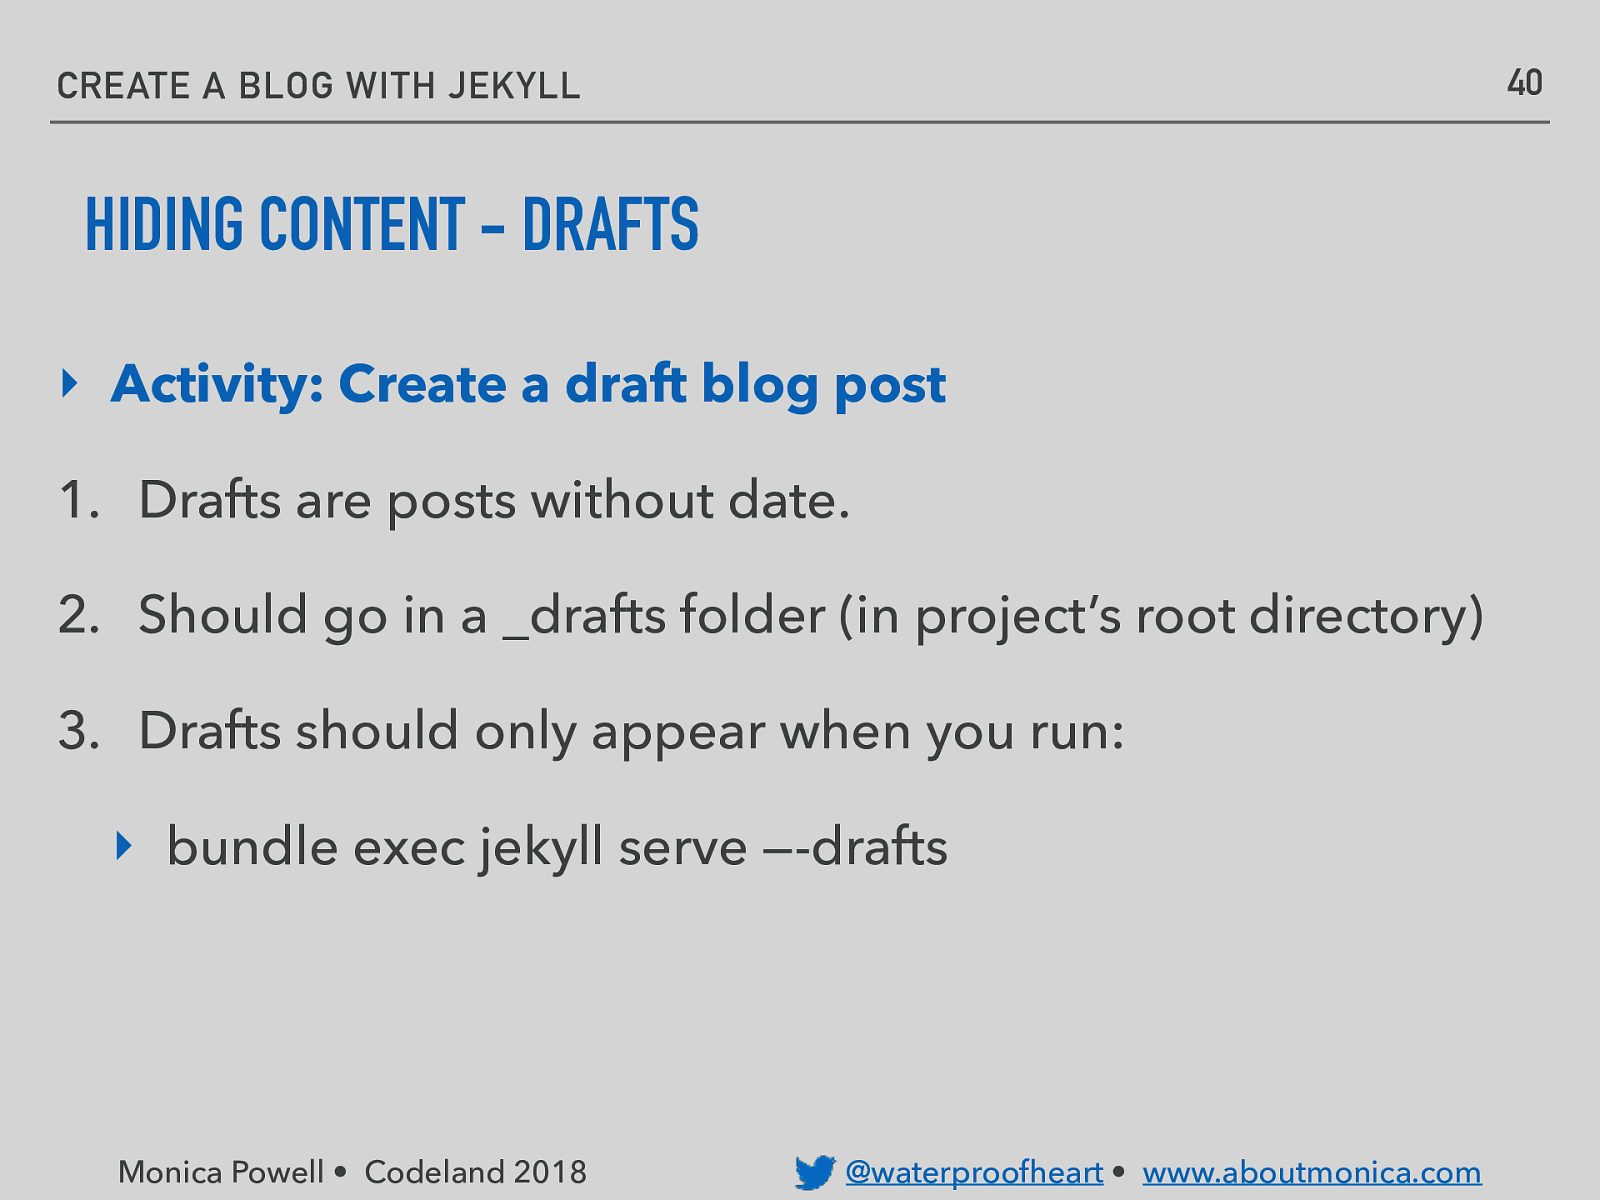
40 CREATE A BLOG WITH JEKYLL HIDING CONTENT - DRAFTS ‣ Activity: Create a draft blog post 1. Drafts are posts without date. 2. Should go in a _drafts folder (in project’s root directory) 3. Drafts should only appear when you run: ‣ bundle exec jekyll serve —-drafts Monica Powell • Codeland 2018 @waterproofheart • www.aboutmonica.com
41 CREATE A BLOG WITH JEKYLL ADDING CONTENT - ABOUT PAGE ‣ Activity: Edit About page to better reflect YOU! Monica Powell • Codeland 2018 @waterproofheart • www.aboutmonica.com
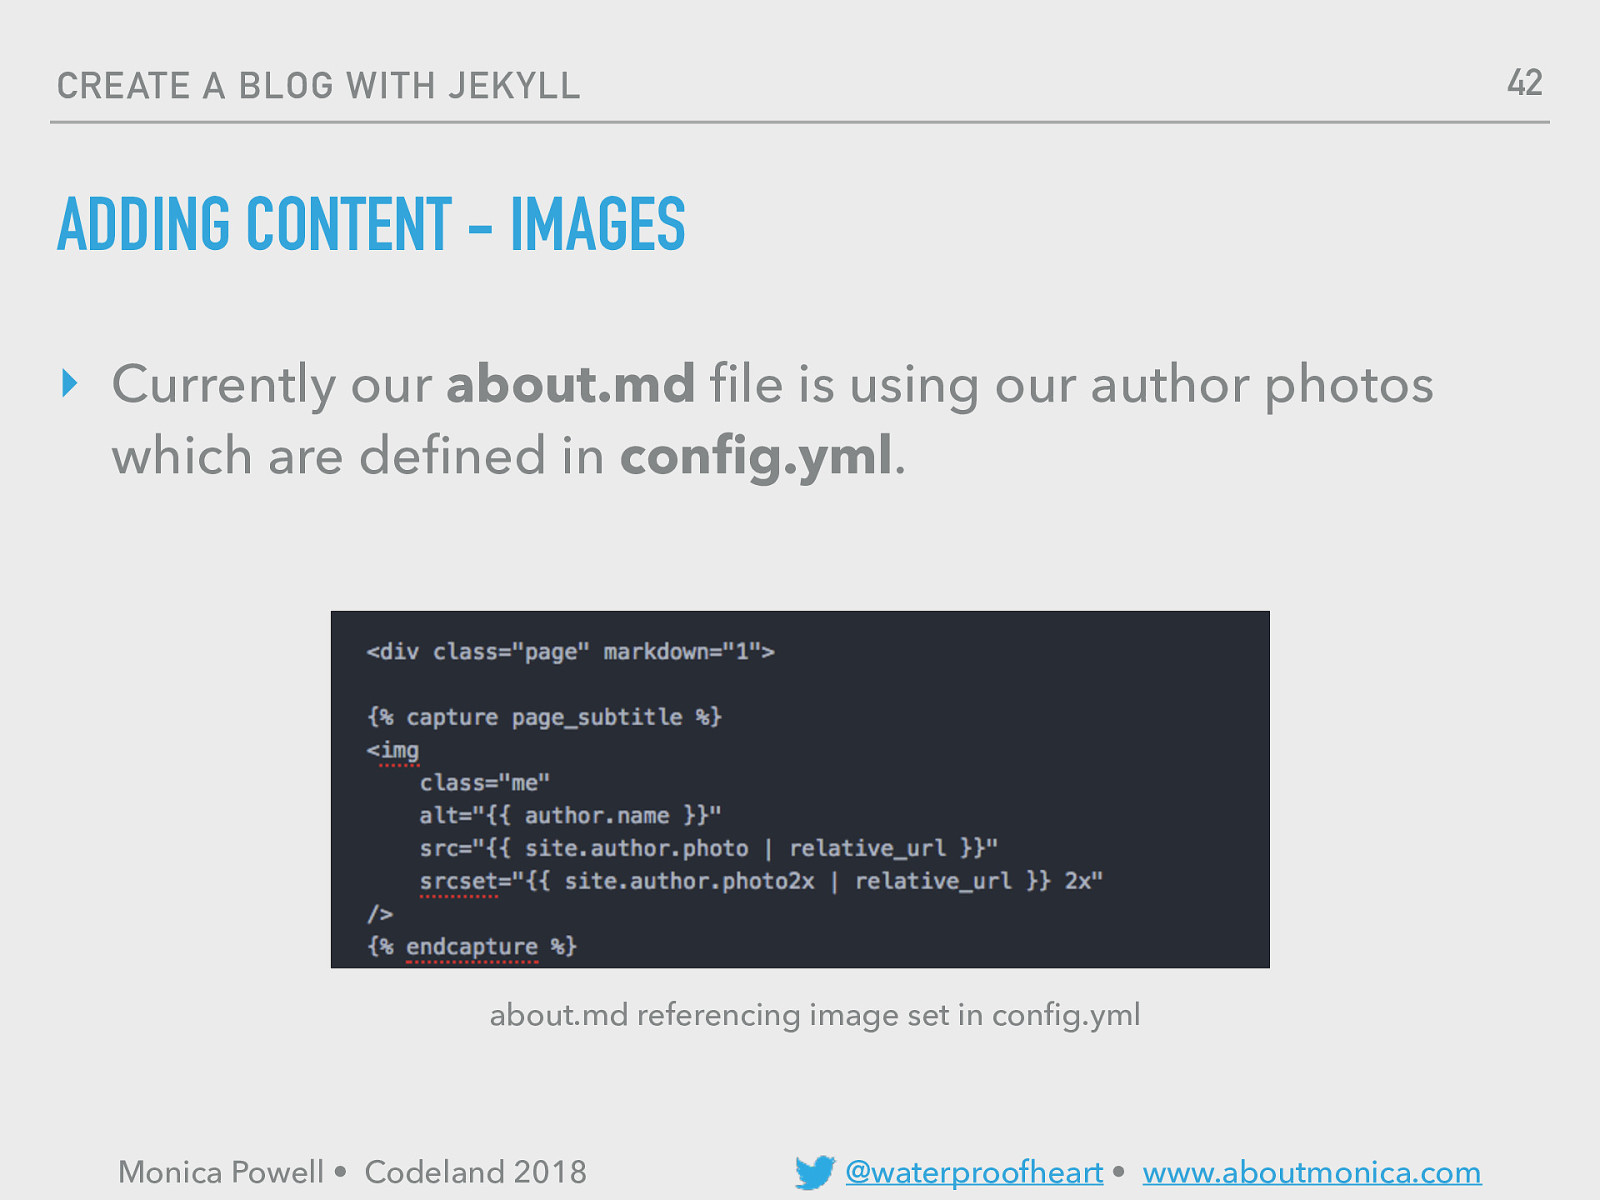
42 CREATE A BLOG WITH JEKYLL ADDING CONTENT - IMAGES ‣ Currently our about.md file is using our author photos which are defined in config.yml. about.md referencing image set in config.yml Monica Powell • Codeland 2018 @waterproofheart • www.aboutmonica.com
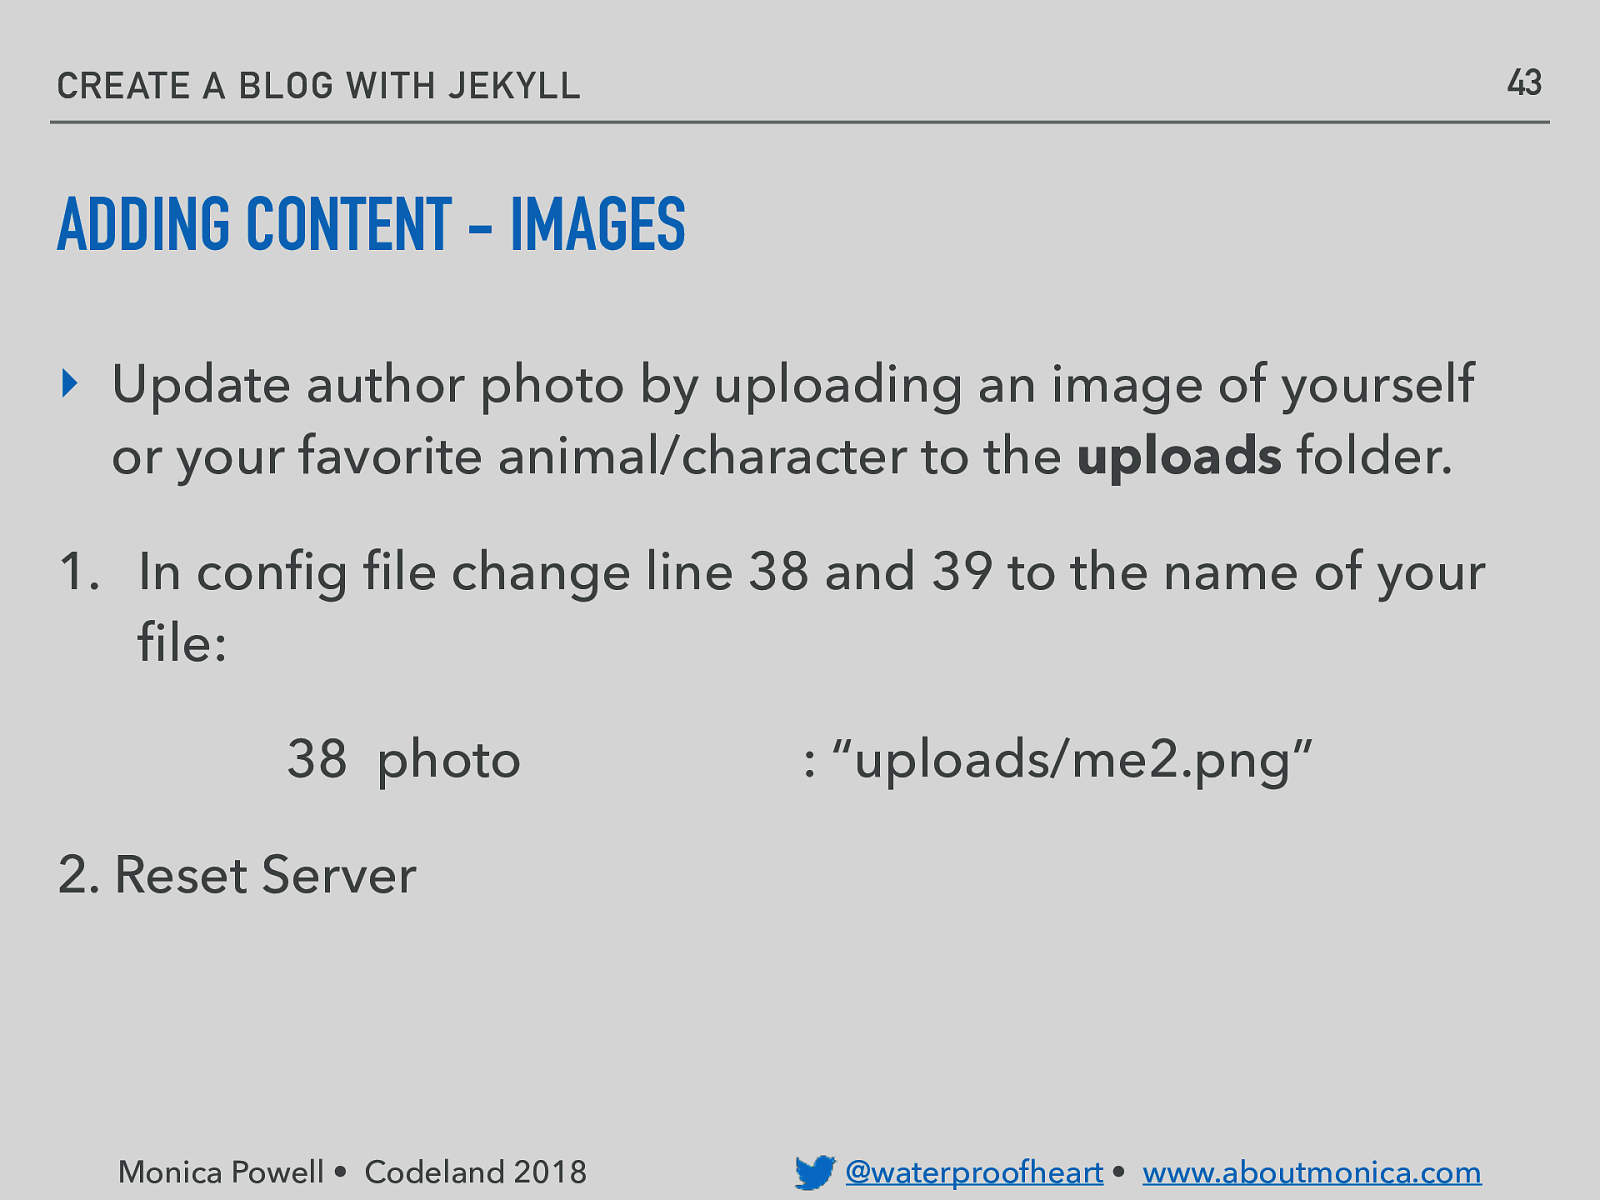
43 CREATE A BLOG WITH JEKYLL ADDING CONTENT - IMAGES ‣ Update author photo by uploading an image of yourself or your favorite animal/character to the uploads folder. 1. In config file change line 38 and 39 to the name of your file: 38 photo : “uploads/me2.png” 2. Reset Server Monica Powell • Codeland 2018 @waterproofheart • www.aboutmonica.com
CREATE A BLOG WITH JEKYLL ADDING PARTIAL - IMAGES Pictures are important when blogging. You should never use photos you do not have the rights to use. Monica Powell • Codeland 2018 @waterproofheart • www.aboutmonica.com
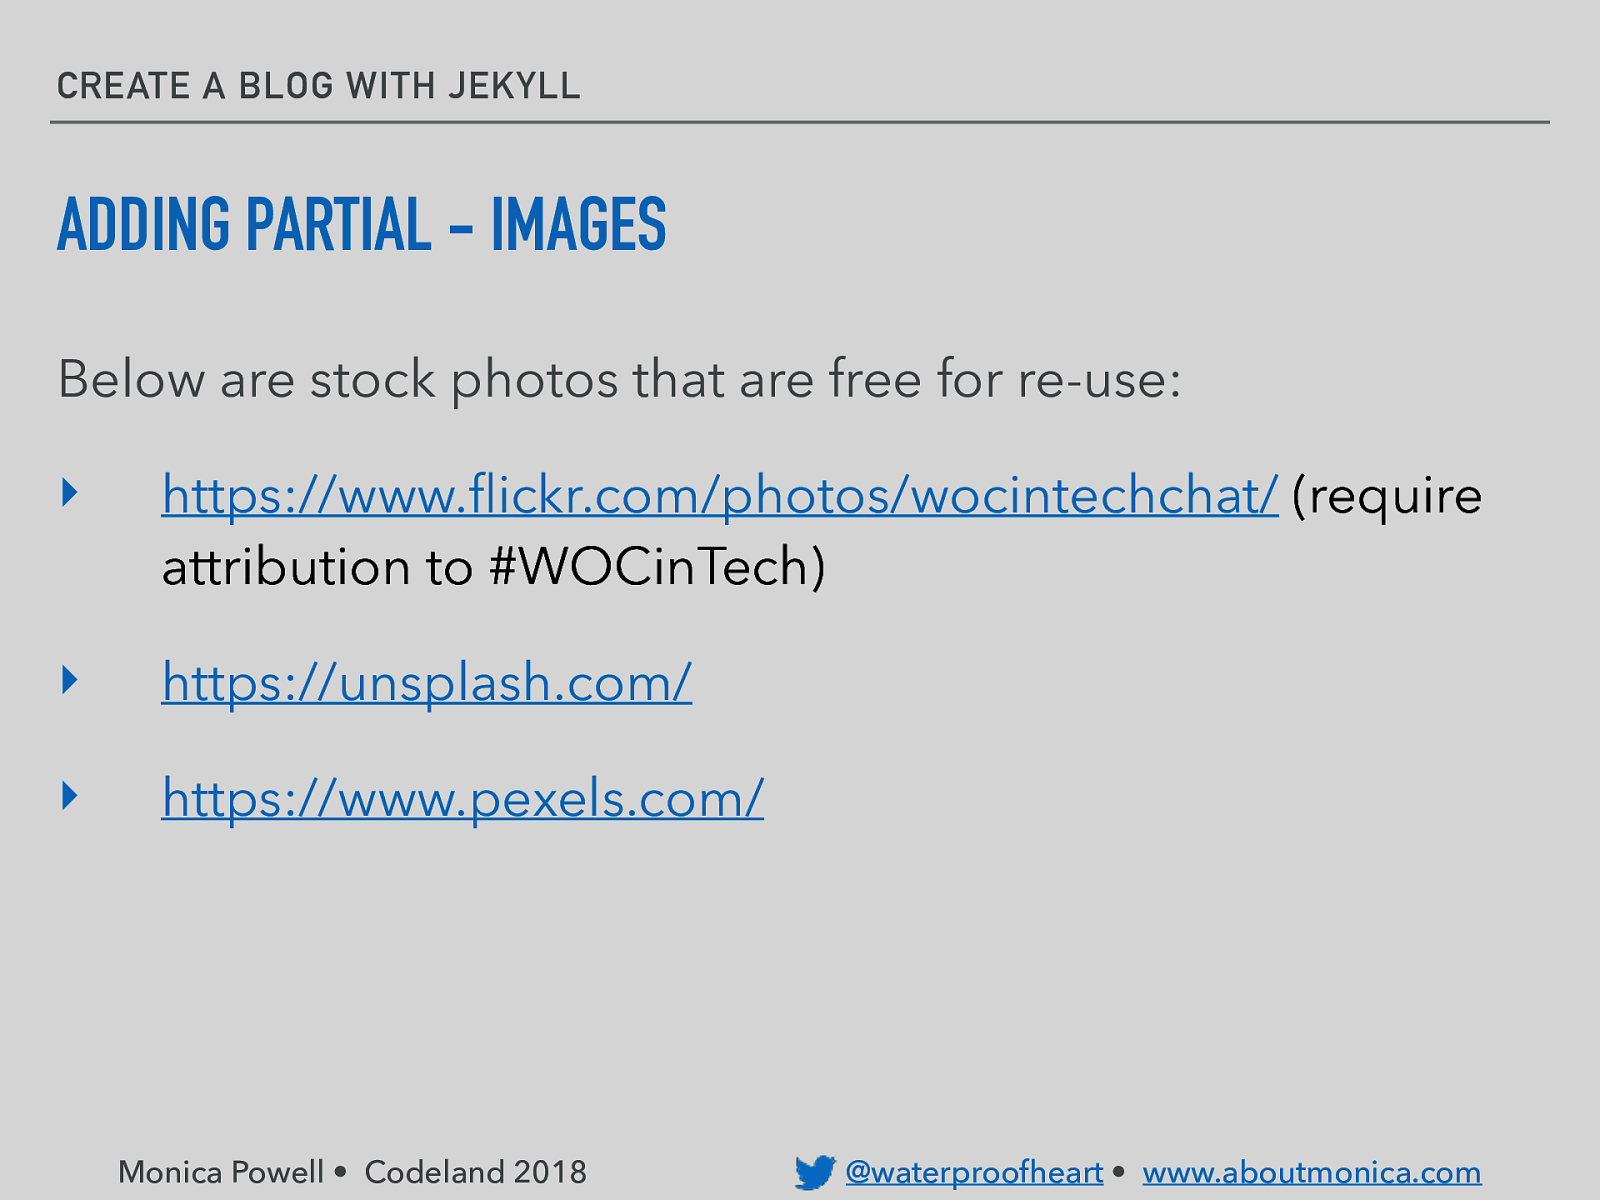
CREATE A BLOG WITH JEKYLL ADDING PARTIAL - IMAGES Below are stock photos that are free for re-use: ‣ https://www.flickr.com/photos/wocintechchat/ (require attribution to #WOCinTech) ‣ https://unsplash.com/ ‣ https://www.pexels.com/ Monica Powell • Codeland 2018 @waterproofheart • www.aboutmonica.com
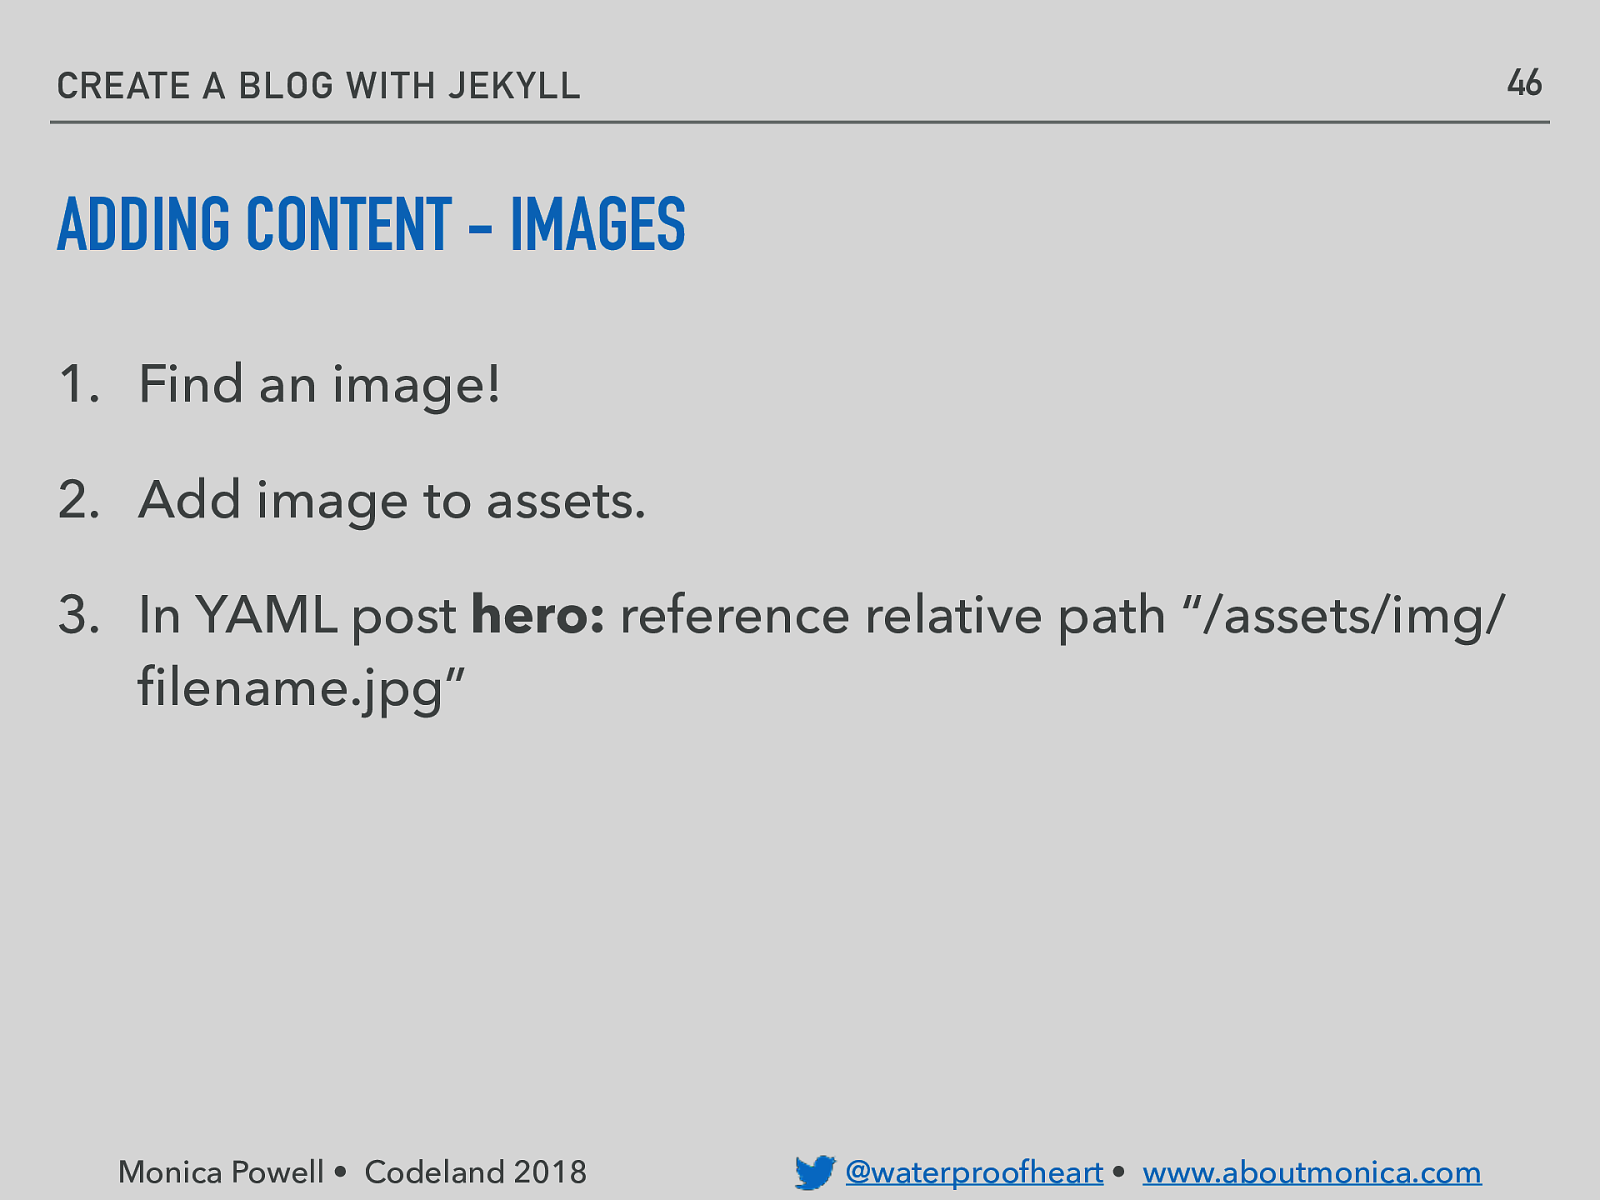
46 CREATE A BLOG WITH JEKYLL ADDING CONTENT - IMAGES 1. Find an image! 2. Add image to assets. 3. In YAML post hero: reference relative path “/assets/img/ filename.jpg” Monica Powell • Codeland 2018 @waterproofheart • www.aboutmonica.com
CREATE A BLOG WITH JEKYLL ADDING PARTIAL - SOCIAL ICONS ▸ “Posts with share buttons make content 7 times more shareable than content without them” ▸ Source: Salesforce Monica Powell • Codeland 2018 @waterproofheart • www.aboutmonica.com
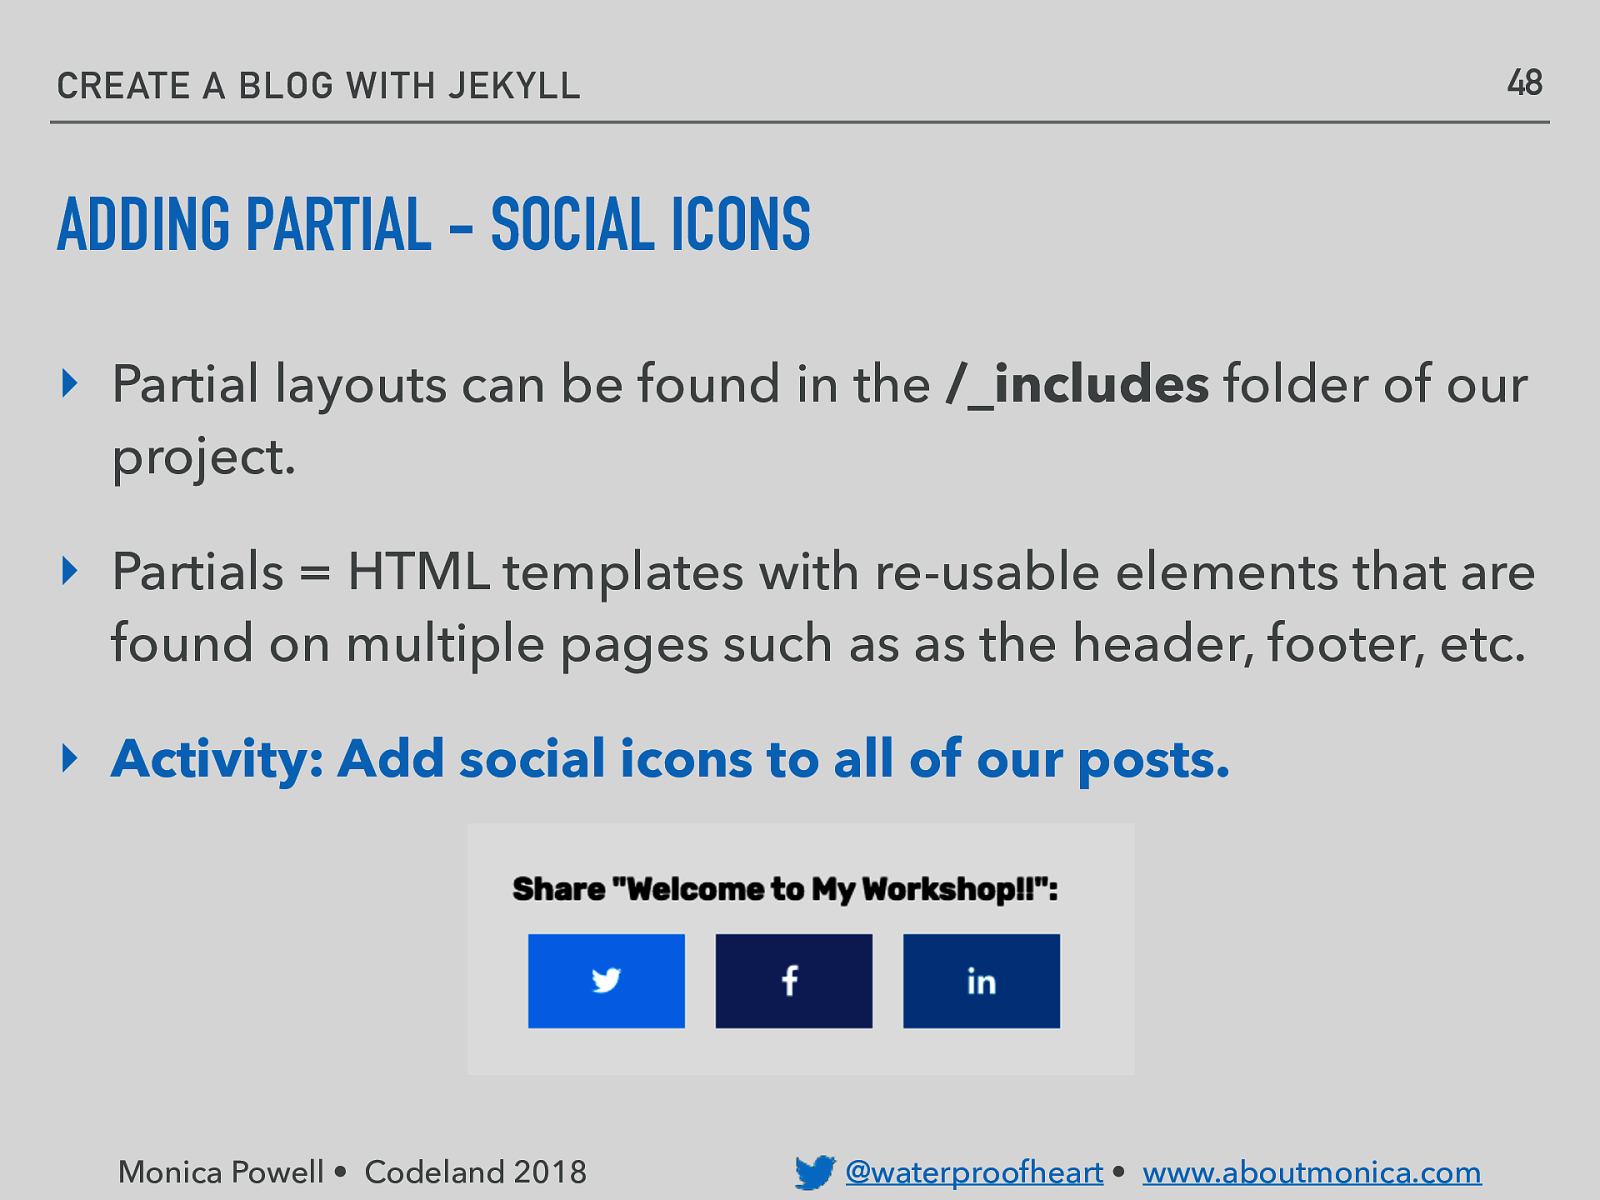
48 CREATE A BLOG WITH JEKYLL ADDING PARTIAL - SOCIAL ICONS ‣ Partial layouts can be found in the /_includes folder of our project. ‣ Partials = HTML templates with re-usable elements that are found on multiple pages such as as the header, footer, etc. ‣ Activity: Add social icons to all of our posts. Monica Powell • Codeland 2018 @waterproofheart • www.aboutmonica.com
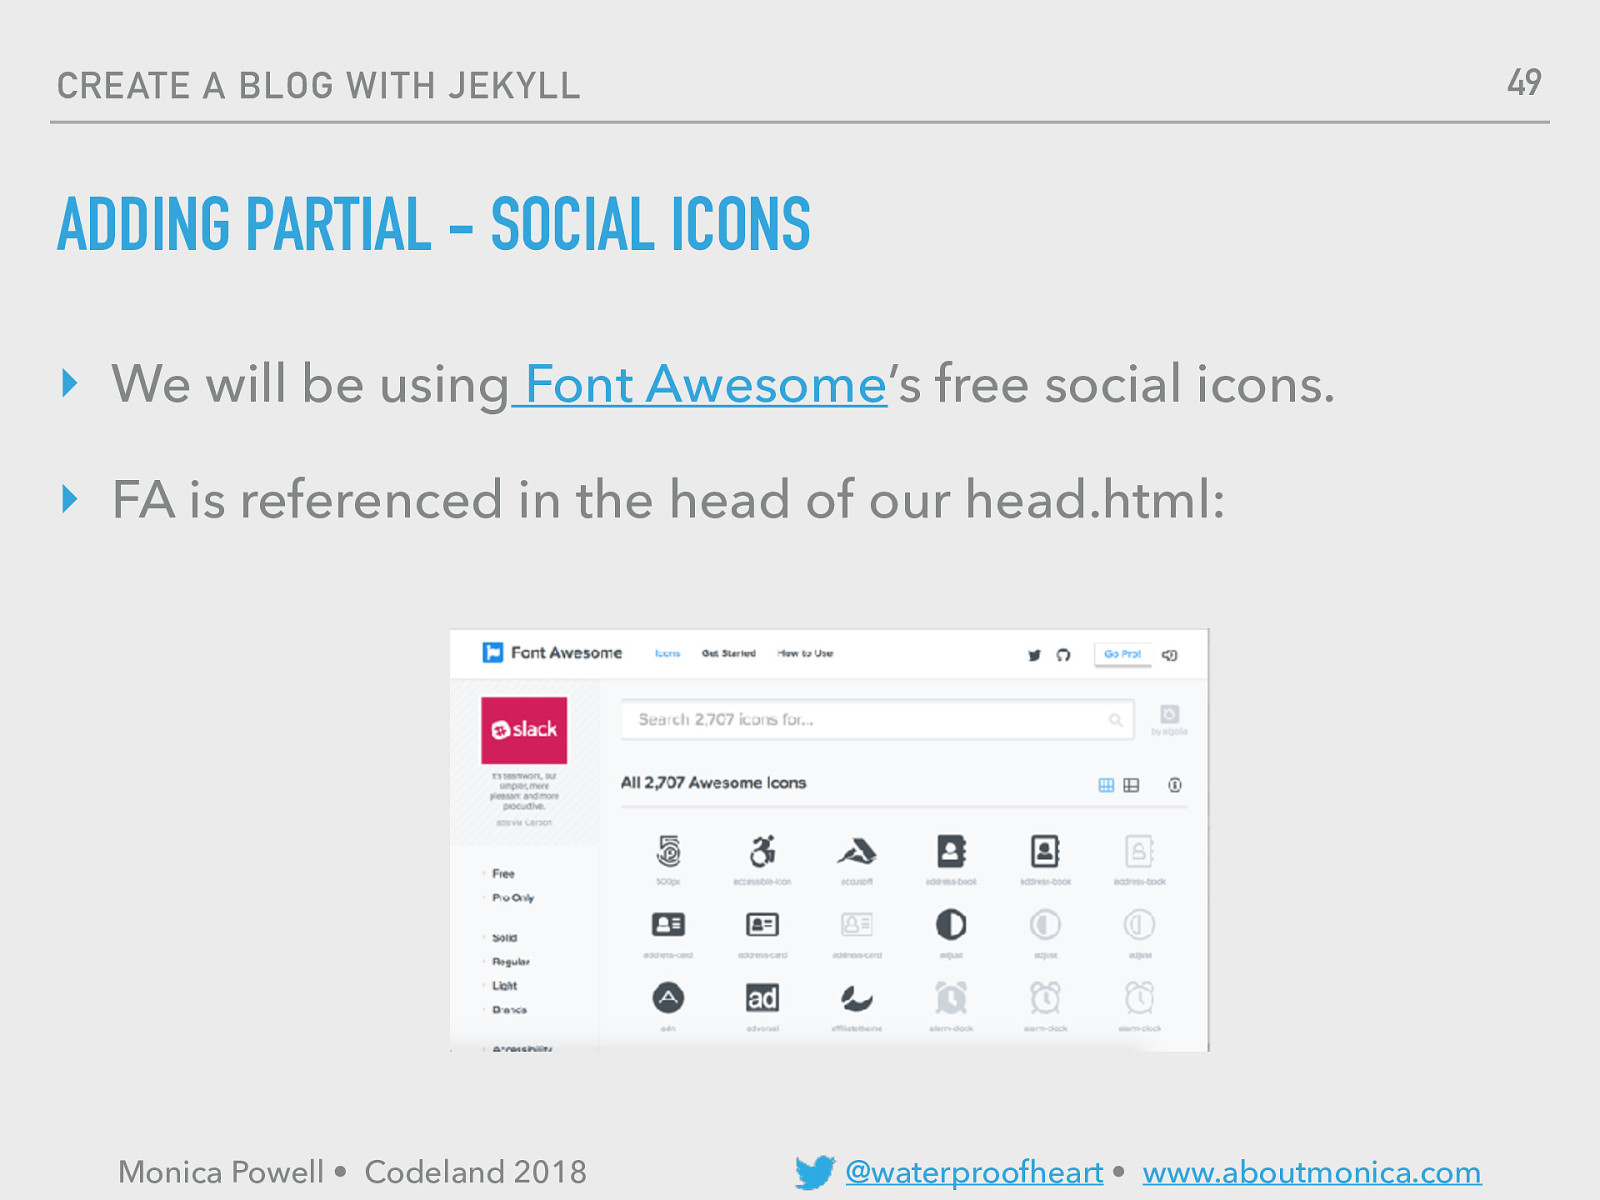
49 CREATE A BLOG WITH JEKYLL ADDING PARTIAL - SOCIAL ICONS ‣ We will be using Font Awesome’s free social icons. ‣ FA is referenced in the head of our head.html: Monica Powell • Codeland 2018 @waterproofheart • www.aboutmonica.com
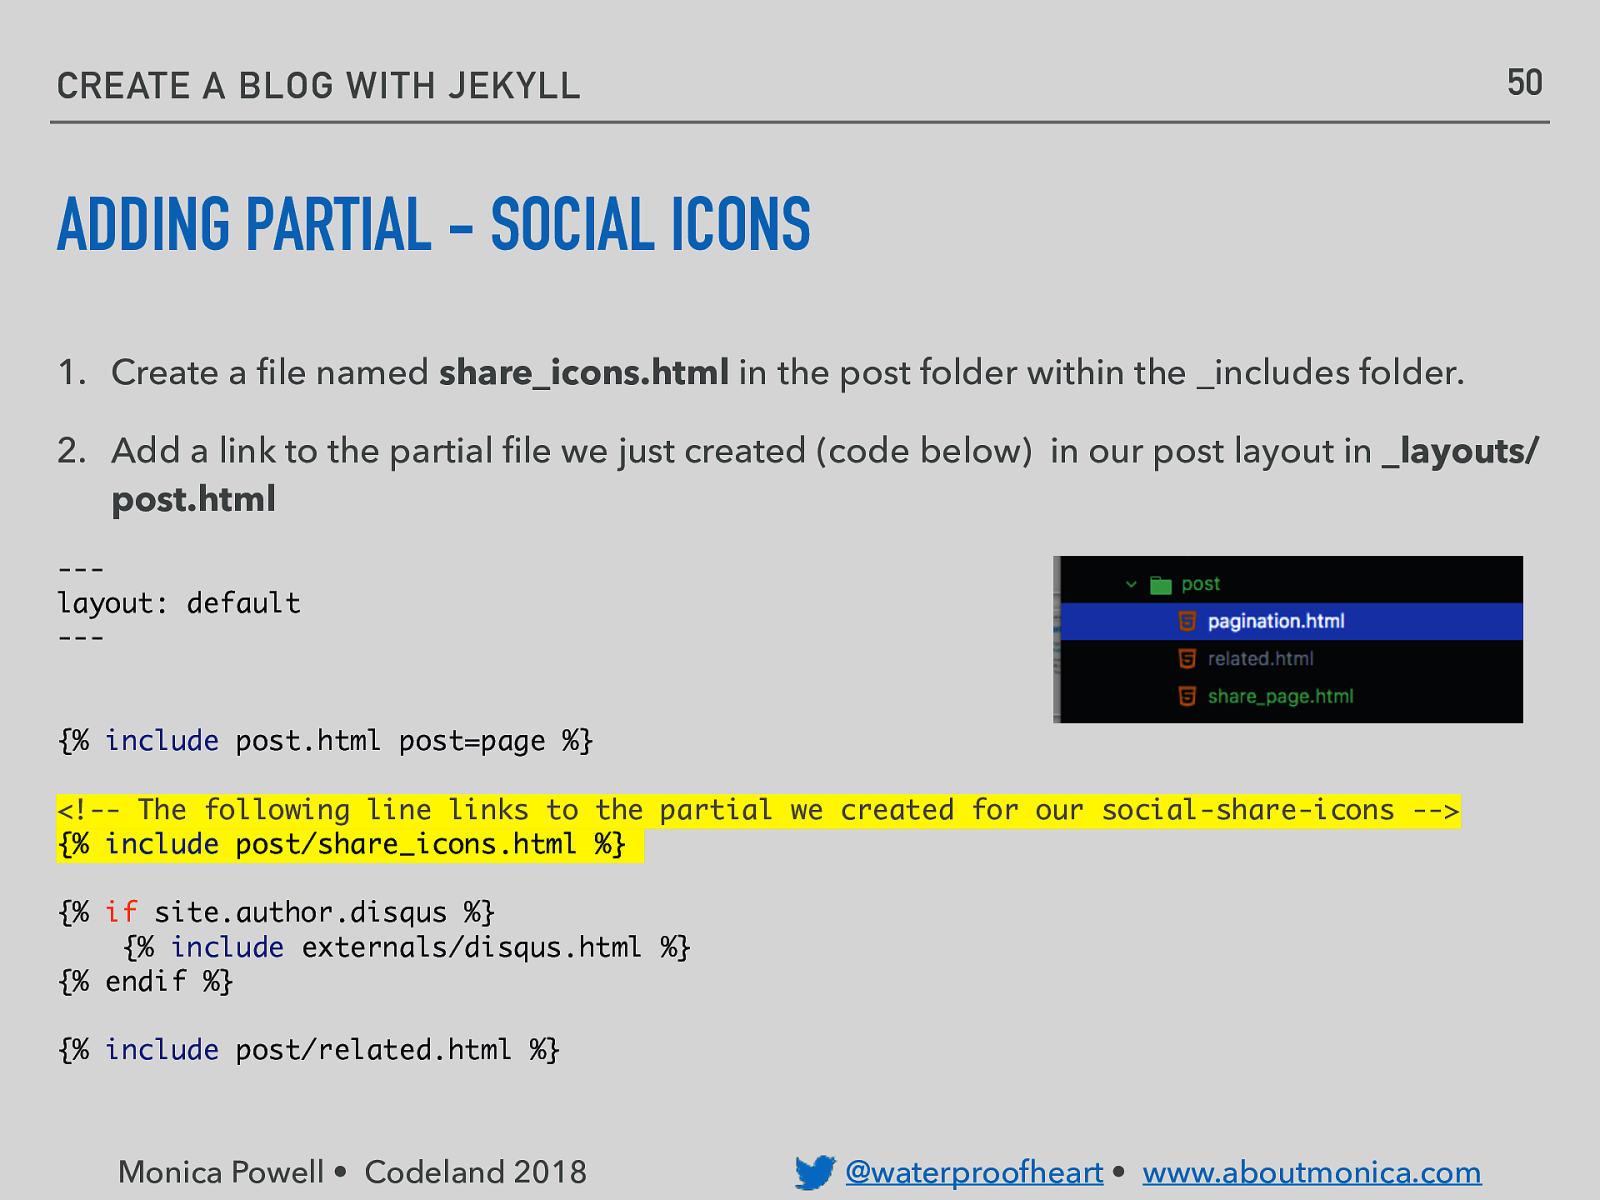
50 CREATE A BLOG WITH JEKYLL ADDING PARTIAL - SOCIAL ICONS 1. Create a file named share_icons.html in the post folder within the _includes folder. 2. Add a link to the partial file we just created (code below) in our post layout in _layouts/ post.html —layout: default —- {% include post.html post=page %} <!— The following line links to the partial we created for our social-share-icons —> {% include post/share_icons.html %} {% if site.author.disqus %} {% include externals/disqus.html %} {% endif %} {% include post/related.html %} Monica Powell • Codeland 2018 @waterproofheart • www.aboutmonica.com
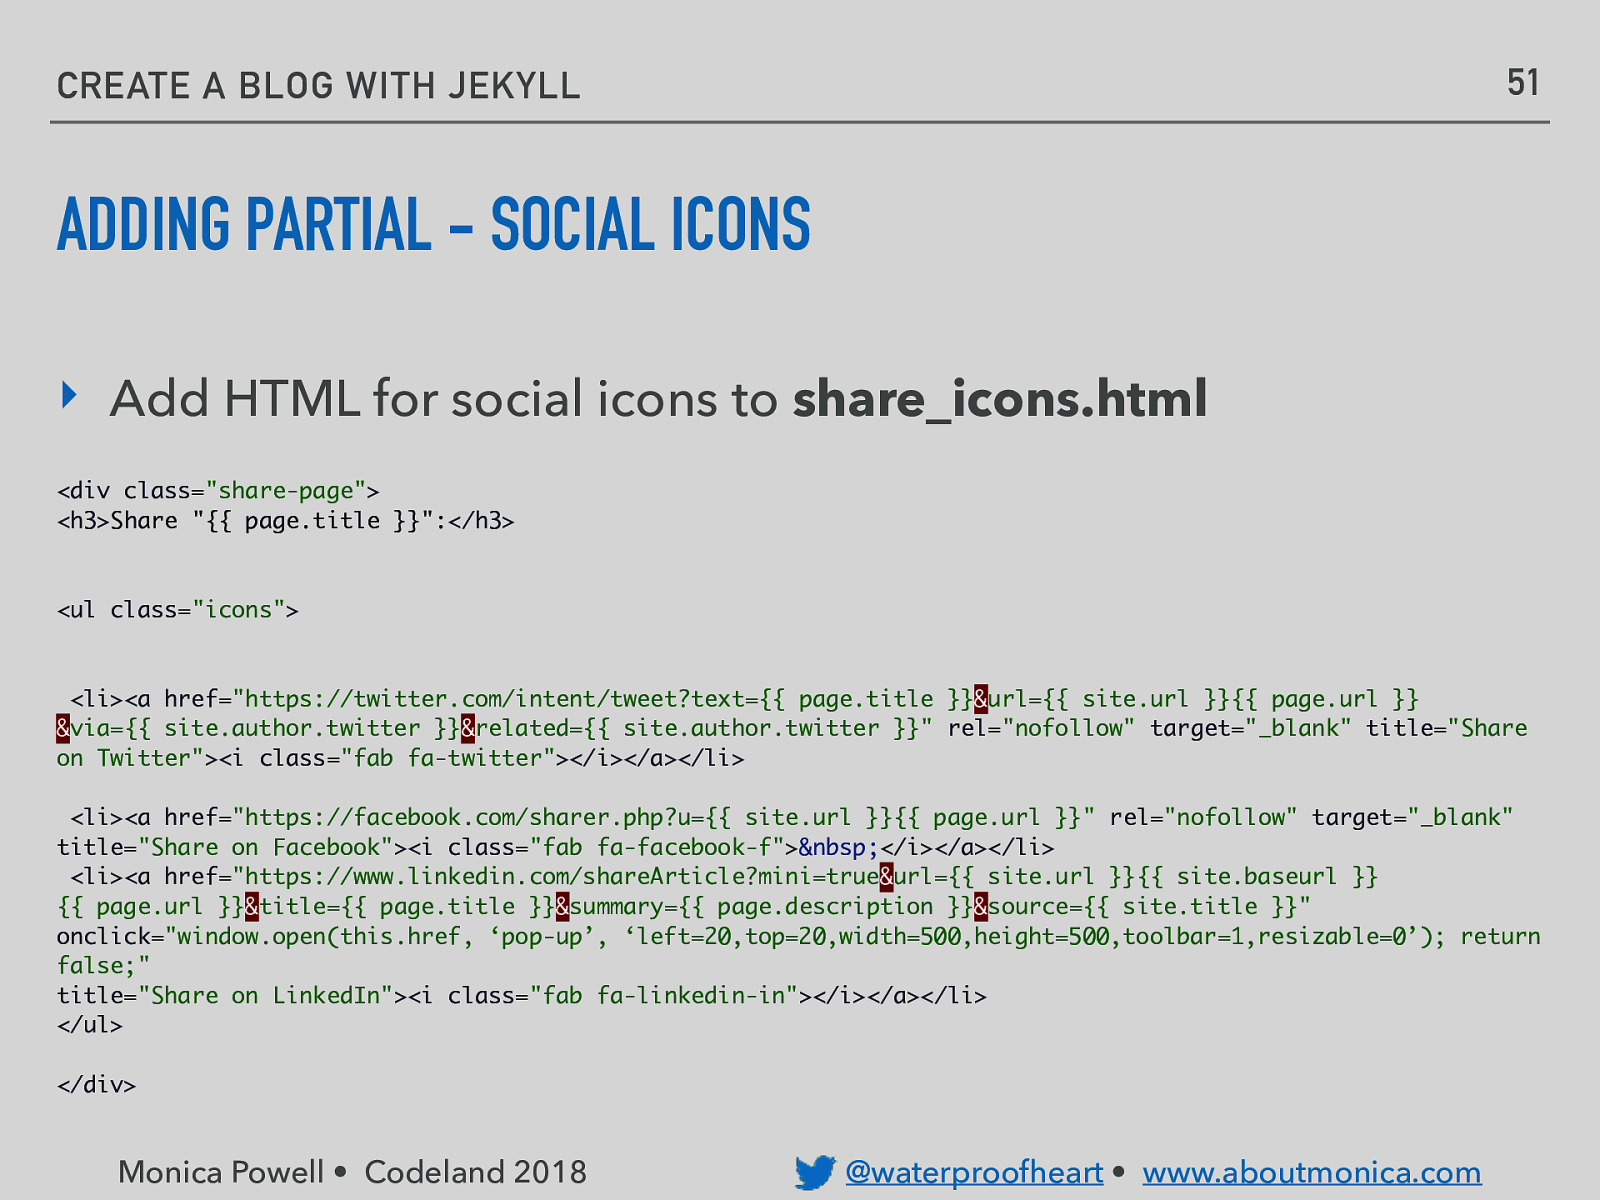
51 CREATE A BLOG WITH JEKYLL ADDING PARTIAL - SOCIAL ICONS ‣ Add HTML for social icons to share_icons.html <div class=”share-page”> <h3>Share “{{ page.title }}”:</h3>
<ul class=”icons”> <li><a href=”https://twitter.com/intent/tweet?text={{ page.title }}&url={{ site.url }}{{ page.url }} &via={{ site.author.twitter }}&related={{ site.author.twitter }}” rel=”nofollow” target=”_blank” title=”Share on Twitter”><i class=”fab fa-twitter”></i></a></li> <li><a href=”https://facebook.com/sharer.php?u={{ site.url }}{{ page.url }}” rel=”nofollow” target=”_blank” title=”Share on Facebook”><i class=”fab fa-facebook-f”> </i></a></li> <li><a href=”https://www.linkedin.com/shareArticle?mini=true&url={{ site.url }}{{ site.baseurl }} {{ page.url }}&title={{ page.title }}&summary={{ page.description }}&source={{ site.title }}” onclick=”window.open(this.href, ‘pop-up’, ‘left=20,top=20,width=500,height=500,toolbar=1,resizable=0’); return false;” title=”Share on LinkedIn”><i class=”fab fa-linkedin-in”></i></a></li> </ul> </div> Monica Powell • Codeland 2018 @waterproofheart • www.aboutmonica.com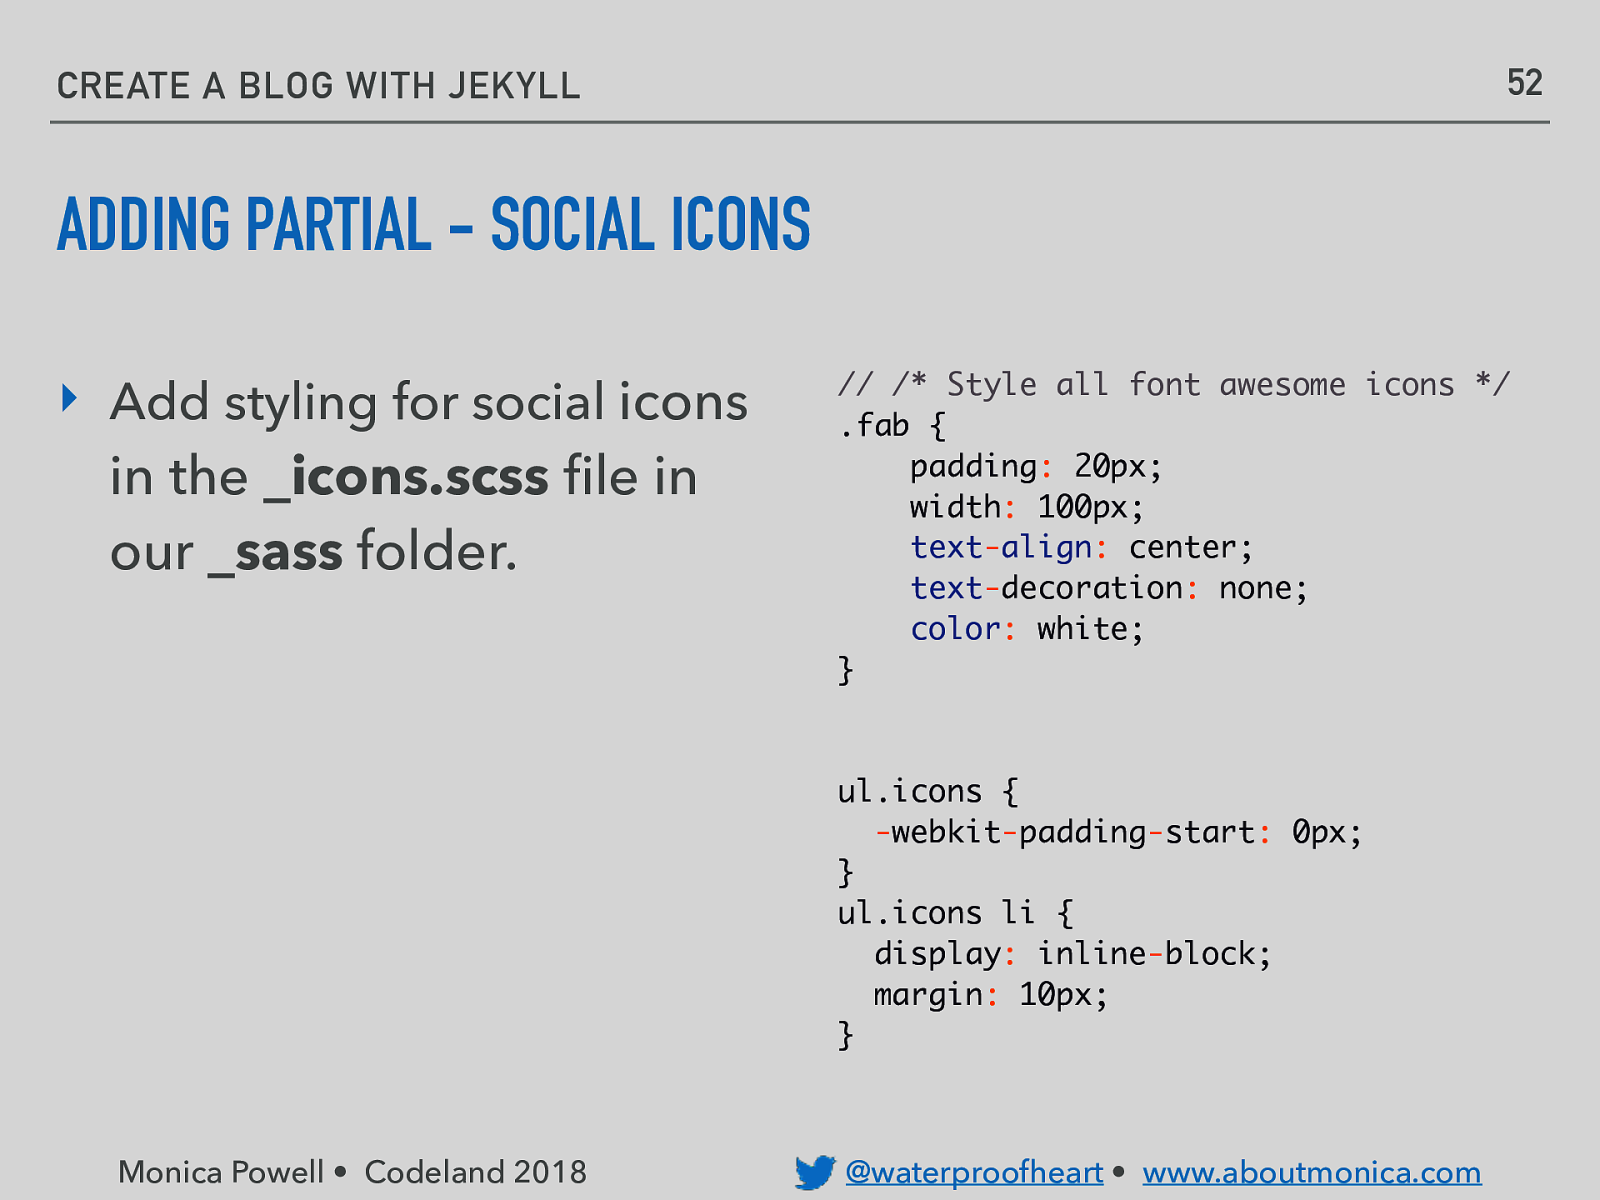
52 CREATE A BLOG WITH JEKYLL ADDING PARTIAL - SOCIAL ICONS ‣ Add styling for social icons in the _icons.scss file in our _sass folder. // /* Style all font awesome icons */ .fab { padding: 20px; width: 100px; text-align: center; text-decoration: none; color: white; } ul.icons { -webkit-padding-start: 0px; } ul.icons li { display: inline-block; margin: 10px; } Monica Powell • Codeland 2018 @waterproofheart • www.aboutmonica.com
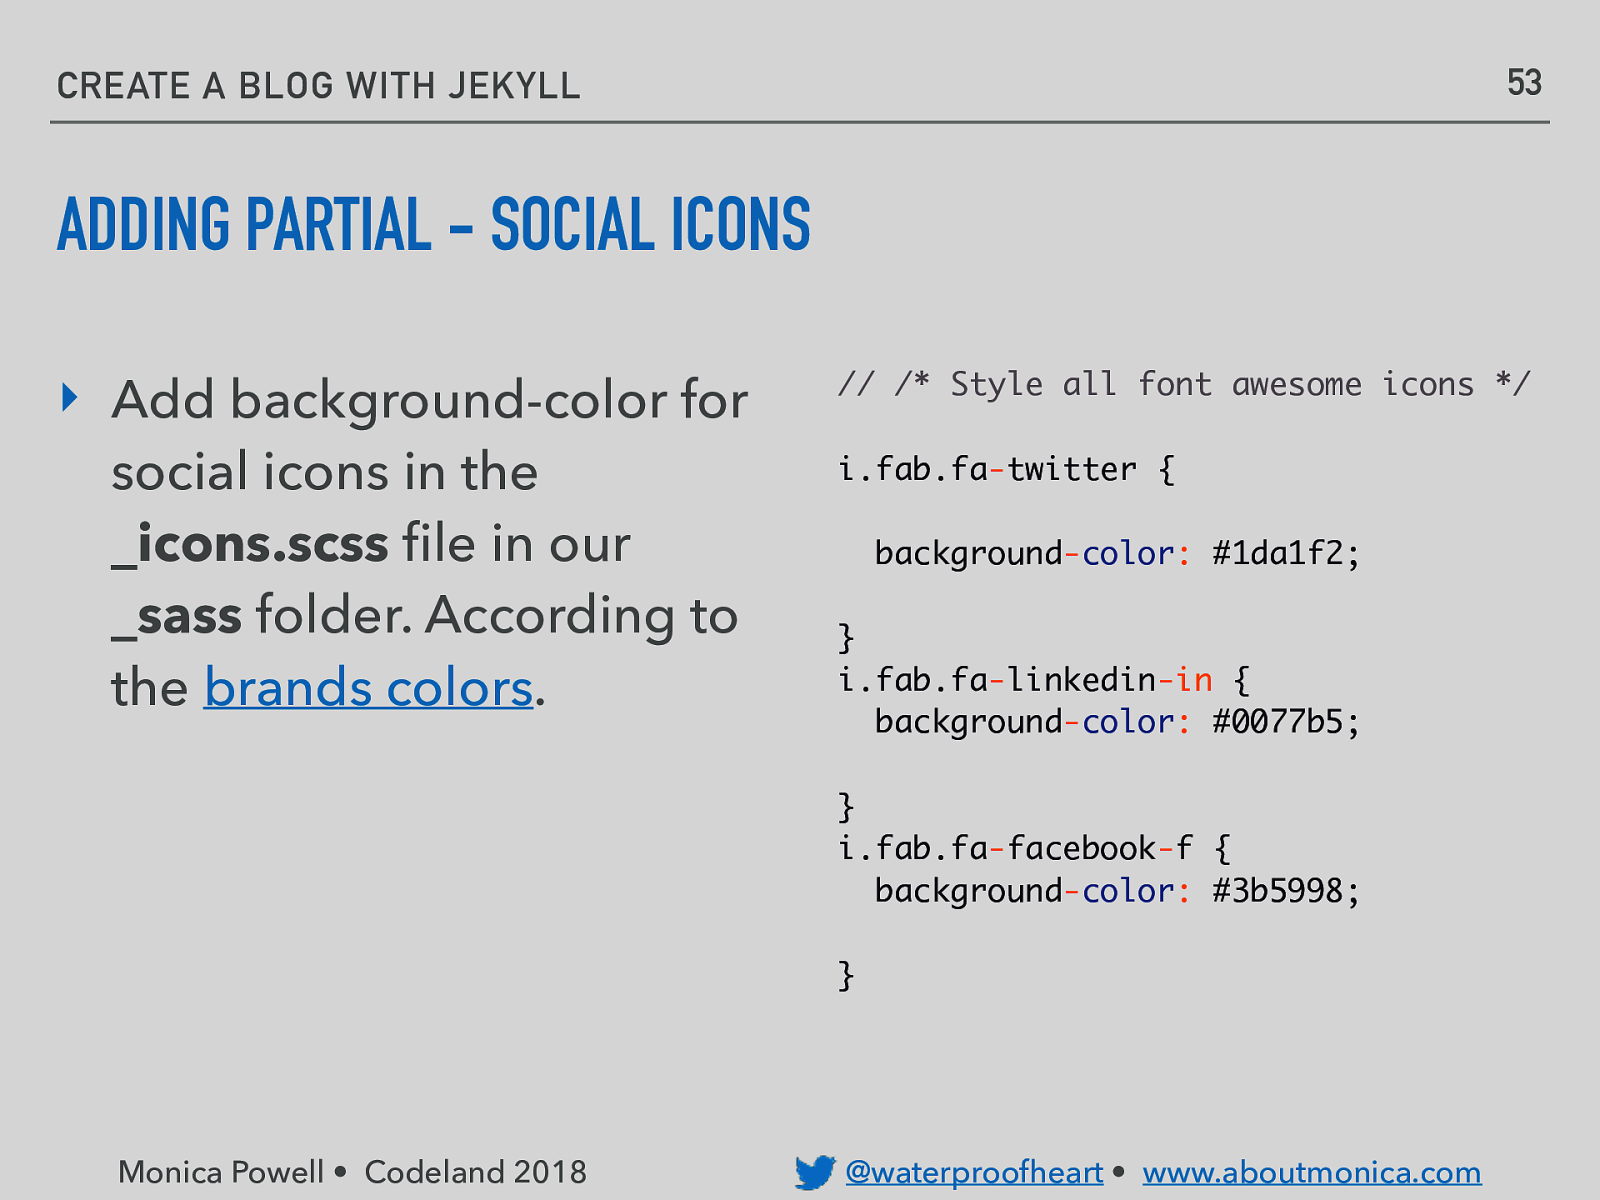
53 CREATE A BLOG WITH JEKYLL ADDING PARTIAL - SOCIAL ICONS ‣ Add background-color for social icons in the _icons.scss file in our _sass folder. According to the brands colors. // /* Style all font awesome icons */ i.fab.fa-twitter { background-color: #1da1f2; } i.fab.fa-linkedin-in { background-color: #0077b5; } i.fab.fa-facebook-f { background-color: #3b5998; } Monica Powell • Codeland 2018 @waterproofheart • www.aboutmonica.com
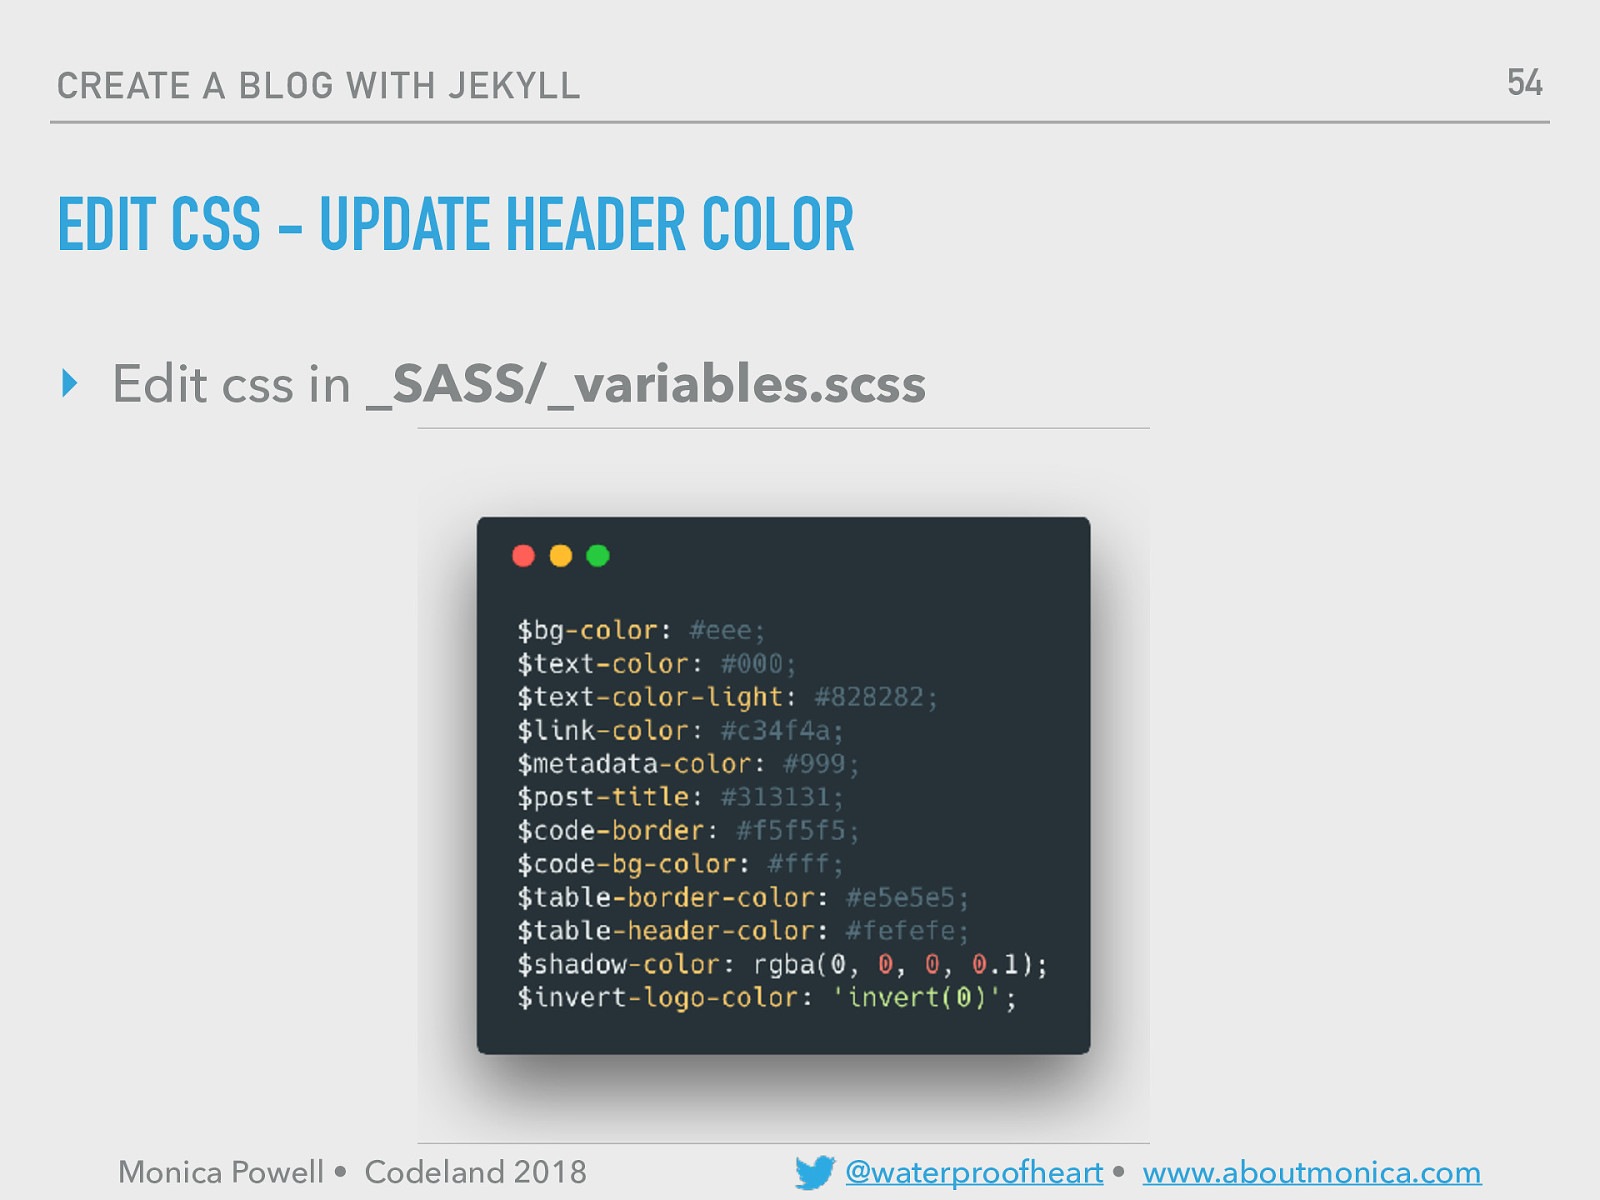
54 CREATE A BLOG WITH JEKYLL EDIT CSS - UPDATE HEADER COLOR ‣ Edit css in _SASS/_variables.scss Monica Powell • Codeland 2018 @waterproofheart • www.aboutmonica.com
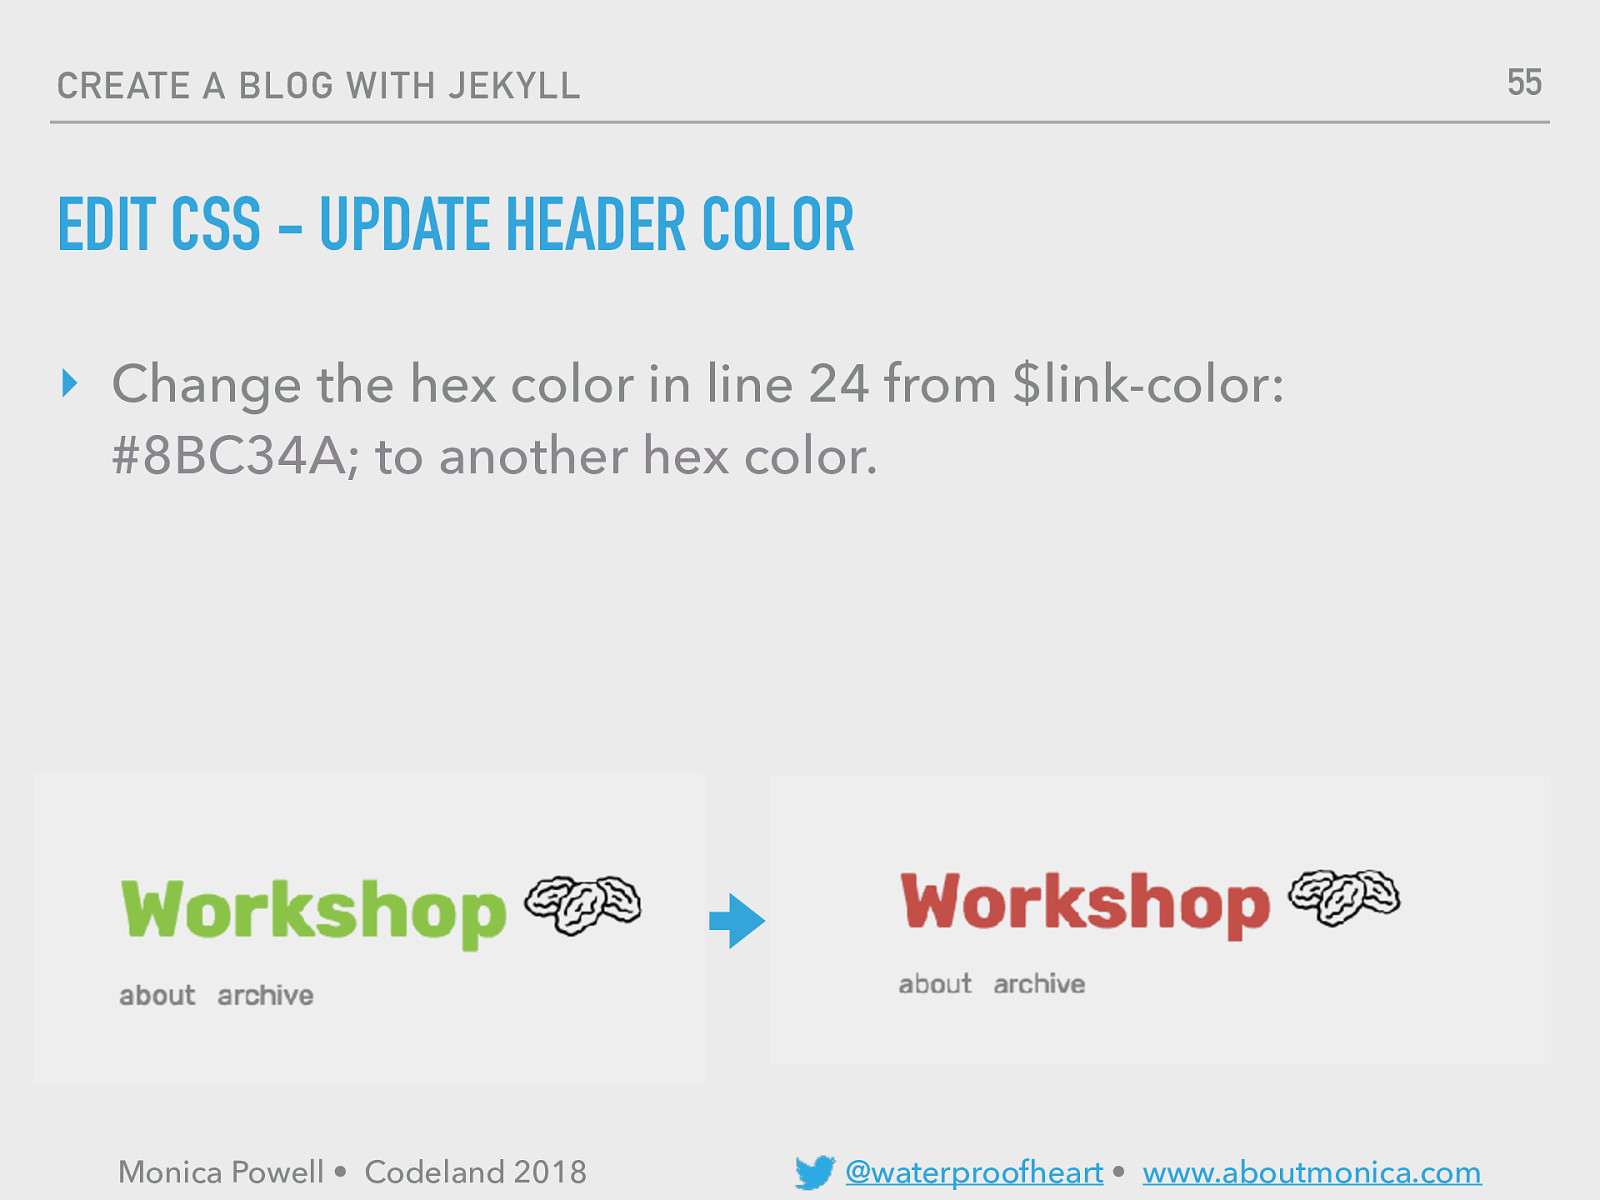
55 CREATE A BLOG WITH JEKYLL EDIT CSS - UPDATE HEADER COLOR ‣ Change the hex color in line 24 from $link-color: #8BC34A; to another hex color. ‣ Monica Powell • Codeland 2018 @waterproofheart • www.aboutmonica.com
56 CREATE A BLOG WITH JEKYLL CODING FREESTYLE ‣ Delete stock posts ‣ Upload new site icon! ‣ Change color scheme ‣ Customize 404 Page ‣ Add a new posts or pages ‣ Update variables in config.yml Monica Powell • Codeland 2018 @waterproofheart • www.aboutmonica.com

SHOW EVERYONE WHAT YOUR BLOG LOOKS LIKE SHOW AND TELL
CREATE A BLOG WITH JEKYLL NEXT STEPS ▸ Resources/Ideas of things to do with Jekyll ▸ https://jekyllrb.com/docs/resources/ ▸ Read about how to get published in the largest technical publication on Medium: https://medium.freecodecamp.org/how-to-get-published-in-the-freecodecampmedium-publication-9b342a22400e ▸ Check out other static site generators: ▸ Gatsby (React-based) ▸ Hugo (Go-based) Monica Powell • Codeland 2018 @waterproofheart • www.aboutmonica.com

🎉 THANK YOU! QUESTIONS? Feel free to e-mail me at: Monica@AboutMonica.com