Playing with the Indieweb

A presentation at Northern Ireland Developer Conference in June 2018 in Belfast, UK by Stephen Rushe

Slide 1

Slide 1

In this talk my aim is to tell you what the IndieWeb is, give you a sense of the principles of the IndieWeb movement, show how to set up a minimal IndieWeb presence, and take a whirlwind tour through the specifications and software that have been developed so far, and what they’re used for.

Slide 2

Slide 2

Slide 3

Slide 3

I've been making websites since 1994. One of my sites from then has made it through multiple server moves and has been online constantly since 1994. I haven’t touched it since 2008, but it still functions. HTML is awesome.

I used to publish on my own site, but I fell out of the habit when I started using Twitter. I’m now looking to fall back into the habit.

Slide 4

Slide 4

I work at Shopkeep.

The picture is a reference that only those in their late 30s or older will likely get.

Slide 5

Slide 5

Slide 6

Slide 6

The TLDR is: publish at your own website, own your data. This doesn’t mean that you must abandon Facebook, Twitter, and other sites. You can still use your favourite silos (as they’re called).

Slide 7

Slide 7

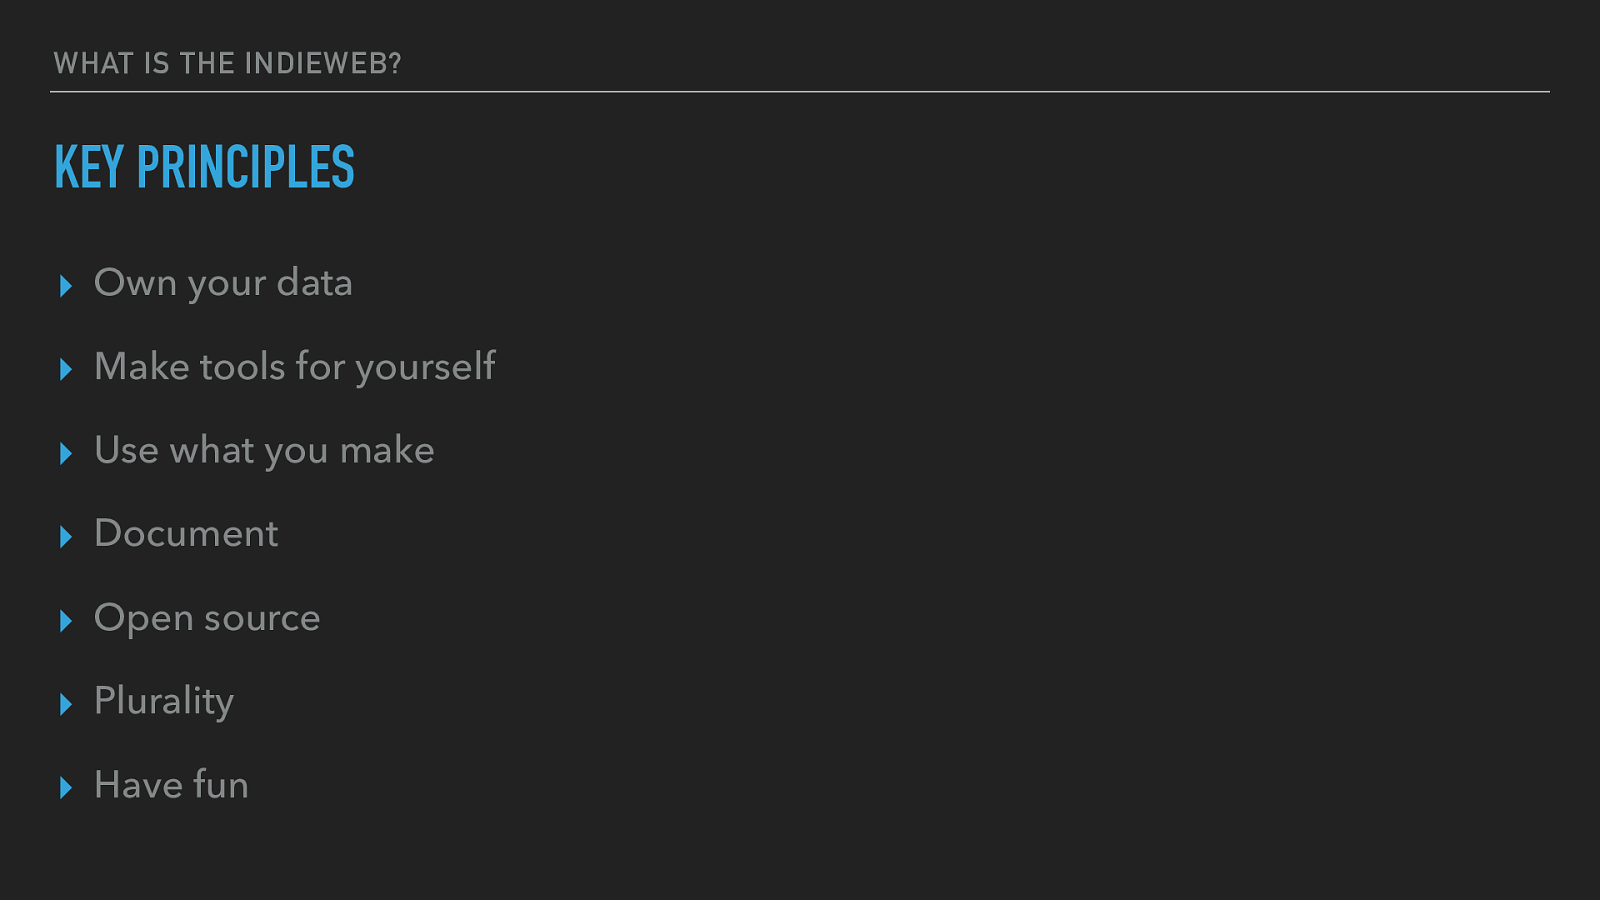
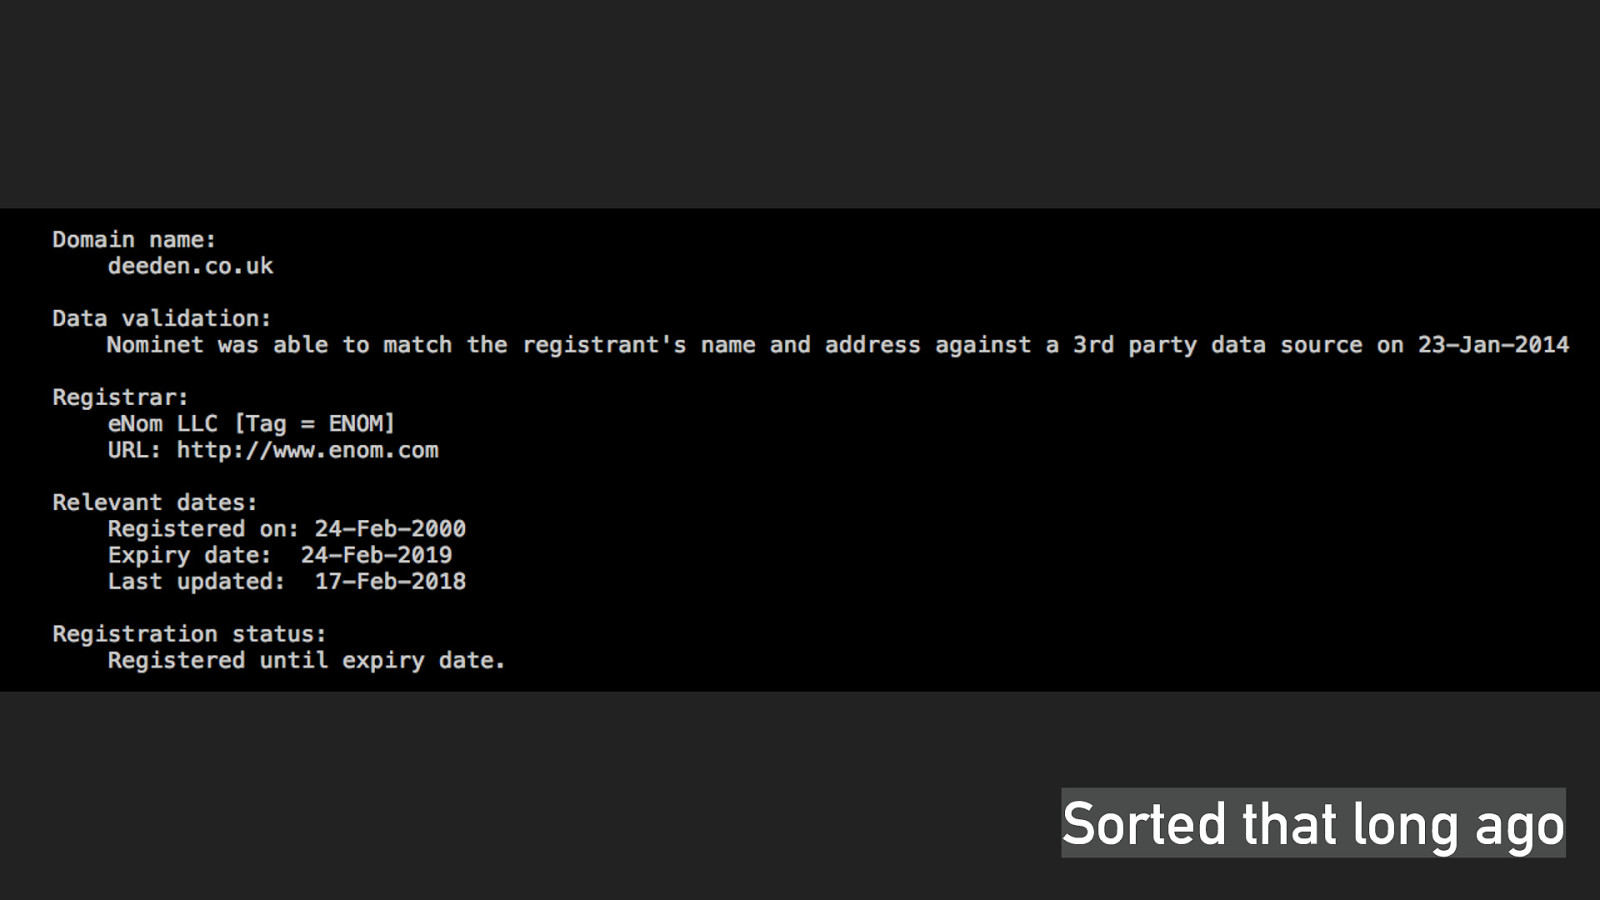
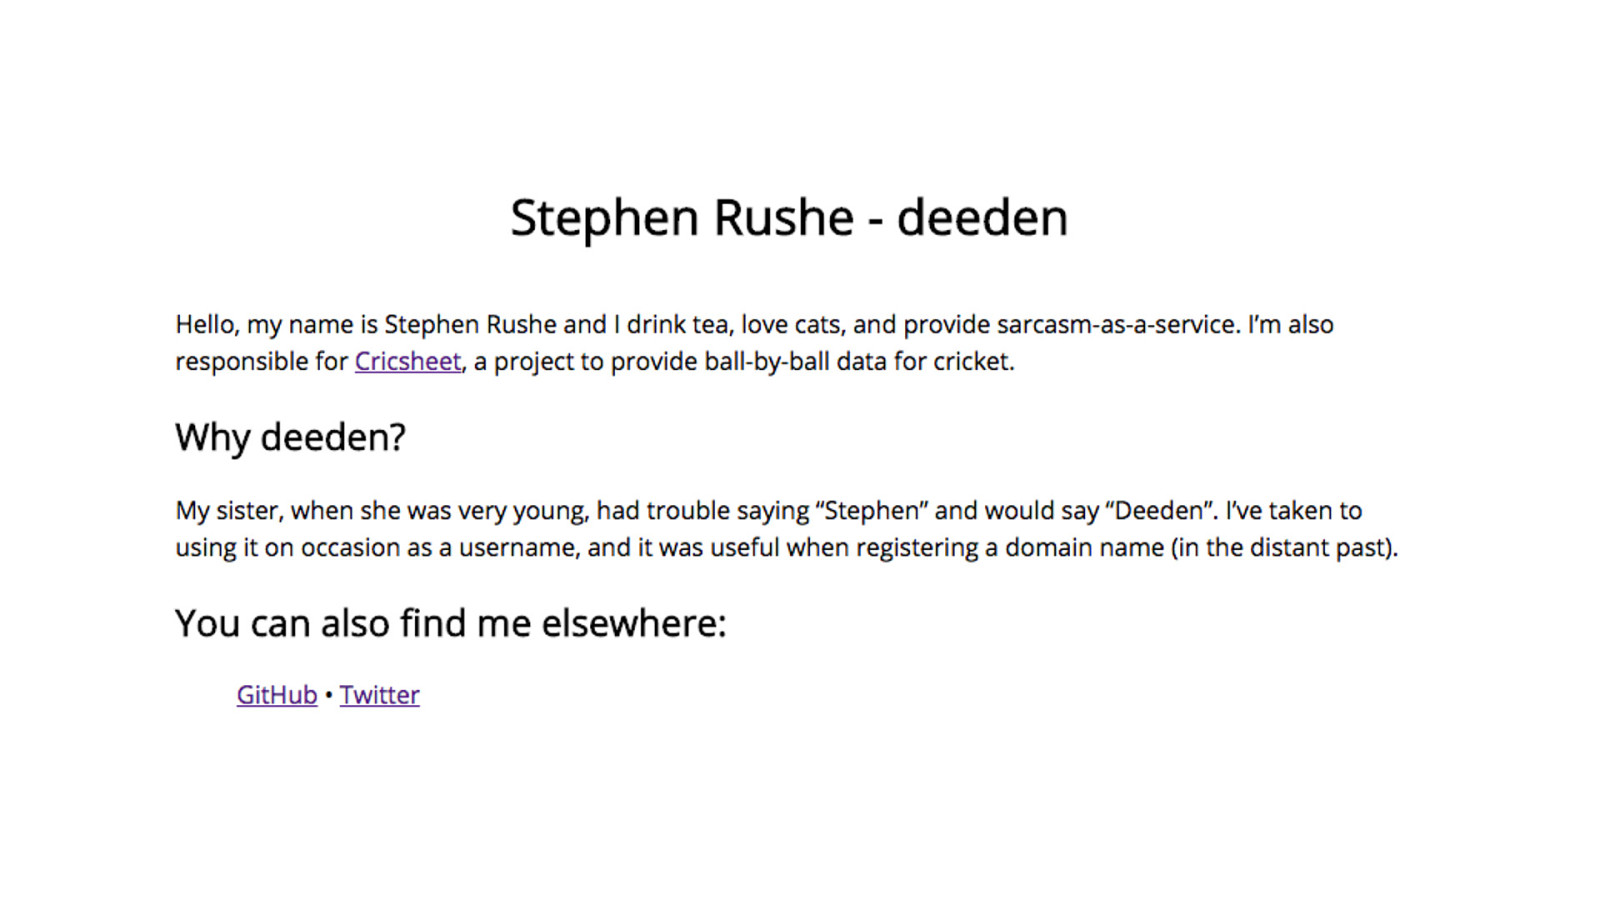
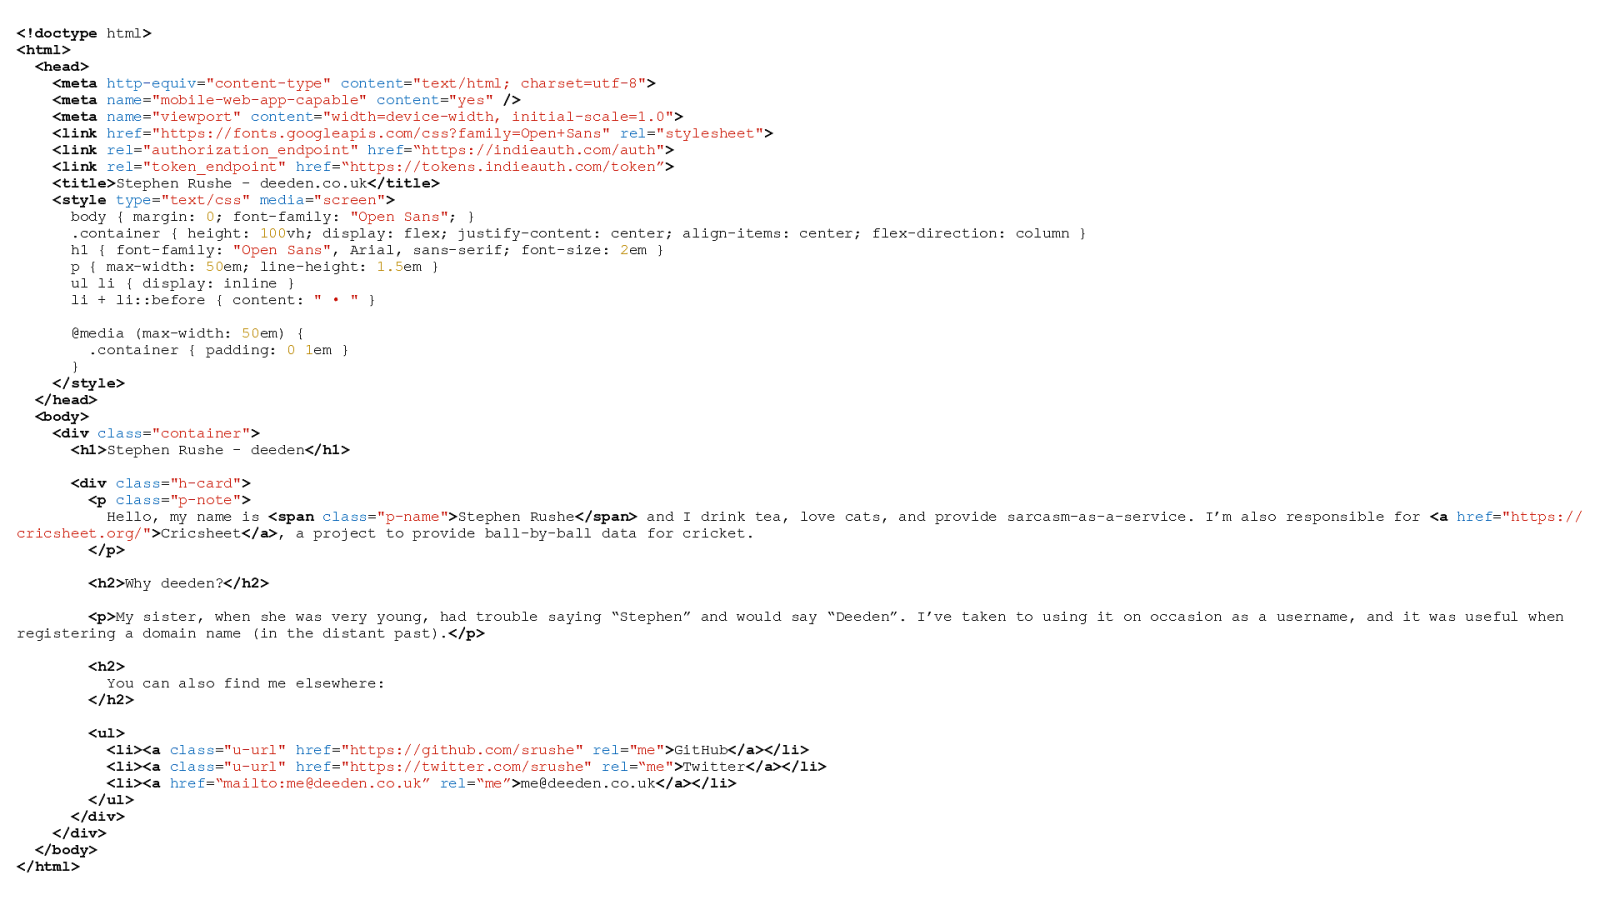
Own your data: Post on your own site (rather than on Medium, Twitter etc). You can still post to those other sites, but post to your site too/first.

Make tools for yourself: Don't write code for a hypothetical user. Write for your own needs. And make it compatible with others. Other users can come later.

Use what you make: Use the tools you write. "Using your own creations on your own personal site that you depend on".

Document: "document your processes, ideas, designs and code”.

Open source: Not compulsory, but a good idea, as it let's other get up and running more quickly.

Plurality: Many inter-operable solutions, not the same setup. Build things, and work out how to make them work together, leading to specifications.

Fun: It should be interesting and fun.

Slide 8

Slide 8

Slide 9

Slide 9

Maybe you’re annoyed by the various silos?

“A silo, or web content hosting silo, in the context of the IndieWeb, is a centralised web site typically owned by a for-profit corporation that stakes some claim to content contributed to it and restricts access in some way (has walls)" - https://indieweb.org/silo.

Silos can also remove or restrict your access, or take away your account if they see fit.

Slide 10

Slide 10

Or you’re worried about sites disappearing. All of these sites were popular to varying degrees, and all of them are either now dead, or a shadow of their former selves. For many any data you had in them is gone, for others it's hard to get hold of (if even possible).

So these are some reasons to think of moving to your own site, but what can you actually do if you do?

Slide 11

Slide 11

If you go IndieWeb what can you do?

Most things can continue as they already do. If some glue is missing, you can write it, or work with others to do so.

Publish content: Protocols and software exists to allow you to publish easily.

Read content: A burgeoning reader movement is gradually building new protocols.

Comment...: You can still comment on, and receive comments on, other's content, and be notified of other interactions.

Silos: You don't need to leave your silos if you don't want to. Just publish on your site, and syndicate that content elsewhere (POSSE), or publish elsewhere and feed it back to your site (PESOS).

Slide 12

Slide 12

What are the first steps you need to take to enter the world of the IndieWeb?

Slide 13

Slide 13

Slide 14

Slide 14

I sorted that long ago, in 2000, and that wasn't my first domain. I'd previously bought one with someone I knew back when domains were so expensive that we had to split the cost between us. Now all of the domains I own cost me less that I paid for a single year of that first one. Domains are much cheaper now.

Slide 15

Slide 15

Slide 16

Slide 16

I didn't need to set up a new site, as I already had one, however it was very much a placeholder.

Ever since I’d started using Twitter I’d neglected it. Finally, at the end of last year, I updated it to this masterpiece of modern design. It's not much to look at, however it does contain the minimum needed to "join" the IndieWeb.

You can set up your site wherever. For example with your own domain you can use Github to host a static site easily.

Slide 17

Slide 17

That's the entirety of the HTML for my homepage. Don't worry if you can't see the details. I'll cover the important points as we go along, and add more concepts. We'll cover 1 thing now though.

Slide 18

Slide 18

Indieweb sites use Microformats 2 to add some extra markup to html. Generally classes, sometimes other things such as “rel” links. Nothing crazy or complicated.

Microformats 2 are also the basis of much of the other APIs used in the IndieWeb. Data is often passed as JSON in a format closely based on Microformats 2.

Slide 19

Slide 19

The IndieWeb makes heavy use of:

  • h-card, to mark up profiles and authors in published posts, then consumed by code (e.g. reply-contexts, readers) for authorship and more.
  • h-entry, to markup posts, replies, etc., which can be easily consumed by code for displaying, summarizing, replying.
  • in-reply-to, to markup links from replies to original posts, which can also be easily read and consumed.

Basically, “your website is your API”.

See: https://indieweb.org/microformats.

Slide 20

Slide 20

The main div on my site is marked as a h-card. It simply provides an easy way for other sites/services to get details about me. In this case I've gone for a minimal h-card, including just my name, some blurb about myself, and links to other profiles for me around the web.

Microformats2 is a major part of the IndieWeb. Homepages have a h-card, and entries on a site will typically have a h-entry. I'm not going to get into the nitty-gritty of microformats. Basically it comes down to adding various small pieces of HTML.

Slide 21

Slide 21

That alone is enough to allow your domain to be used to identify yourself. I don't just mean by saying "go here to learn about me", but actually using it to log in to places with IndieAuth support.

Slide 22

Slide 22

Slide 23

Slide 23

TLDR: Use your own url as your login for IndieAuth-enabled sites and applications.

Slide 24

Slide 24

Slide 25

Slide 25

On an IndieAuth-enabled website you enter your url to gain access. This is one of the sites that demonstrates IndieAuth, and also supports it. It asks me for my domain.

Slide 26

Slide 26

The app/website accesses your website for your authorization endpoint. What's this you ask?

Slide 27

Slide 27

A line in the <head> section of your site. It basically says that my site uses this other site as my authorization endpoint in order to verify me. As I control the location I can change the service I use, and replace it with my own if I so desire. In this case I'm using IndieAuth.com, a service provided by Aaron Parecki which implements a version of the IndieAuth protocol.

I’ll note that it’s also possible to set this value as a HTTP header returned by the server, so that it doesn’t appear in the actual HTML. That is true for all endpoints I mention for here on, but out of laziness I’m going to just show this version.

Slide 28

Slide 28

The app/site redirects you to your authorization endpoint, and it ensures you authenticate appropriately.

There are different ways of doing this. The most common is called “RelMeAuth”.

Slide 29

Slide 29

RelMeAuth is a common method of doing IndieAuth. It uses “rel” links in your HTML on your homepage to determine possible authentication routes. These are generally URLs, but can be other things too. Essentially we piggyback on the OAuth provided by others sites to validate ourselves using our own sites.

Slide 30

Slide 30

In this example from my site I’ve added 2 urls which link to “me” on other sites (specifically GitHub and Twitter), and 1 “mailto” link. This gives the authorization endpoint 3 possible authentication routes. In reality it’s only 2 because the website being linked to must provide a reciprocal ‘rel=“me”’ back to your own site. Github currently does, if you fill you url in, whereas Twitter doesn’t (although it did until a few weeks back). Other sites will also work, such as Instagram, Dribbble, etc

Slide 31

Slide 31

This is my authorization endpoint asking whether to allow the website to have access.

Here we can that the authorization endpoint identifies two possible methods, GitHub, and my email (based on the ‘rel=“me”’ links on my homepage. Clicking on the email button causes a verification code to be sent to my email address. I could also have added a link to a PGP public key, in order to use PGP to authenticate, or provided a phone number in order to get an SMS. Whereas clicking on the GitHub link sends me to GitHub to authenticate.

Slide 32

Slide 32

This is the Github login, it tells me which site is looking to login (indieAuth.com), and sends me back there when I’m successful.

A successful login results in the Authorization endpoint redirecting back to the application/site with an authorization code.

Slide 33

Slide 33

In this case a successful authentication took place. There are other possible additions, but that's the basic IndieAuth flow, and enough for us to continue with for now.

Being able to authenticate with my own site is all well and good, but what is the point? Well, let’s make use of it.

Slide 34

Slide 34

How about publishing content to your website, and maybe elsewhere?

If we’re publishing, what are we publishing? Posts.

Slide 35

Slide 35

That defines posts, but how we publish them? That’s where Micropub comes into the picture.

Slide 36

Slide 36

Micropub is an open API standard (W3C Recommendation) that is used to create, update, and delete posts on your own domain using third-party clients. It super-cedes both MetaWeblog and AtomPub, older APIs for publishing on a site. It’s designed to both simplify and improve them.

Now we are getting into a more complicated area here. We can’t just get away with adding some HTML and expect things to work. This requires you to have an endpoint on your own site. Now there are many, including some that are provided as plugins for Wordpress, so it’s doable, it’s just harder.

Slide 37

Slide 37

This is how I add micropub to my site. Unsurprisingly this is included in the <head> section of the site. Note that the href isn’t pointing to someone else’s site, it’s actually mine. I’ve chosen to host my micropub endpoint on a subdomain, using software I wrote.

Before we get into that, another brief diversion.

Slide 38

Slide 38

Let’s have a brief discussion about the concept of Post Types. This is straightforward enough. We’ve already mentioned them. RSVPs, replies, reposts, likes, video, photos, articles, and notes are types of post. As mentioned before they’re marked up with microformats, and we create and update them with microformats-inspired data.

If we're going to have post types there must be some way of identifying the type of a post from the data provided, and there is.

Slide 39

Slide 39

Post Type Discovery is a W3C working draft.

Other types can be added by people using them and a consensus can emerge, allowing other entries to be added to the main algorithm. People can also just develop their own. I have a ruby gem (~~that I’ll release real soon now~~) that identifies post types, which I use in multiple places, and have extended the types for my own use.

Slide 40

Slide 40

This is how I check for the post type in my gem. Simply pass the data for the post in, and it returns a simple string indicating the type.

Slide 41

Slide 41

This version adds a new post type, for bookmarks, before the article checking. The method is called the same way regardless of whether new types have been added.

Slide 42

Slide 42

There are a number of Micropub clients available. I’m not going to cover them all, I’ll just give a quick view of a couple I use.

Slide 43

Slide 43

A PHP and Javascript web application that allows you to write various types of post for your site. Simply authenticate (using IndieAuth), write, and the posts will be submitted to your Micropub endpoint.

Slide 44

Slide 44

A short “note”, such as you’d post to Twitter.

Slide 45

Slide 45

Favouriting/Liking another URL. Can be used like thumbs-up on Facebook, or favouriting on Twitter.

Slide 46

Slide 46

This is for writing longer article posts, a-la medium.

Slide 47

Slide 47

Indigenous is a set of native apps for iOS and Android (the former in beta, the latter in alpha) that support posting to your website using Micropub. I'm currently testing the iOS version.

Slide 48

Slide 48

This is the iOS version. It works as a share sheet option. The options available change based on the type of content found on the page after using microformats 2 parsing. A post of the appropriate type is then sent to the Micropub endpoint. On the right one of the post types has become RSVP because it has been recognised as an event. The Android version is similar.

Slide 49

Slide 49

Having clients is all very well, but you need to have a Micropub endpoint on your site in order to use them. It's an extensive spec, which I spent a decent amount of the Christmas period reading (there were reasons, don’t judge me).

But before we dive into that, let’s take one last diversion, to expand on something we talked about earlier.

Slide 50

Slide 50

Slide 51

Slide 51

Remember when I talked about IndieAuth and said that a site can ask for permission to access your site? Well I left one detail out, but now it’s time to fill that gap in.

When asking for permission to access a site it’s recommended to also ask for a scope, or set of scopes, (or permissions) for that site. In the example here Quill is asking for “create”, and “update” scopes. This makes sense as it will want to both create and update posts on your site.

As part of the authentication process, the client will take the authorization code it gets from your authorization endpoint and do 1 more thing with it. It will exchange it for an access token at another endpoint (the token endpoint).

Slide 52

Slide 52

The token endpoint exists to grant, and verify, access tokens. Granting is done when the original application requests a token (after you authenticate). Verifying is done when the application uses that token at your Micropub endpoint.

A GET request is made to this token endpoint with a header containing a previously granted access token. The token endpoint then the token and, if it’s fine, sends back a response indicating the URL and the accepted scopes.

This allows the Micropub endpoint to be sure the application can access this endpoint.

Slide 53

Slide 53

As part of my playing with Micropub I’ve extracted a small ruby gem that performs the token verification, and checks that the scope required for an action is actually one granted by the token. I'll be releasing it soon.

Now that that diversion is done, lets get back to servers and, in particular, posts.

Slide 54

Slide 54

Post can be created, updated, deleted, and undeleted on the Micropub endpoint using a simple syntax. Some examples are...

Slide 55

Slide 55

A simple post request with JSON to create a new entry. It’s possible to also create with form-data, but I’m going to stick with JSON for the examples, as it’s easier to understand, and supports more functionality.

The only time when JSON cannot be used is when a file is being uploaded directly. In the example the photo is being provided at a link so this can be done as JSON, however if we wanted to upload the actual file we'd need to send the request as form data.

The response from this call, assuming no error occurs, will be a 201 or 202 and the location the new post can be found at (or will be found at).

Slide 56

Slide 56

Here we’re replacing the content field. We can also use “add” and “delete” to affect other values, or a combination of them all when it makes sense. The url is provided to let the endpoint know which post to update.

Slide 57

Slide 57

A simple delete, specifying the url of the post to be deleted.

Slide 58

Slide 58

Almost the same as the previous example, except this time we're undeleting.

Slide 59

Slide 59

When a user initially logs in to a Micropub client, the client will query the micropub endpoint for configuration information, so that the client is aware of whether a server provides a media endpoint, or has syndication targets. The media endpoint can be used to upload photo, video, or audio files, whereas the syndication links allow posts to be shared with other sites.

Slide 60

Slide 60

Slide 61

Slide 61

Some examples of existing Micropub endpoint software. There are also a number of un-released, or partially released endpoints.

Slide 62

Slide 62

Ho-Tan is my own micropub software. Influence by Transformative from Barry Frost. The part of the spec I don't currently support is file uploads, whether directly or via media endpoint. I don’t use checkins, but I needed to implement them to validate the endpoint.

Fun to read the specification, write, re-write, and test. Now in use, and will be released at some point when I've tidied it up.

Slide 63

Slide 63

I mentioned another post type I support. This is it, scrobbling (a term from last.fm). Long ago I used to use Last.FM to track what I was listening to, but I stopped as I gradually became less enamoured with the service. Recently I've restarted tracking my listening, but using a small ruby script to watch what I'm listening to, and another small script to post each listen to my Micropub endpoint (after looking up relevant data). It has been working smoothly since early May.

Slide 64

Slide 64

To add scrobbling support I use the Post Type Discovery gem I mentioned earlier, to add a new type “Scrobble” which identifies the post by looking for a “scrobble-of” in the data.

Slide 65

Slide 65

As previously mentioned it's possible to syndicate your content to other sites. There are two possible ways to do this. The first is POSSE.

Slide 66

Slide 66

POSSE. As the name suggests this involves sending your content elsewhere after publishing it to your own site. We actually saw mention of this earlier in the configuration for the micropub endpoint, where the syndication targets were listed.

Slide 67

Slide 67

If I choose Twitter there then I'm telling my Micropub endpoint to syndicate this post to Twitter. It's up to the endpoint to do the needful there, however it wants to.

Slide 68

Slide 68

PESOS. This one is also fairly clear. Some sites won't allow content to be easily syndicated to them, so for them it's easier to post there and then syndicate back to your own site. Instagram is the classic example, as they strangely don't have any API method to upload a picture (you can only do it via the app), so you have to use the App and then pull the it down to your own site.

Slide 69

Slide 69

Webmention is another endpoint at your site, and is another web standard (W3C Recommendation). It provides a means to support mentions and conversations across the web.

Slide 70

Slide 70

When you link to a website, you can ping it a Webmention to notify it. (A simple post request to their WebMention endpoint, assuming they have one). The site can then display your post appropriately as a comment, like, or other response. If someone links to your site it’s entirely up to you how you deal with the webmentions.

Basically, it involves telling the site you're mentioning that you've mentioned them. The endpoint checks that you’ve really mentioned the relevant page and if so treats it as a valid webmention.

Slide 71

Slide 71

This is how I add webmentions to my site. Unsurprisingly this is included in the <head> section of the site. Not that I’m not hosting this myself, I’m using a service called webmention.io to listen for webmentions for me.

Slide 72

Slide 72

webmention.io does the hard work of listening for webmention notifications, and checking that they’re valid. It provides an API that I can then use to go and pull the webmentions for my site, letting me get only new ones, or ones for particular pages. Jeremy Keith calls it “an answering service for pings”.

Now having a webmention endpoint is well and good, but most sites don’t send webmentions. In particular the big silos don’t. So if someone favourites your Tweet, or comments on your Instagram post, those sites won’t send you a notification.

Slide 73

Slide 73

brid.gy will do that for you. It, once you have authenticated with it and allowed it to access the relevant sites, will convert responses on a variety of sites into webmentions for you, and send those to your webmention endpoint.

Slide 74

Slide 74

Facebook was supported up until Jun 2018, but recent changes they’ve made to lock down their API “for privacy” have resulted in you being unable to easily retrieve information on your own account, and the maintainer has pulled the plug. Silos are so much fun.

You may notice GitHub on the list. While not something I’m planning to do, some in the IndieWeb community have started responding to issues via their own site (syndicating their responses to GitHub). I found that strange but given the recent GitHub news having more direct control over that data may be visionary.

Anyway, we’ve seen Micropub, a new protocol to more easily publish to your site, as well as syndicate it elsewhere (whether via POSSE or PESOS). We’ve also learned about WebMentions, which let us send and receive notifications that pages/posts have been mentioned.

Publishing is fine, but what about when we want to read other content?

Slide 75

Slide 75

Google Reader is dead; Twitter, Facebook, and Instagram are experimenting with non-time-based timelines (uugh).

How about an IndieWeb replacement?

Slide 76

Slide 76

Microsub is a very-much-in-progress specification to provide a standardised way for clients to consume and interact with feeds collected by a server.

The Microsub server is responsible for managing the accounts you follow, retrieving updates from them, and the Microsub endpoint provides the feed entries in a normalised format for easy consumption by clients.

Slide 77

Slide 77

Authentication is done the same way as with Micropub, using IndieAuth. Building blocks are useful.

The client is an application you log in to, and can be run by someone else. The server you host, and that’s where you validate the access token.

Slide 78

Slide 78

There are a few existing Microsub readers, such as Monocle, Indigenous, and Together. Due to the way the reader and server are split it’s easy to use multiple clients, such as Monocle on the desktop, but Indigenous on your phone.

Yes, that’s the same Indigenous mentioned earlier as a Micropub client. It also serves as a Microsub client too.

Slide 79

Slide 79

This is Monocle, a Microsub Reader from Aaron Parecki.

Slide 80

Slide 80

This is Together, a Javascript-based Microsub Reader by Grant Richmond, and Jonathan LeCour. With both Monocle and Together you can either use the existing websites for them, or host a version yourself. As both talk to your Microsub Server they’re just nice front-ends to your data.

Slide 81

Slide 81

This is Indigenous (the iOS version) displaying the Notifications channel. In this shot you can see the “Notifications” channel, and 2 posts within it.

Those two concepts, channels and post, form the core of Microsub.

Slide 82

Slide 82

In the screenshot there are 3 channels, 2 with unread counts, and 1 with an unread indicator. The specification supports both counts and boolean indicators for channel unread state, and Monocle (which this screenshot is from) supports both.

Slide 83

Slide 83

The screenshot here is for an audio post, and thus includes an inline audio player.

The action at the bottom of the screenshot, for favouriting, reposting, and replying, use your Micropub endpoint, posting new entries of the appropriate type. There are also other actions mentioned in the specification (such as muting/blocking people) but I don't believe anyone currently supports it.

Slide 84

Slide 84

There are few servers so far. Ekster (Go) and Aperture (PHP) are the two I’m aware of, although I’m working on my own in Ruby. I like the server/client split, as I’d prefer not to build a front-end right now, but writing the server is fun.

The server is responsible for managing subscriptions, downloading posts, keeping track of channels, read statuses etc. Also responsible for normalising the data.

A quickly evolving spec, with parts being added as people work on their server software and discover pain points.

Slide 85

Slide 85

My (very much a work-in-progress) Microsub server is called NewsDragon. It currently runs locally on my laptop and I use ngrok to tunnel to it from the outside world for testing. Once it’s at MVP I’ll put it live for myself and then release it once I’m happy it’s stable. It works though, and I can connect Monocle to it, read feeds, and have things marked as read automatically.

Slide 86

Slide 86

Slide 87

Slide 87

Slide 88

Slide 88

Slide 89

Slide 89