From design to development: How do you deal with a broken workflow?
Code.talks 2018, Hamburg, Germany. UX/UI design track

A presentation at code.talks in October 2018 in Hamburg, Germany by Roy van Rooijen
Code.talks 2018, Hamburg, Germany. UX/UI design track
Hi! I’m Roy from IXDS, I'm from The Netherlands. Moved to Berlin early 2017. Work at IXDS, a design studio in Berlin & Munich. I focus on Interface Design.
We're with 85 employees, with people specialized in interface design, user research, industrial design, digital and physical prototyping, among other skills. We prototype digital products and complete services for industries like automotive, mobility, connected systems, and healthcare. We find it important to have a great mix of diverse people and skills. We foster freedom during work, and enough time off to enjoy life or work on side projects. Therefore we 4-day workweek.
I'm also one of the makers of Sketch Runner.
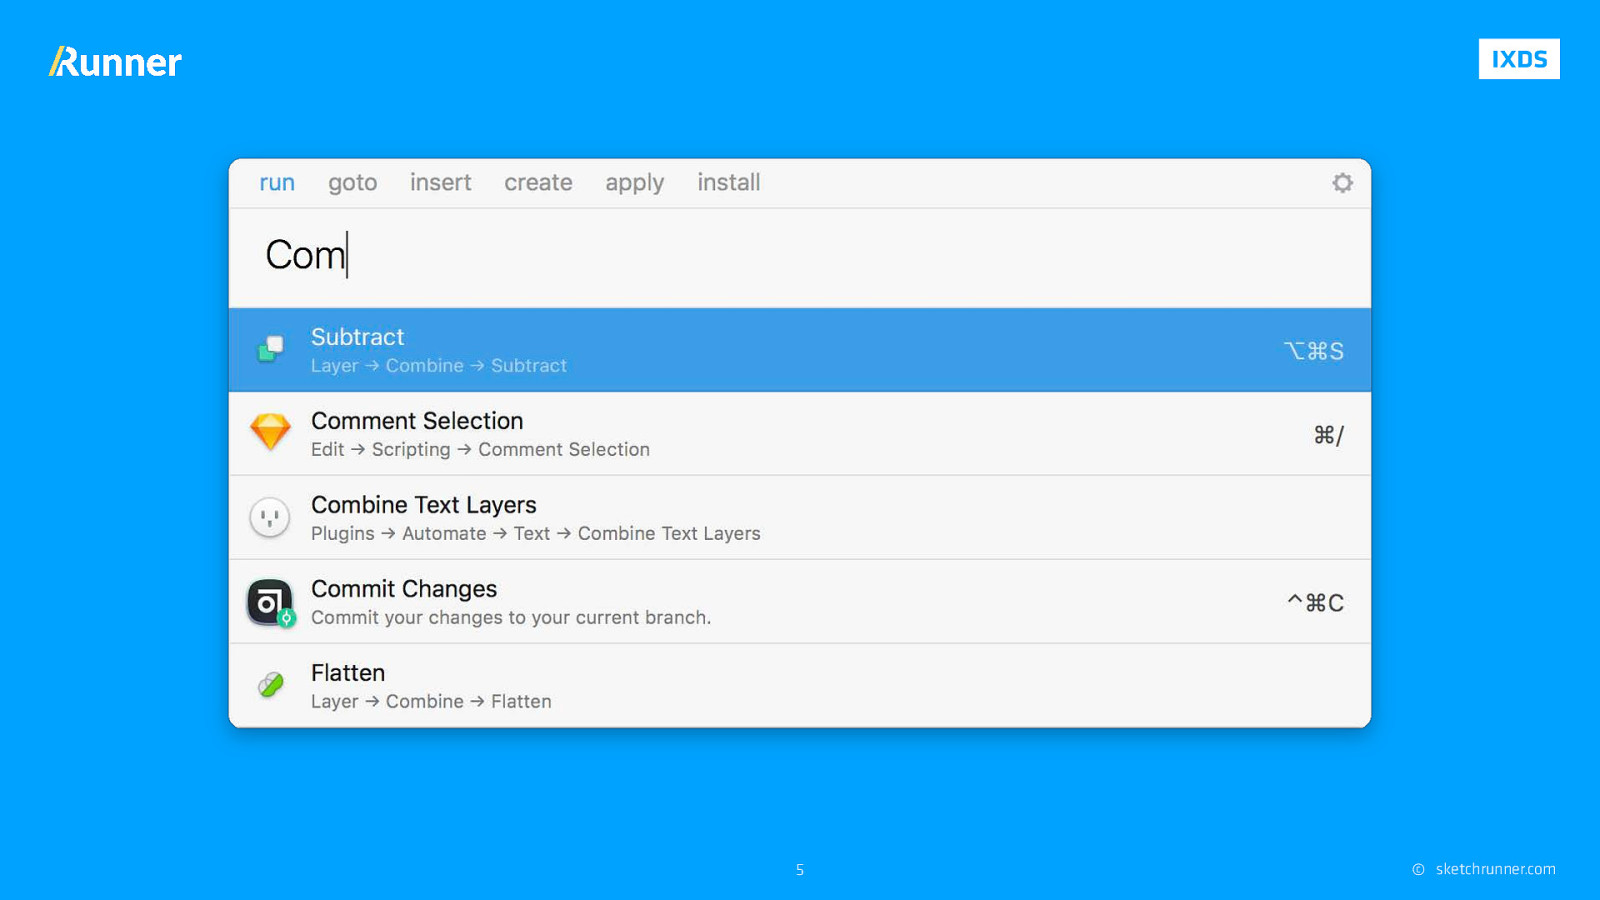
It's a plugin for Sketch. Like Spotlight, Alfred, or the Command Palette in your favorite IDE. Speed up your design work with the keyboard.
I'm also the organizer of Design Tools Network.
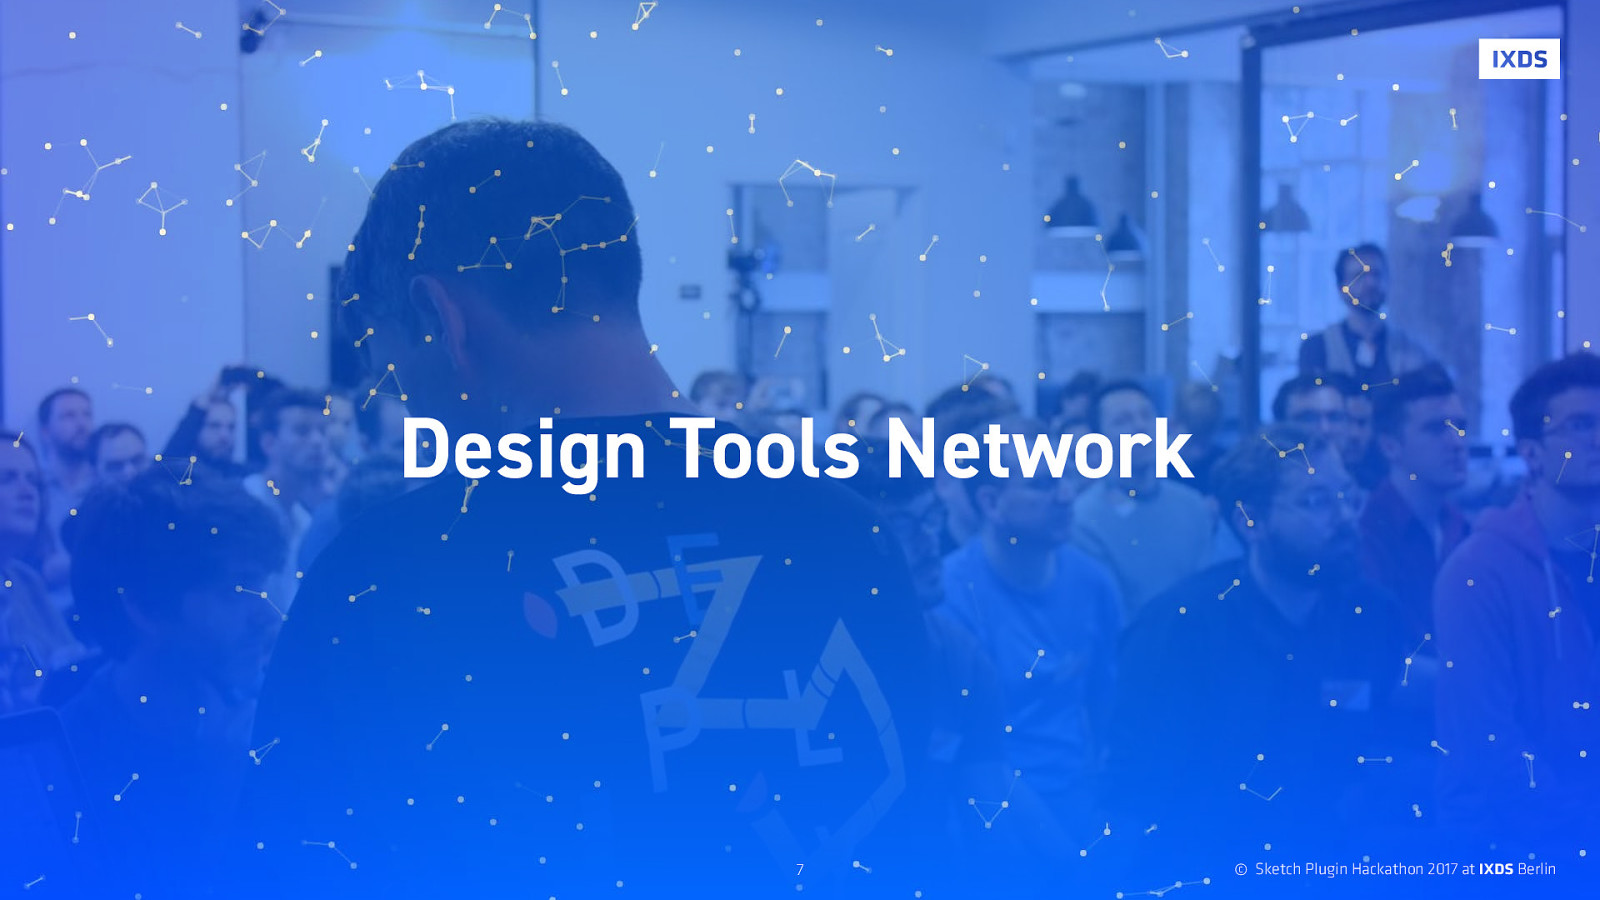
Our purpose is to connect tool makers through events like meetups and hackathons, to push the state of digital design tools
From design to development: How to deal with a broken workflow?

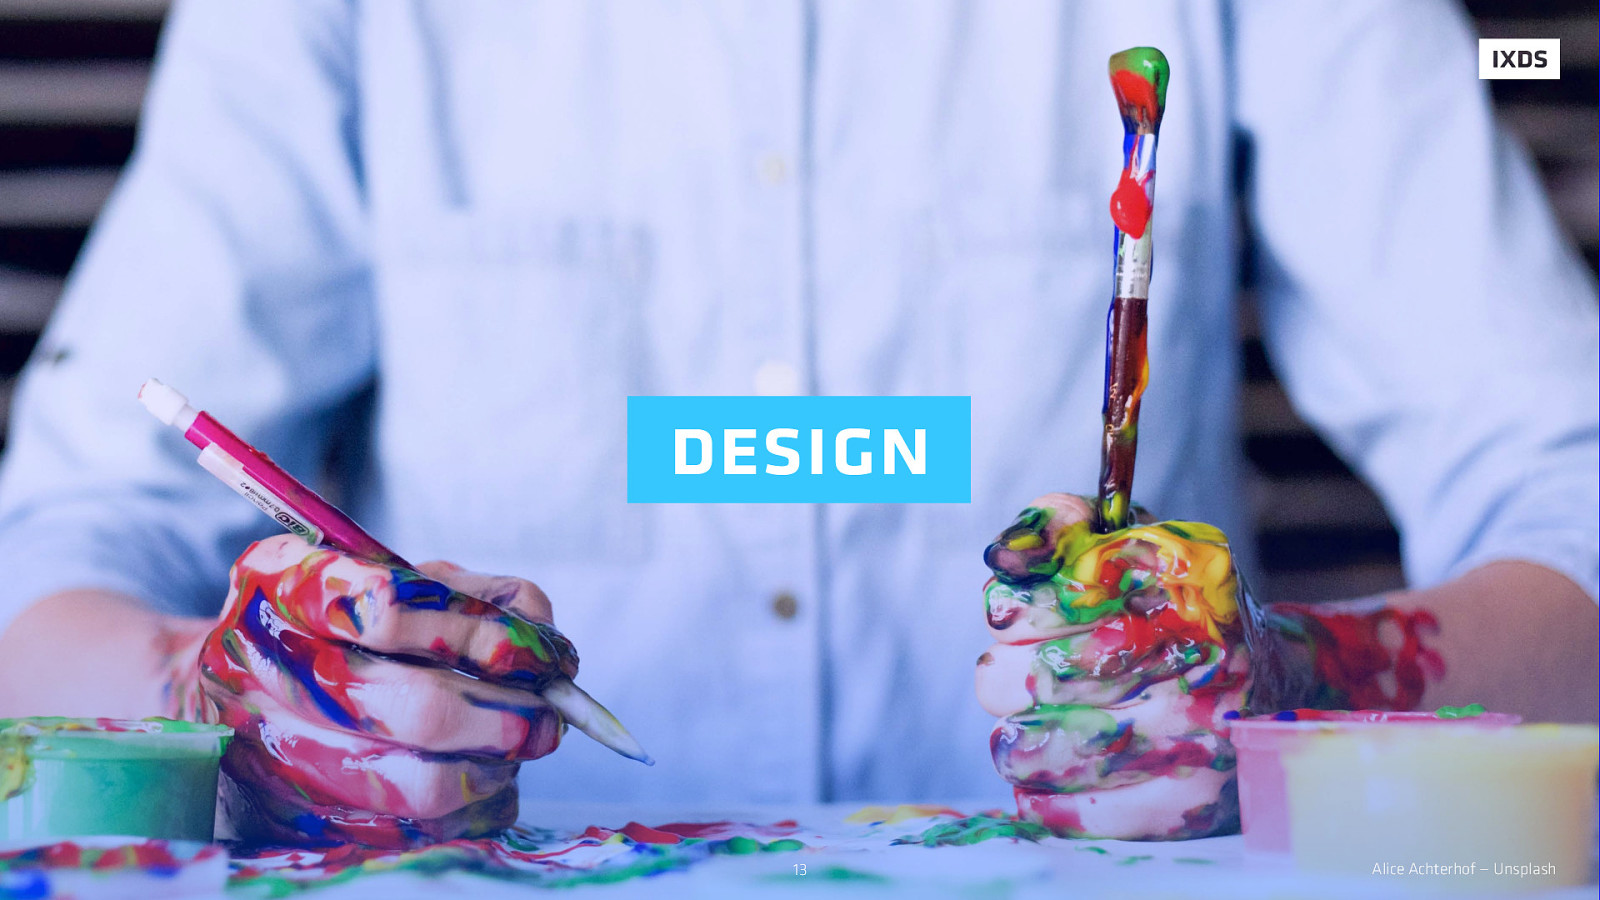
Design can mean several things. I will define what I mean in this context.
What is considered development in this context?
What is this broken workflow I’m talking about?
How to deal with this process?
The skill from design to development: Interface Design = UX / Interaction / Product / Digital.
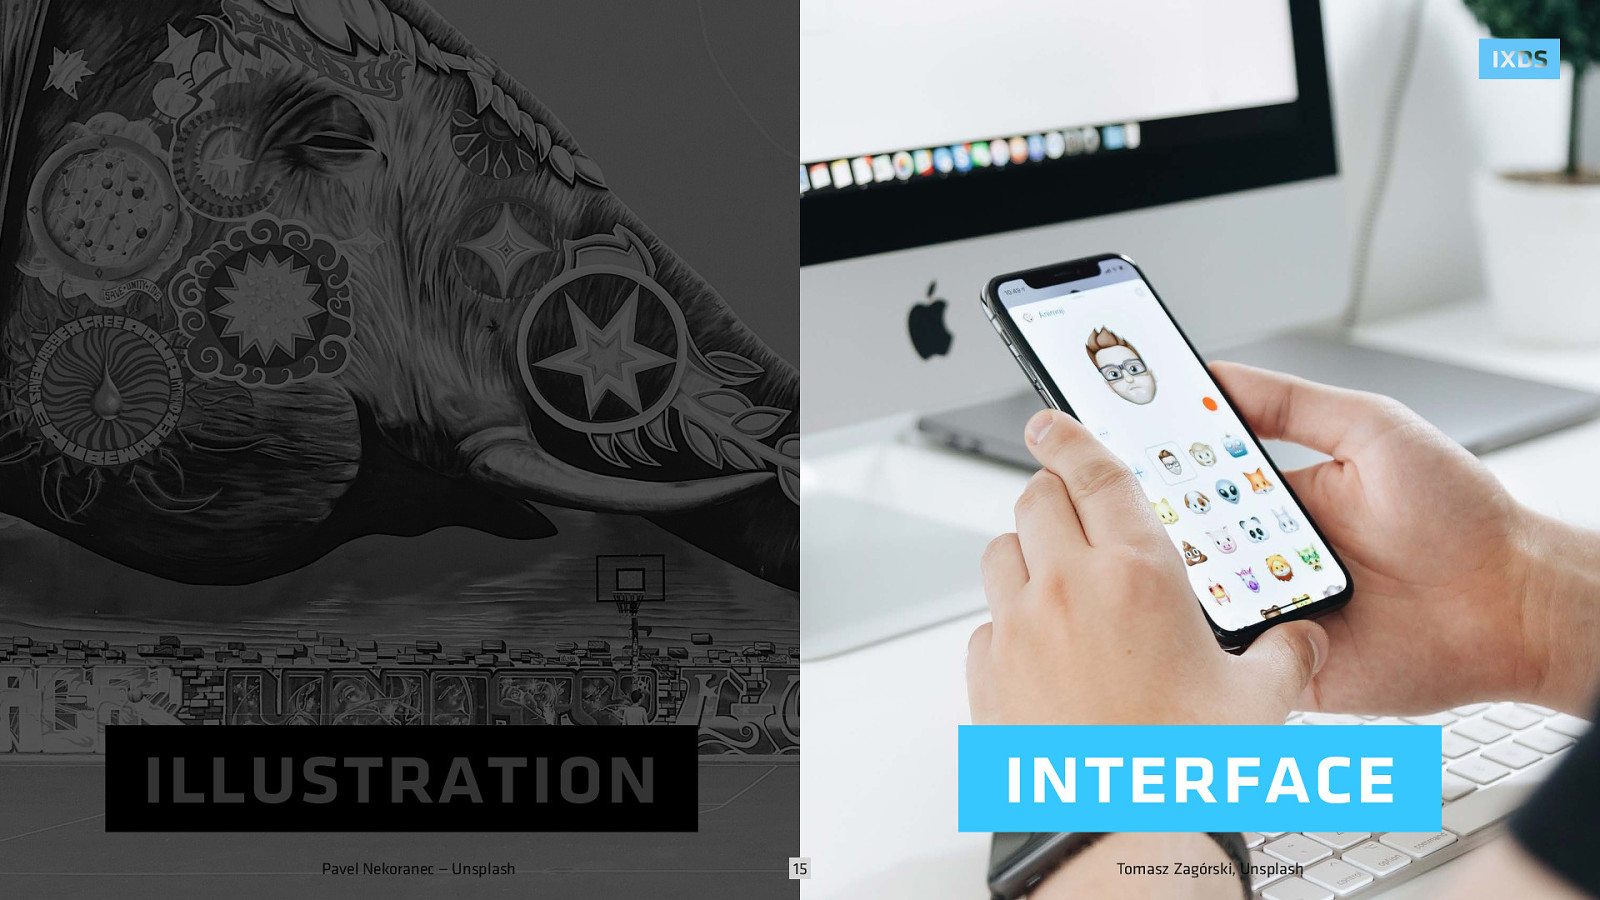
Scope: Distinguish between interface design and illustration. If you call yourself a UX designer, product designer, interaction designer, or something else where your output is meant to lead directly to the production of userfacing software, I’m putting your work in the bucket labeled “interface design”.
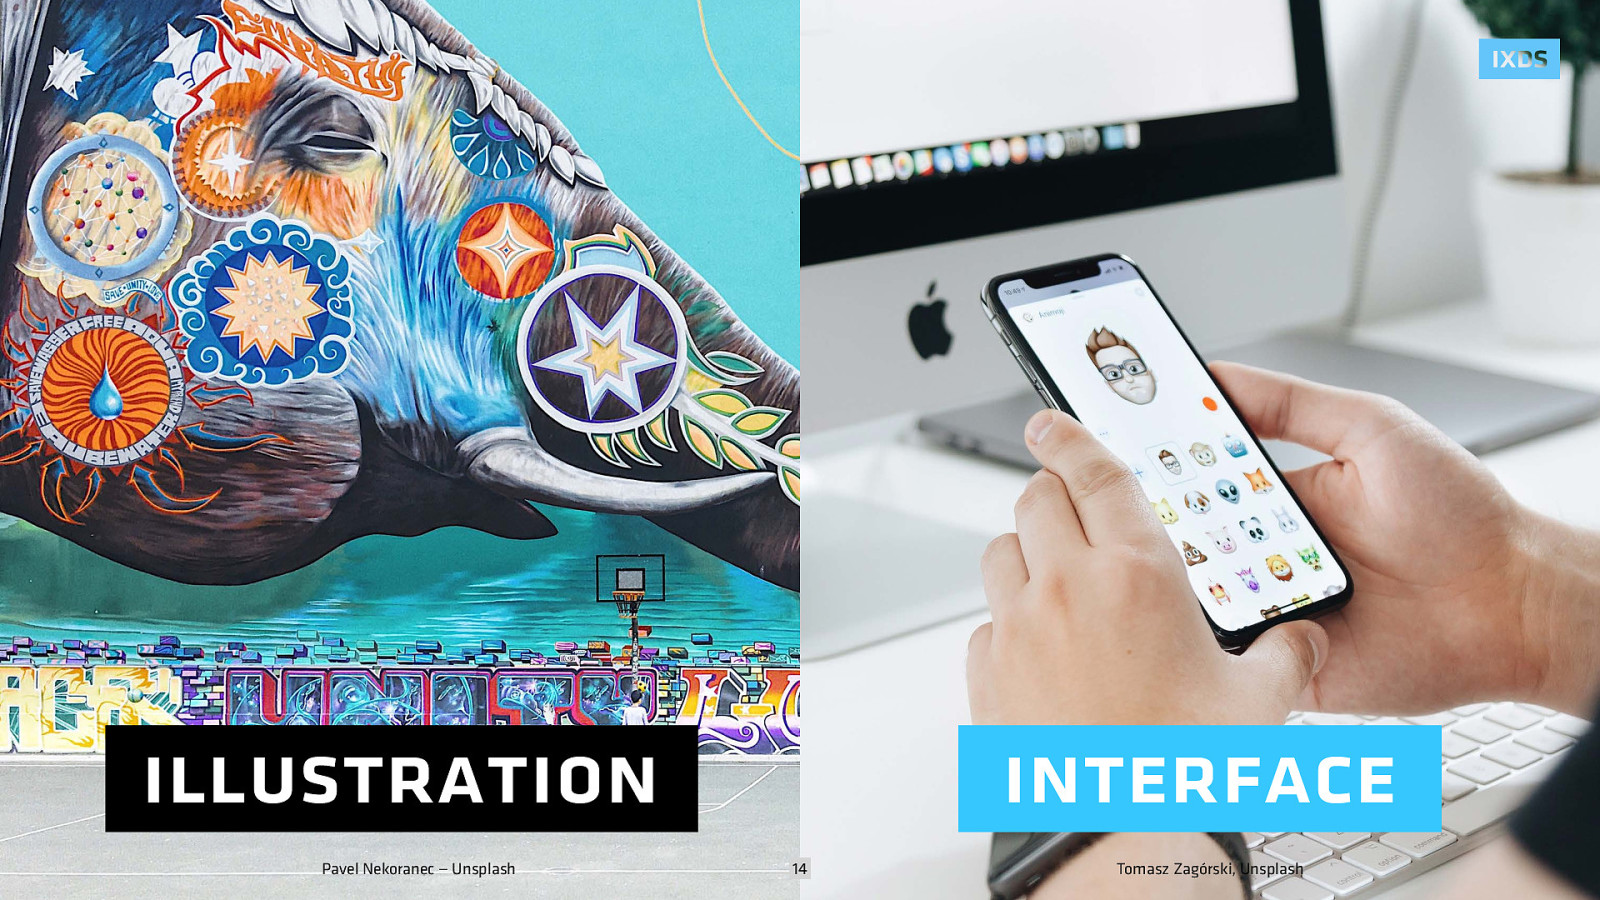
You can be in both ‘roles’. These are different working modes. It depends on type of output you produce. If the final product of your work is an image, icon, illustration, typeface, advertisements, print media, or some other visual communication medium without native interactivity, I’m putting that work in the “illustration” category.
Specifically the workflow with regards to interface design is broken.
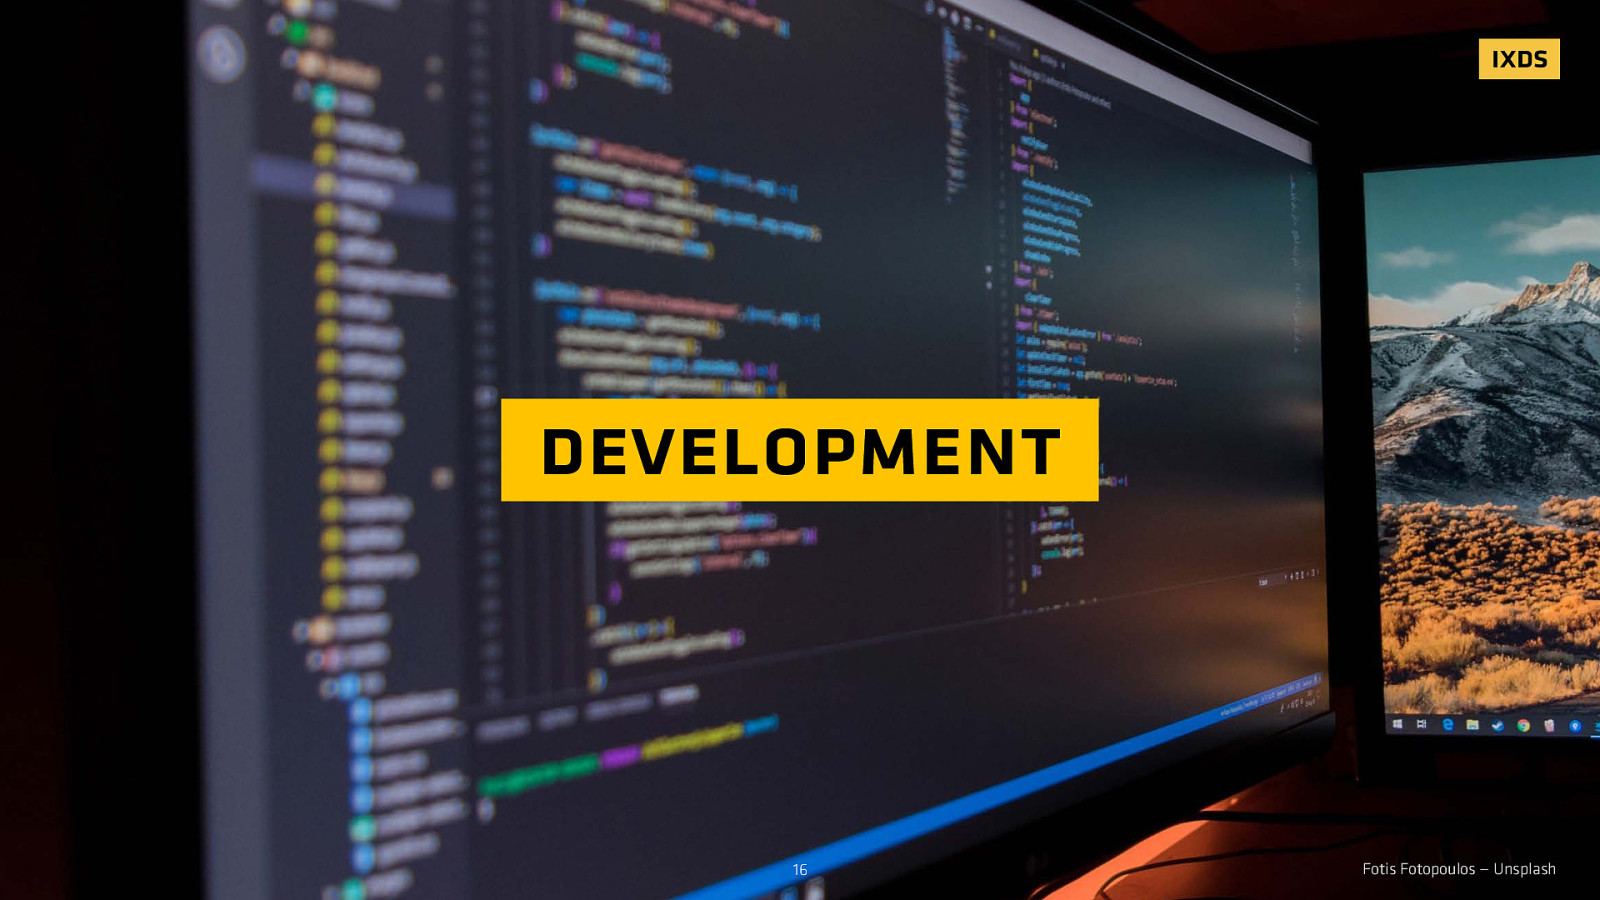
In this workflow, the development counterpart is responsible for the front-end: The user facing part of a product. These are the people on the team who interface designers would collaborate closest with.
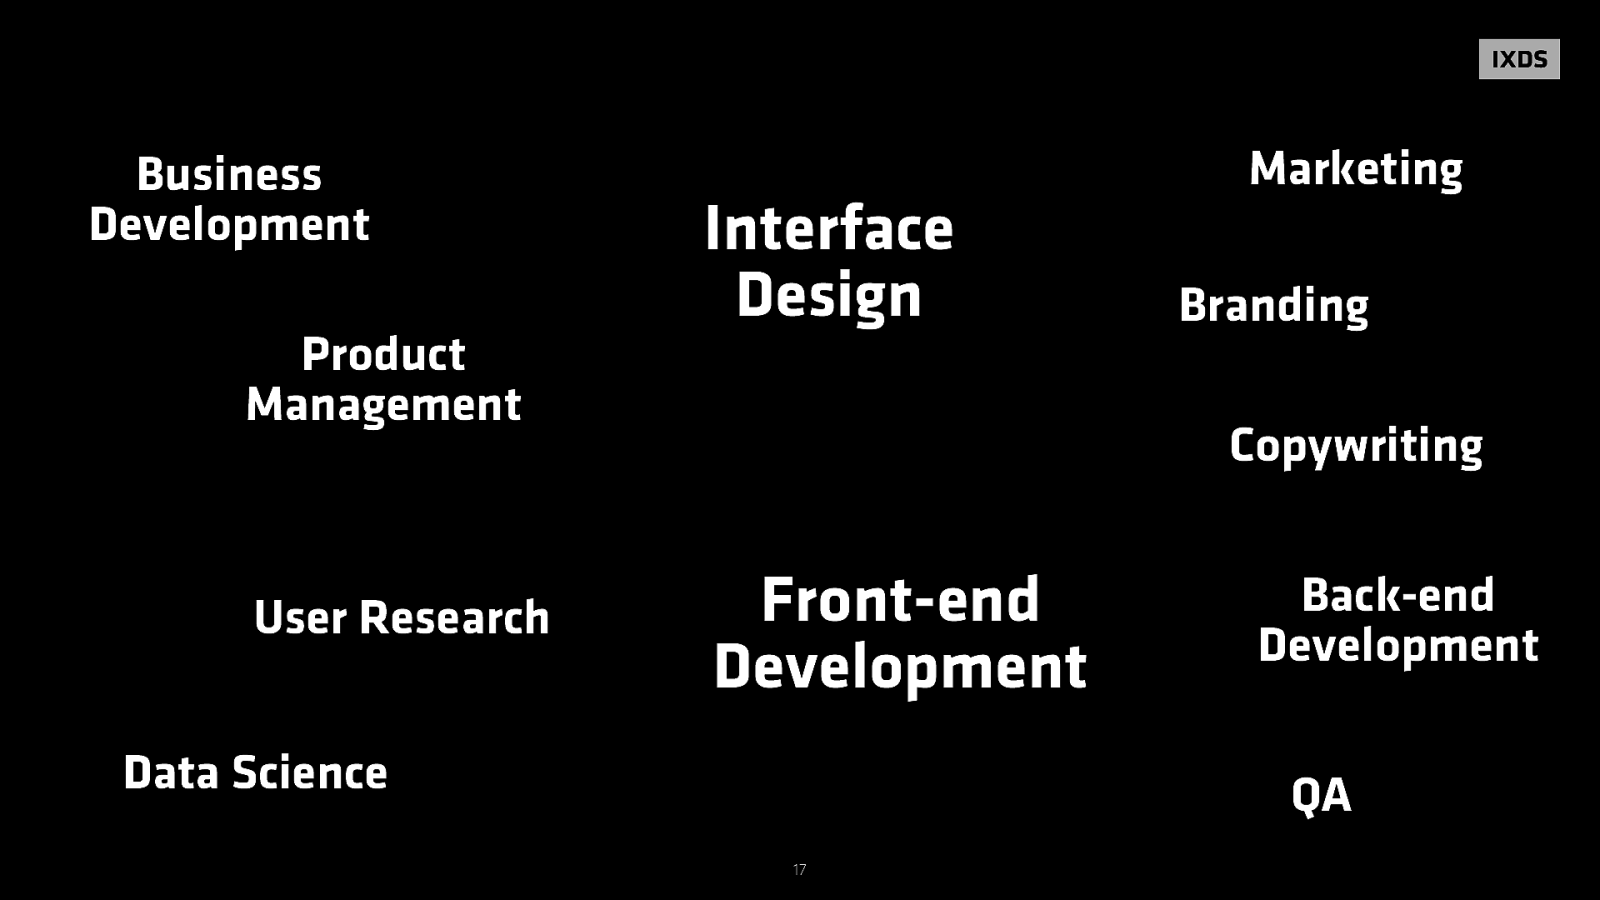
Looking at the bigger picture, these are typical roles/skills involved in digital product development. There can be many more roles, or different names for them.
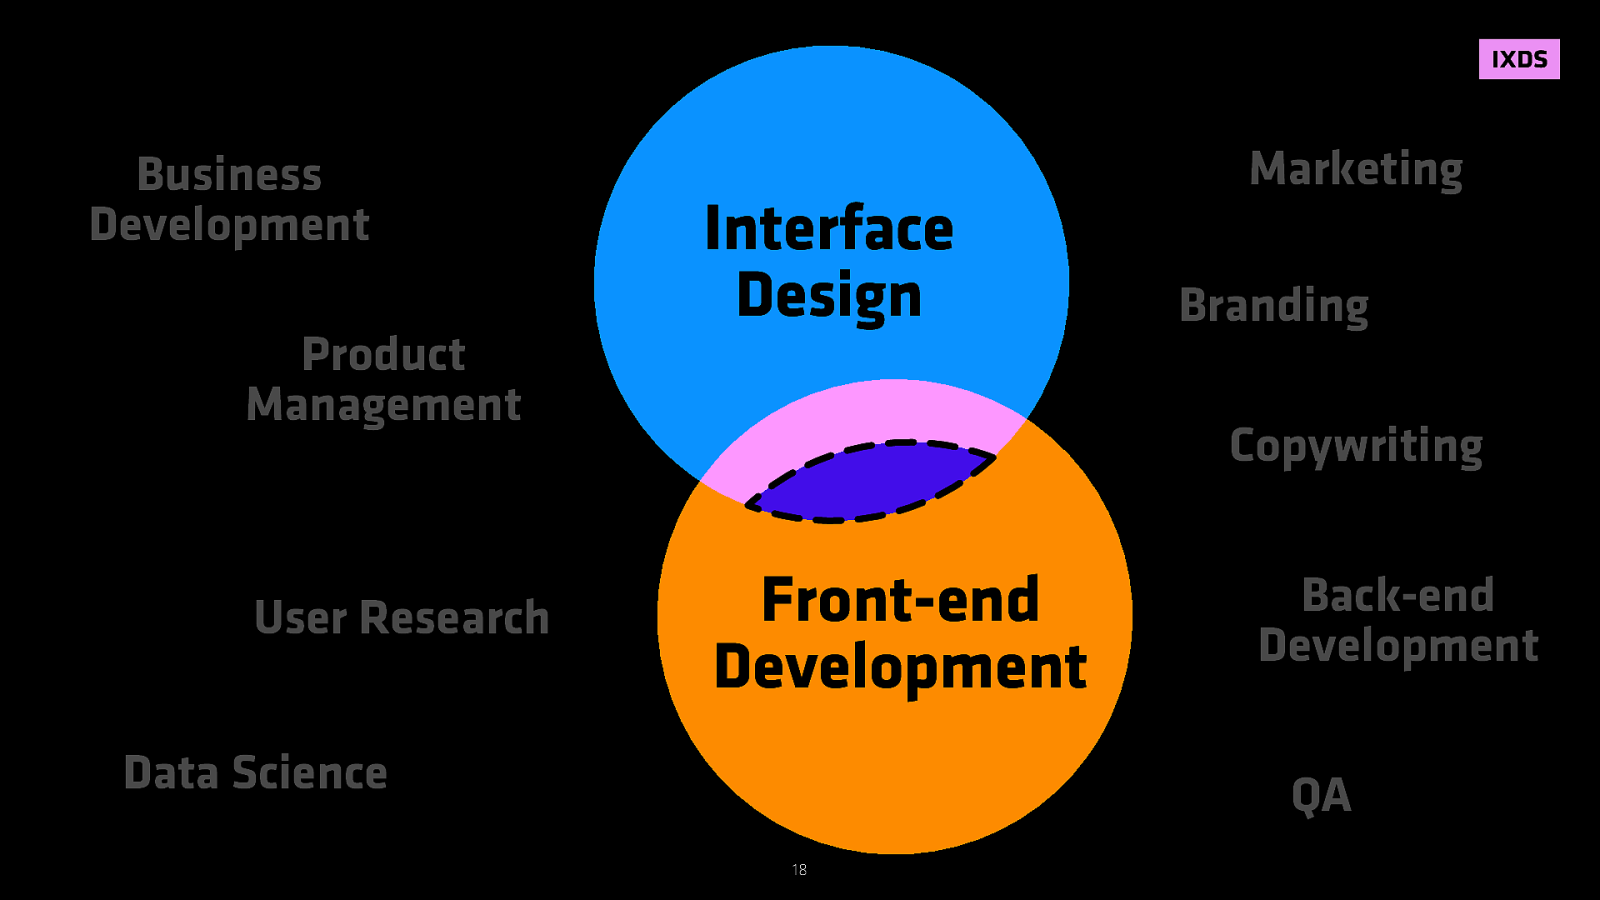
There is very much an overlap between Interface design and Frontend development. But, the current tools and processes don’t allow them to seamlessly work together. That’s the part of the broken workflow.
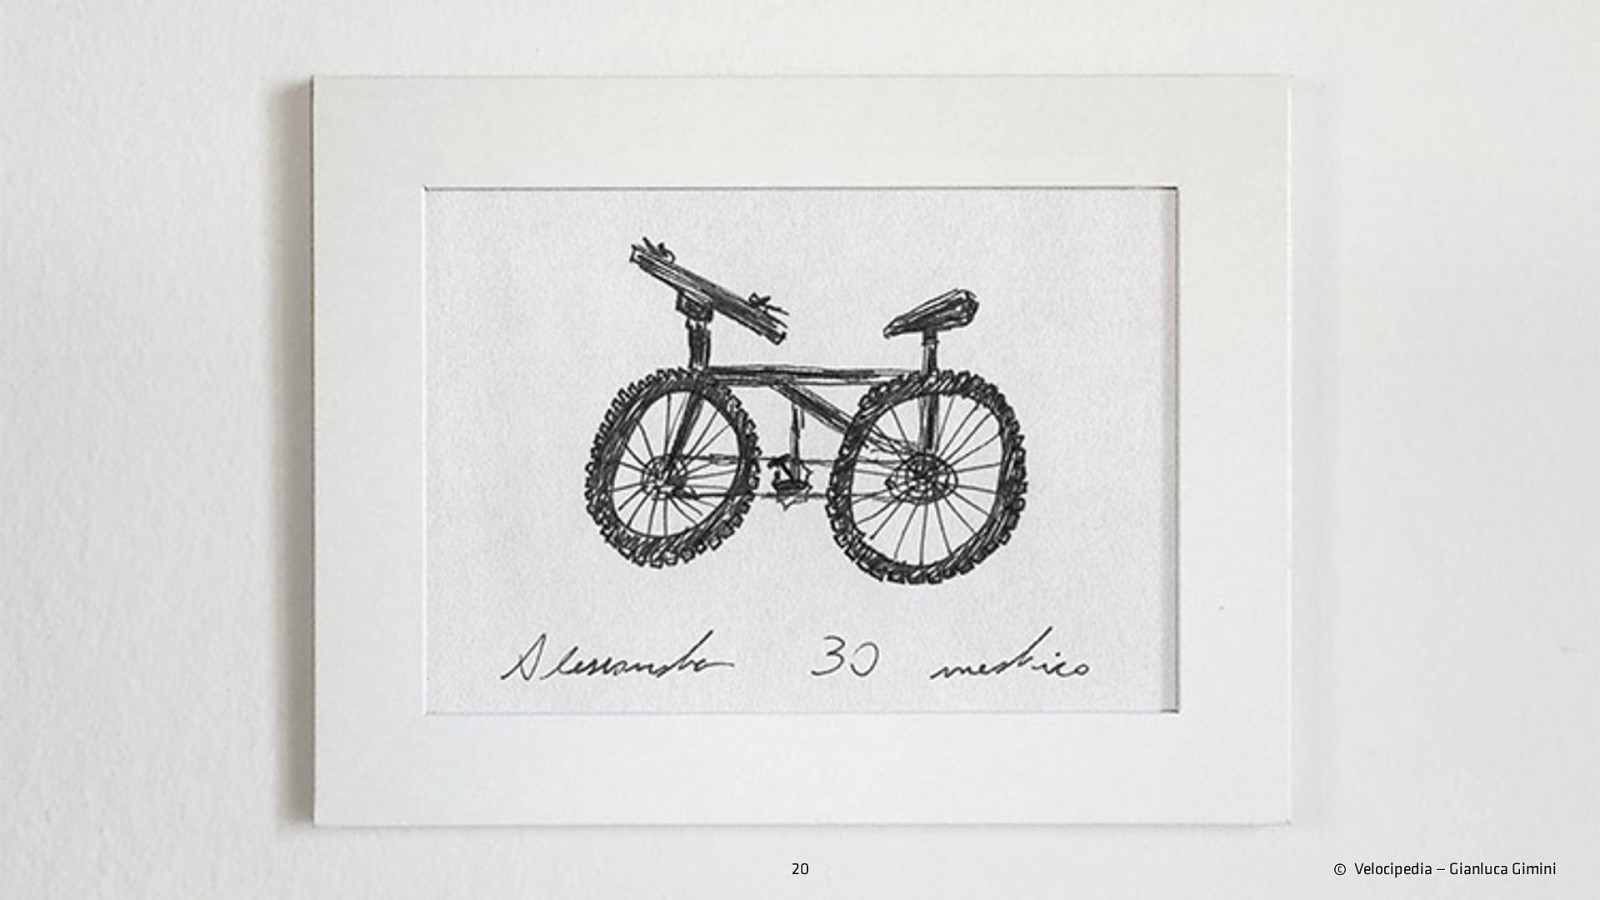
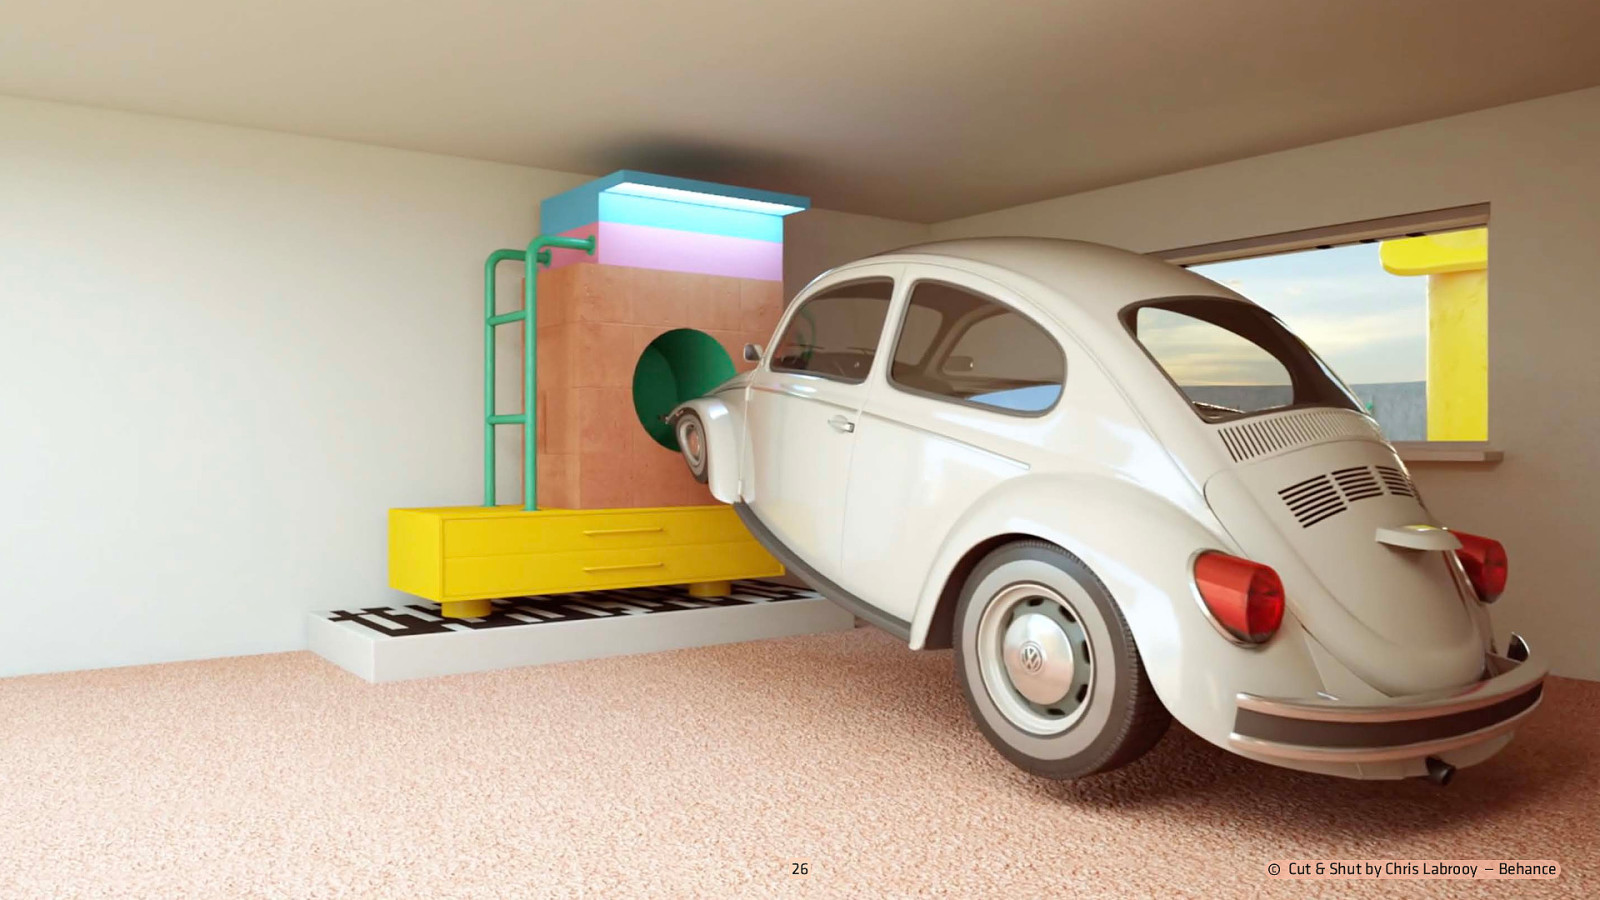
Velocipedia, a project by Italian designer Gianluca Gimini. Over the course of a couple of years, he asked people to draw a bike from memory. There were all sorts of funny results coming out of this. Taking this sketch to ‘production’ is tricky. Vital specification and context is left out in the design stage. Several things are left open to interpretation. Source:
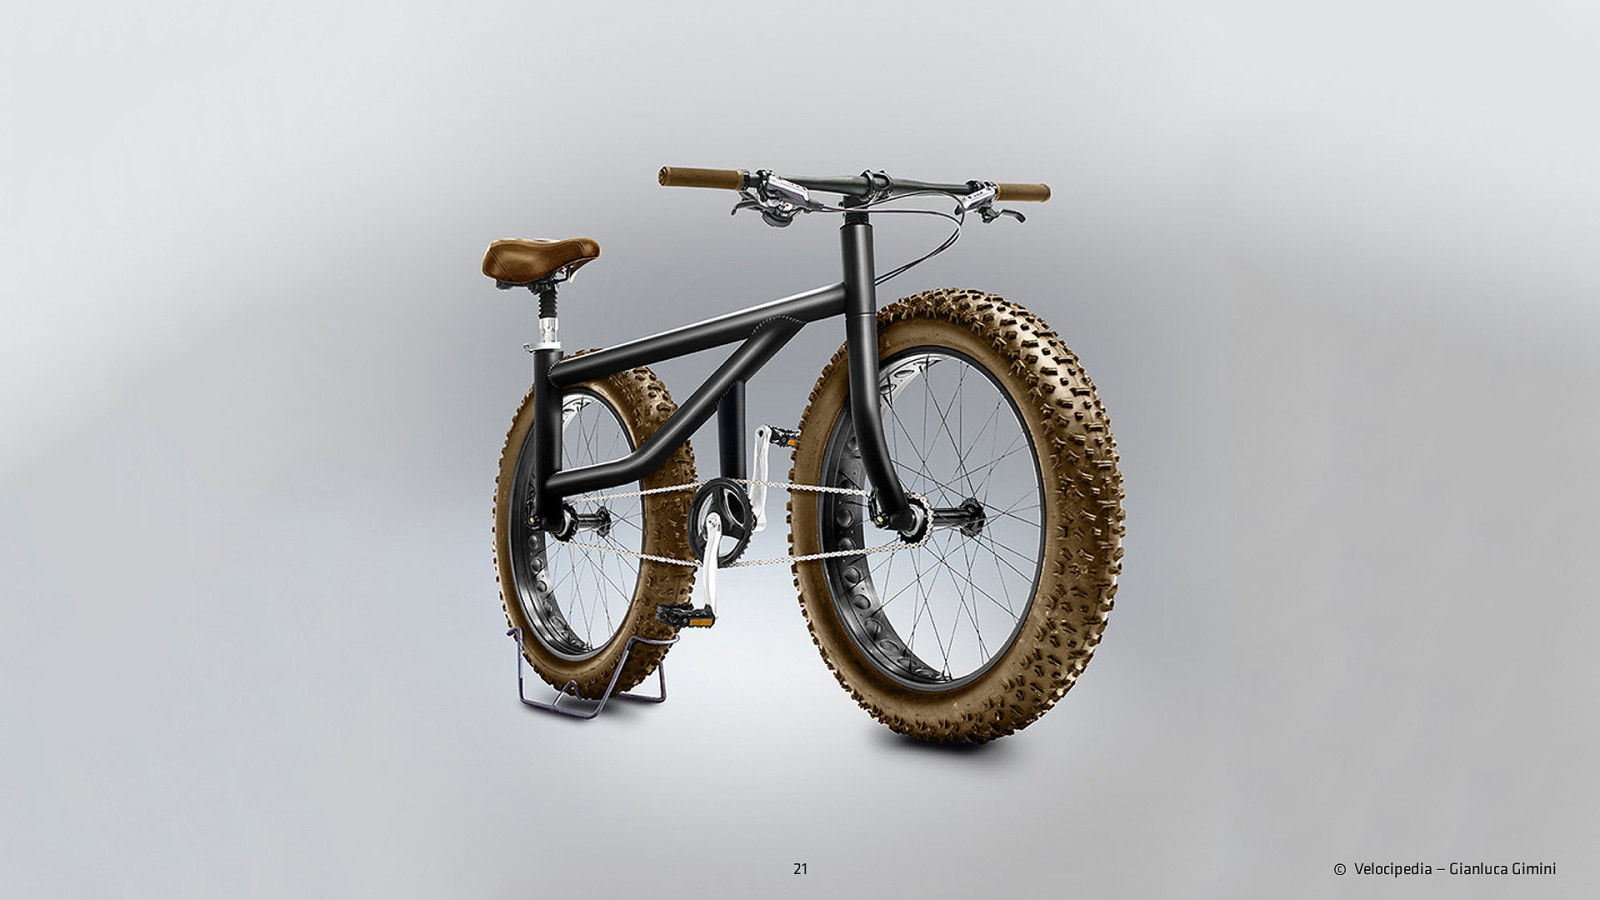
He then decided to make a render of the sketches. It looks really slick, I wanna ride it! But when you have a better look, it’s impossible to ride this thing. It’s a broken product. It's just a funny example, but it illustrates the limitations of taking a static ‘design’ and making a product out of it. This is a metaphor that visualizes how it works currently in Design to Development.
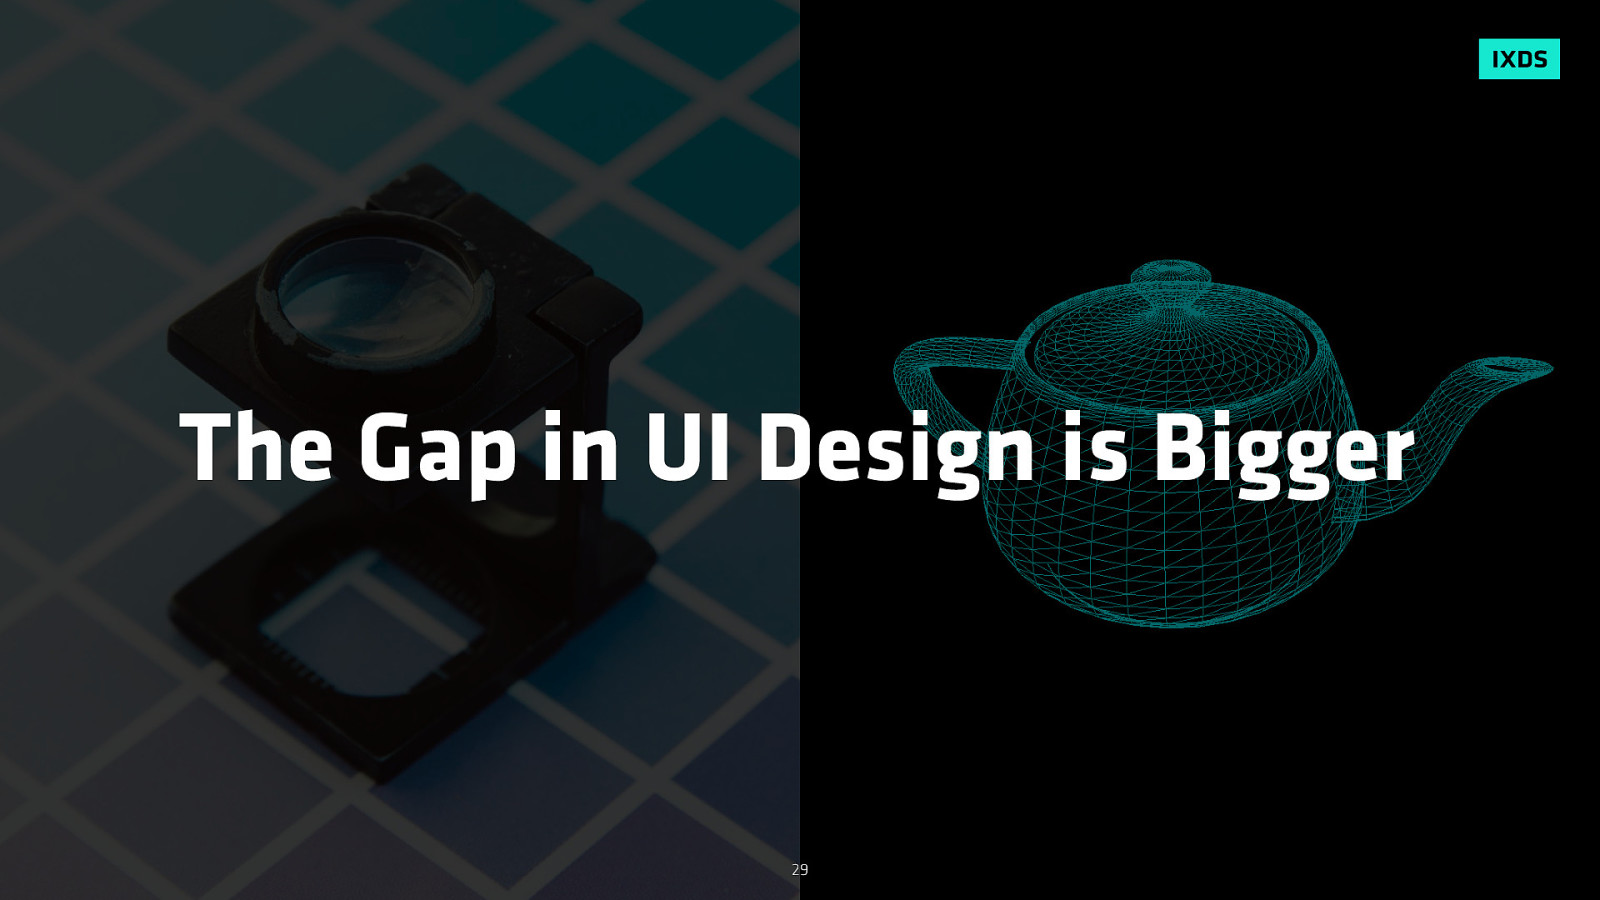
Now, drawing a parallel to 3d modeling. An industry with a workflow that can be compared to interface design.
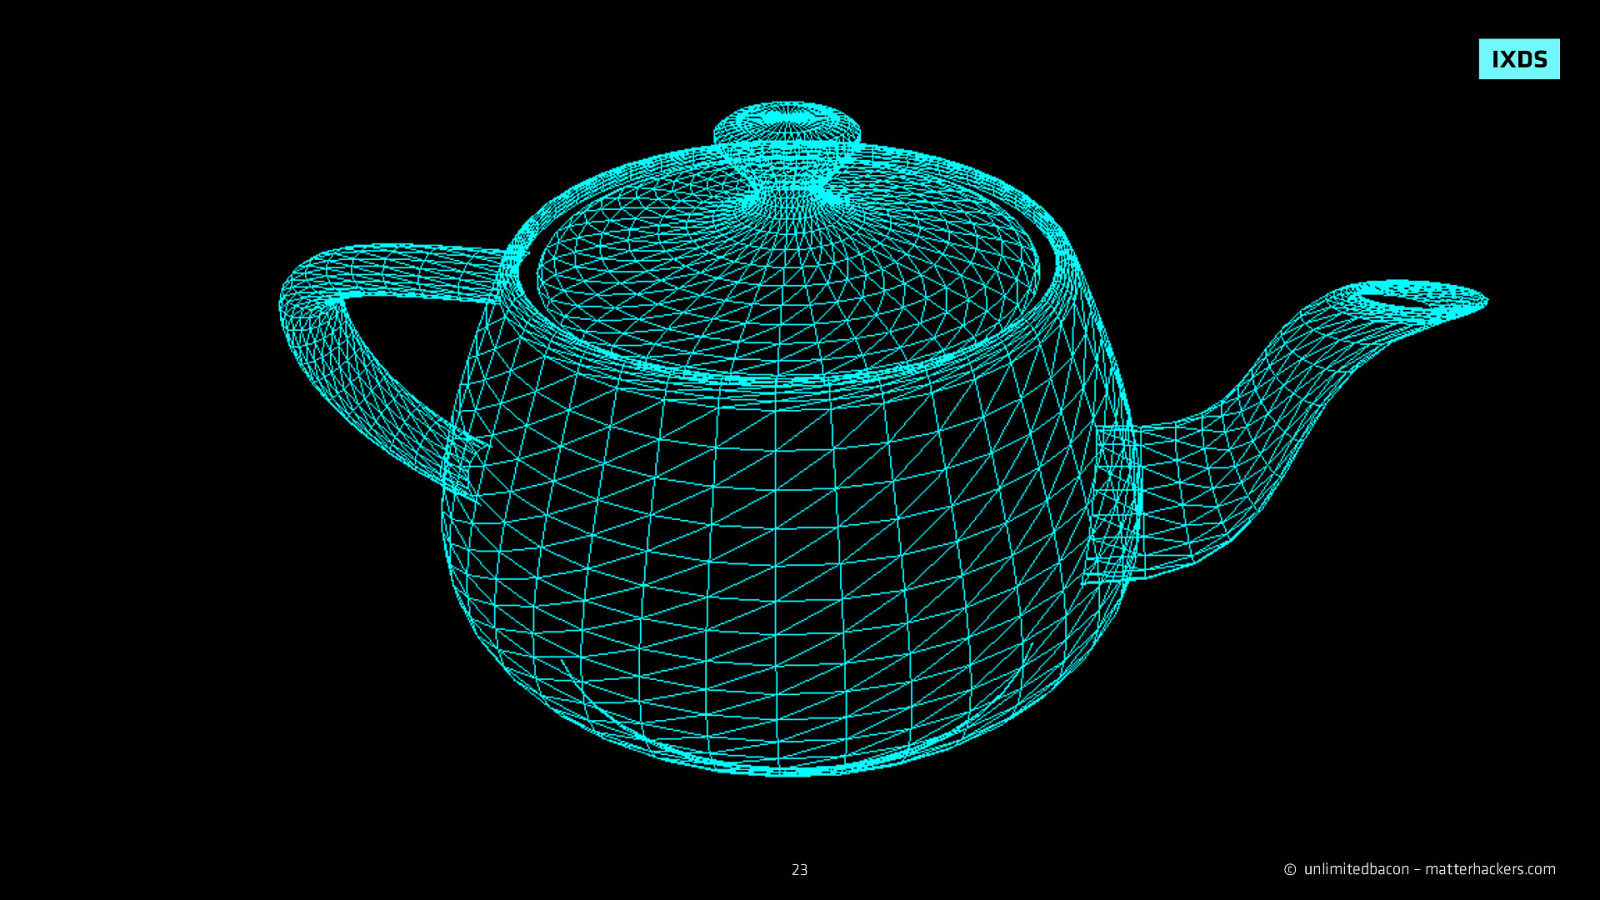
A 3D Designer fully considers the type of output while designing a model. They know the medium: Structure of vertices, Connected modified shapes. When printing: Type of plastic material used, Physical constraints, thickness of material, Capabilities of the printer, like speed and accuracy, etc.
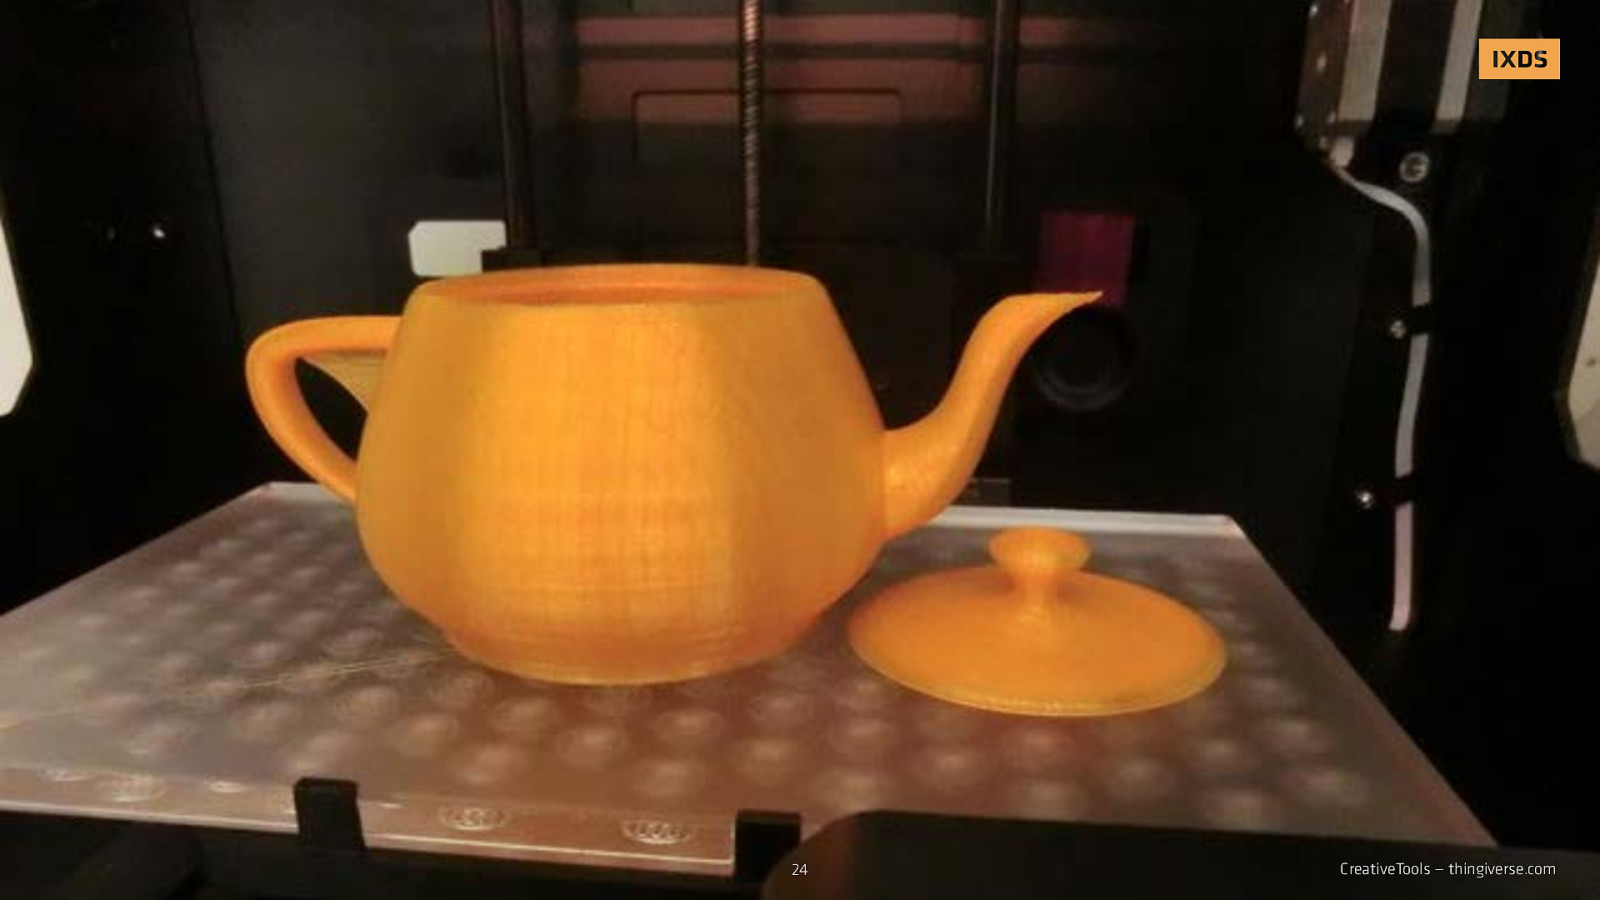
A 3d model is build up layer for layer. There's a direct translation from the software to the printed product. You send your model as an .stl file, the printer prints it. You as a designer control the process. Teapot is built from plastic, and is exactly what you designed on screen. In UI design there’s a difference, from what you design on screen to the product in the App Store, it's simply not what you designed in vectors.
When the output is not physical, but a virtual world or animation, you have no physical constraints. We don’t have this luxury in UI design, because we don’t control how our design Is used and how it appears in the eventual product, as there are several steps in between before it's published to an App Store.
Highlighting the morphing possibilities of a 3d object in a virtual world.
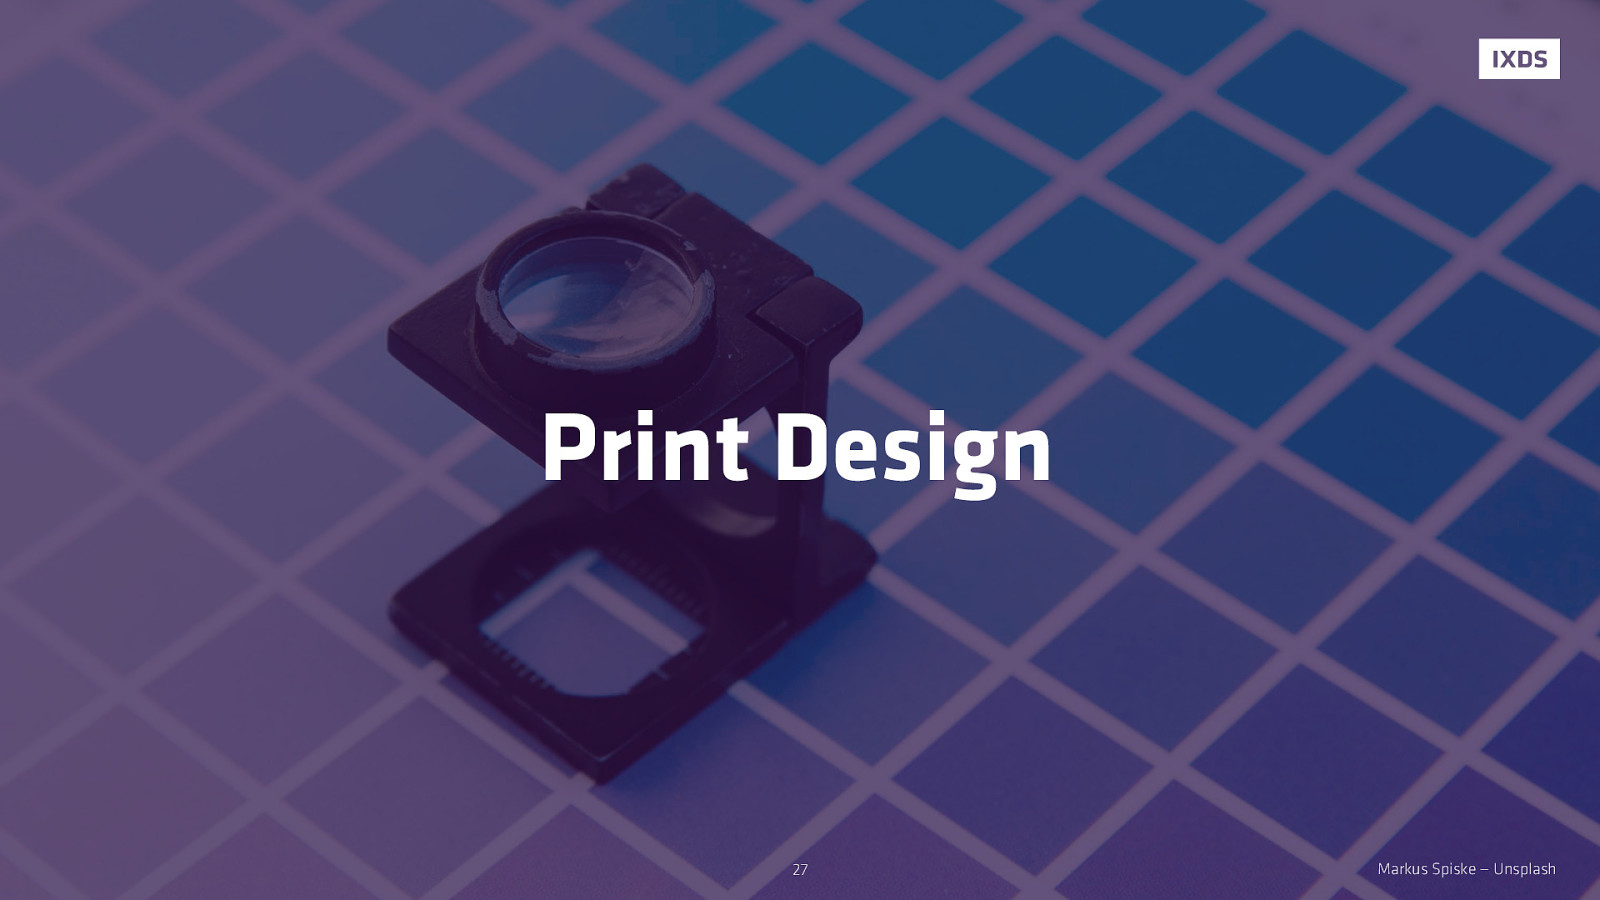
We can also draw a parallel to Print design.
This 1:1 translation from design to product, is also more the case in print design. As a print designer you need to know the paper weight andthickness, if it’s glossy or matte, color theory, light on dark has a different effect as dark on light as the ink bleeds out. Want a poster with ink printed to the edges of the paper? You need to cut it. Your design then needs crop marks. You need to fully understand your output medium, in order to deliver high quality results. Remember that distinguishing between interface & illustration? Here's where things go wrong with our interface design workflow.
We don’t have this luxury in UI design. Technology is complex and we cannot fully control all facets of how our design is implemented and used. There’s a bigger gap between the tool and the intended output.
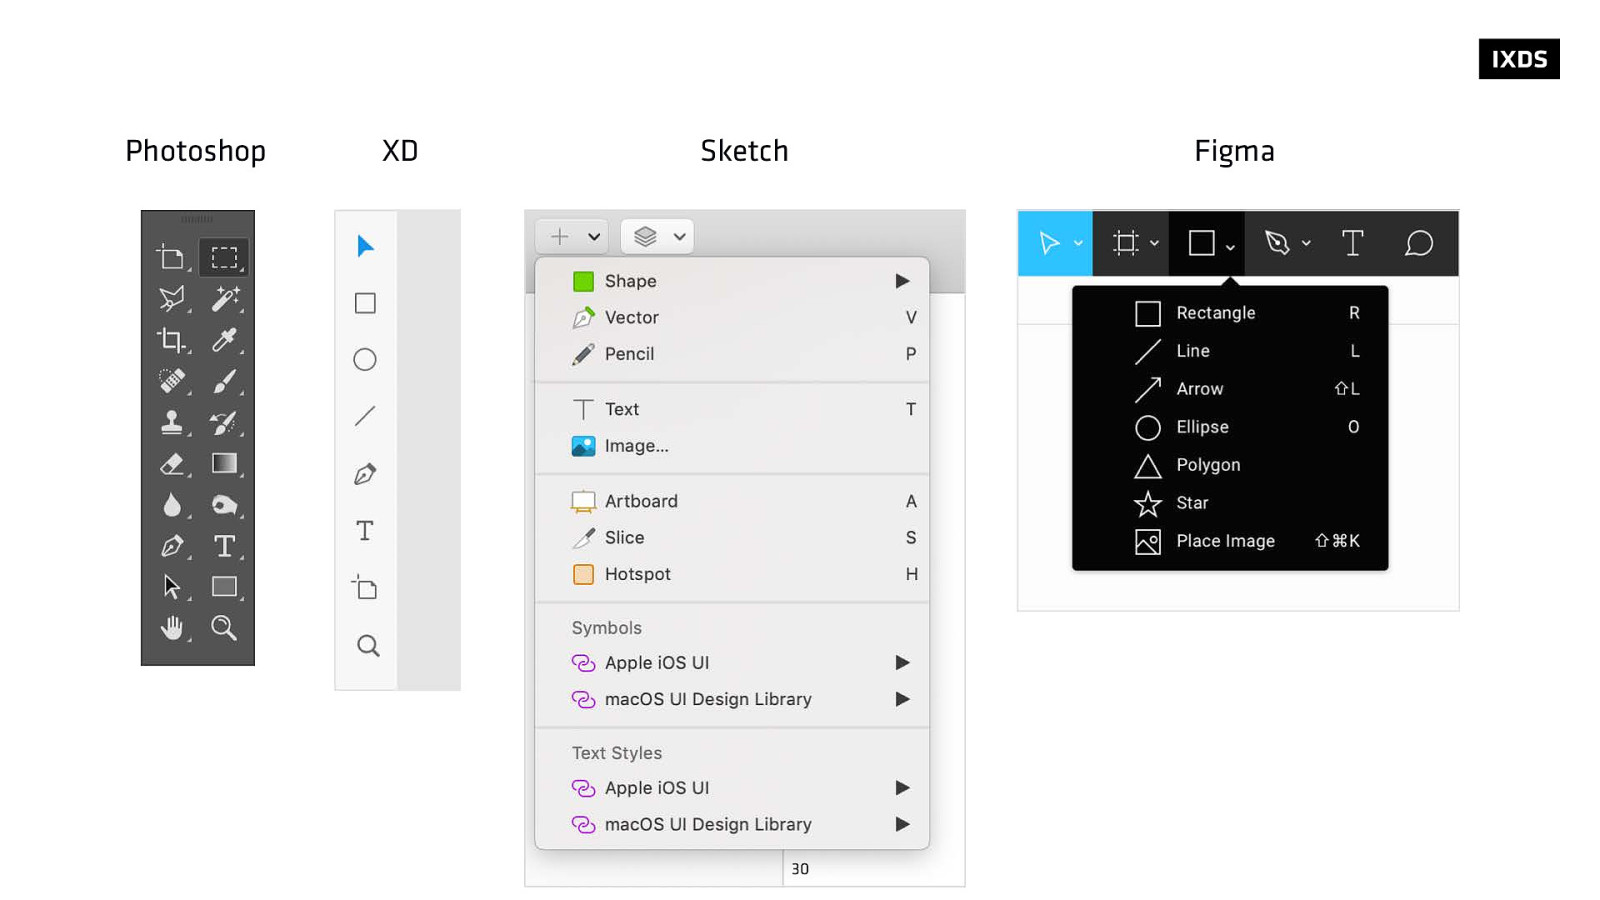
Photoshop, Adobe XD, Sketch, Figma, they all are built around an illustration paradigm. You draw boxes, lines, add images et.c
Showcase moving layers and making the point that it’s ‘pushing pixels’ and doesn’t make sense in the eventual development context Takeaway: Understand the platform you’re designing for.
It's not a bad thing. These tools are great for Direct manipulation, Communication with little friction, and Simple prototyping and testing.
An artboard ≠ The Screen: layout is not fluid Content influences design It misses user input No sense of state, or error handling Rendering of e.g. typography is different in many different platforms.
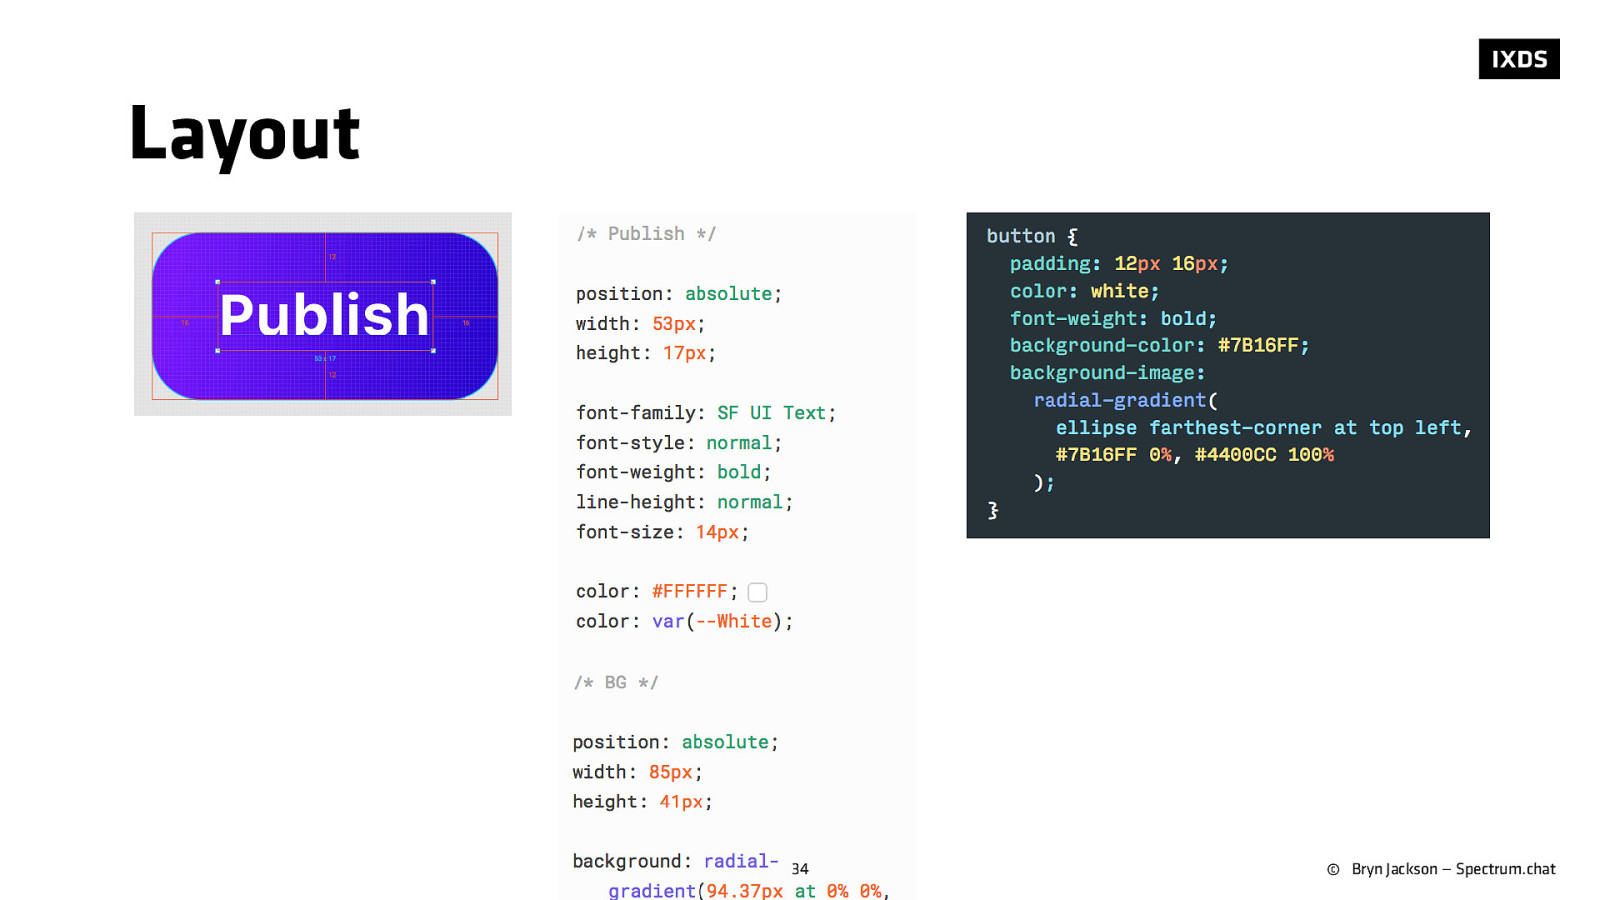
If we look how a designed button is structure in a design tool, it's group with a rectangle and a text layer. The rectangle has a width, height, position, background color, and a border radius. The CSS code it exports is far from what a developer would use. In Code, you don't define a fixed width and height. You define e.g. a padding for the text label, and that's how the button resizes fluidly. There's also no fixed position, as it should be able to be placed anywhere you like.
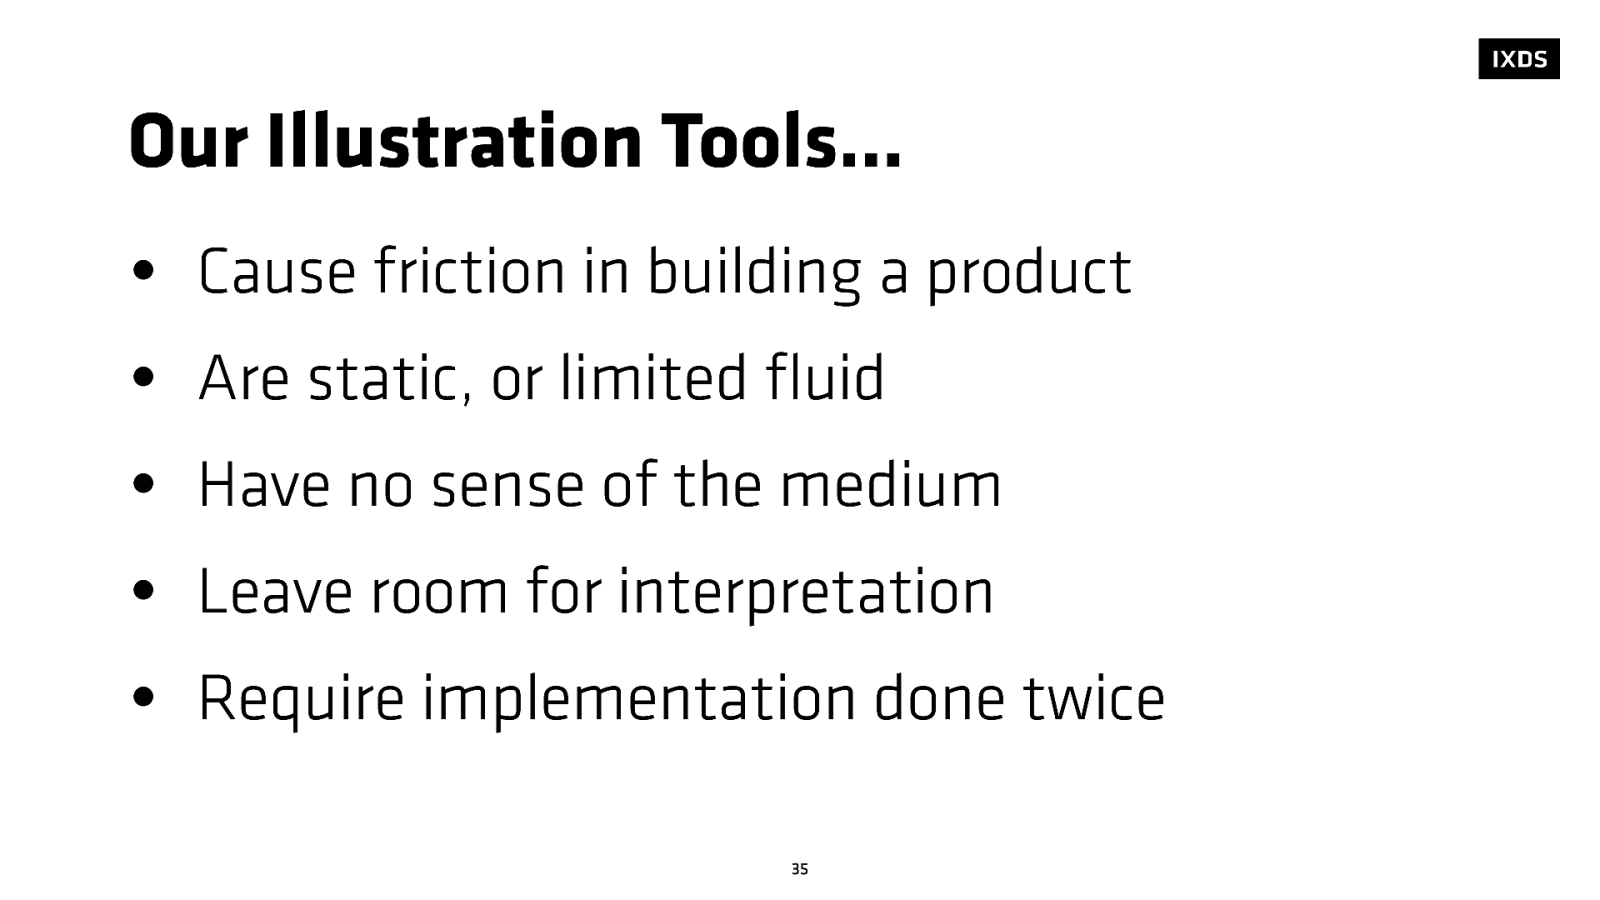
Our Illustration Tools: Cause friction in building a product Are producing static screens, or limited fluid They have no sense of the output medium They leave room for interpretation Often require implementation done twice. The developer copies the styles the designer defined.
If we get the workflow right, we can care more about important topics such as accessibility.
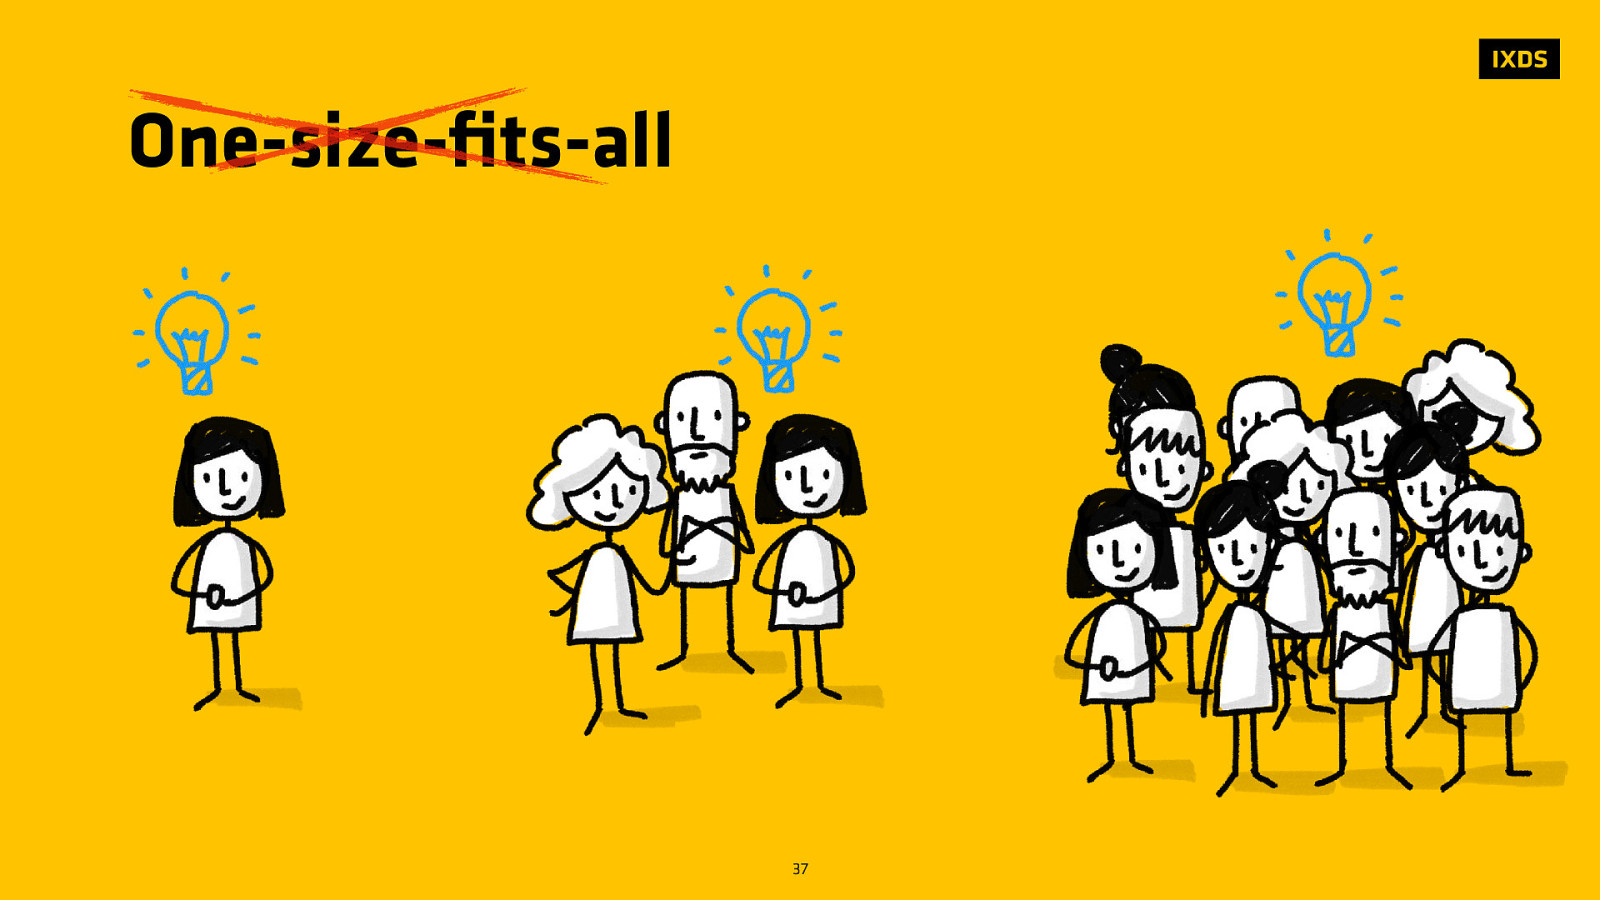
There is unfortunately no one-size-fits-all solution. Because every situation is vastly different. You can be a solo designer, working on 1 mobile app. You can be a small team (3–5 designers) working on several touchpoint for your products. You can be in a big team in a siloed department (20+ designers) and work on an ecosystem of products across software and hardware, including gestural interfaces, voice input, sensors, or physical input. You can also have any combination of aforementioned situations.
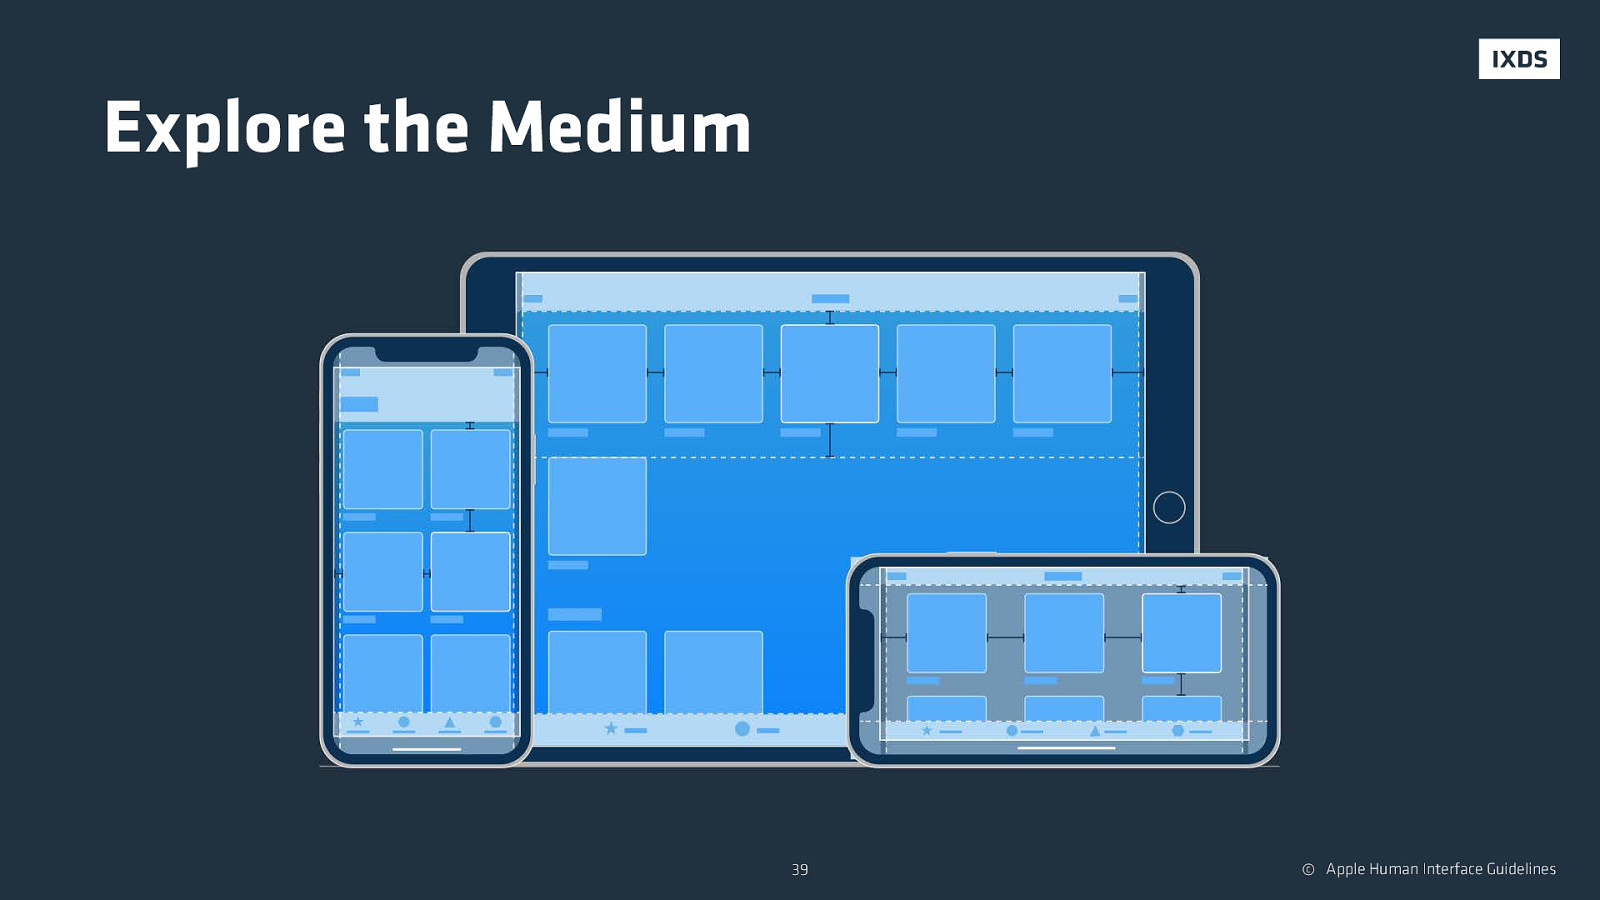
Explore the platform you're designing for in full. dive into the Human Interface Guidelines from Apple if you're making a product for their ecosystem, and learn all about the different interaction patterns. But don't stop there, use the products, get to know the variety of devices your product should work on, what their technical capabilities or limitations are, etc.
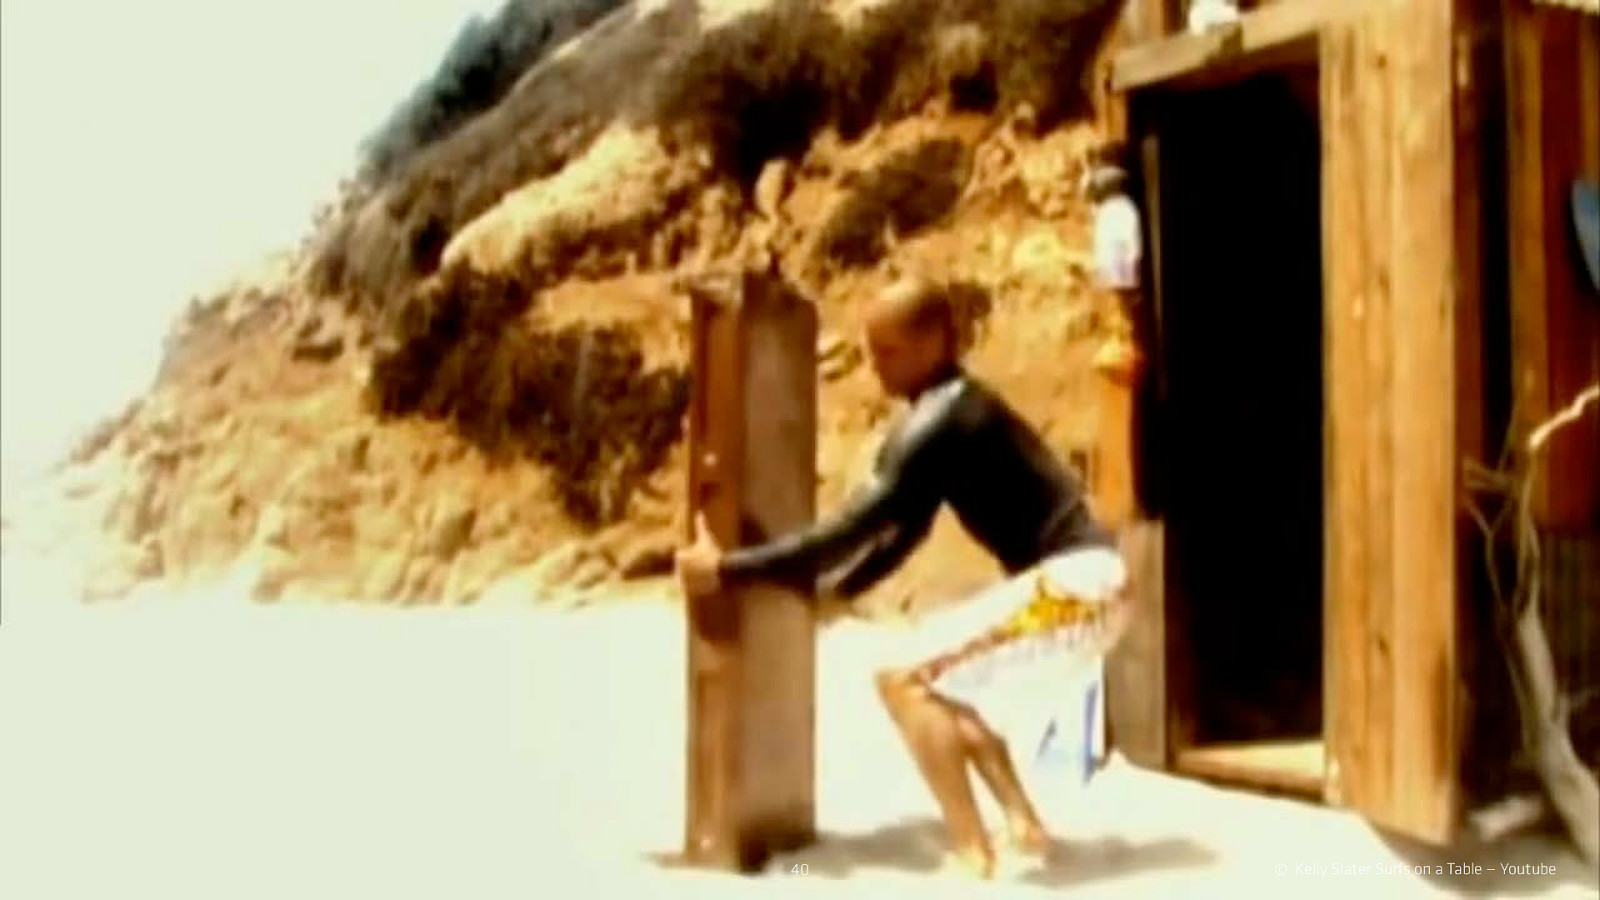
Another thing is tools. Here is Kelly Slater, 11 times World Surf League Champion. Here he surfs on a table in the ocean. This can be a metaphor for using design tools. There’s no point in learning the latest and greatest fancy design tools. You need to understand the underlying process of what makes sense and what doesn't. If surfing can be done on a table, you can design with illustration tools. However, it’s not the best for winning championship.
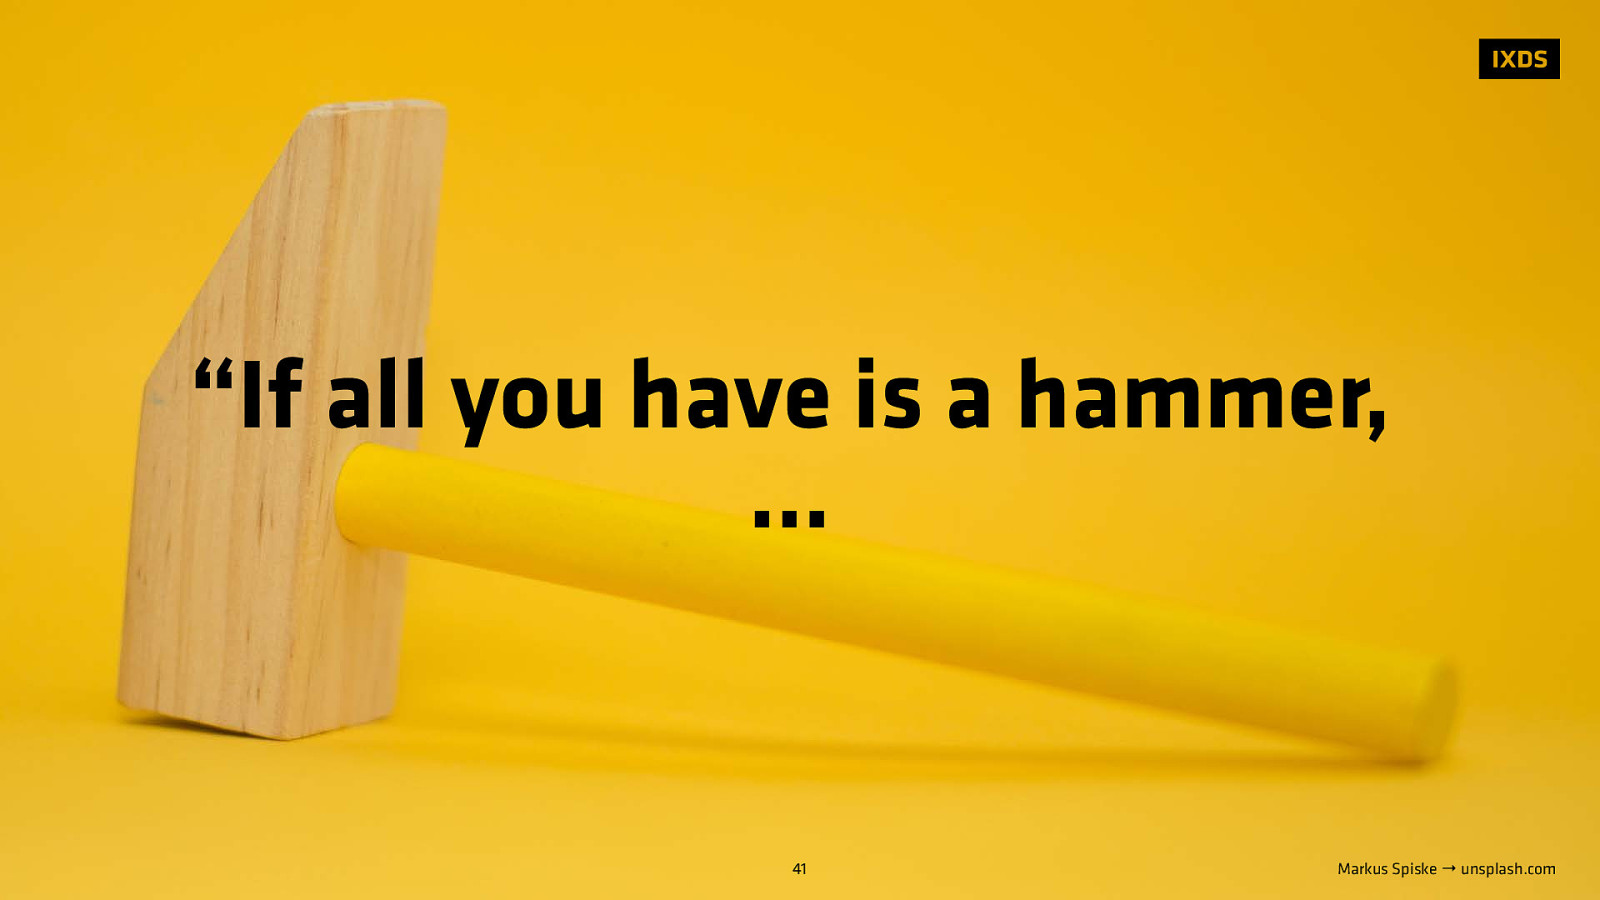
If you limit your set of tools, you also limit your approach to come up with good solutions.
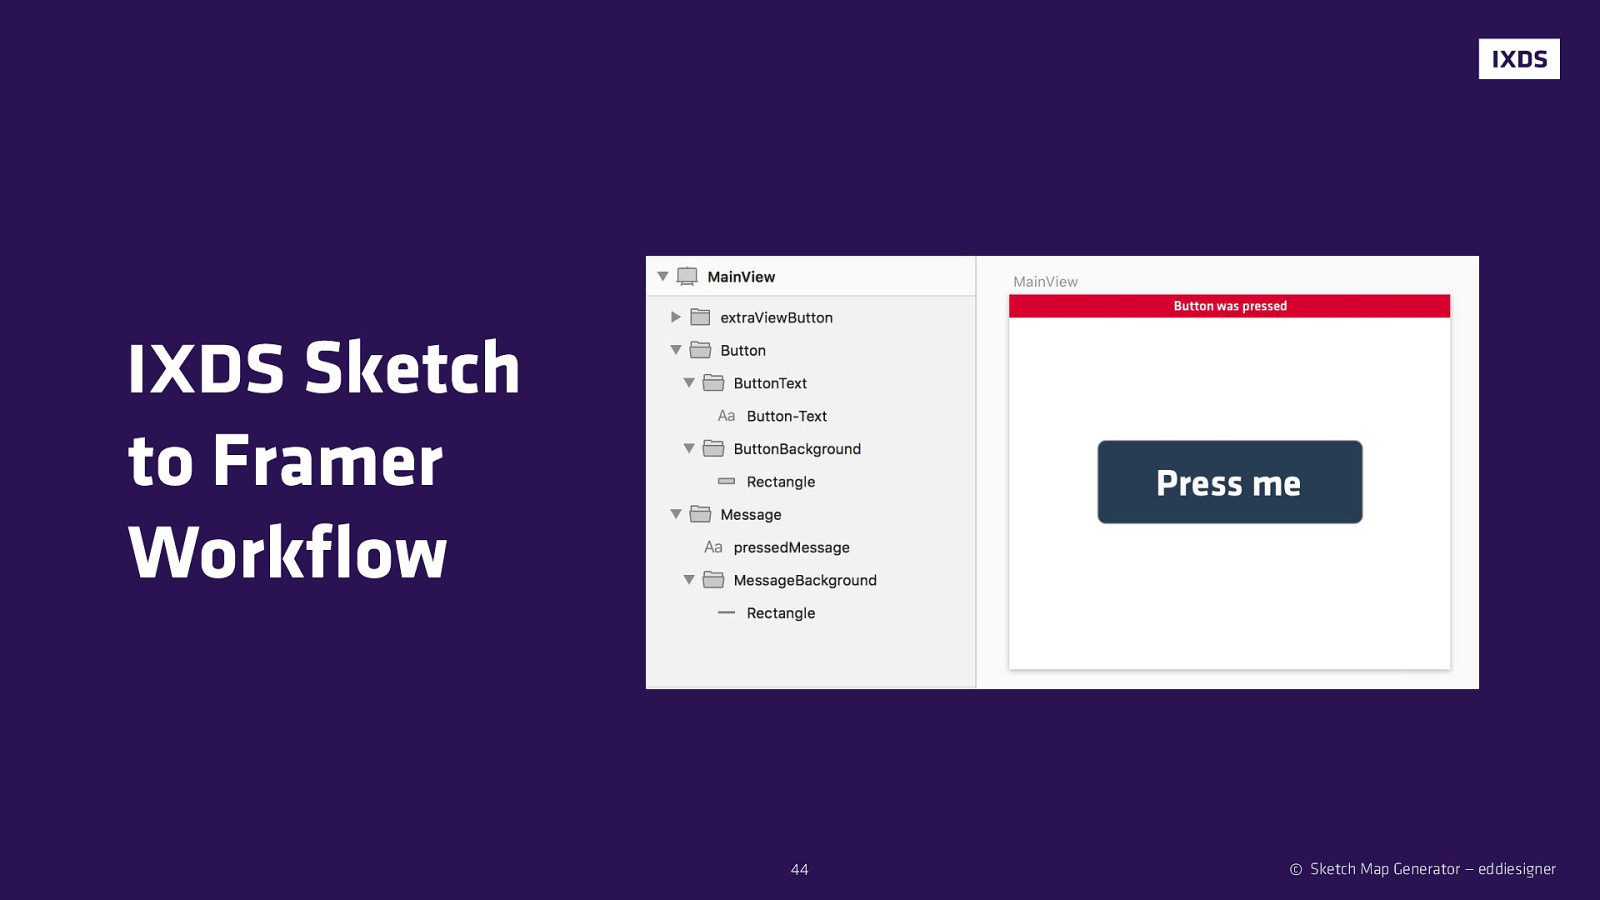
A 1:1 pipeline for going from Sketch to Framer. This is a workflow where there is no handover! Design changes over time don’t affect the logic of the flow. We built our own micro component-based framework that our engineers are comfortable with, and paired it with state management using Redux. It’s simple enough that many of our designers now happily program with it and use redux day to day.
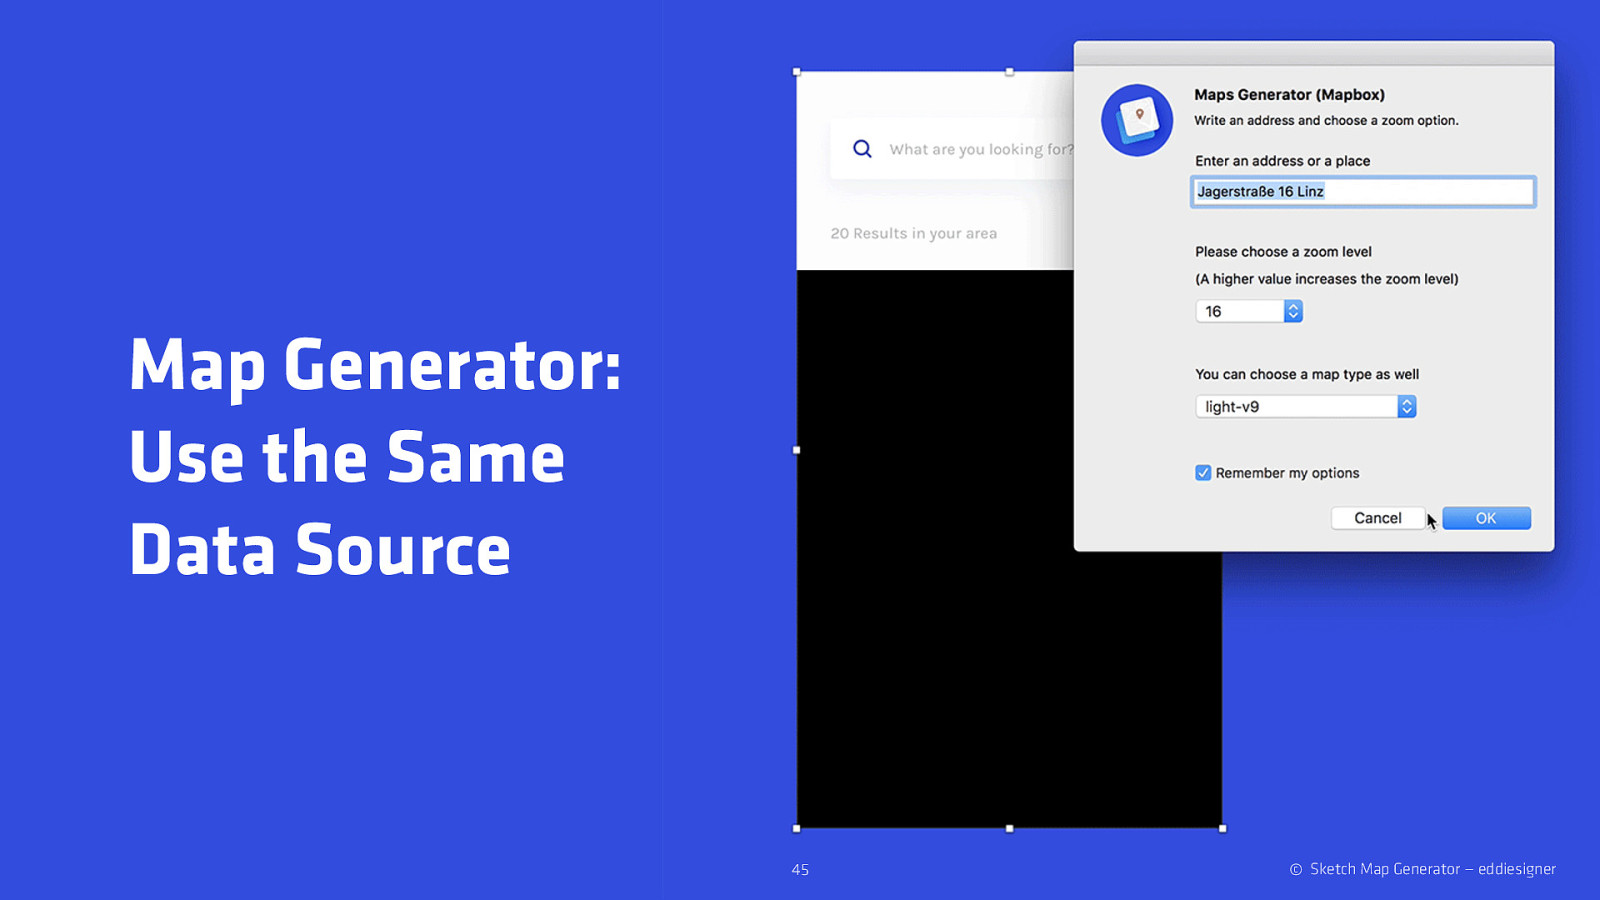
This plugin generates a map image using the Google Maps or Mapbox API. This is nice because now design and development use the same data source, bringing the two worlds closer together.
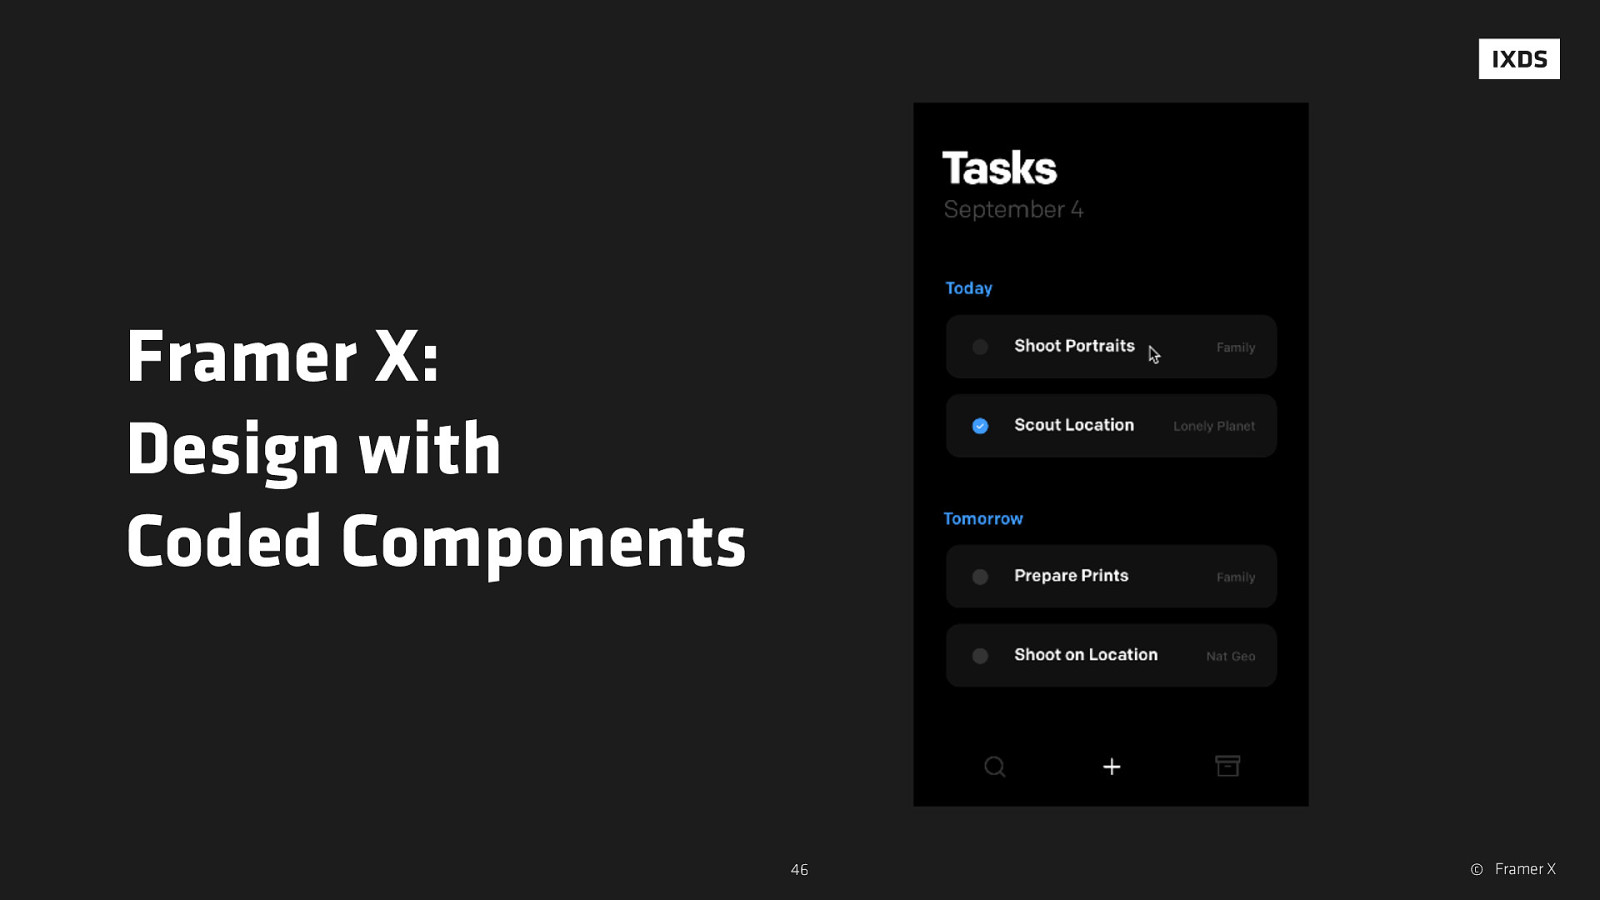
Taking it a step further, is using interactive coded React components in your design using Framer X or one if its contenders. Framer has a built-in layout system that allows designers to visually manipulate layers in stacks, which work similar to Flexbox on web. So, there's no positioning, or drawing the size of an element. It becomes fluid, like it would be on your web platform.
It’s fine for ‘painting’ a picture. Painting is ideating. Know your working mode, and what your output is and act based on that. Nudging pixels around doesn’t affect the end product. Unfortunately the tools are not there yet to allow you to efficiently construct a UI. But we have to deal with what we have.
From a technical perspective, system capabilities. know your medium.
Illustration tools are not the best for creating interfaces. It might be, that some situations or processes require custom plugins or complete tools.
Embrace your unknowns. Our industry and technology itself constantly evolves. As an interface designer we continuously need to keep up with these changes. It’s what makes it exciting, but you have to embrace the fact that there will always be unknowns which need new approaches. You cannot rely on doing things the way you used to, which are based on your previous experiences.
Make sure you are aligned with whoever you're working with. Sticking to the same terminology is super important. e.g. tab bar, nav bar can imply different things. Be comfortable to always show work in progress. It's how you quickly iterate. Ask a developer: how does it work? Instead of: what do you need from me? To better get to know your medium.

Now a round of questions, before I will finish off with some closing thoughts.
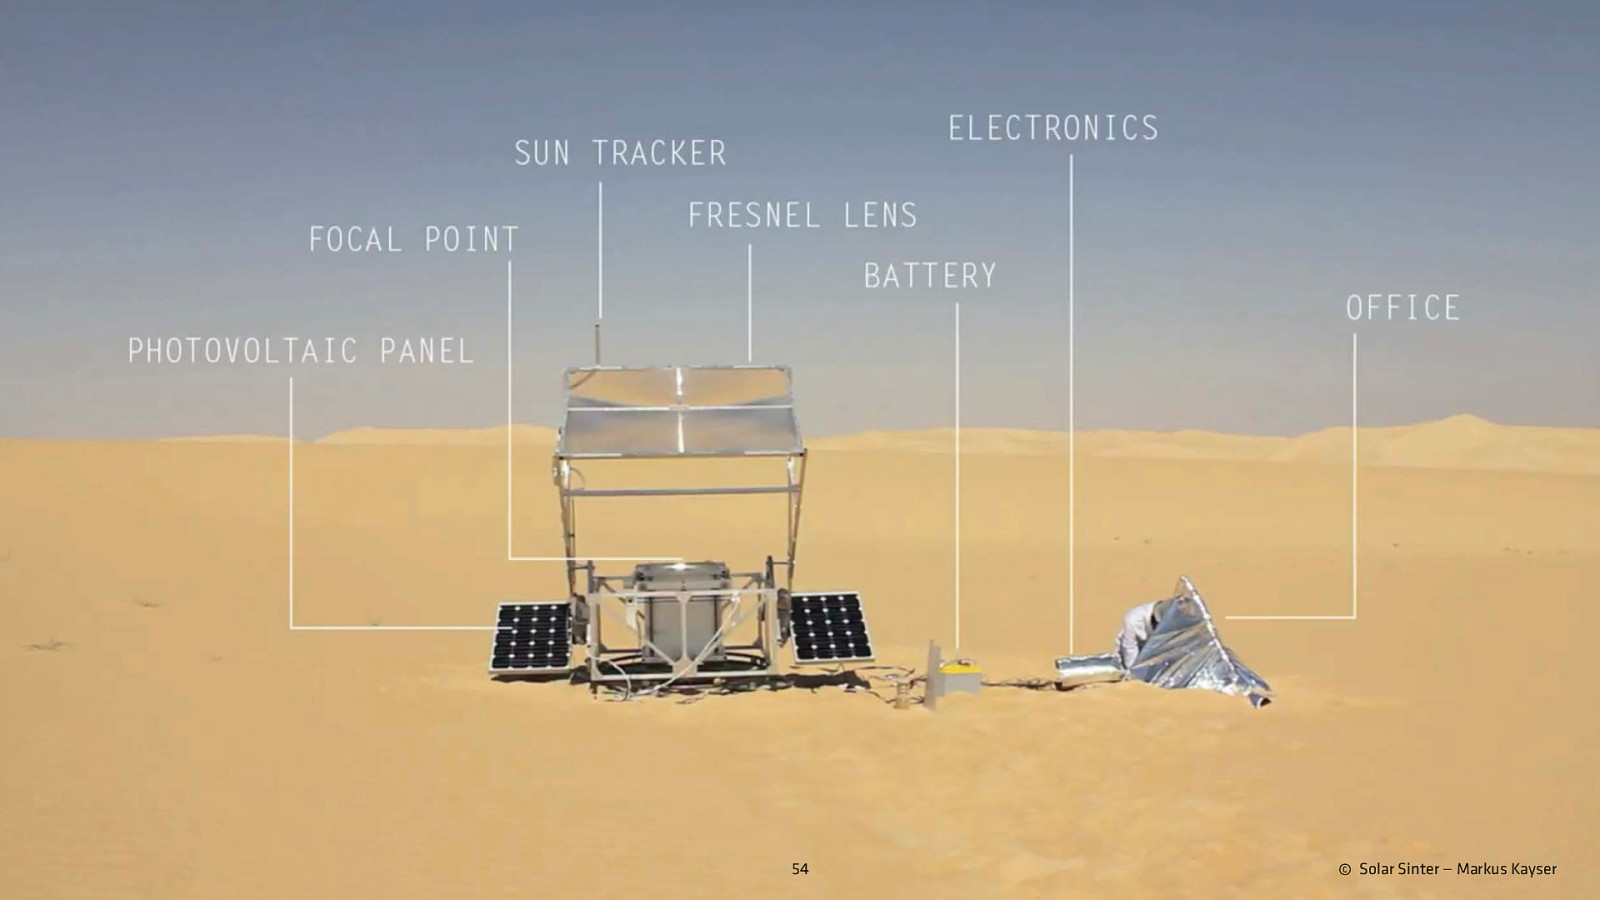
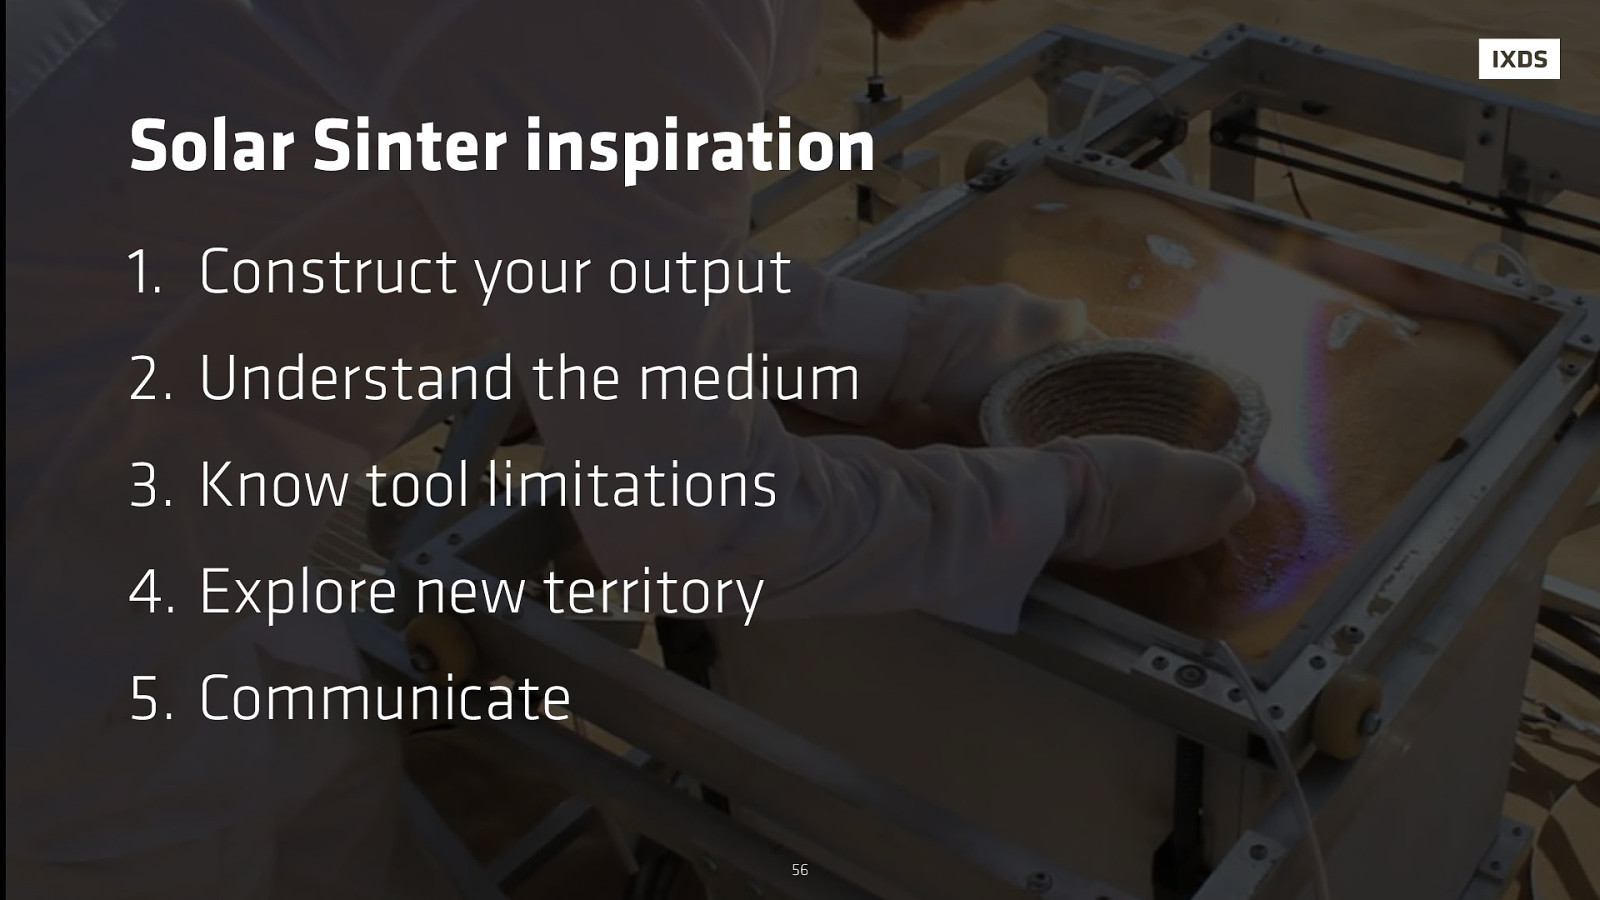
An artist went into the dessert, with his machine, to achieve something magnificent. He built his own tool to use solar energy and the heat of the sun to 3d print objects using the sand of the desert.
I keep coming back to this project. I'm inspired by it, and I think we need this mentality for digital product design.
Slide content:
Explanation:
I'm organizing a hackathon in Tel Aviv next week to push the development of new design tools.
Find the slides on: noti.st/RvRoo
Hit me up with questions: twitter.com/RvRoo
My website: RvRoo.nl
Come work with me on awesome projects: IXDS.com/jobs