
A presentation at Codeland in in New York, NY, USA by Monica Powell
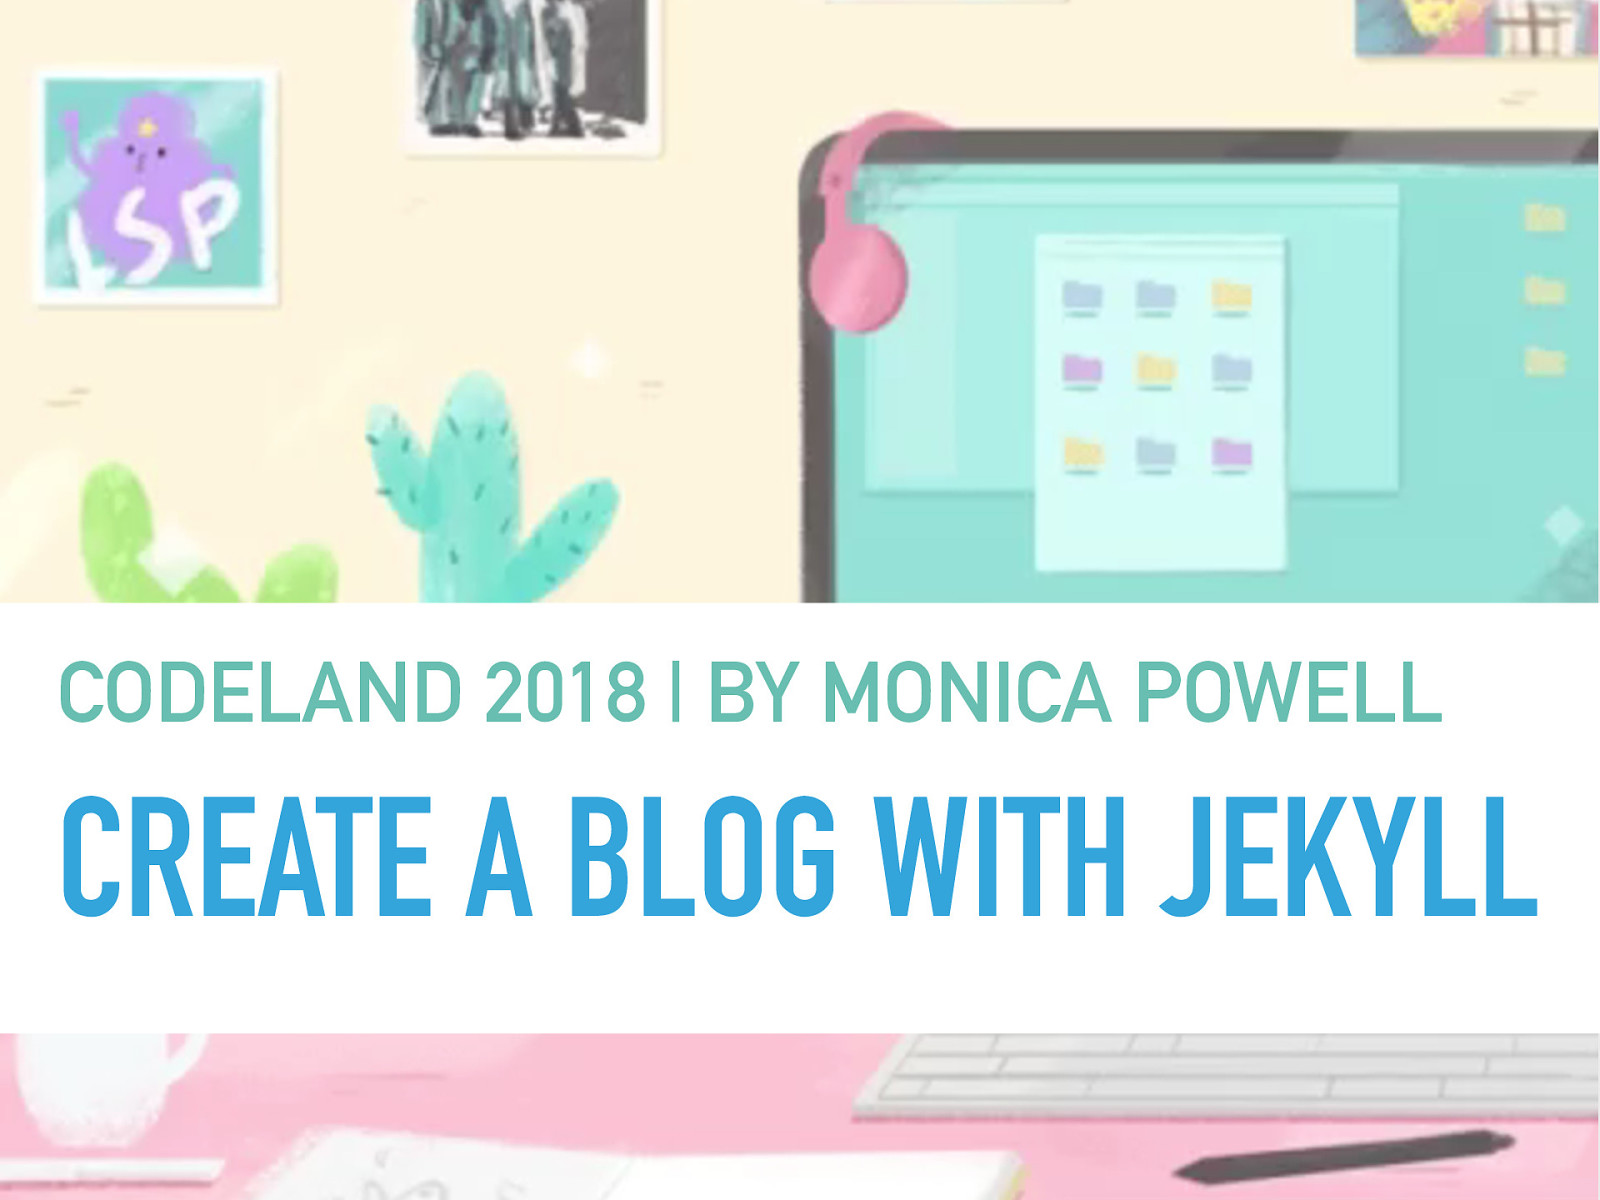
CODELAND 2018 | BY MONICA POWELL CREATE A BLOG WITH JEKYLL
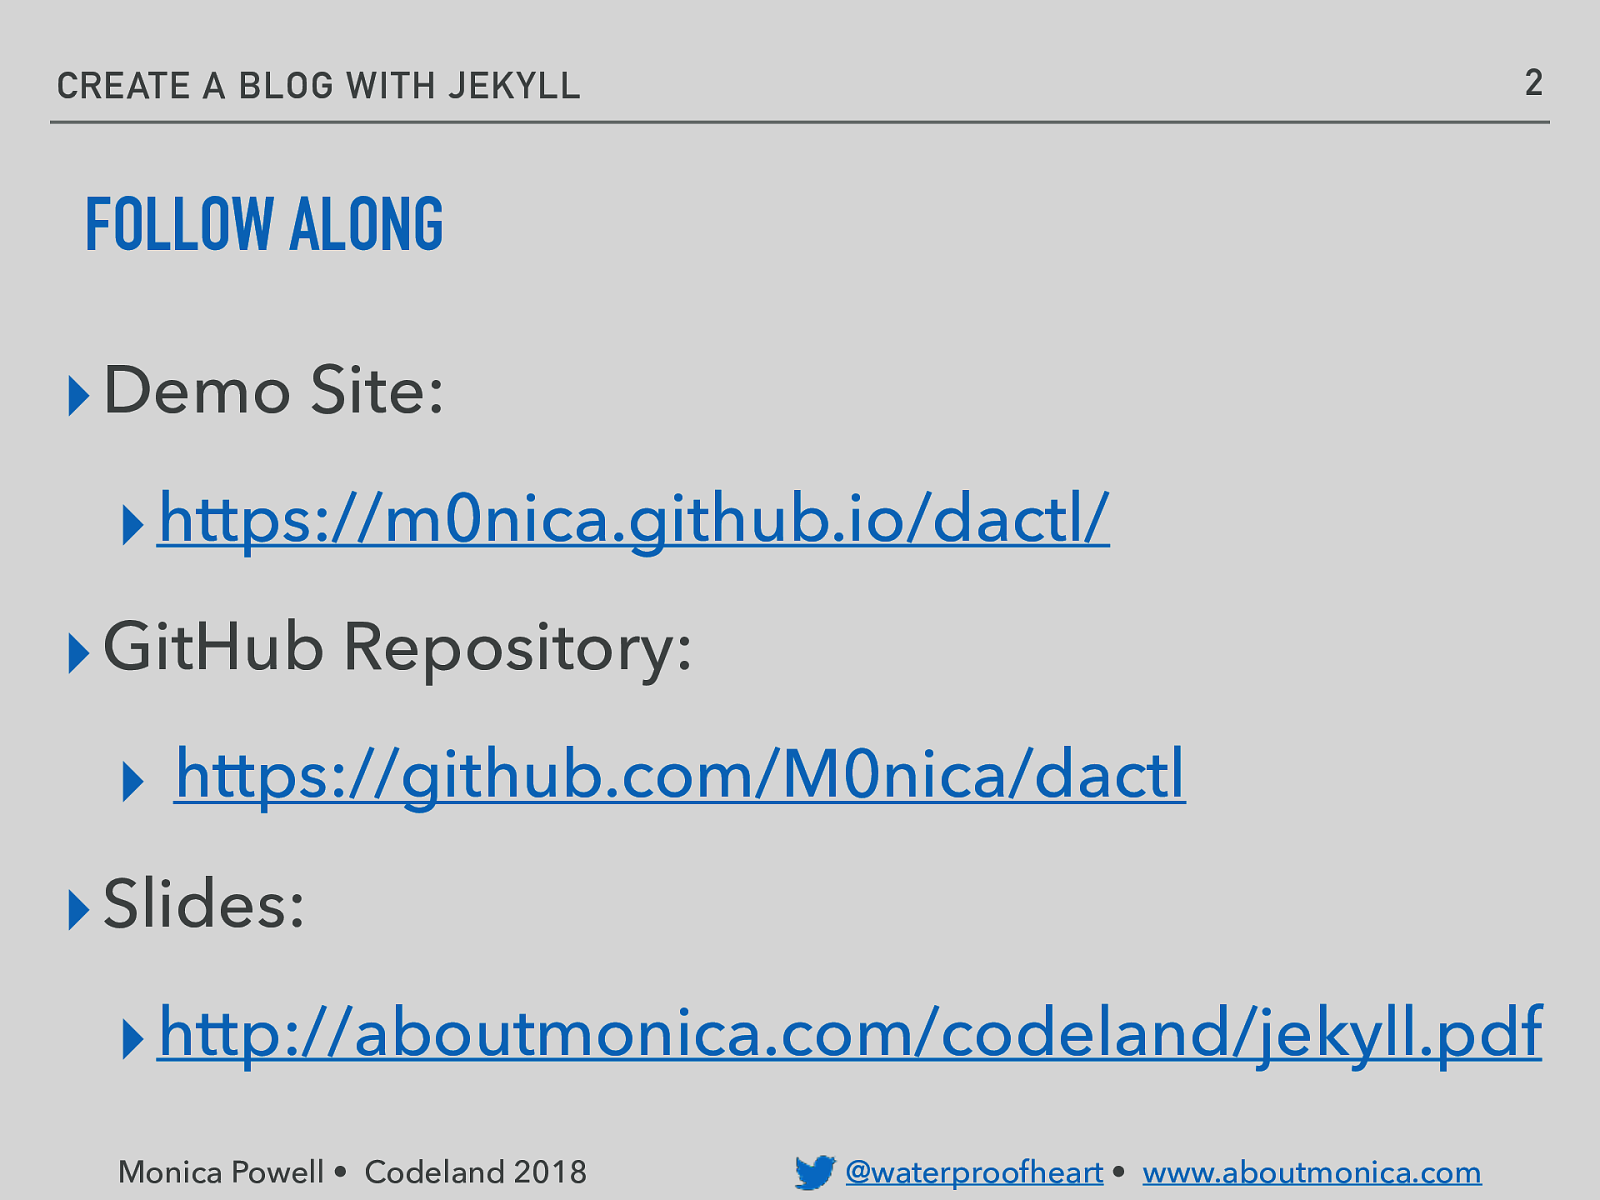
2 CREATE A BLOG WITH JEKYLL FOLLOW ALONG ▸ Demo Site: ▸ https://m0nica.github.io/dactl/ ▸ GitHub Repository: ▸ https://github.com/M0nica/dactl ▸ Slides: ▸ http://aboutmonica.com/codeland/jekyll.pdf Monica Powell • Codeland 2018 @waterproofheart • www.aboutmonica.com
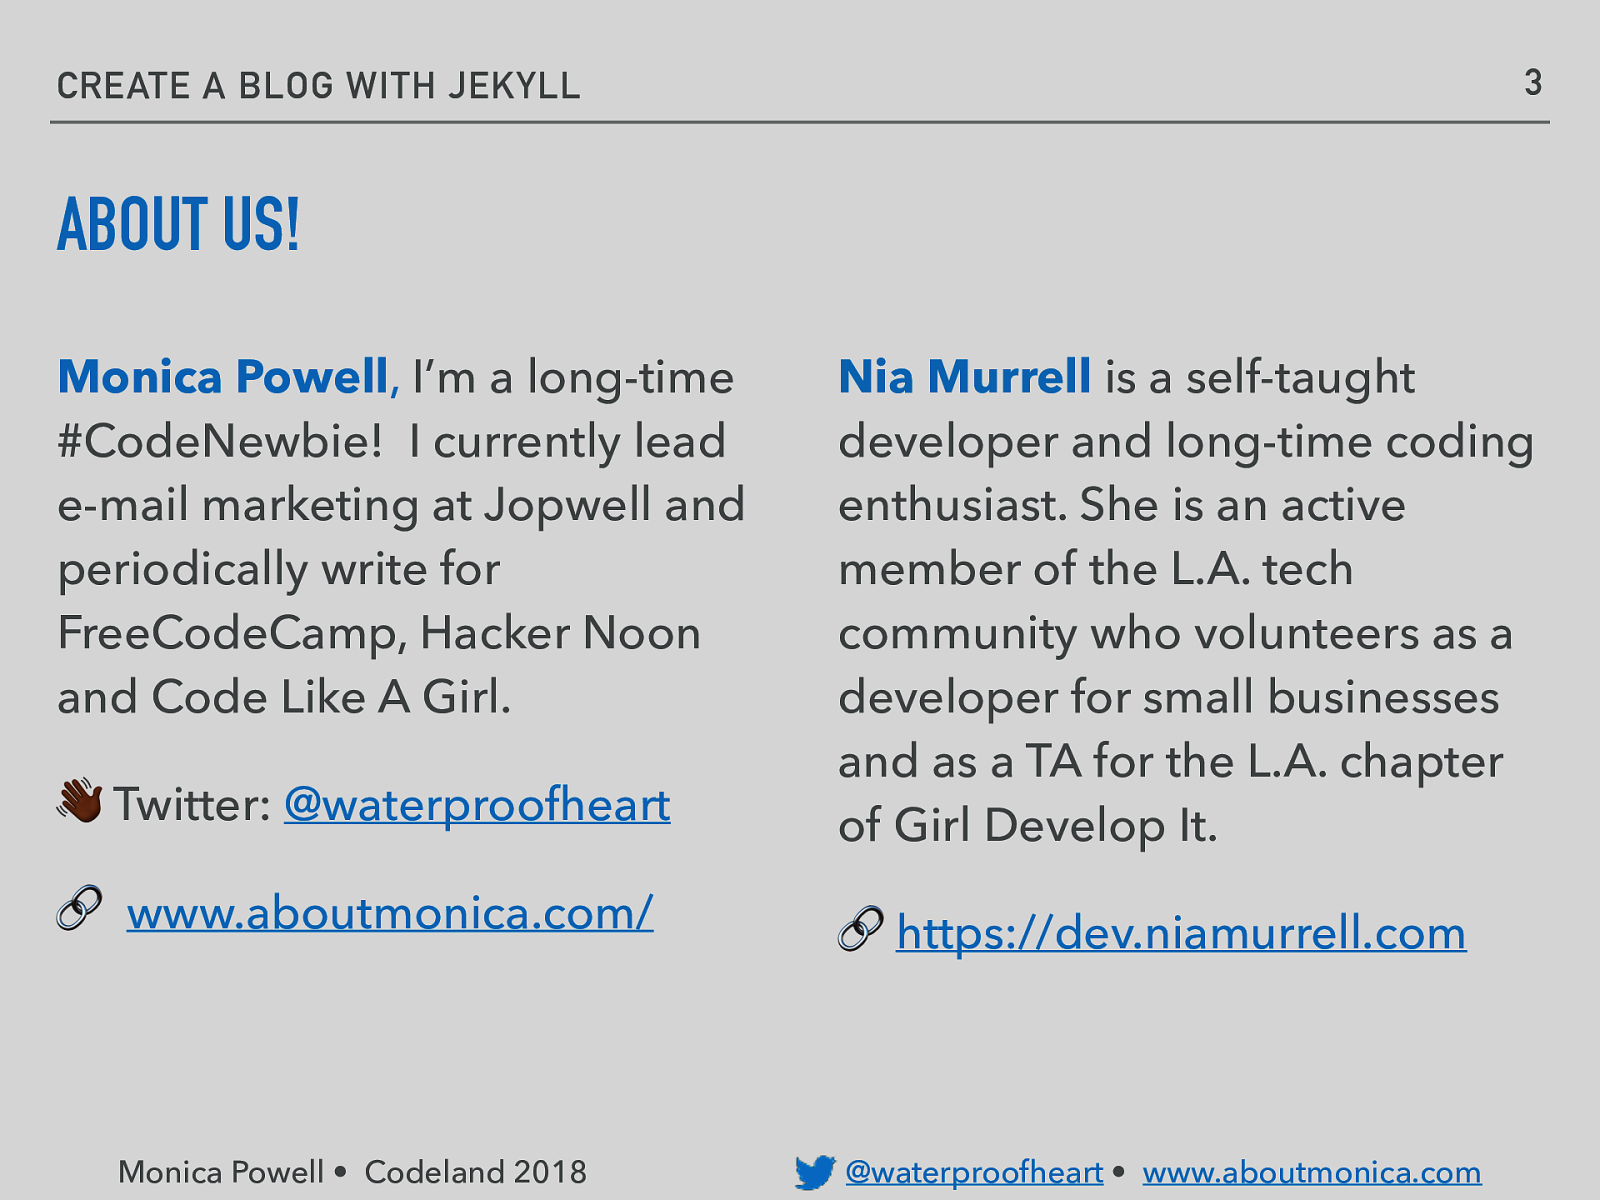
3 CREATE A BLOG WITH JEKYLL ABOUT US! Monica Powell, I’m a long-time #CodeNewbie! I currently lead e-mail marketing at Jopwell and periodically write for FreeCodeCamp, Hacker Noon and Code Like A Girl. ! Twitter: @waterproofheart Nia Murrell is a self-taught developer and long-time coding enthusiast. She is an active member of the L.A. tech community who volunteers as a developer for small businesses and as a TA for the L.A. chapter of Girl Develop It. 🔗 www.aboutmonica.com/ 🔗 https://dev.niamurrell.com Monica Powell • Codeland 2018 @waterproofheart • www.aboutmonica.com
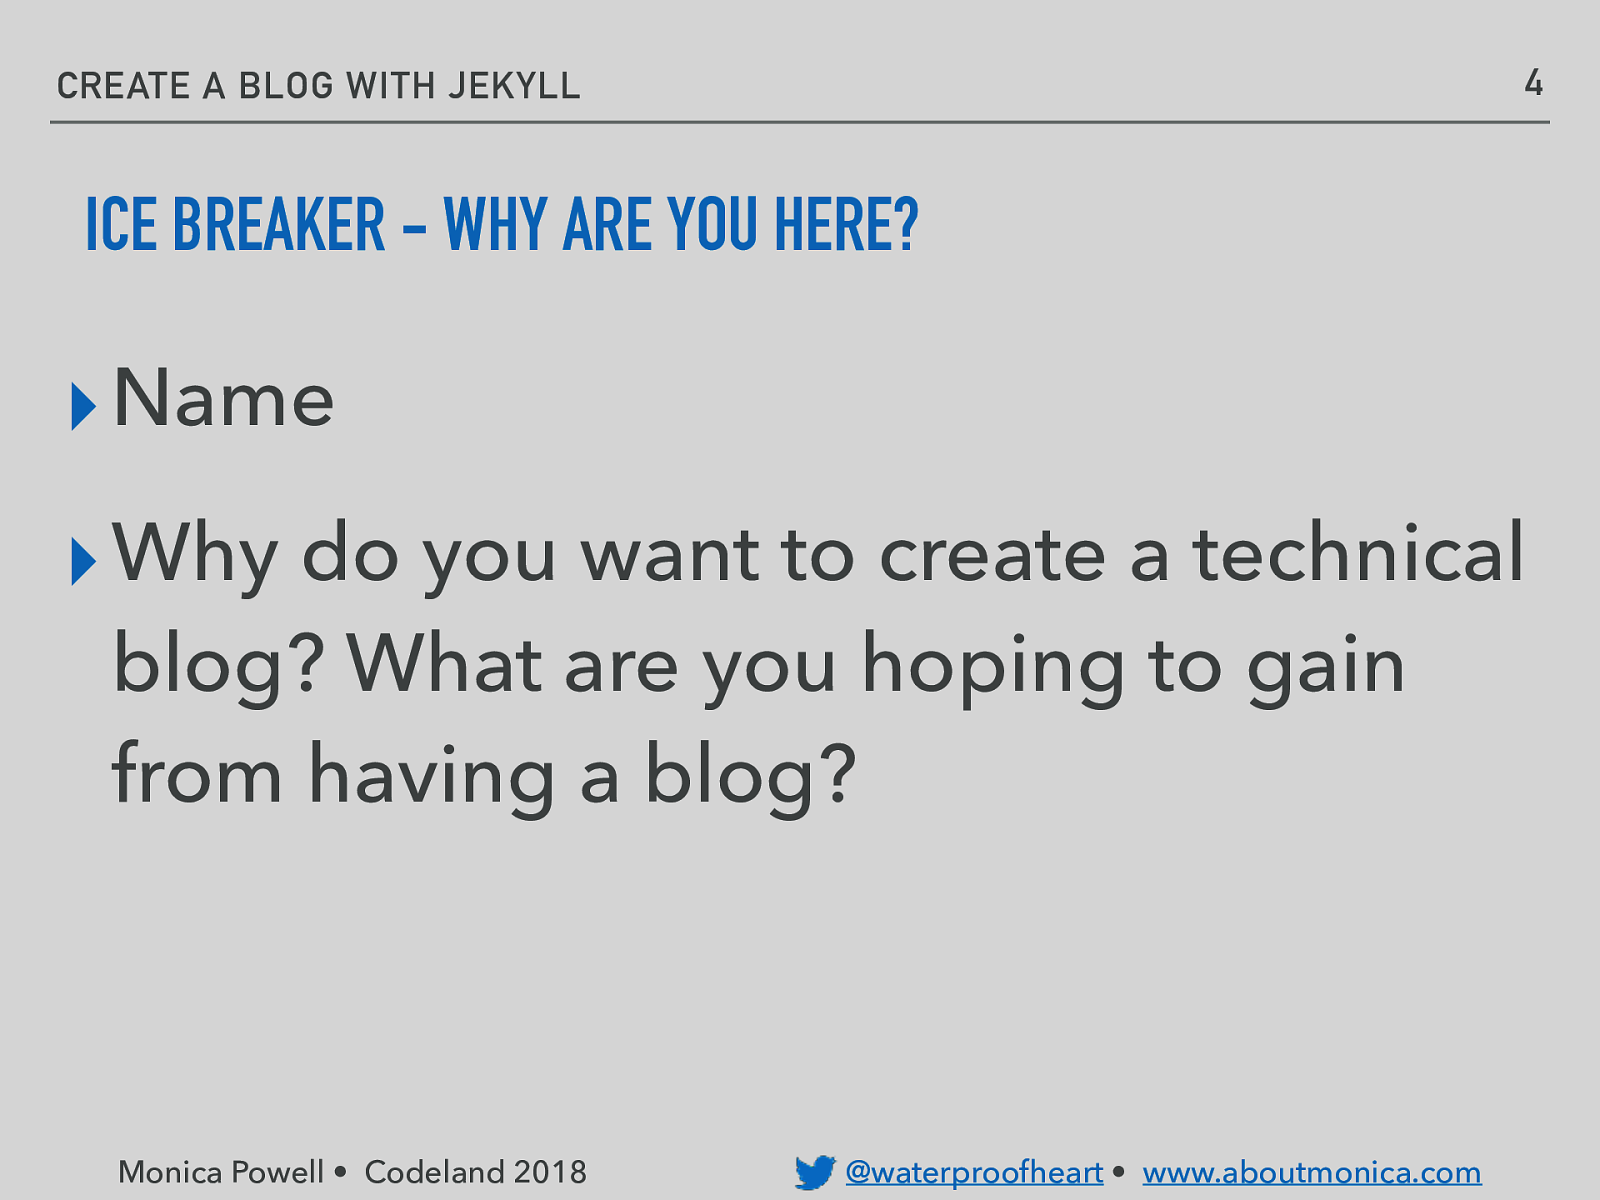
4 CREATE A BLOG WITH JEKYLL ICE BREAKER - WHY ARE YOU HERE? ▸ Name ▸ Why do you want to create a technical blog? What are you hoping to gain from having a blog? Monica Powell • Codeland 2018 @waterproofheart • www.aboutmonica.com
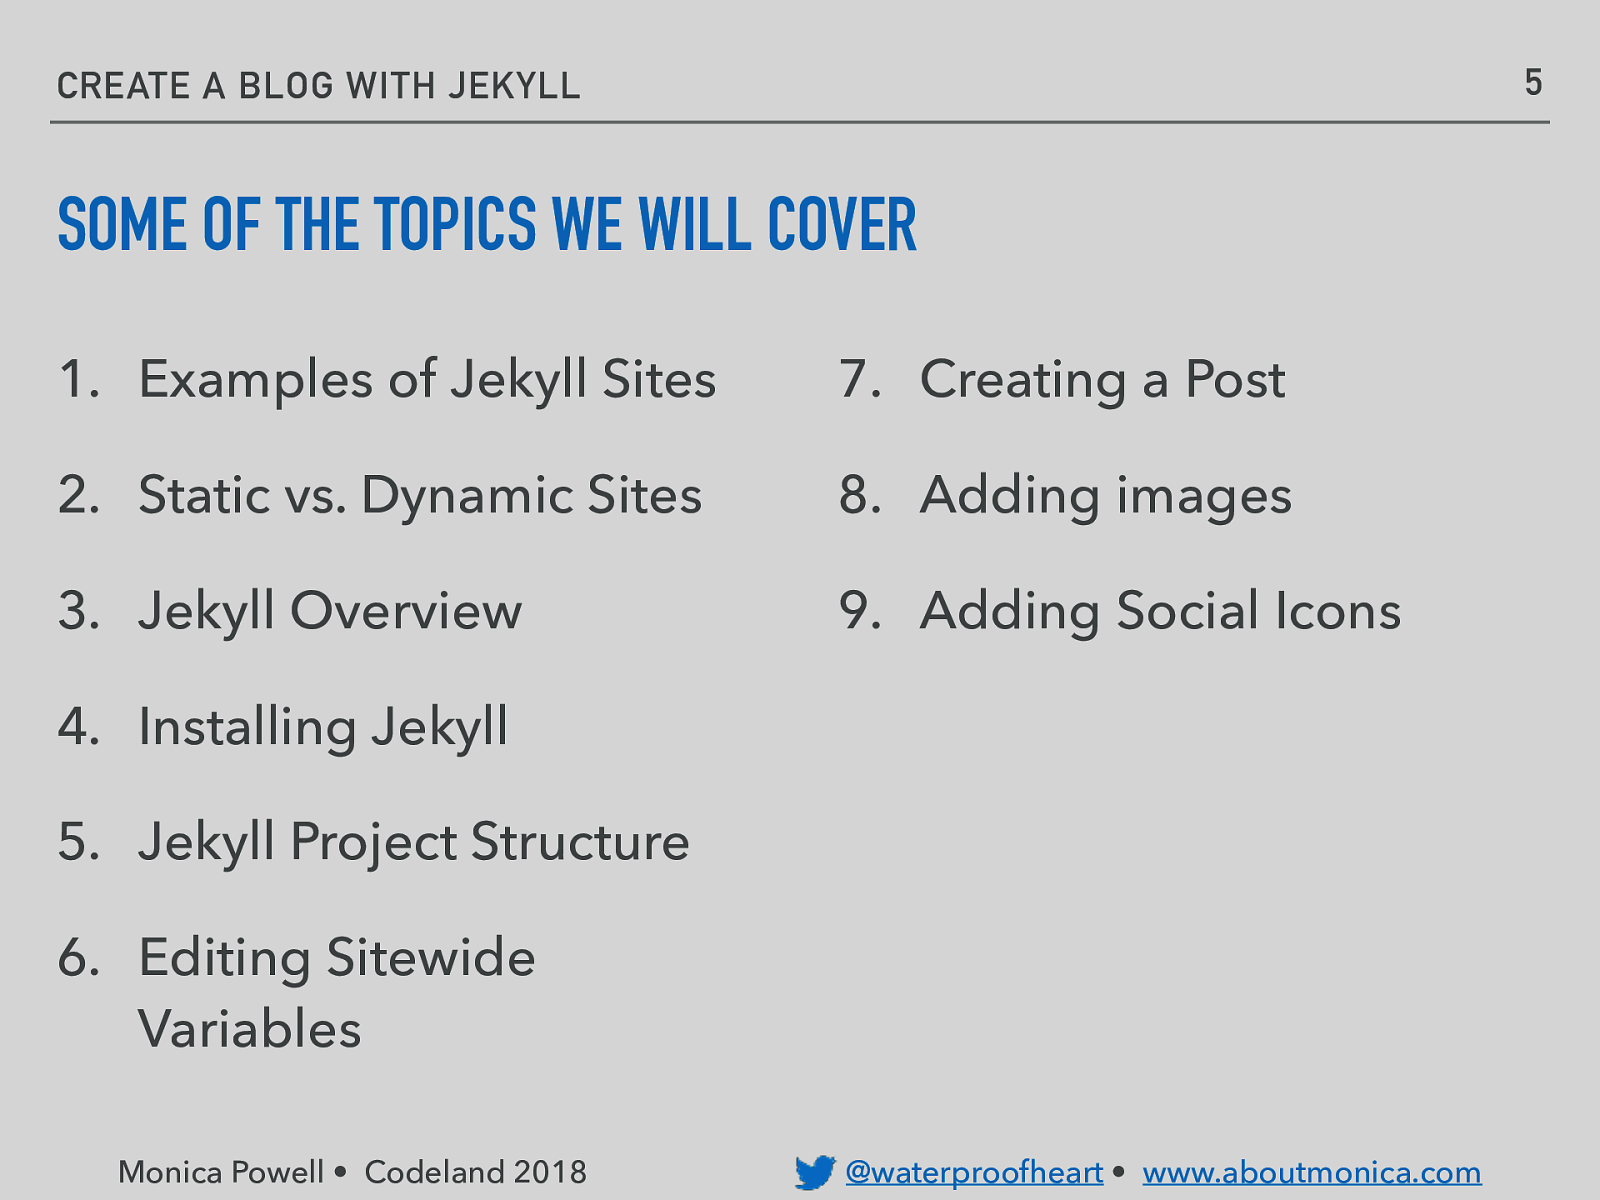
5 CREATE A BLOG WITH JEKYLL SOME OF THE TOPICS WE WILL COVER 1. Examples of Jekyll Sites 7. Creating a Post 2. Static vs. Dynamic Sites 8. Adding images 3. Jekyll Overview 9. Adding Social Icons 4. Installing Jekyll 5. Jekyll Project Structure 6. Editing Sitewide Variables Monica Powell • Codeland 2018 @waterproofheart • www.aboutmonica.com
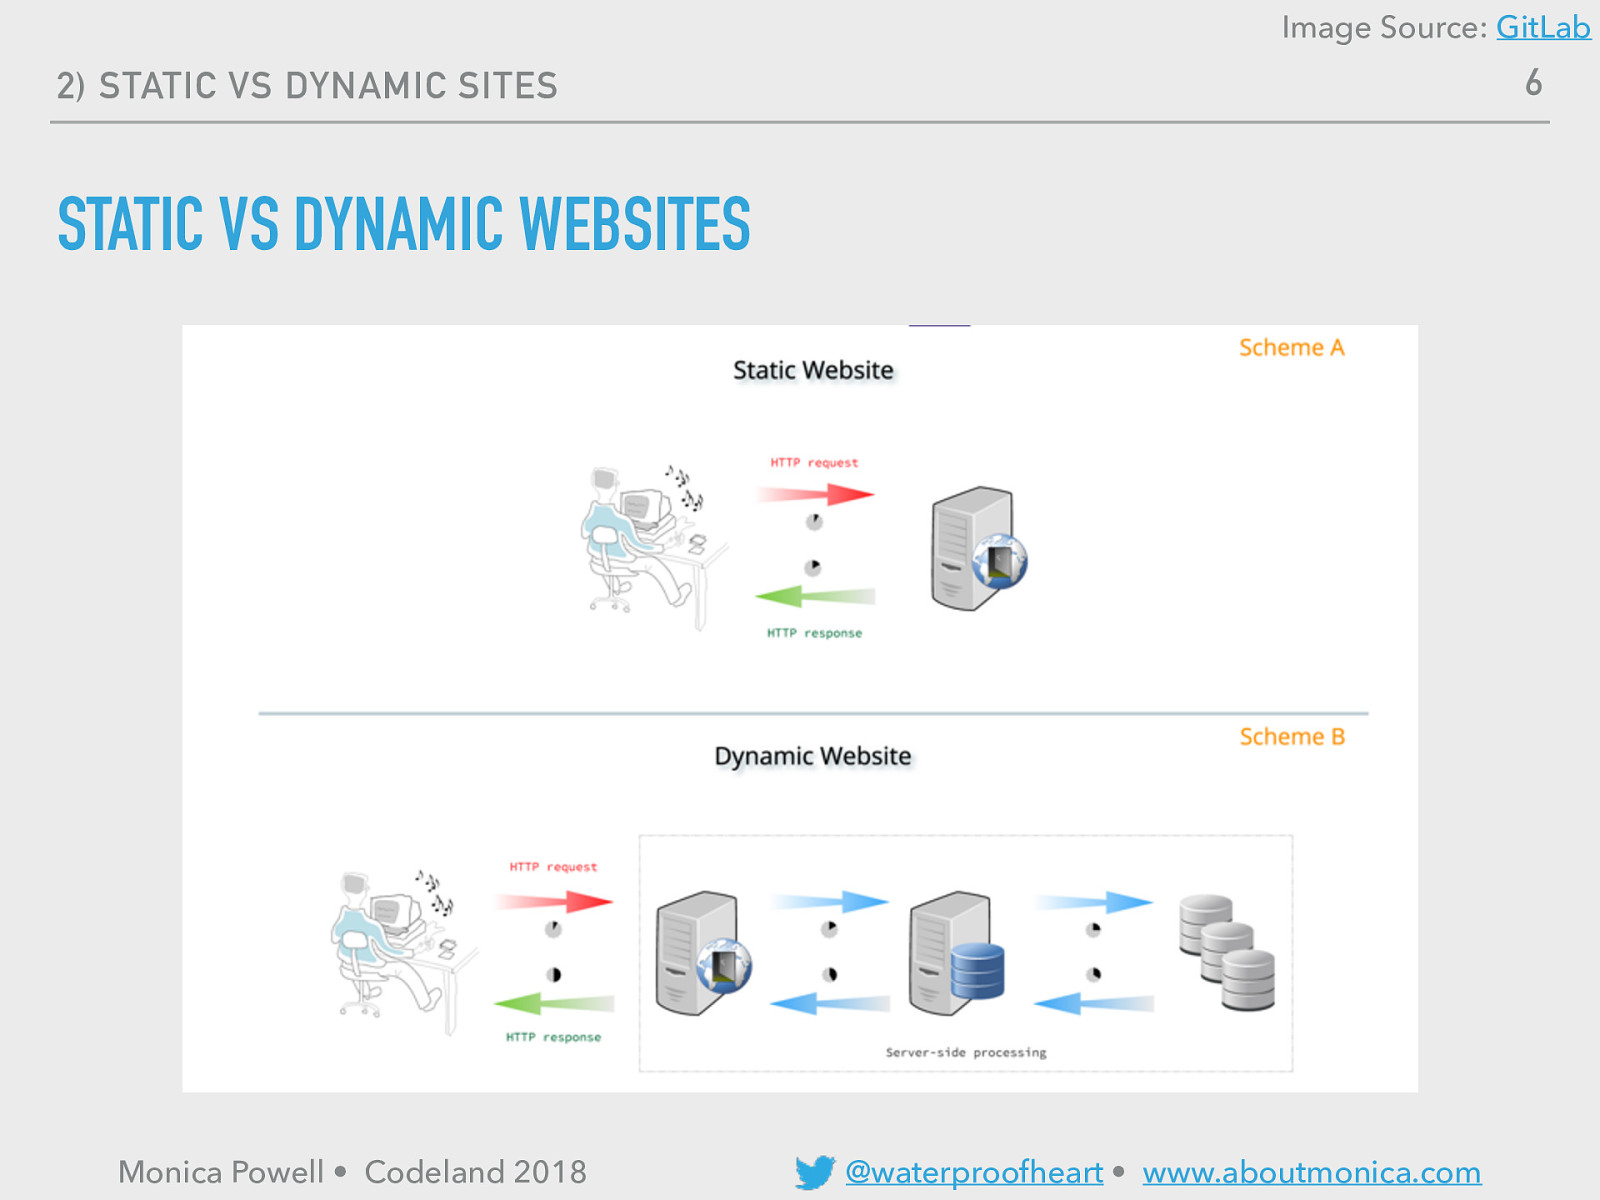
Image Source: GitLab 6 2) STATIC VS DYNAMIC SITES STATIC VS DYNAMIC WEBSITES Monica Powell • Codeland 2018 @waterproofheart • www.aboutmonica.com
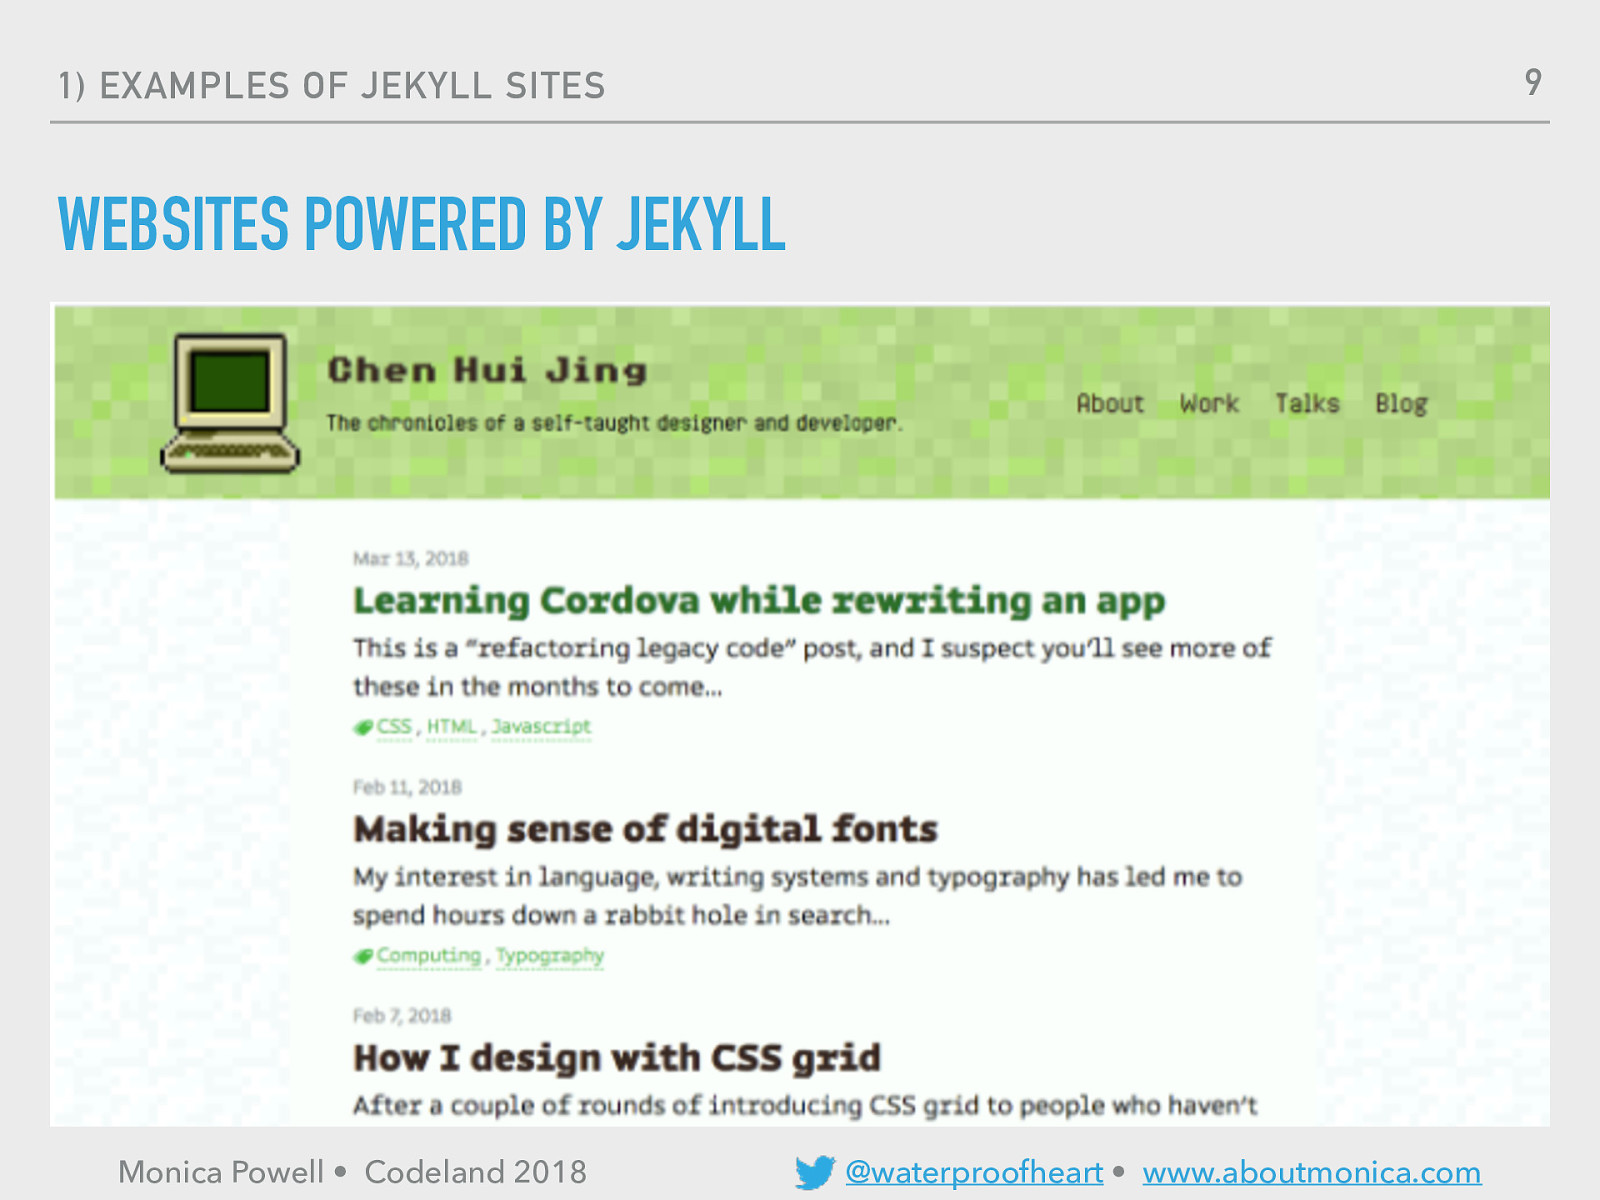
8
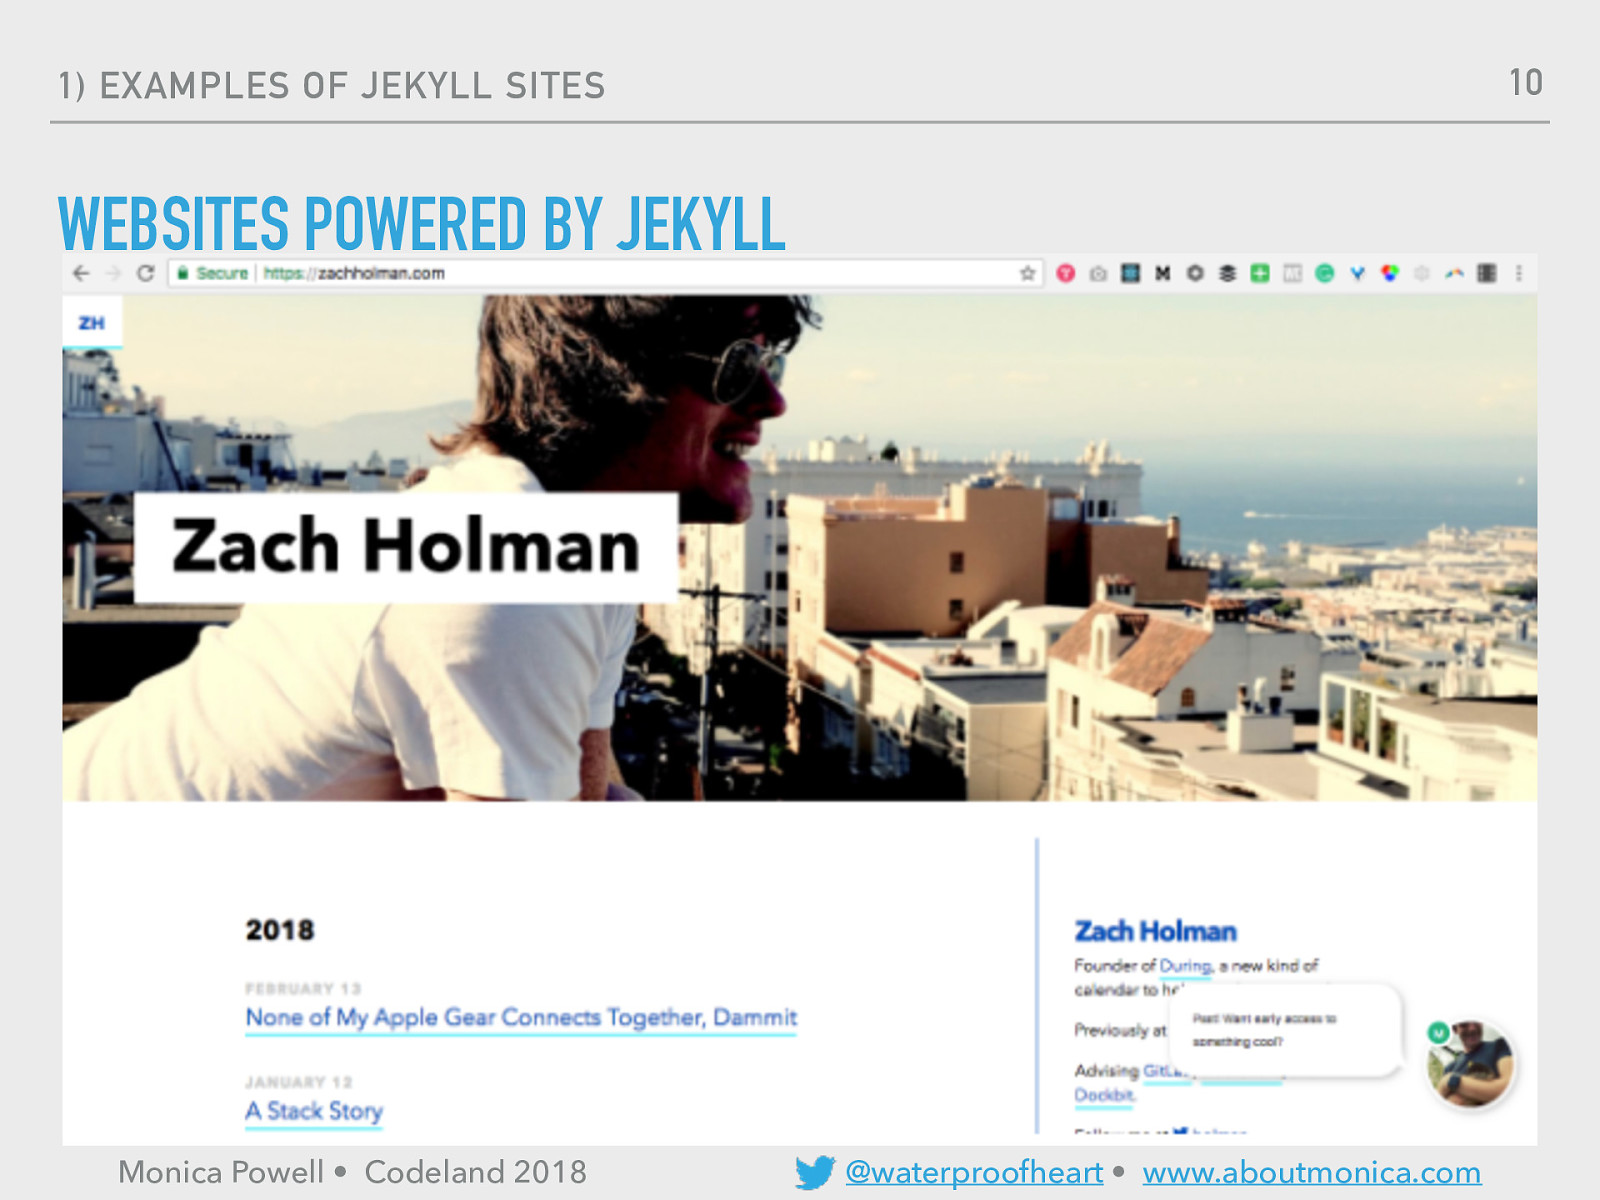
9
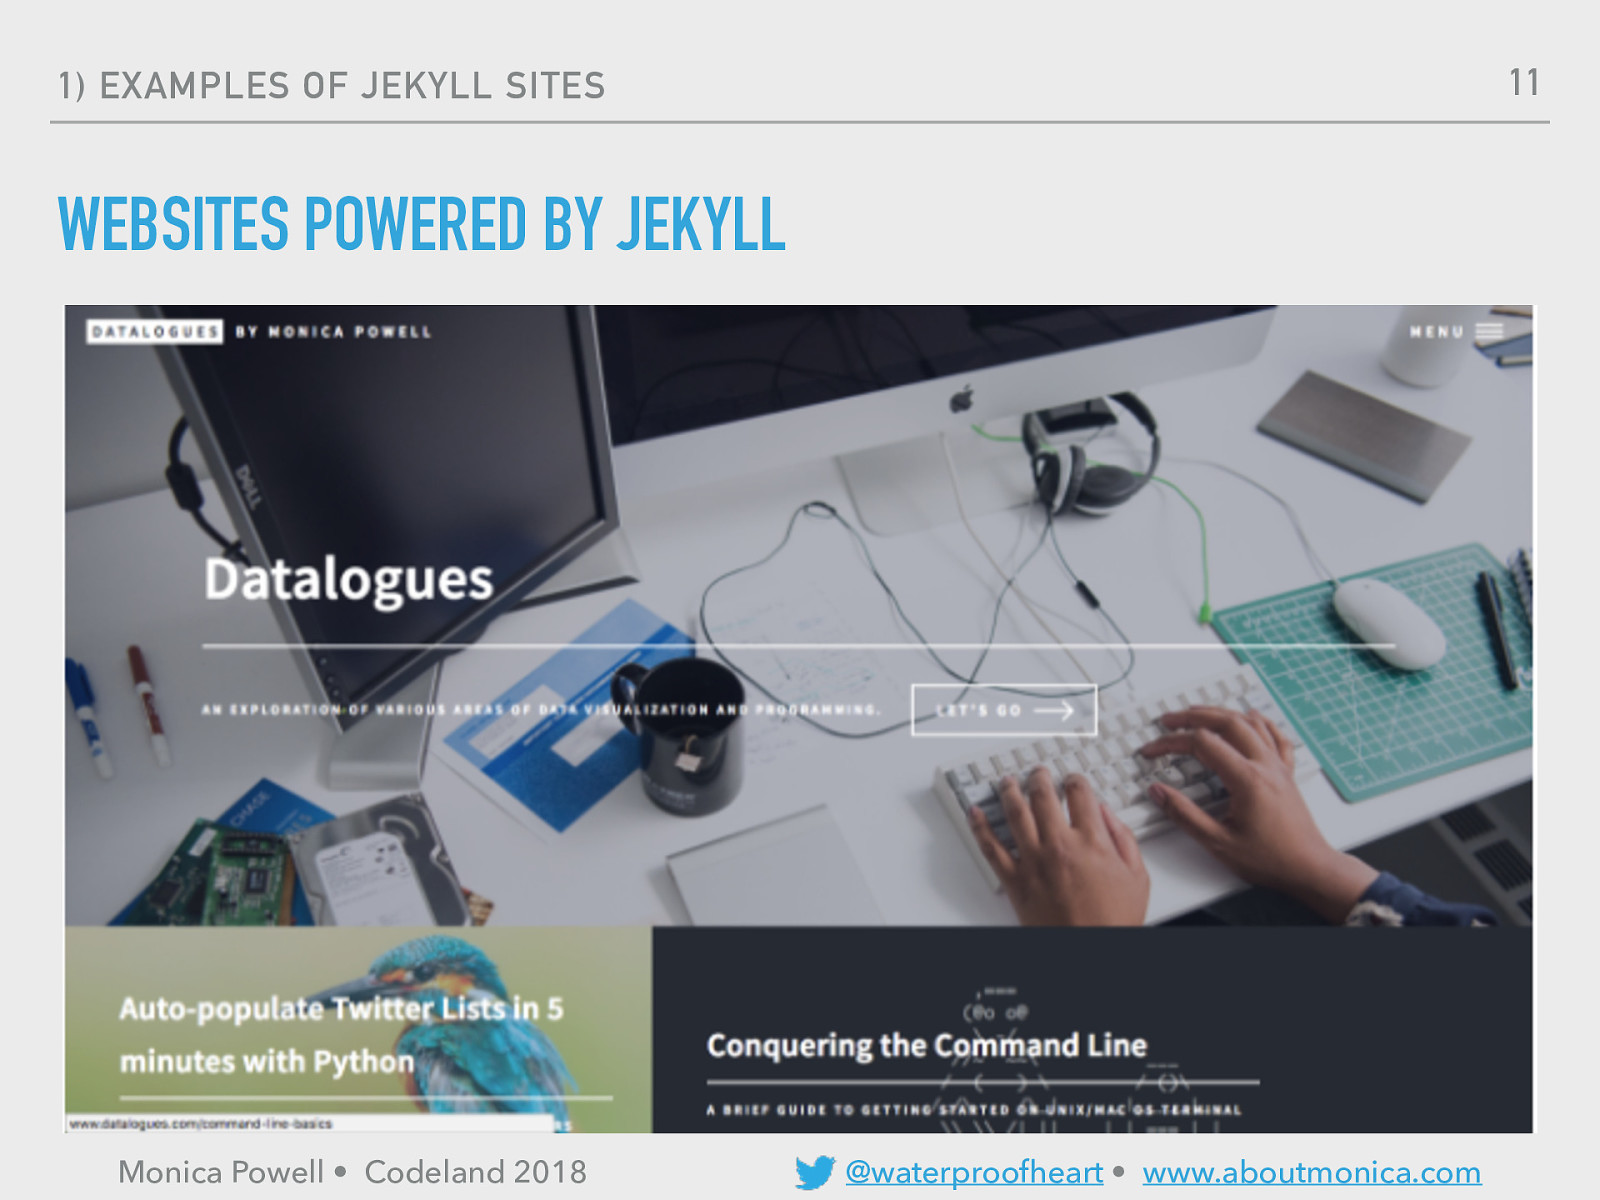
10
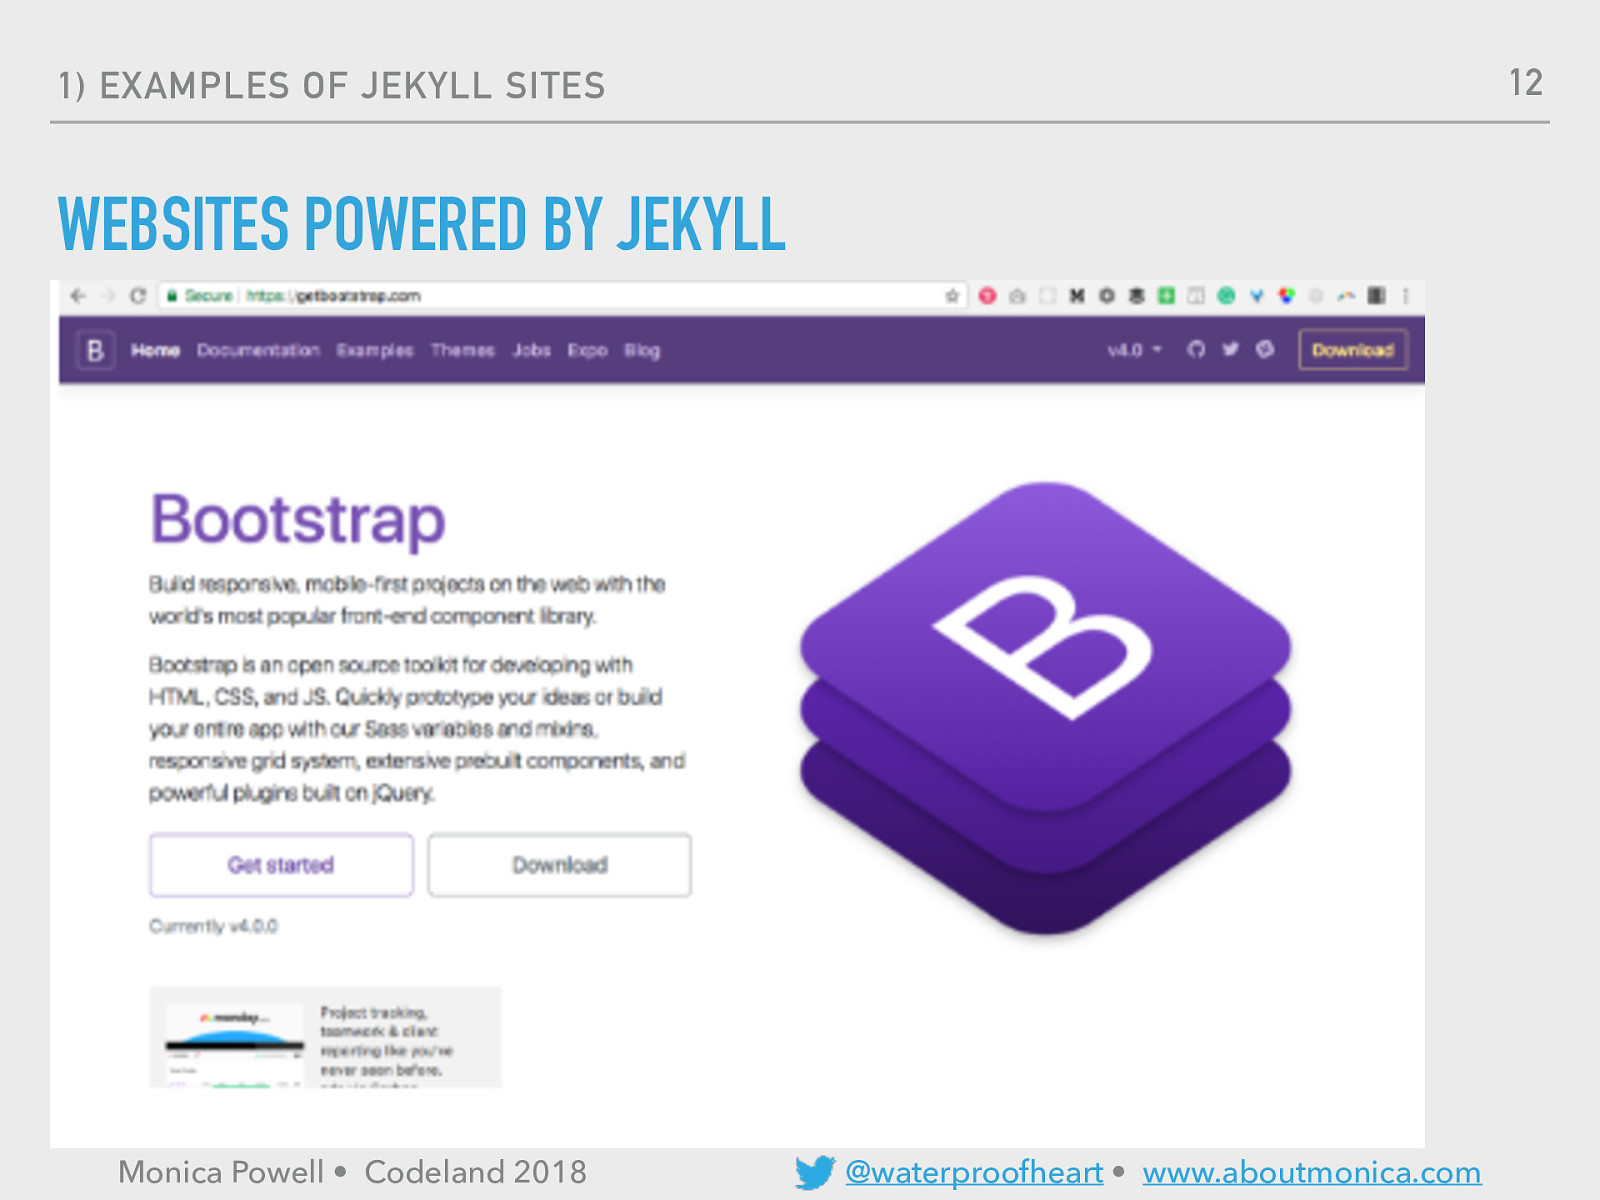
11
12
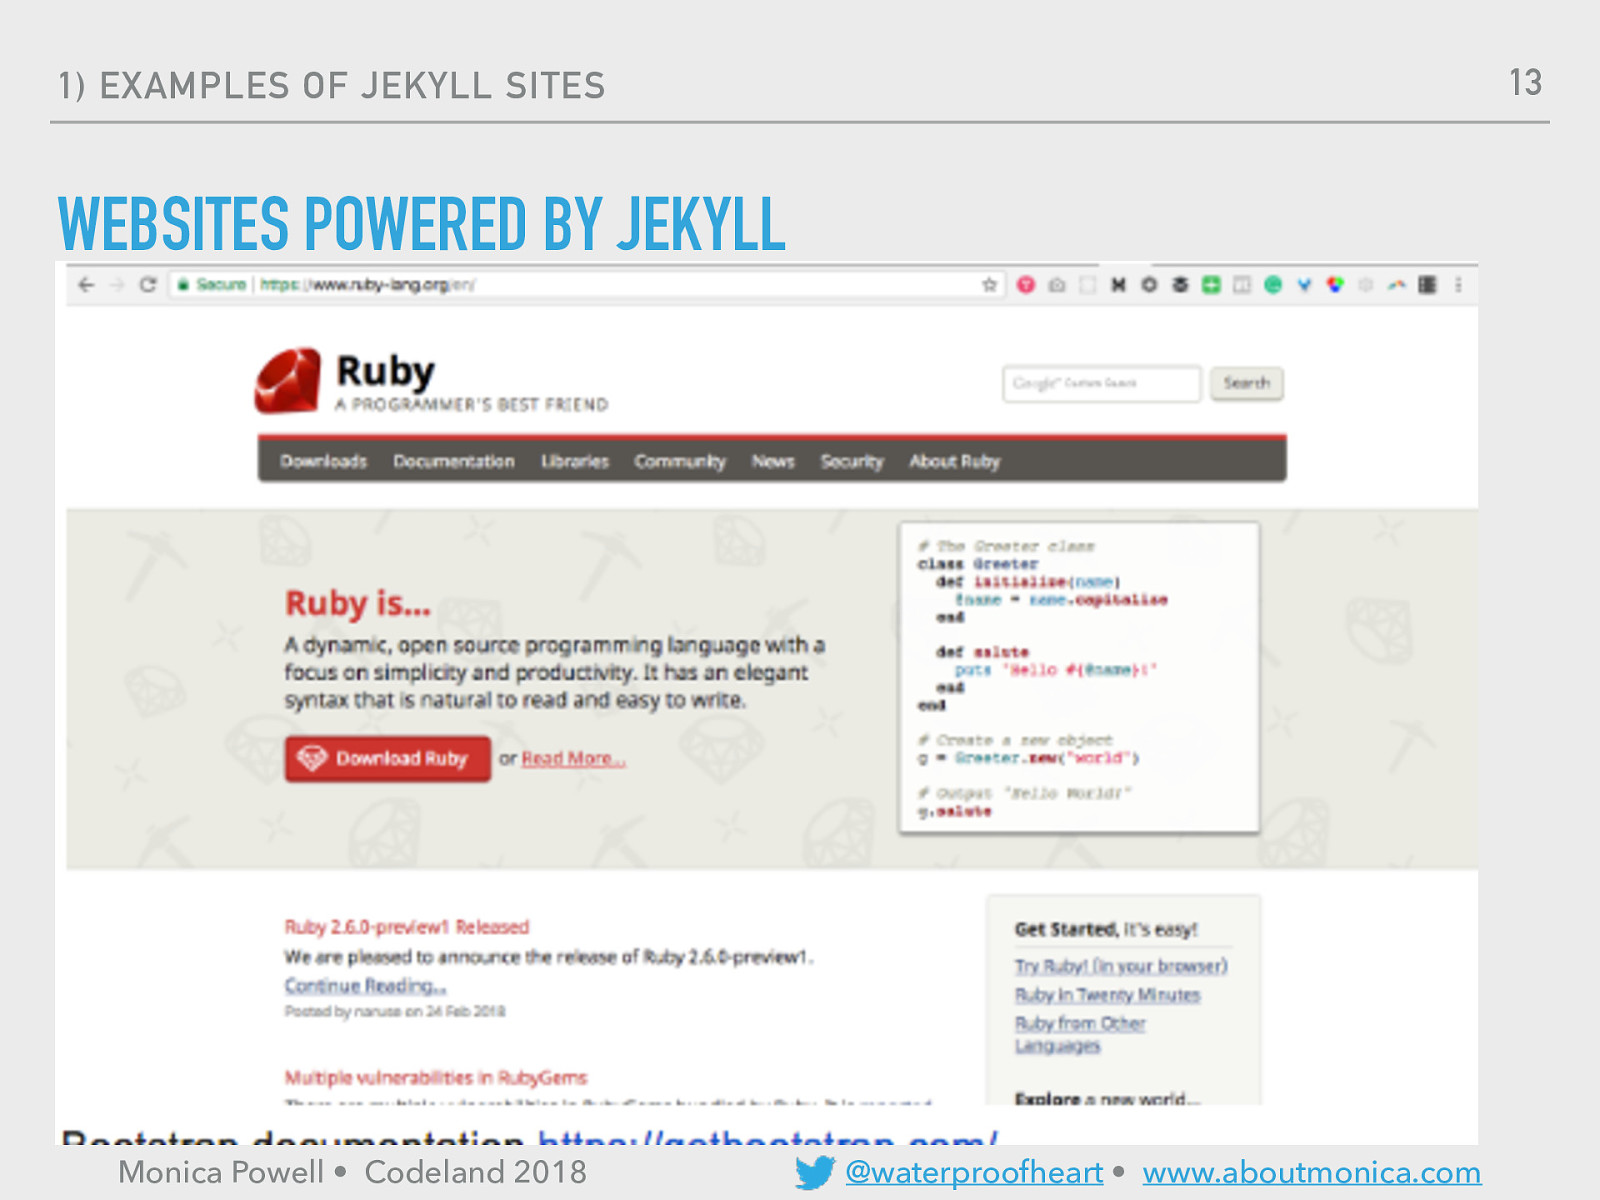
13
INSTALLATION FEST
15 4) INSTALLING JEKYLL TOOLS WE WILL BE USING TODAY: ‣ Command Line/Terminal ‣ Text Editor ‣ Web Browser Monica Powell • Codeland 2018 @waterproofheart • www.aboutmonica.com
16 4) INSTALLING JEKYLL INSTALLATION FEST - INSTALL GIT 1. Open Command Line 2. Install git from https://git-scm.com/downloads 3. Confirm installation by running: ‣ $ git -—version Monica Powell • Codeland 2018 @waterproofheart • www.aboutmonica.com
17 4) INSTALLING JEKYLL INSTALLATION FEST - INSTALL GIT ▸ Configure git with your name and e-mail address. $ git config —global user.name “John Doe” $ git config —global user.email johndoe@example.com Use the same e-mail that is associated with your GitHub account. Monica Powell • Codeland 2018 @waterproofheart • www.aboutmonica.com
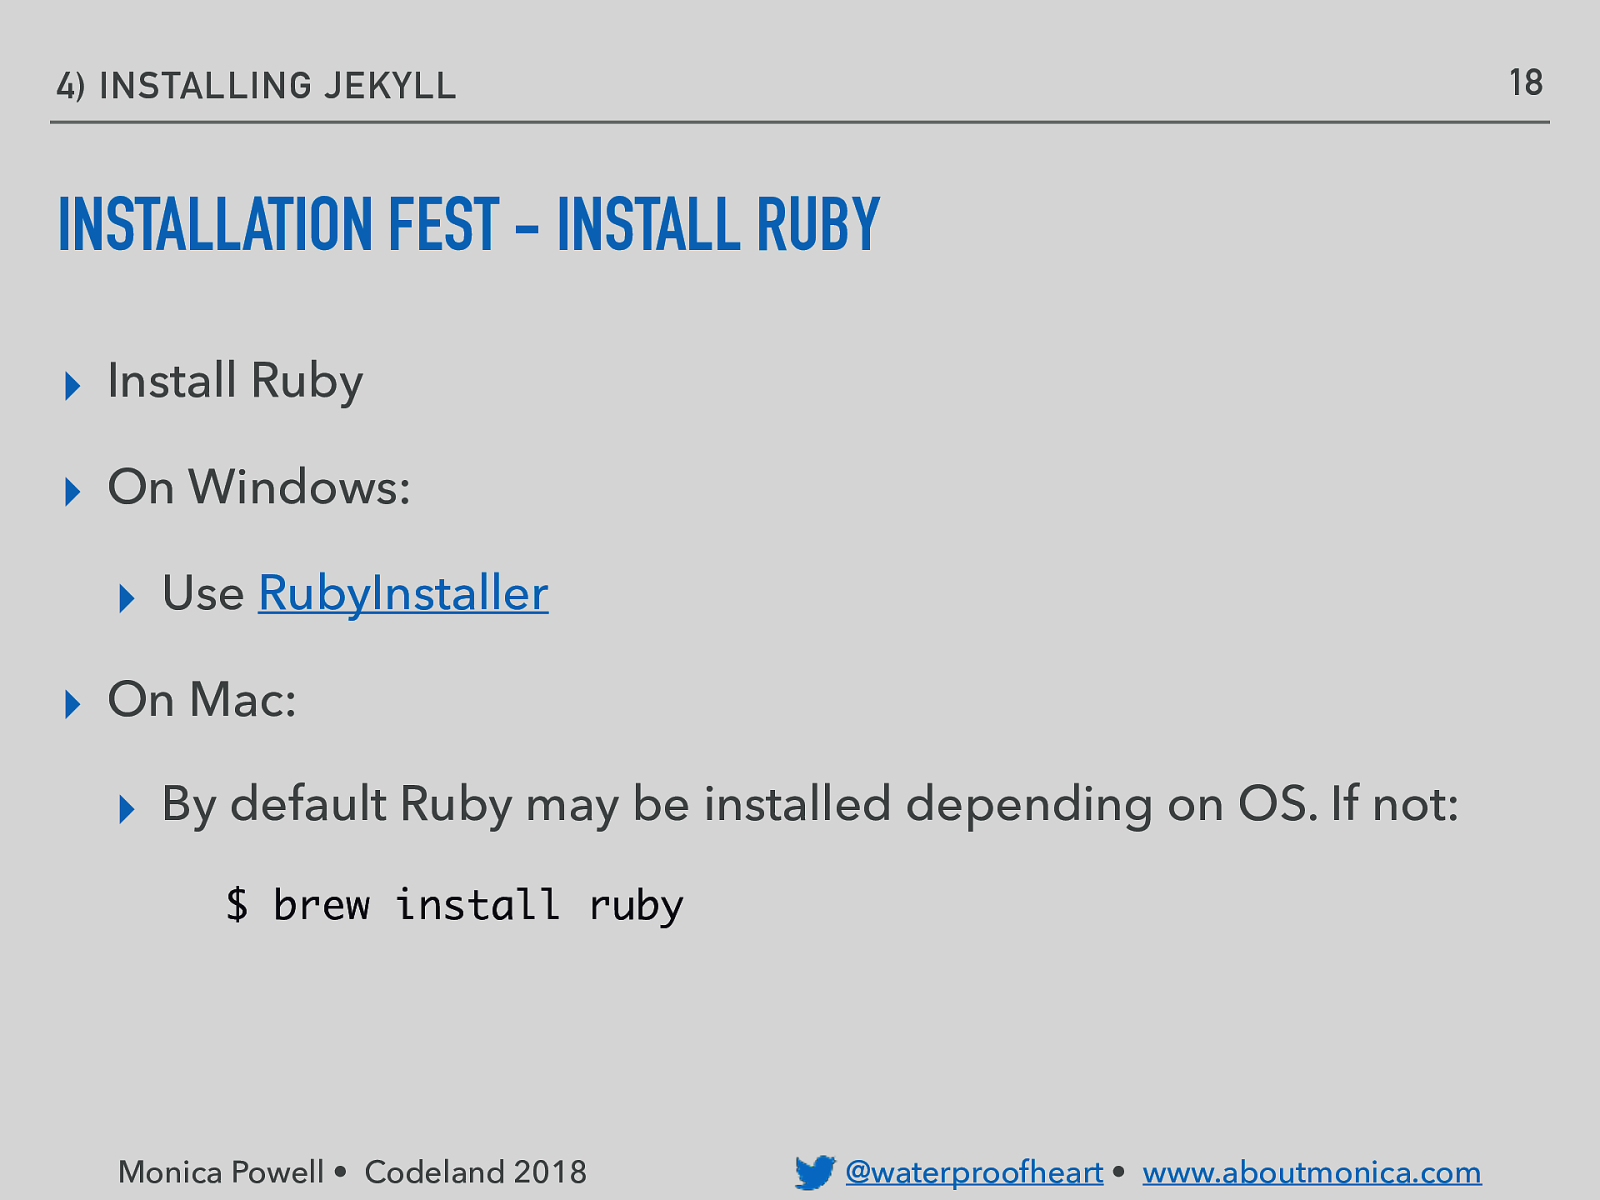
18 4) INSTALLING JEKYLL INSTALLATION FEST - INSTALL RUBY ▸ Install Ruby ▸ On Windows: ▸ Use RubyInstaller ▸ On Mac: ▸ By default Ruby may be installed depending on OS. If not: $ brew install ruby Monica Powell • Codeland 2018 @waterproofheart • www.aboutmonica.com
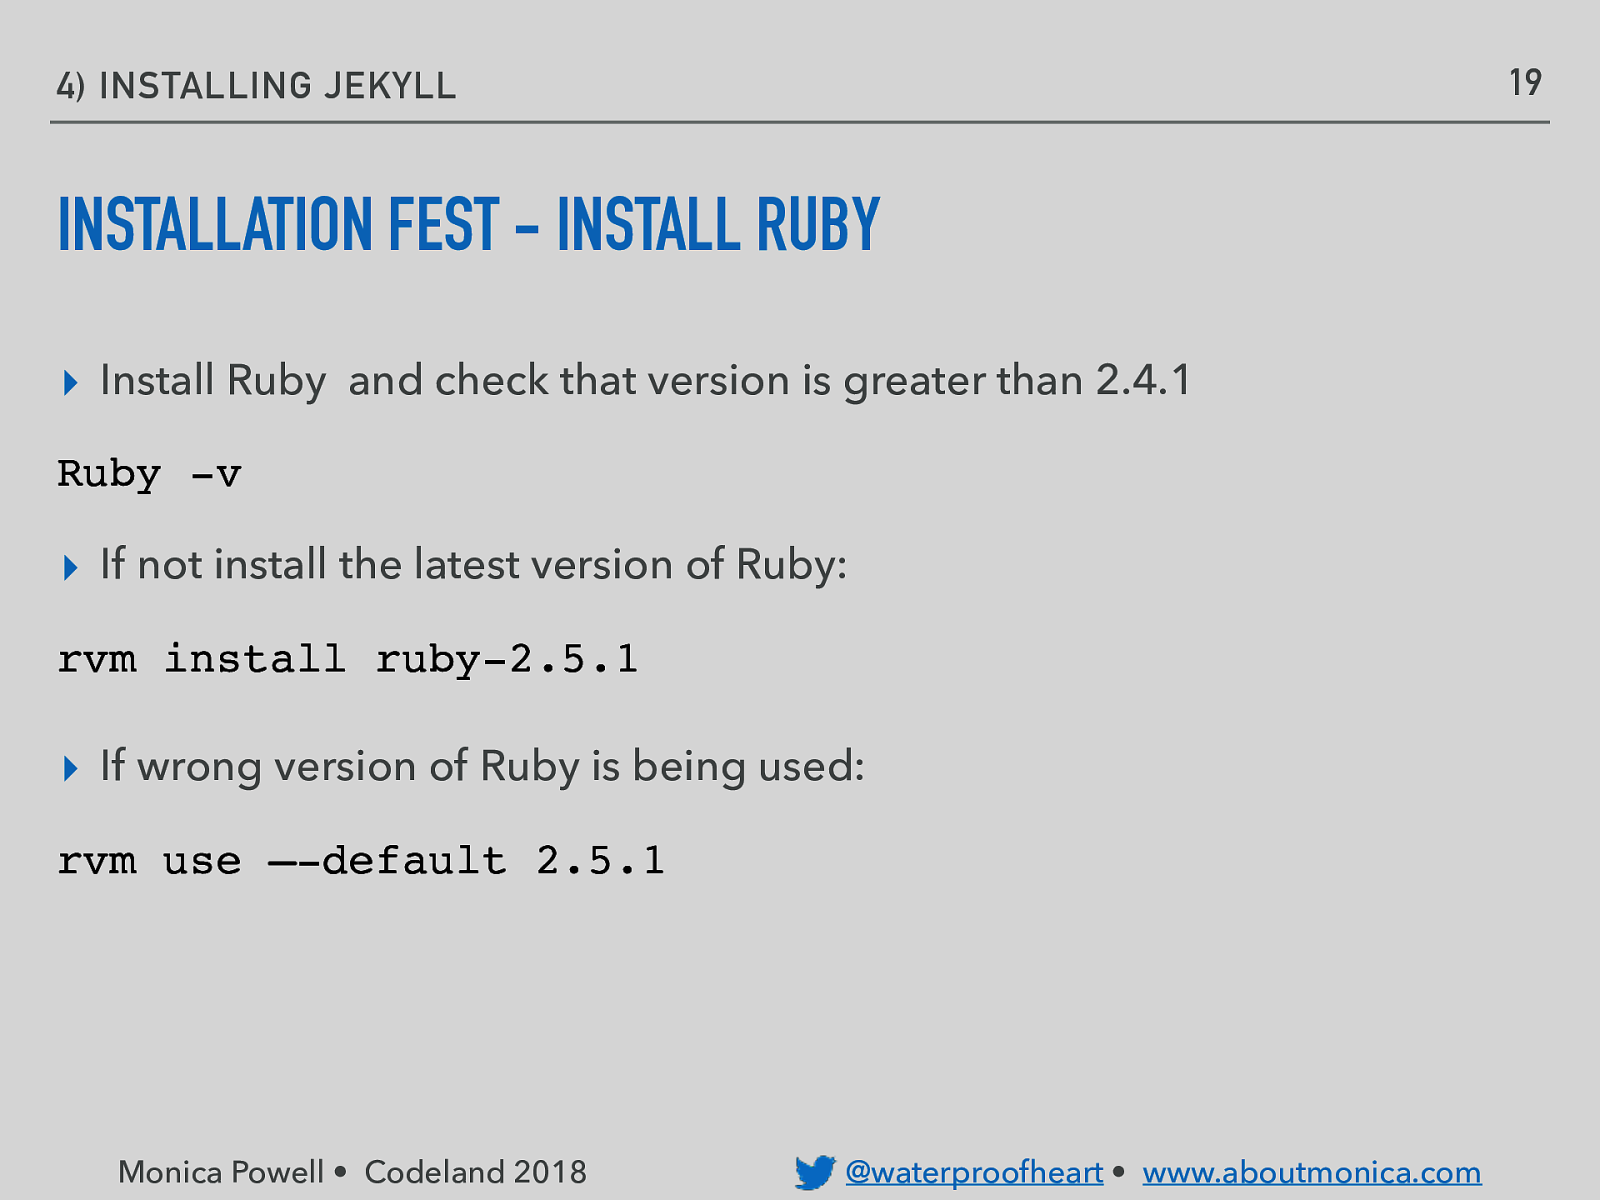
19 4) INSTALLING JEKYLL INSTALLATION FEST - INSTALL RUBY ▸ Install Ruby and check that version is greater than 2.4.1 Ruby -v ▸ If not install the latest version of Ruby: rvm install ruby-2.5.1 ▸ If wrong version of Ruby is being used: rvm use —-default 2.5.1 Monica Powell • Codeland 2018 @waterproofheart • www.aboutmonica.com
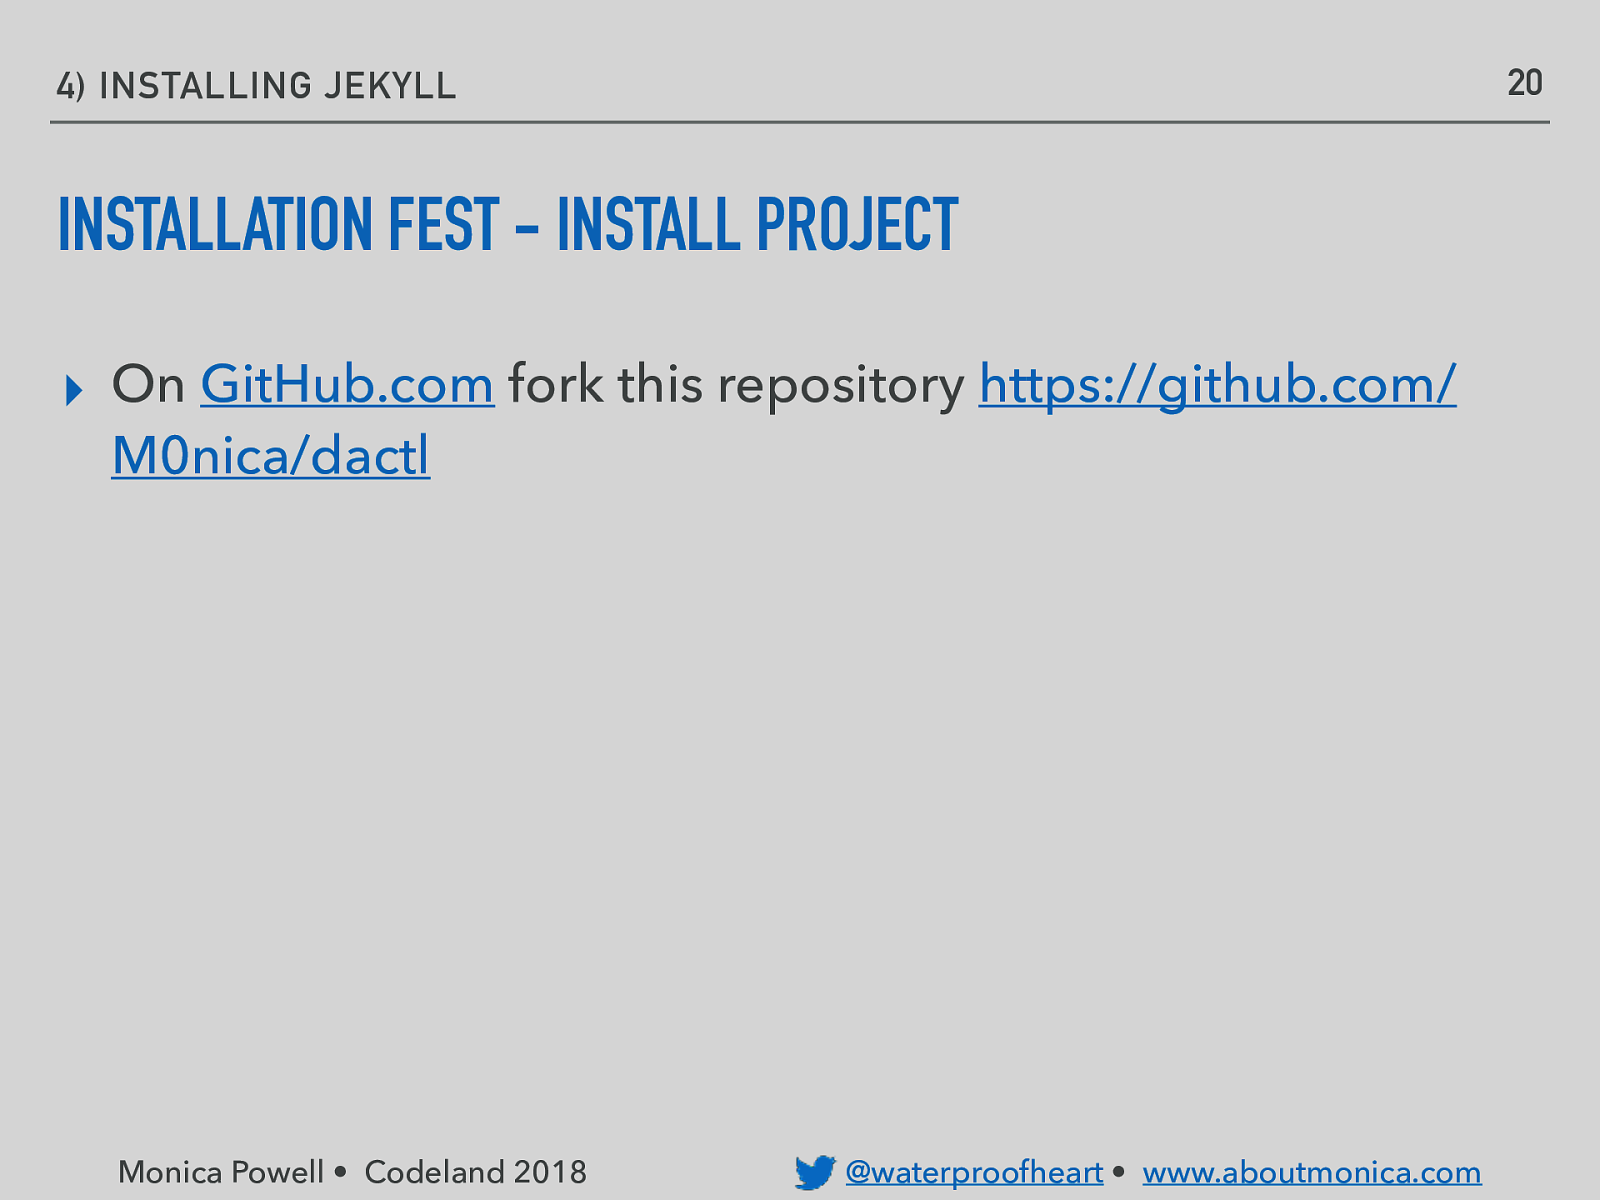
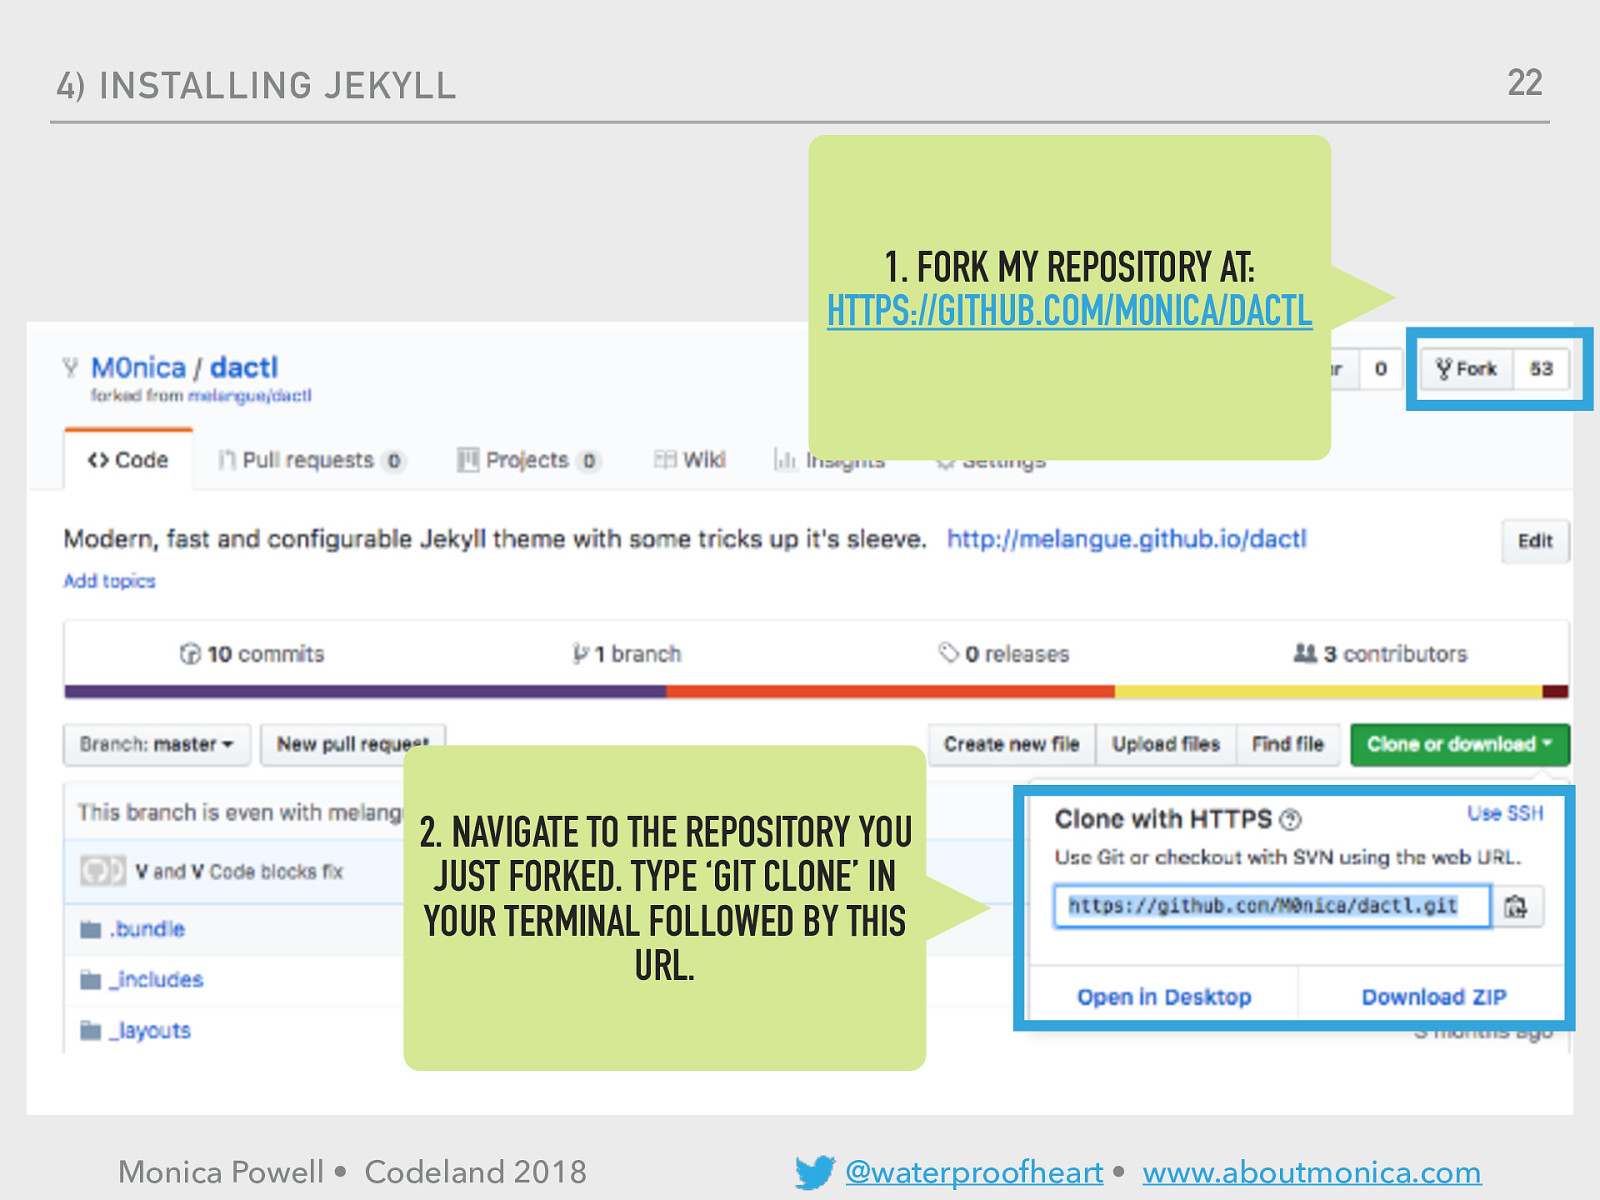
20 4) INSTALLING JEKYLL INSTALLATION FEST - INSTALL PROJECT ▸ On GitHub.com fork this repository https://github.com/ M0nica/dactl Monica Powell • Codeland 2018 @waterproofheart • www.aboutmonica.com
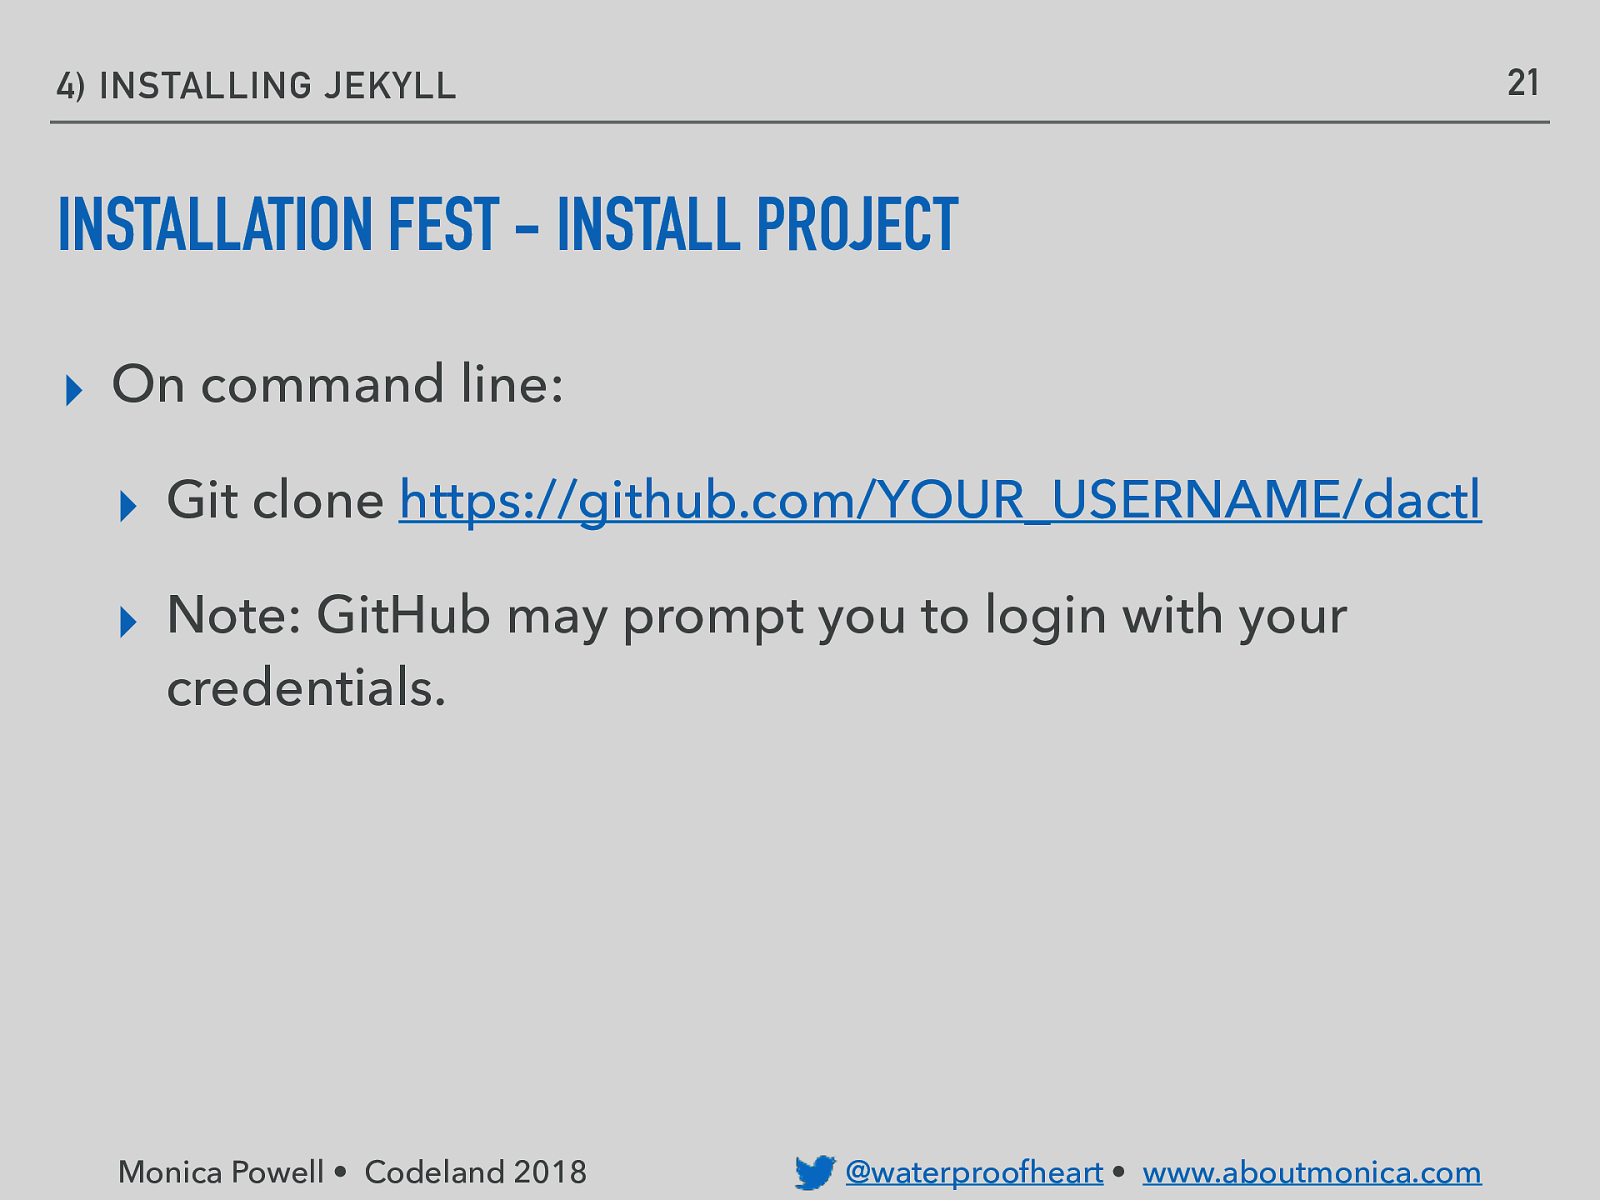
21 4) INSTALLING JEKYLL INSTALLATION FEST - INSTALL PROJECT ▸ On command line: ▸ Git clone https://github.com/YOUR_USERNAME/dactl ▸ Note: GitHub may prompt you to login with your credentials. Monica Powell • Codeland 2018 @waterproofheart • www.aboutmonica.com
22 4) INSTALLING JEKYLL
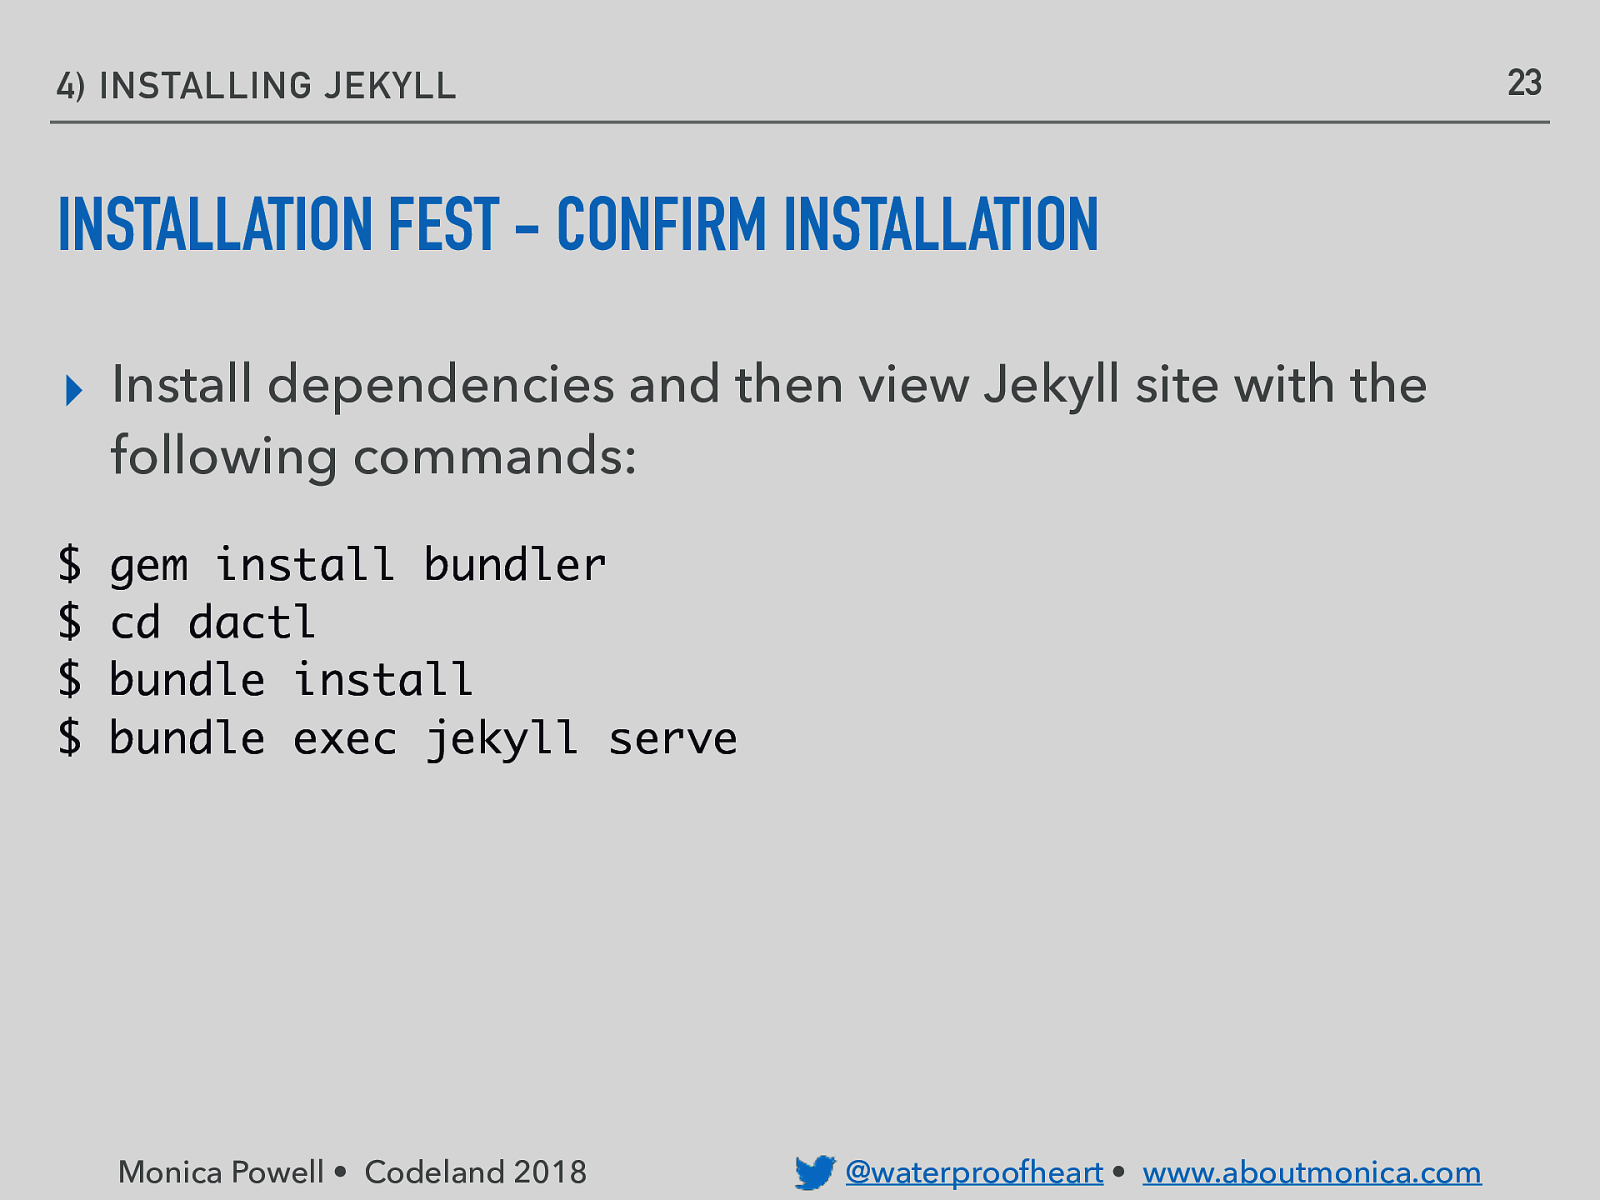
23 4) INSTALLING JEKYLL INSTALLATION FEST - CONFIRM INSTALLATION ▸ Install dependencies and then view Jekyll site with the following commands: $ $ $ $ gem install bundler cd dactl bundle install bundle exec jekyll serve Monica Powell • Codeland 2018 @waterproofheart • www.aboutmonica.com
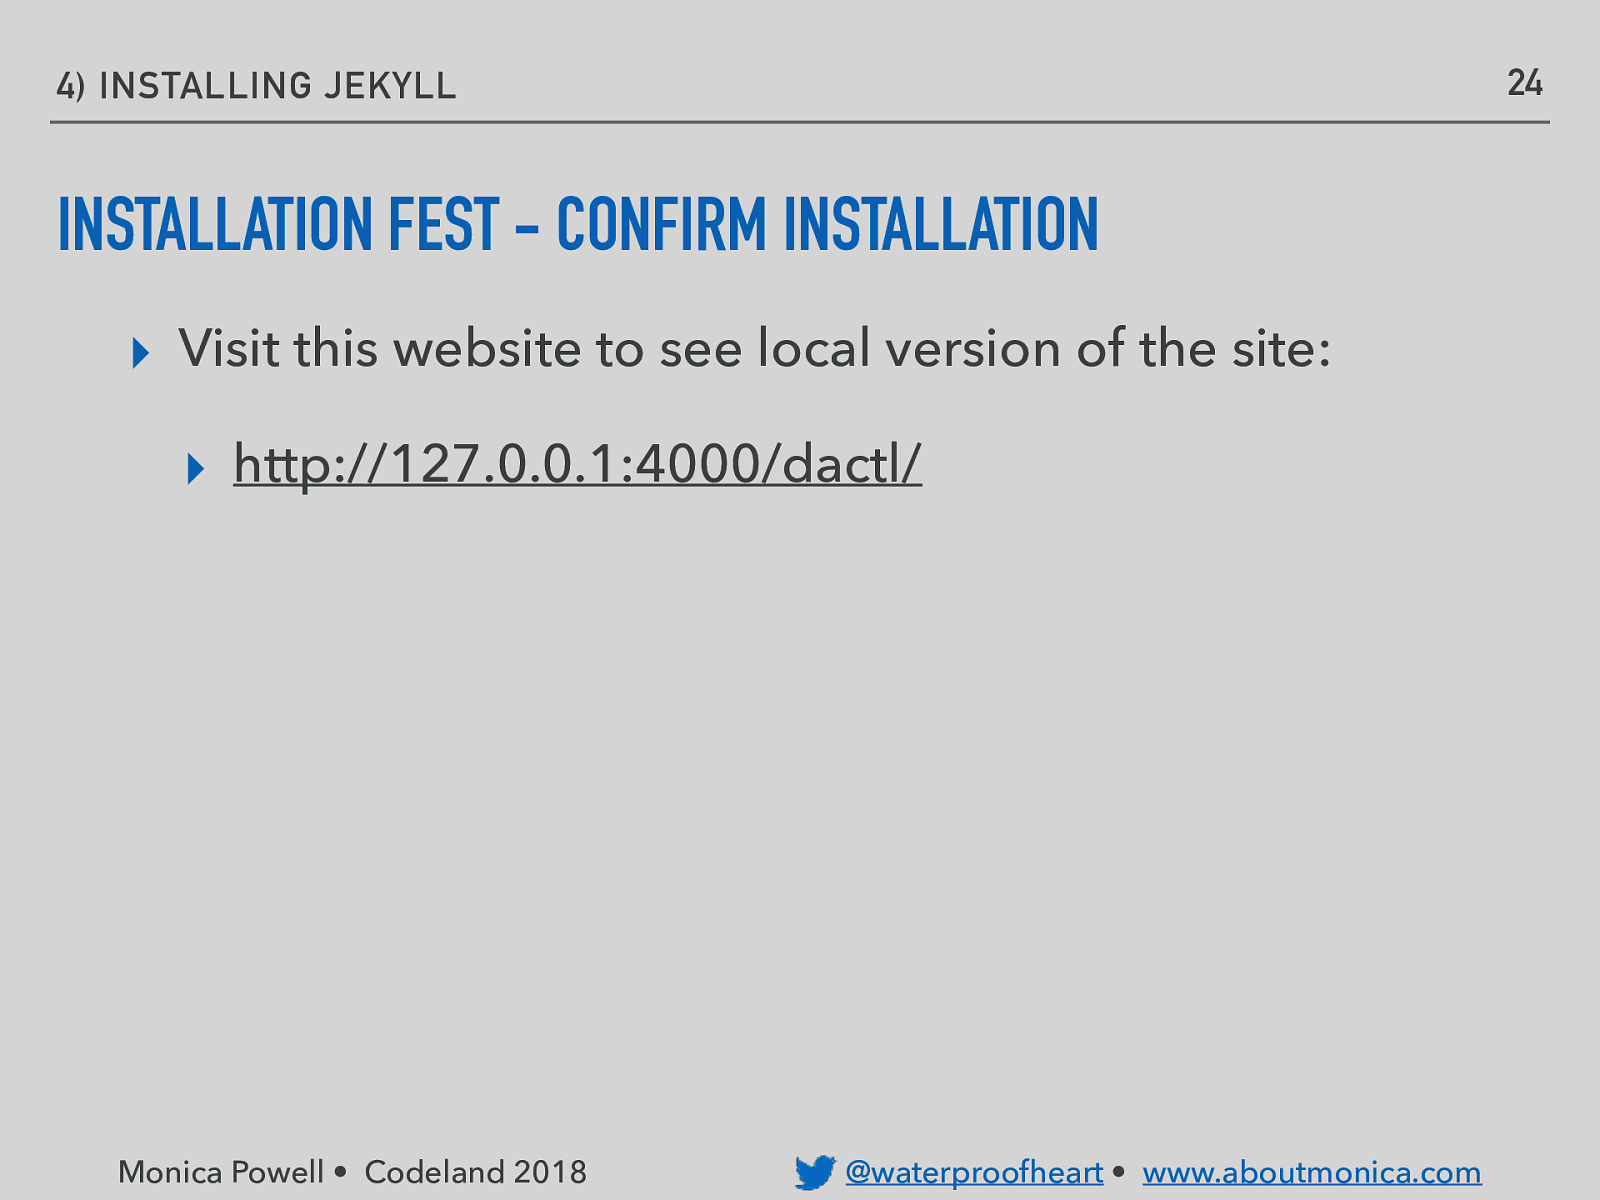
24 4) INSTALLING JEKYLL INSTALLATION FEST - CONFIRM INSTALLATION ▸ Visit this website to see local version of the site: ▸ http://127.0.0.1:4000/dactl/ Monica Powell • Codeland 2018 @waterproofheart • www.aboutmonica.com
EDITING JEKYLL SITE
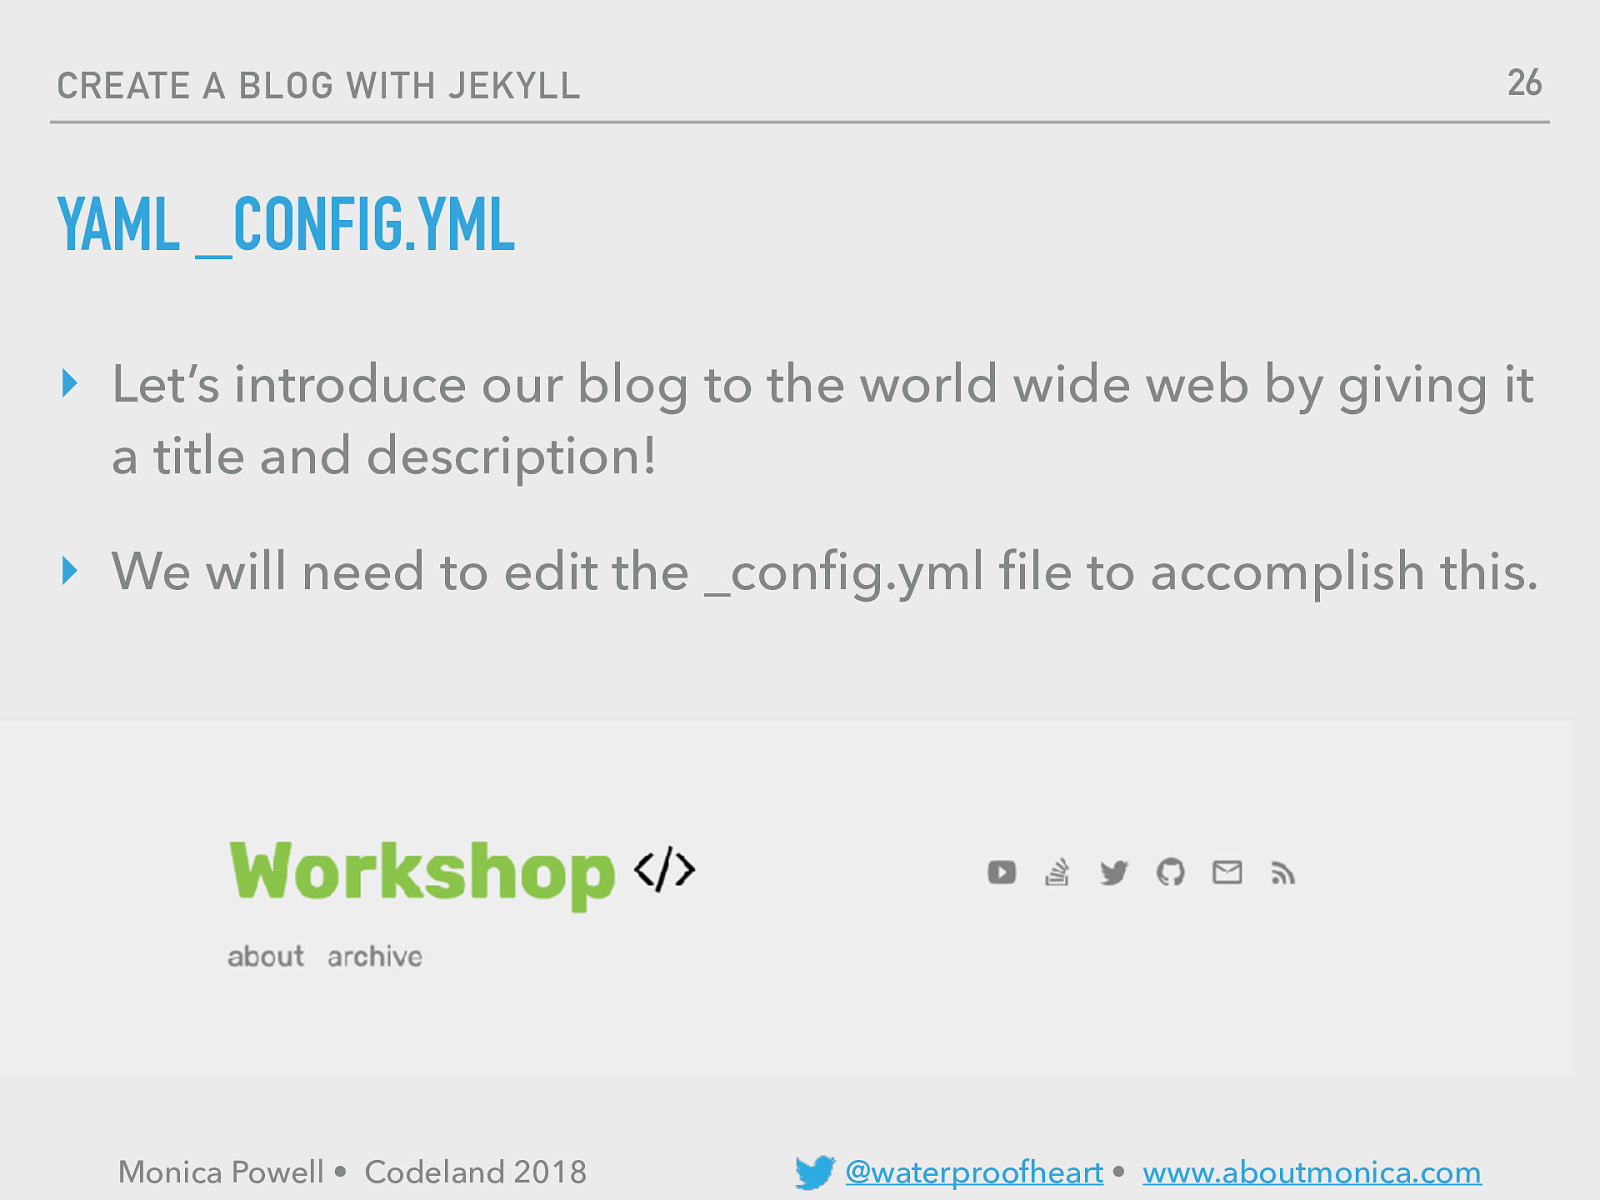
26 CREATE A BLOG WITH JEKYLL YAML _CONFIG.YML ‣ Let’s introduce our blog to the world wide web by giving it a title and description! ‣ We will need to edit the _config.yml file to accomplish this. Monica Powell • Codeland 2018 @waterproofheart • www.aboutmonica.com
27 CREATE A BLOG WITH JEKYLL YAML _CONFIG.YML ‣ Activity: Edit site url, title and description in the _config.YML file. ‣ Hint: server can be reset by typing “ctrl + C” in terminal followed by “bundle exec jekyll serve”. Monica Powell • Codeland 2018 @waterproofheart • www.aboutmonica.com
WRITE FIRST BLOG POST
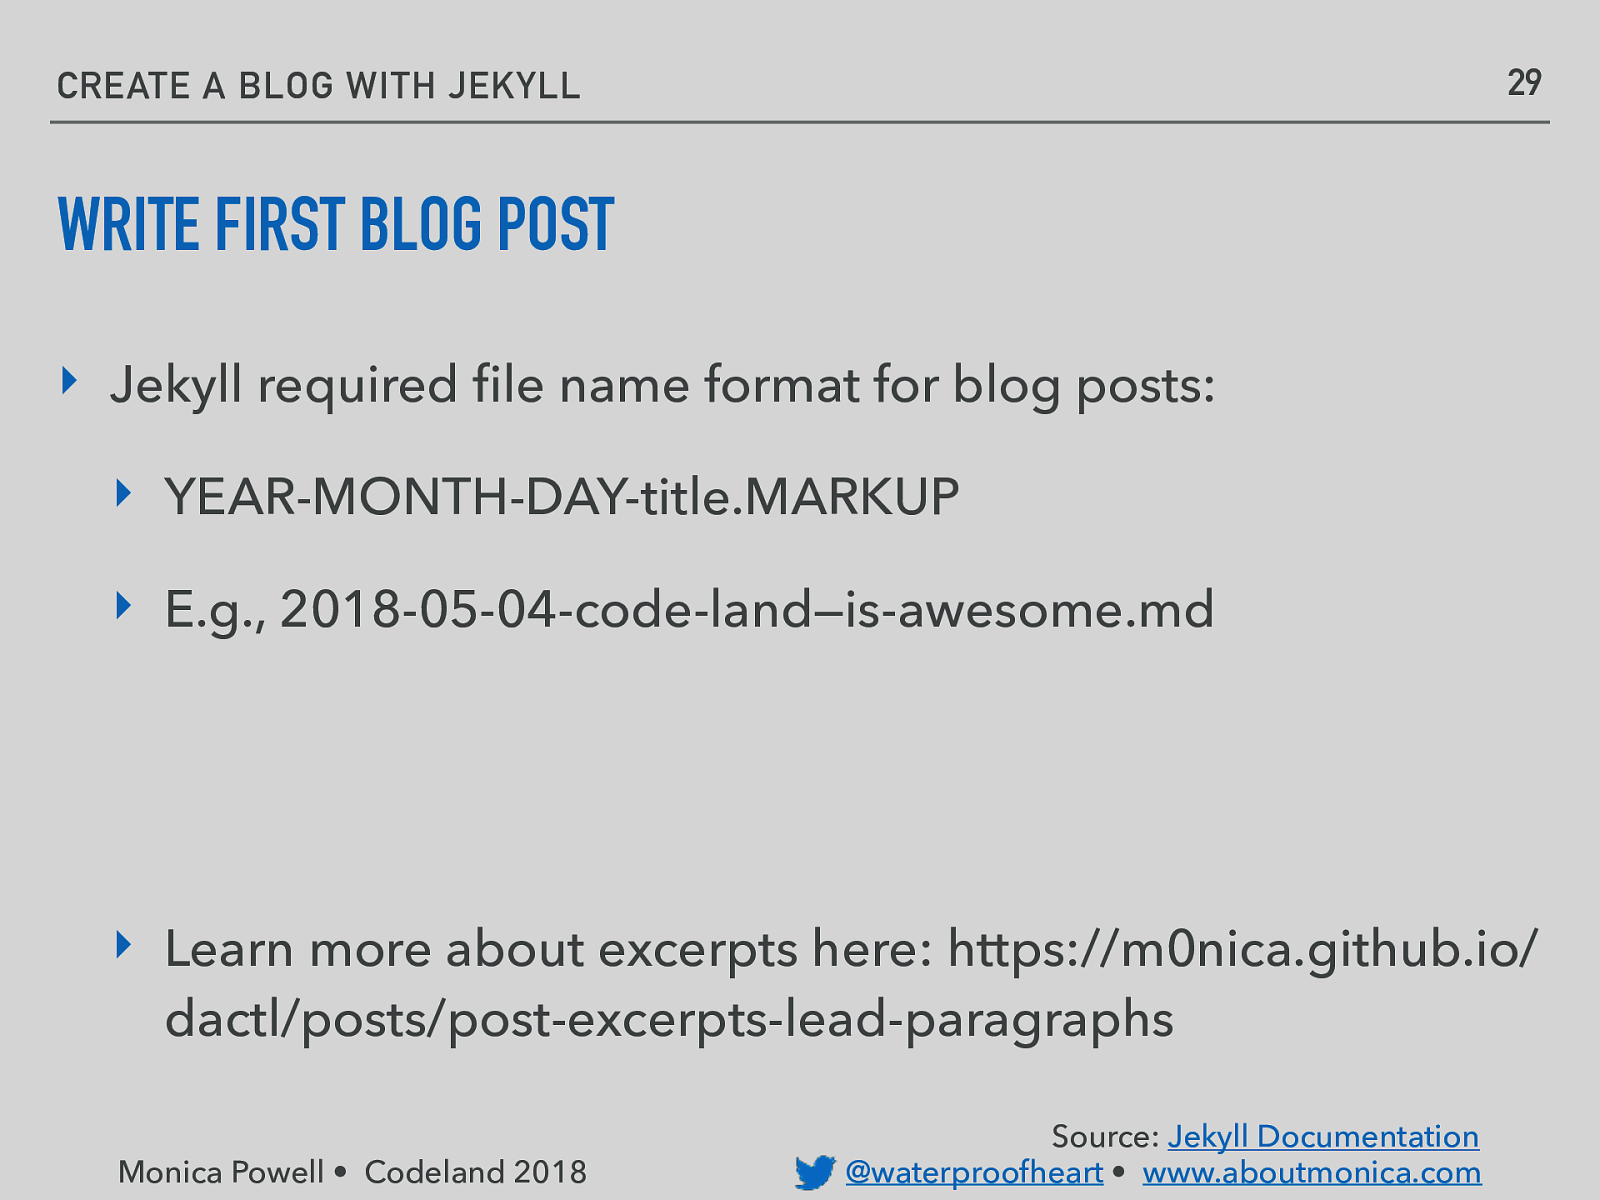
29 CREATE A BLOG WITH JEKYLL WRITE FIRST BLOG POST ‣ Jekyll required file name format for blog posts: ‣ YEAR-MONTH-DAY-title.MARKUP ‣ E.g., 2018-05-04-code-land—is-awesome.md ‣ Learn more about excerpts here: https://m0nica.github.io/ dactl/posts/post-excerpts-lead-paragraphs Monica Powell • Codeland 2018 Source: Jekyll Documentation @waterproofheart • www.aboutmonica.com
30 CREATE A BLOG WITH JEKYLL YAML FRONT MATTER “Any file that contains a YAML* front matter block will be processed by Jekyll as a special file. The front matter must be the first thing in the file and must take the form of valid YAML set between triple-dashed lines.” (Source: Jekyll Documentation) Monica Powell • Codeland 2018 @waterproofheart • www.aboutmonica.com
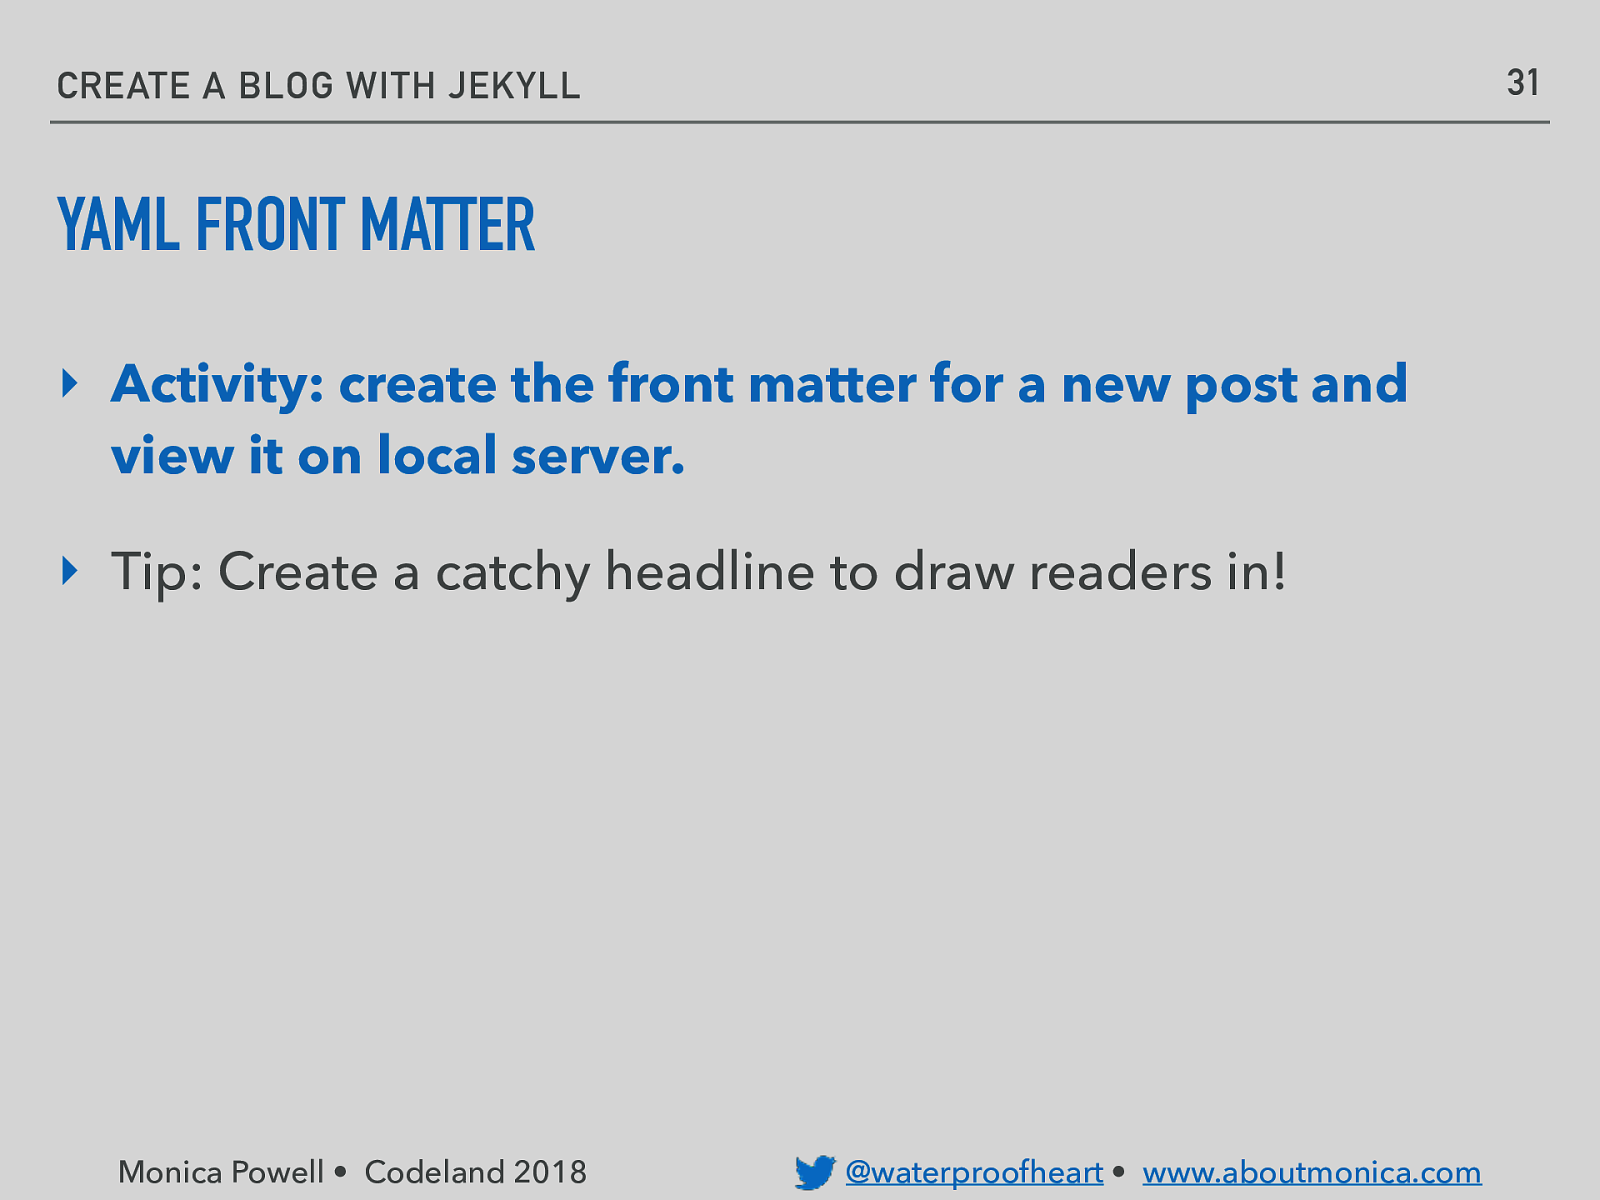
31 CREATE A BLOG WITH JEKYLL YAML FRONT MATTER ‣ Activity: create the front matter for a new post and view it on local server. ‣ Tip: Create a catchy headline to draw readers in! Monica Powell • Codeland 2018 @waterproofheart • www.aboutmonica.com
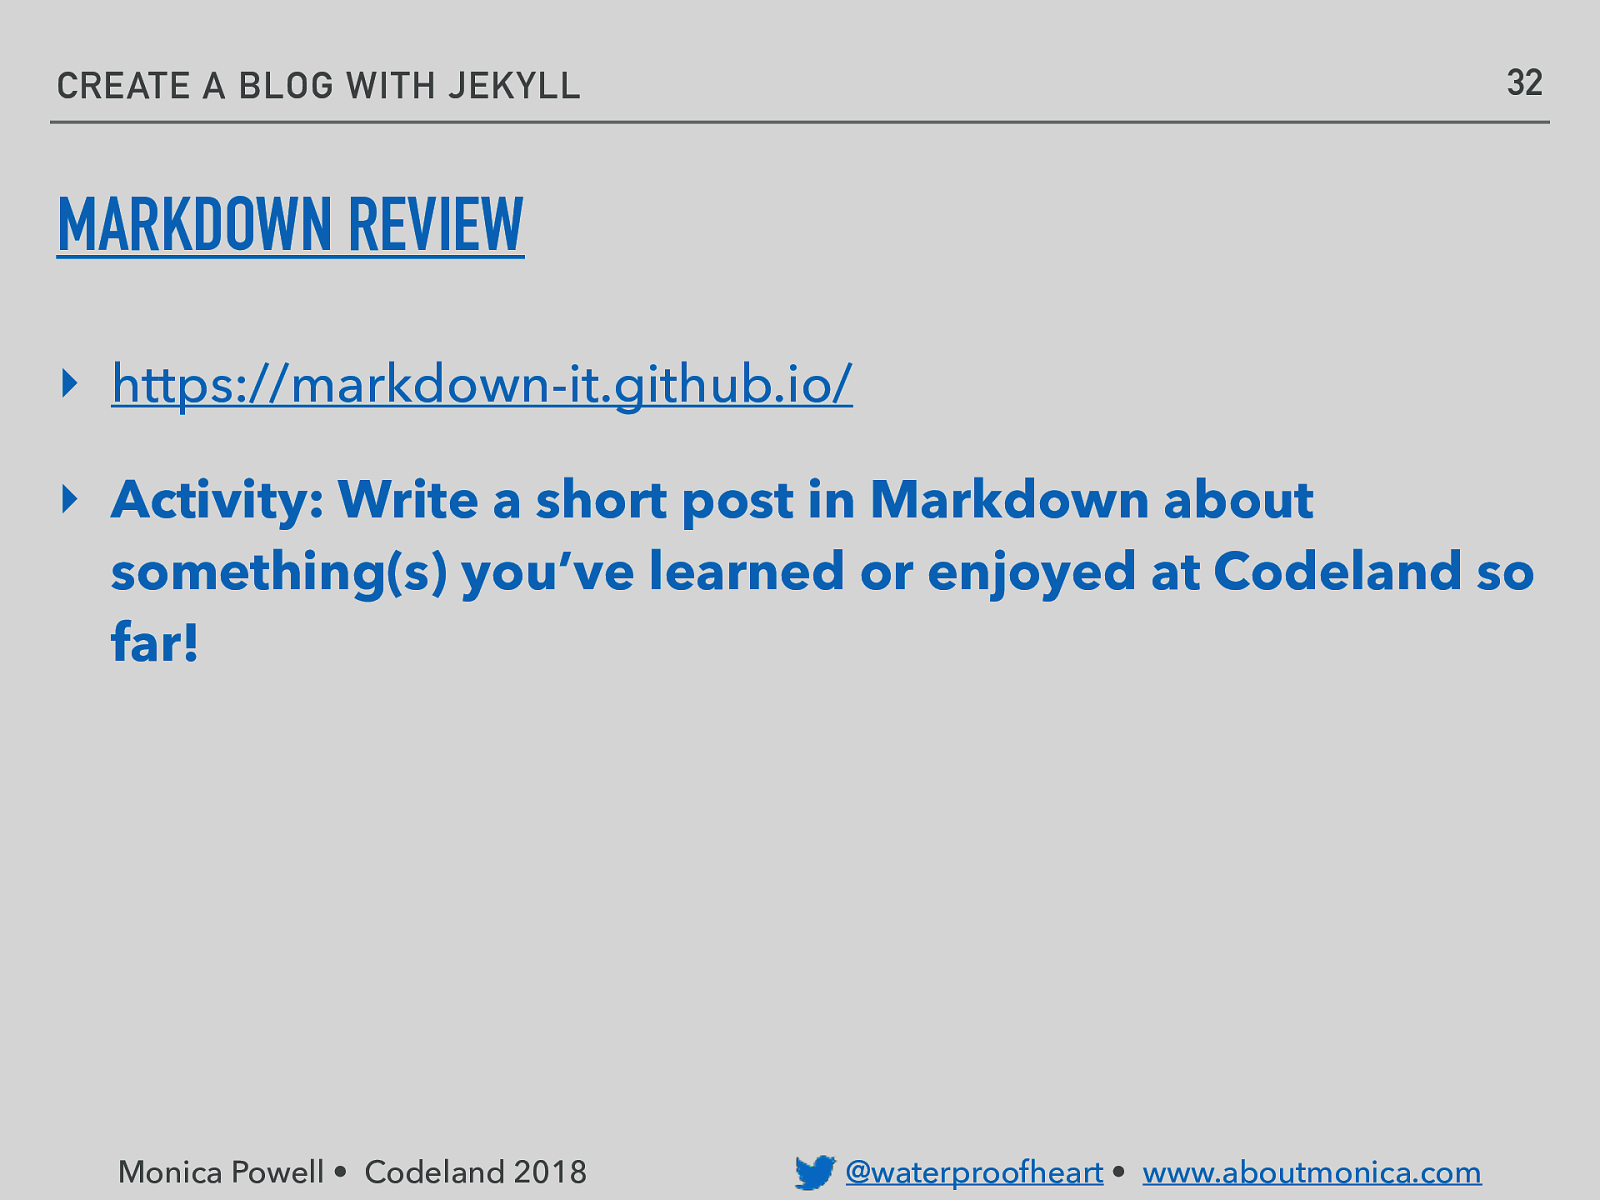
32 CREATE A BLOG WITH JEKYLL MARKDOWN REVIEW ‣ https://markdown-it.github.io/ ‣ Activity: Write a short post in Markdown about something(s) you’ve learned or enjoyed at Codeland so far! Monica Powell • Codeland 2018 @waterproofheart • www.aboutmonica.com
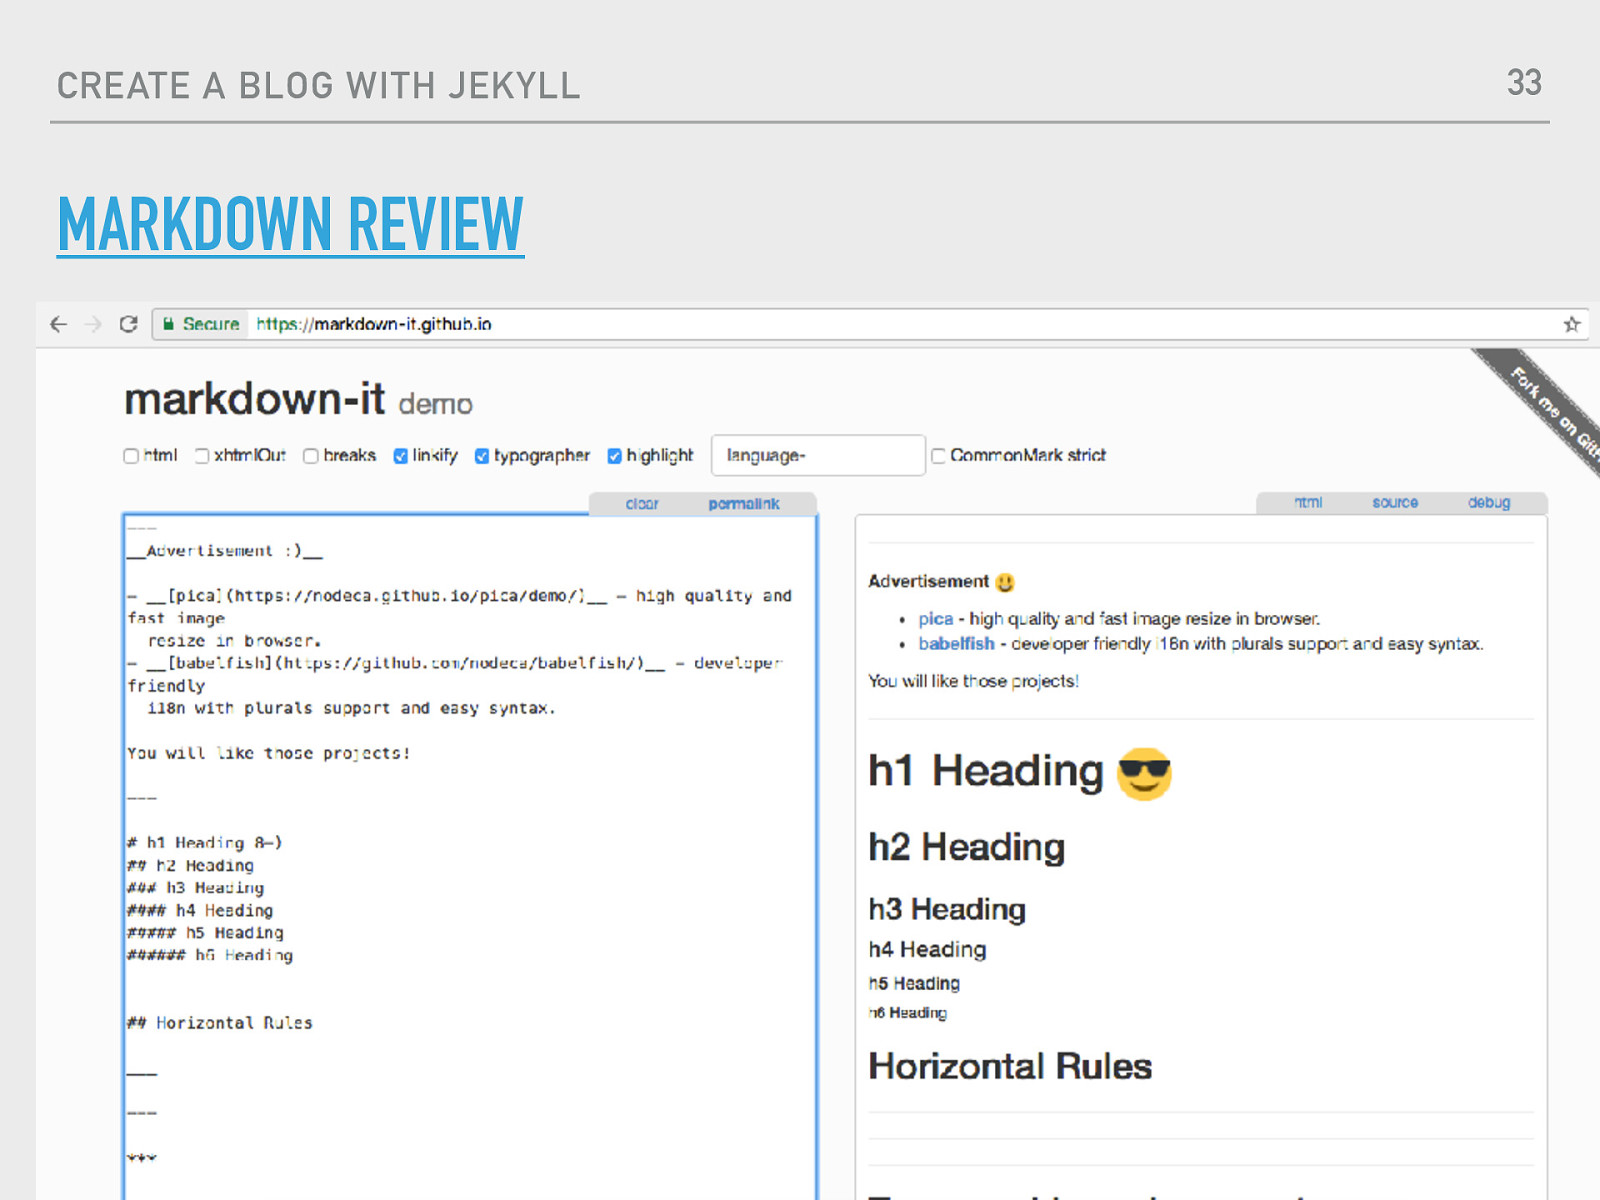
CREATE A BLOG WITH JEKYLL 33 MARKDOWN REVIEW Monica Powell • Codeland 2018 Source: Jekyll Documentation @waterproofheart • www.aboutmonica.com
34 CREATE A BLOG WITH JEKYLL YAML FRONT MATTER ‣ Activity edit post: ‣ Change photo overlay in front matter of our post from red to blue, green, purple or orange. Monica Powell • Codeland 2018 @waterproofheart • www.aboutmonica.com
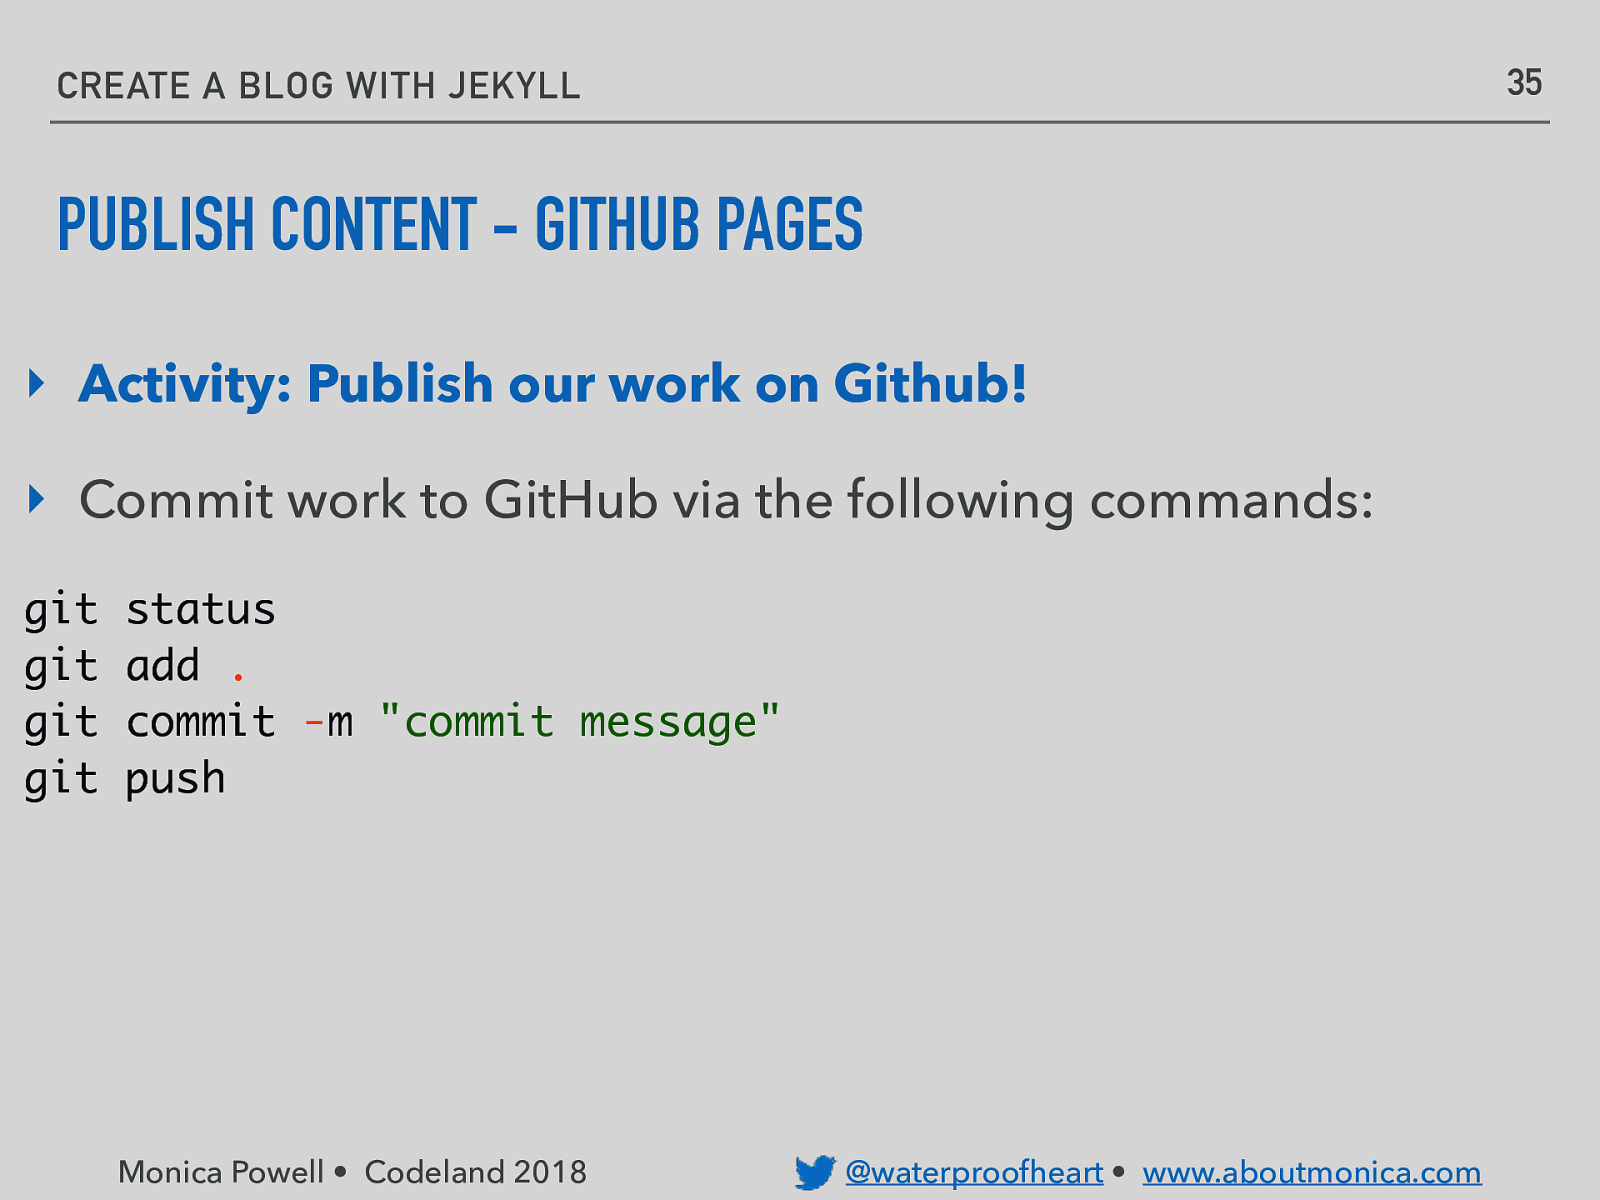
35 CREATE A BLOG WITH JEKYLL PUBLISH CONTENT - GITHUB PAGES ‣ Activity: Publish our work on Github! ‣ Commit work to GitHub via the following commands: git git git git status add . commit -m “commit message” push Monica Powell • Codeland 2018 @waterproofheart • www.aboutmonica.com
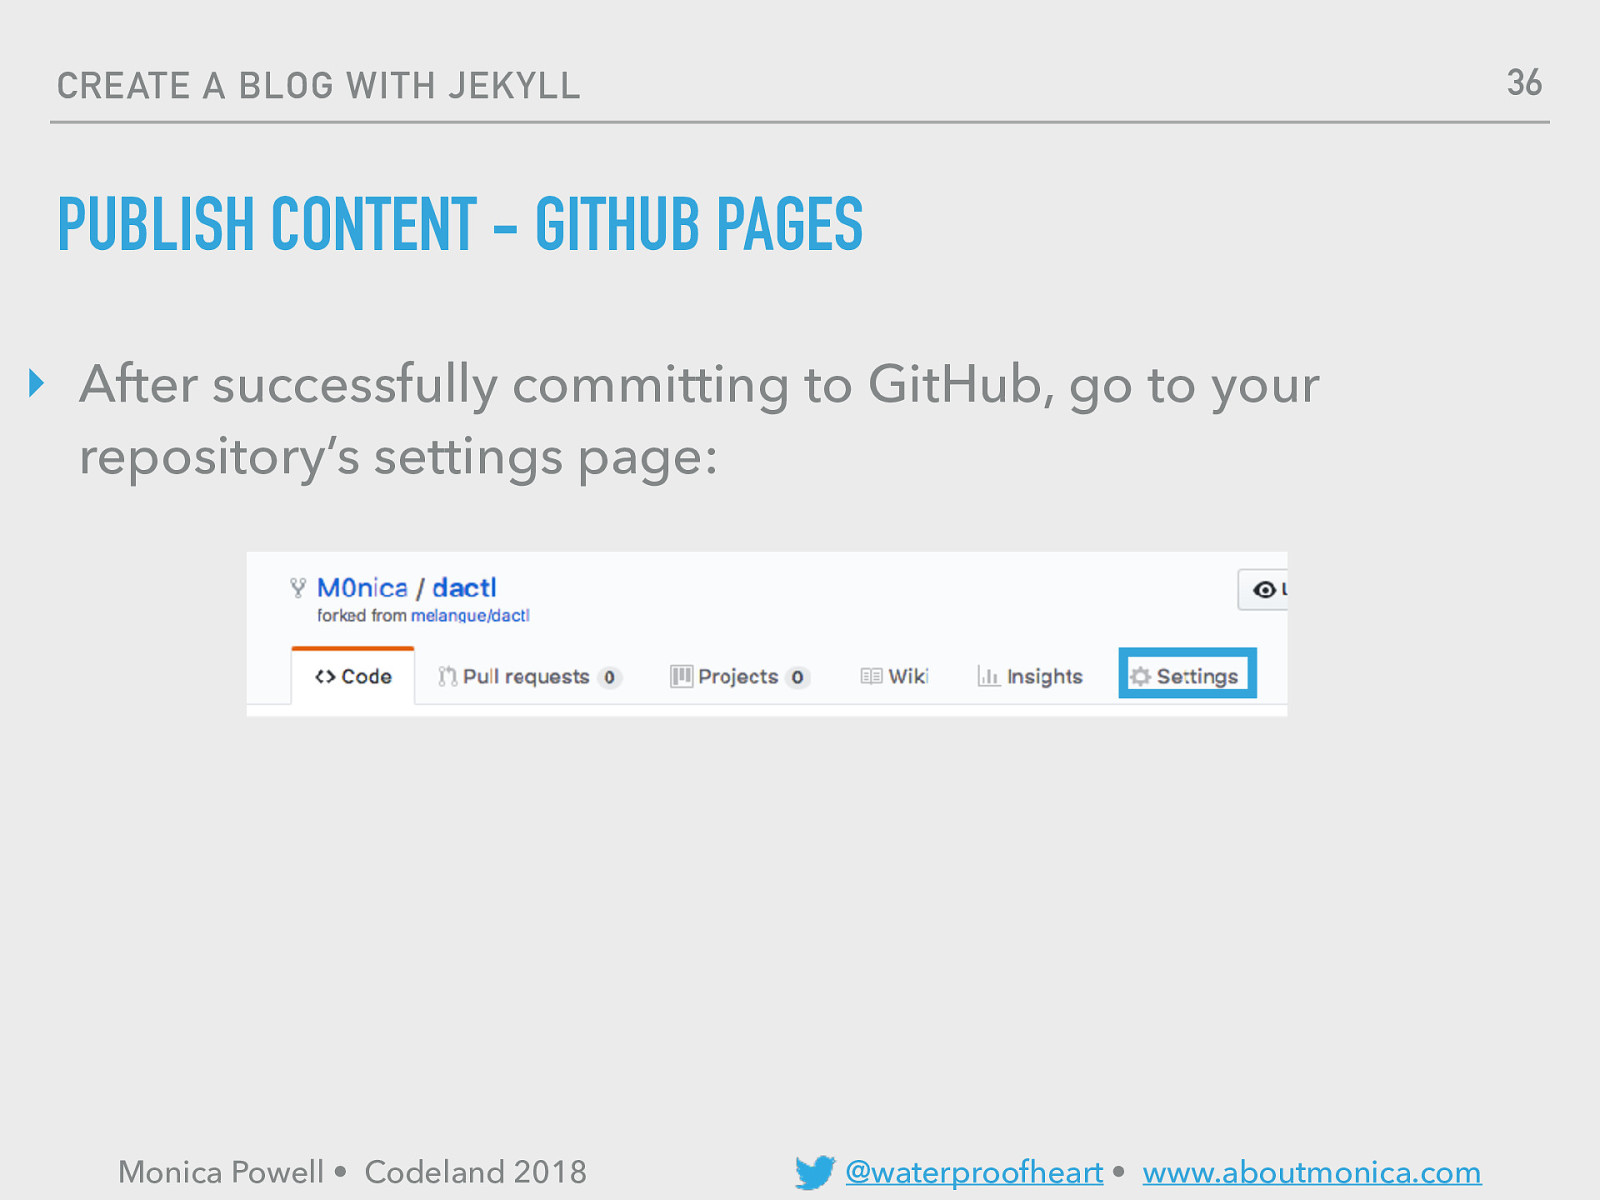
36 CREATE A BLOG WITH JEKYLL PUBLISH CONTENT - GITHUB PAGES ‣ After successfully committing to GitHub, go to your repository’s settings page: Monica Powell • Codeland 2018 @waterproofheart • www.aboutmonica.com
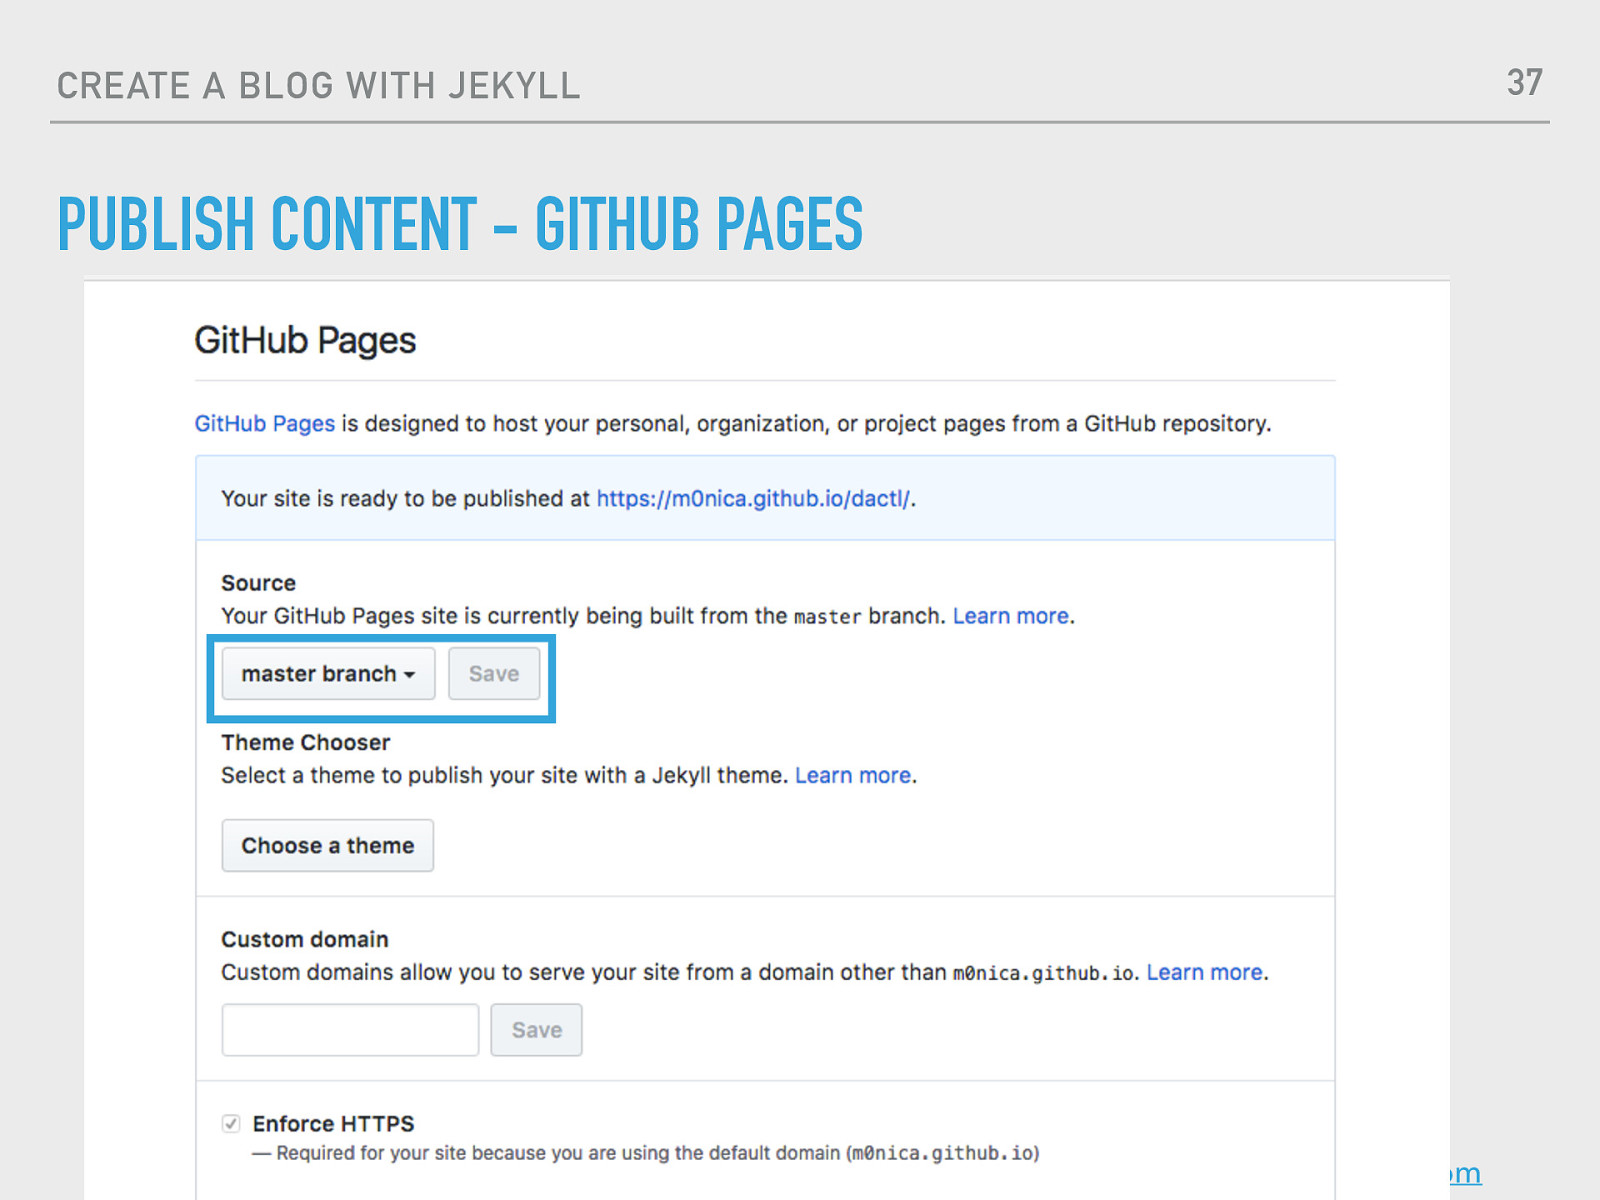
37 CREATE A BLOG WITH JEKYLL PUBLISH CONTENT - GITHUB PAGES Monica Powell • Codeland 2018 @waterproofheart • www.aboutmonica.com
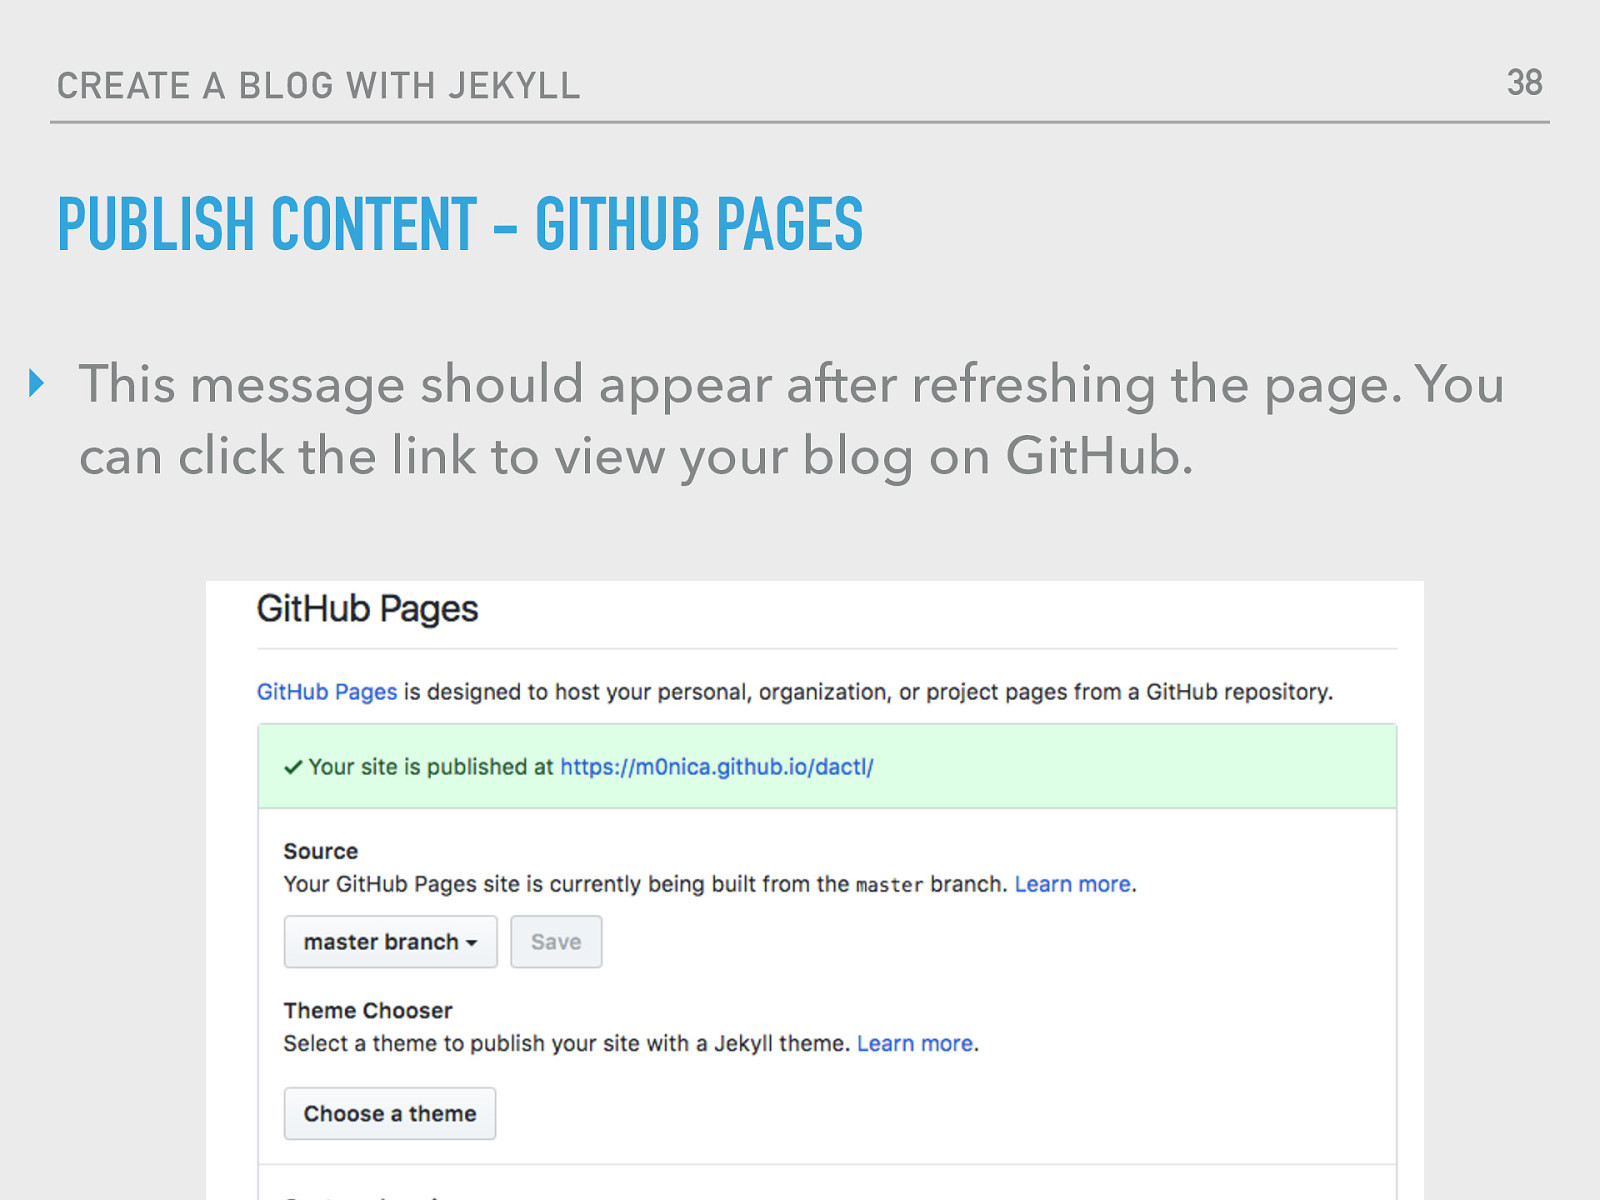
38 CREATE A BLOG WITH JEKYLL PUBLISH CONTENT - GITHUB PAGES ‣ This message should appear after refreshing the page. You can click the link to view your blog on GitHub. Monica Powell • Codeland 2018 @waterproofheart • www.aboutmonica.com
39 CREATE A BLOG WITH JEKYLL ADDING CONTENT - CODE BLOCKS ‣ Activity: Add a block of code to your blog post {% highlight ruby %} def foo puts ‘foo’ end {% endhighlight %} Monica Powell • Codeland 2018 @waterproofheart • www.aboutmonica.com
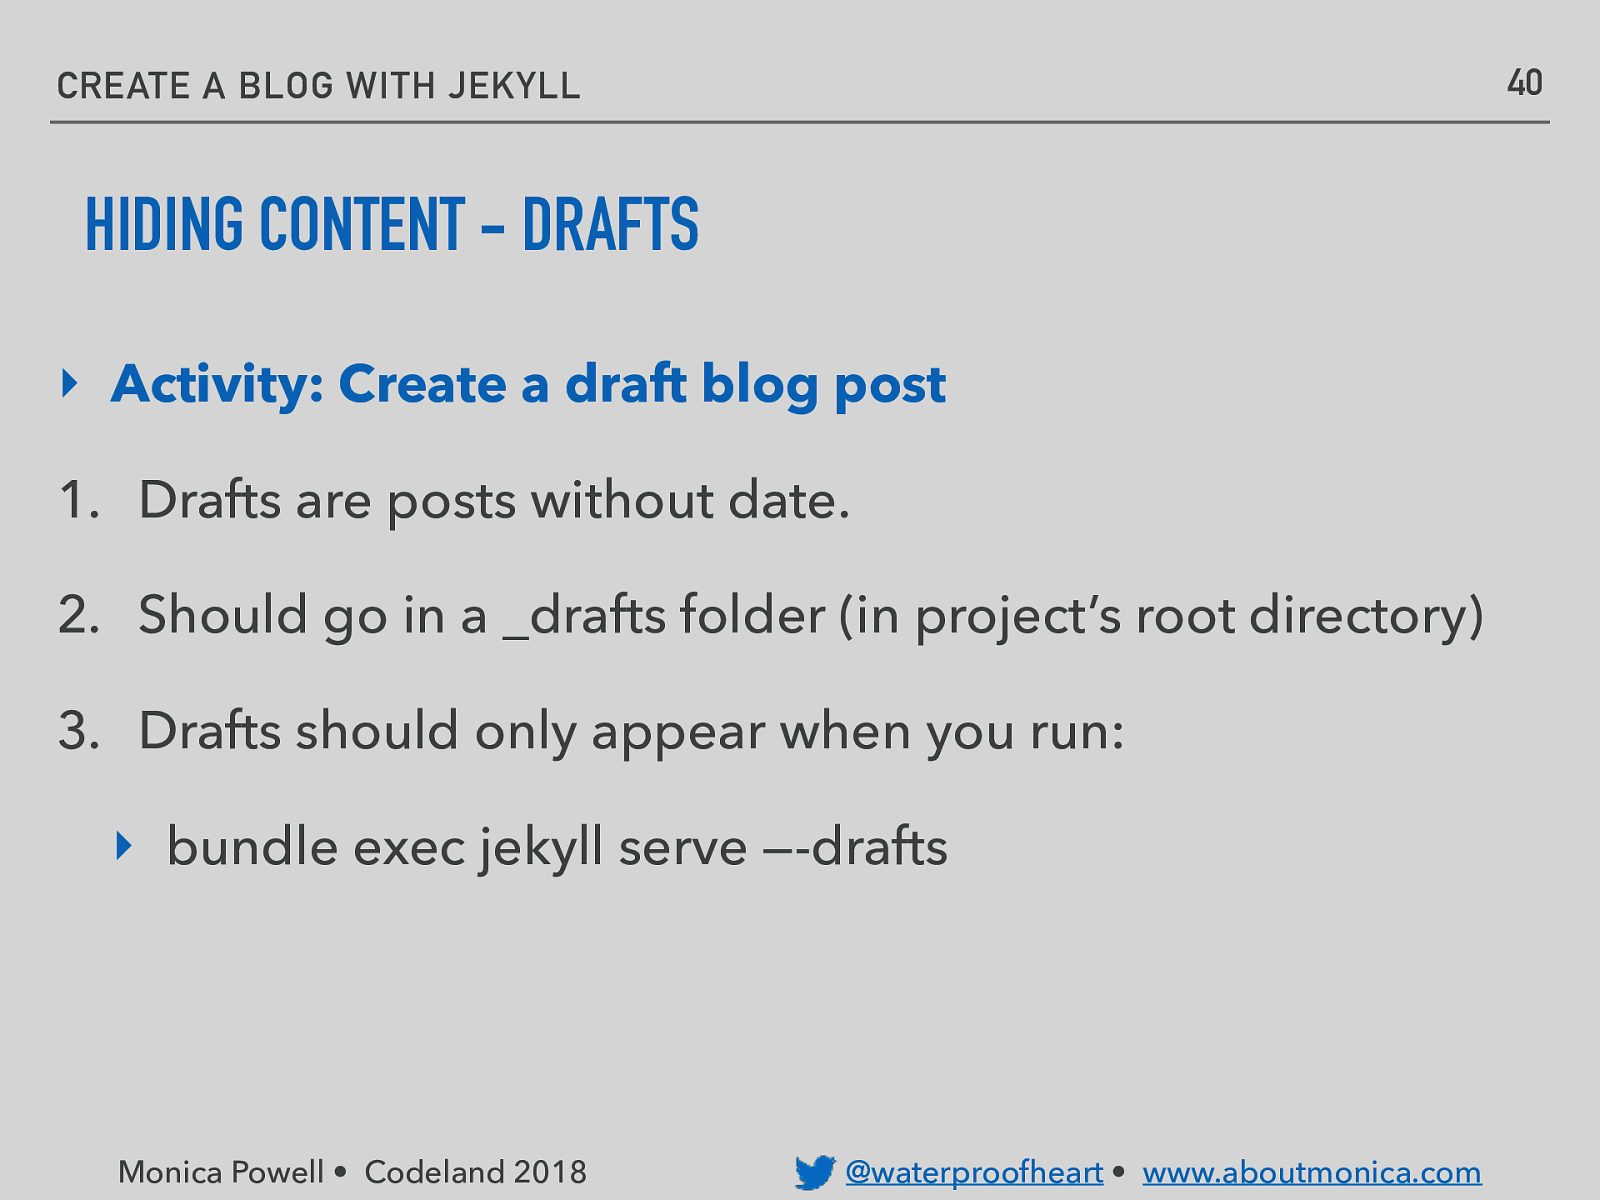
40 CREATE A BLOG WITH JEKYLL HIDING CONTENT - DRAFTS ‣ Activity: Create a draft blog post 1. Drafts are posts without date. 2. Should go in a _drafts folder (in project’s root directory) 3. Drafts should only appear when you run: ‣ bundle exec jekyll serve —-drafts Monica Powell • Codeland 2018 @waterproofheart • www.aboutmonica.com
41 CREATE A BLOG WITH JEKYLL ADDING CONTENT - ABOUT PAGE ‣ Activity: Edit About page to better reflect YOU! Monica Powell • Codeland 2018 @waterproofheart • www.aboutmonica.com
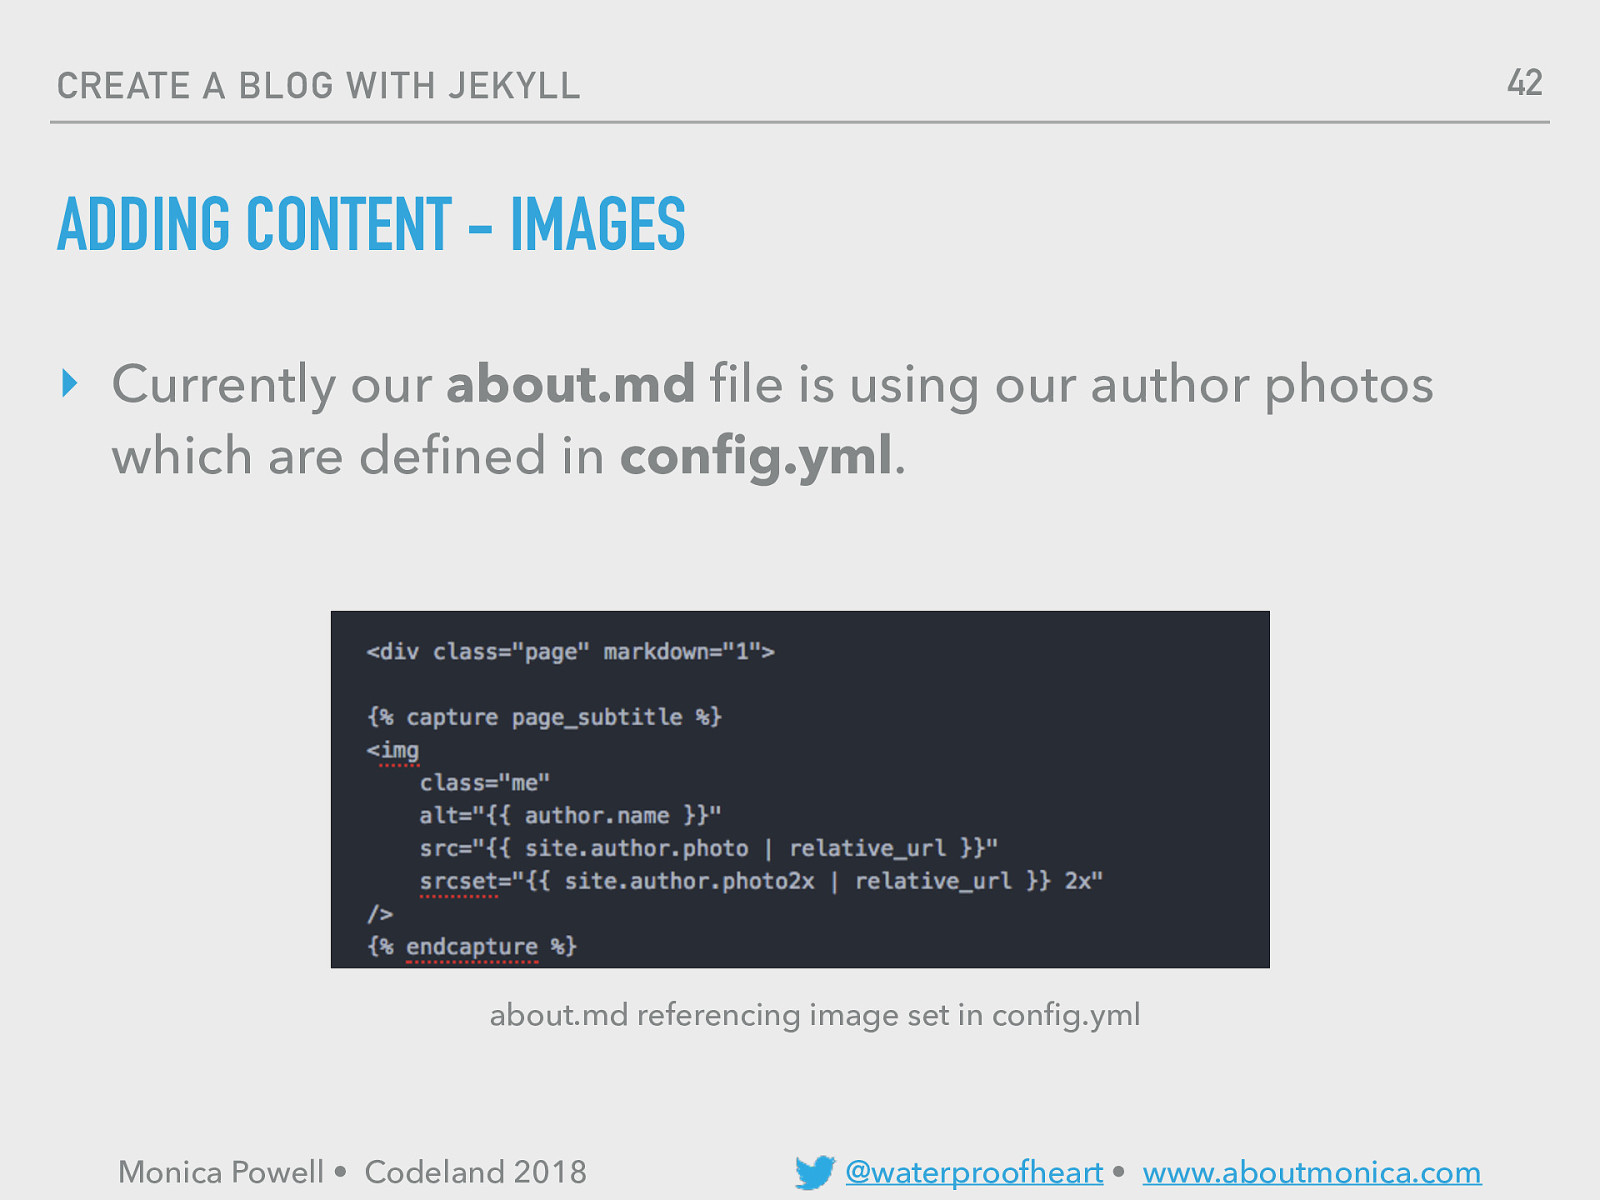
42 CREATE A BLOG WITH JEKYLL ADDING CONTENT - IMAGES ‣ Currently our about.md file is using our author photos which are defined in config.yml. about.md referencing image set in config.yml Monica Powell • Codeland 2018 @waterproofheart • www.aboutmonica.com
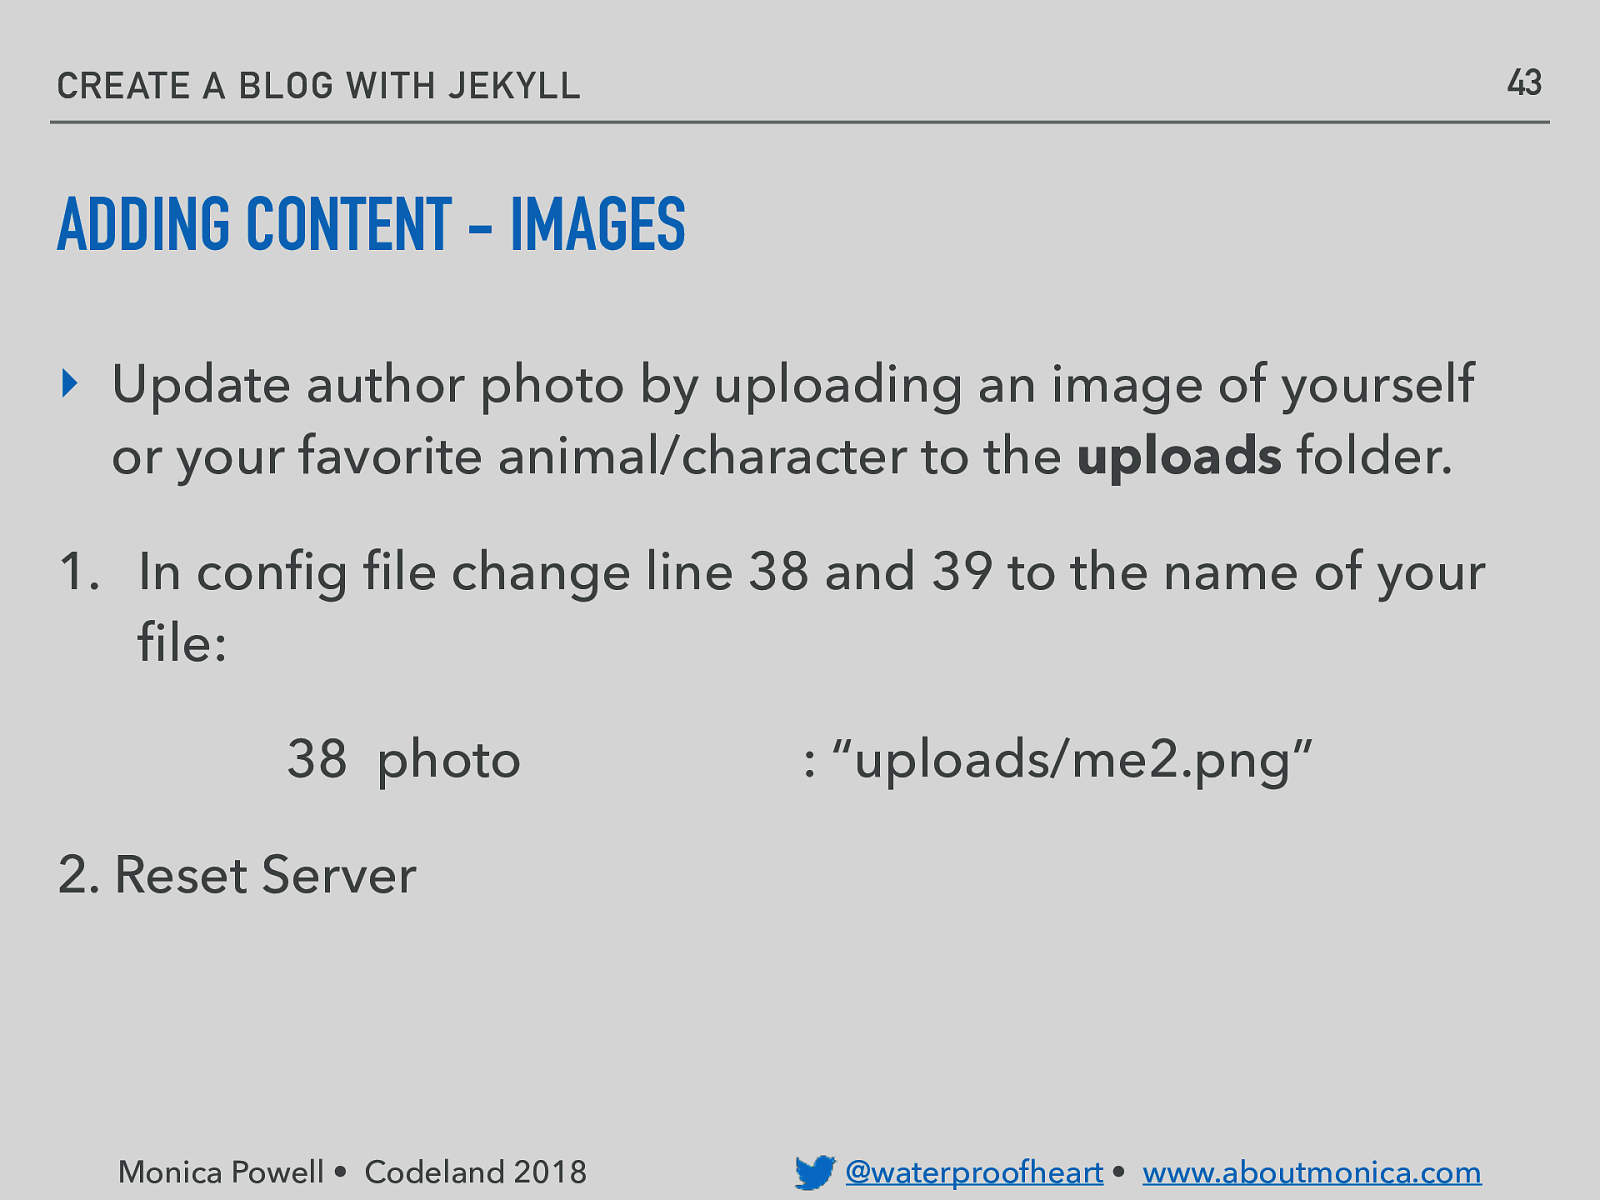
43 CREATE A BLOG WITH JEKYLL ADDING CONTENT - IMAGES ‣ Update author photo by uploading an image of yourself or your favorite animal/character to the uploads folder. 1. In config file change line 38 and 39 to the name of your file: 38 photo : “uploads/me2.png” 2. Reset Server Monica Powell • Codeland 2018 @waterproofheart • www.aboutmonica.com
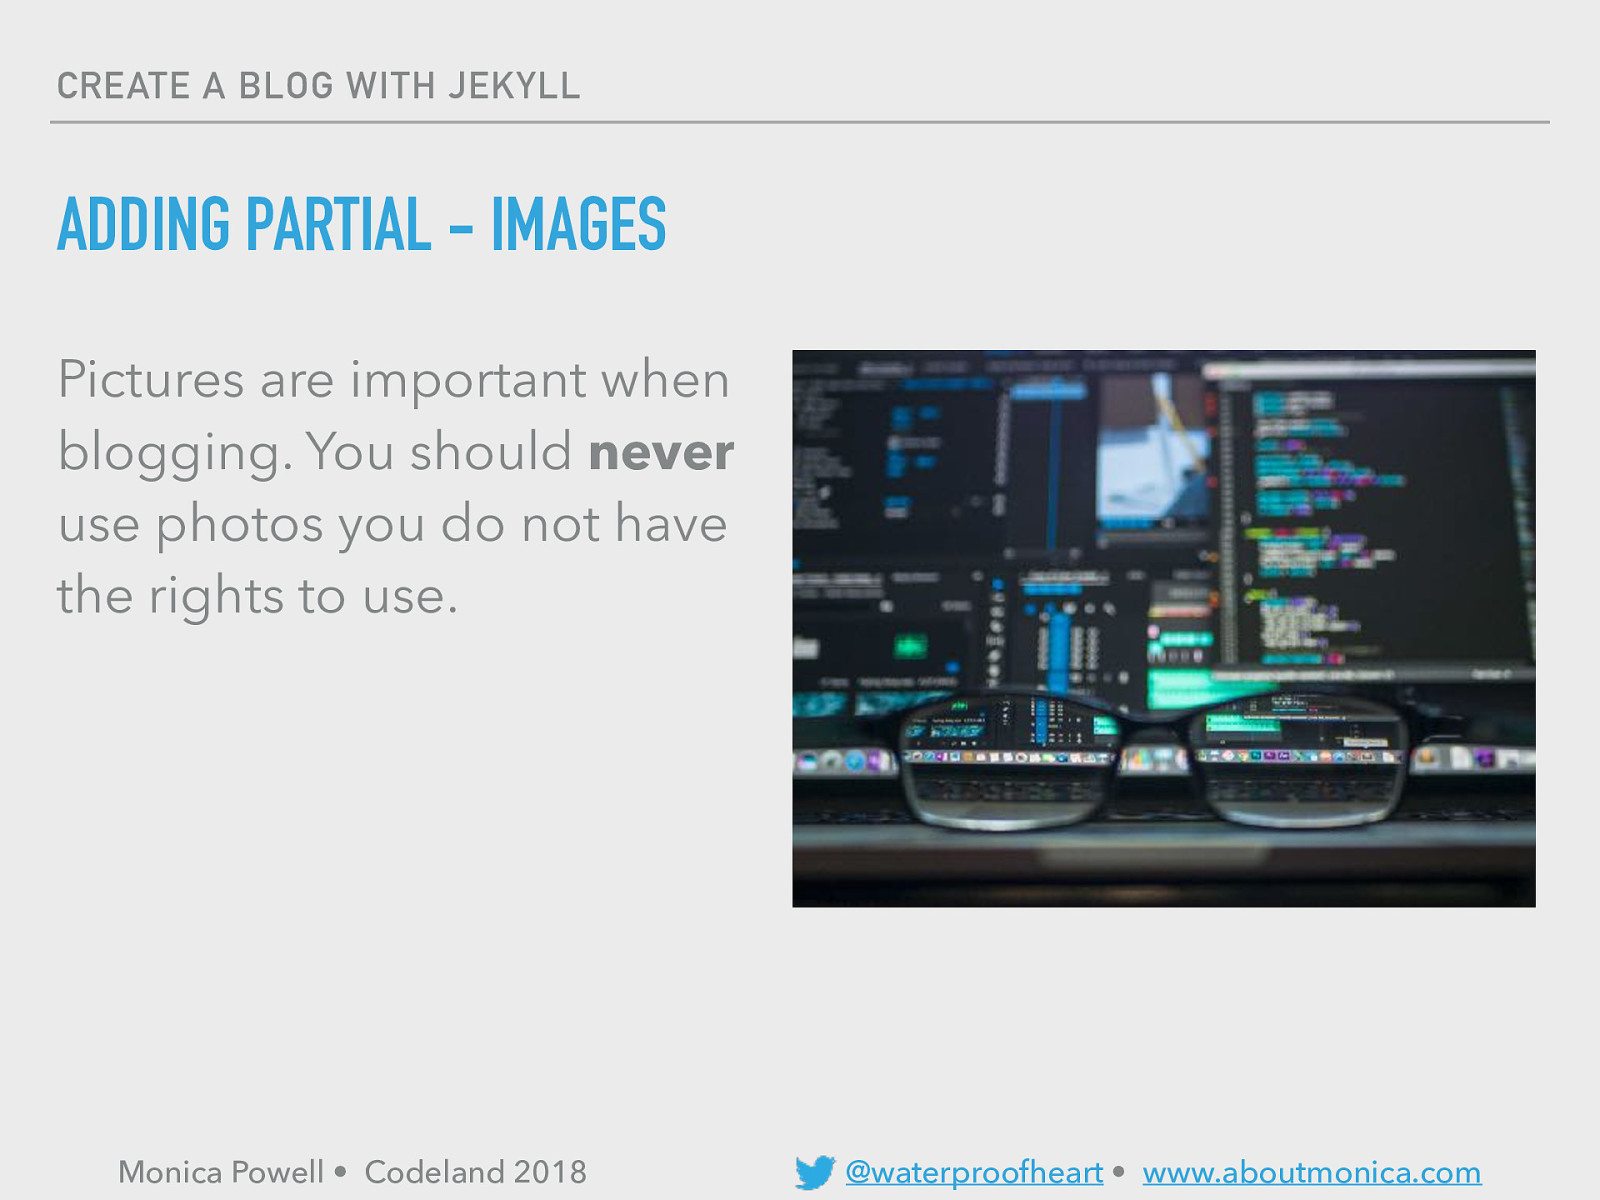
CREATE A BLOG WITH JEKYLL ADDING PARTIAL - IMAGES Pictures are important when blogging. You should never use photos you do not have the rights to use. Monica Powell • Codeland 2018 @waterproofheart • www.aboutmonica.com
CREATE A BLOG WITH JEKYLL ADDING PARTIAL - IMAGES Below are stock photos that are free for re-use: ‣ https://www.flickr.com/photos/wocintechchat/ (require attribution to #WOCinTech) ‣ https://unsplash.com/ ‣ https://www.pexels.com/ Monica Powell • Codeland 2018 @waterproofheart • www.aboutmonica.com
46 CREATE A BLOG WITH JEKYLL ADDING CONTENT - IMAGES 1. Find an image! 2. Add image to assets. 3. In YAML post hero: reference relative path “/assets/img/ filename.jpg” Monica Powell • Codeland 2018 @waterproofheart • www.aboutmonica.com
CREATE A BLOG WITH JEKYLL ADDING PARTIAL - SOCIAL ICONS ▸ “Posts with share buttons make content 7 times more shareable than content without them” ▸ Source: Salesforce Monica Powell • Codeland 2018 @waterproofheart • www.aboutmonica.com
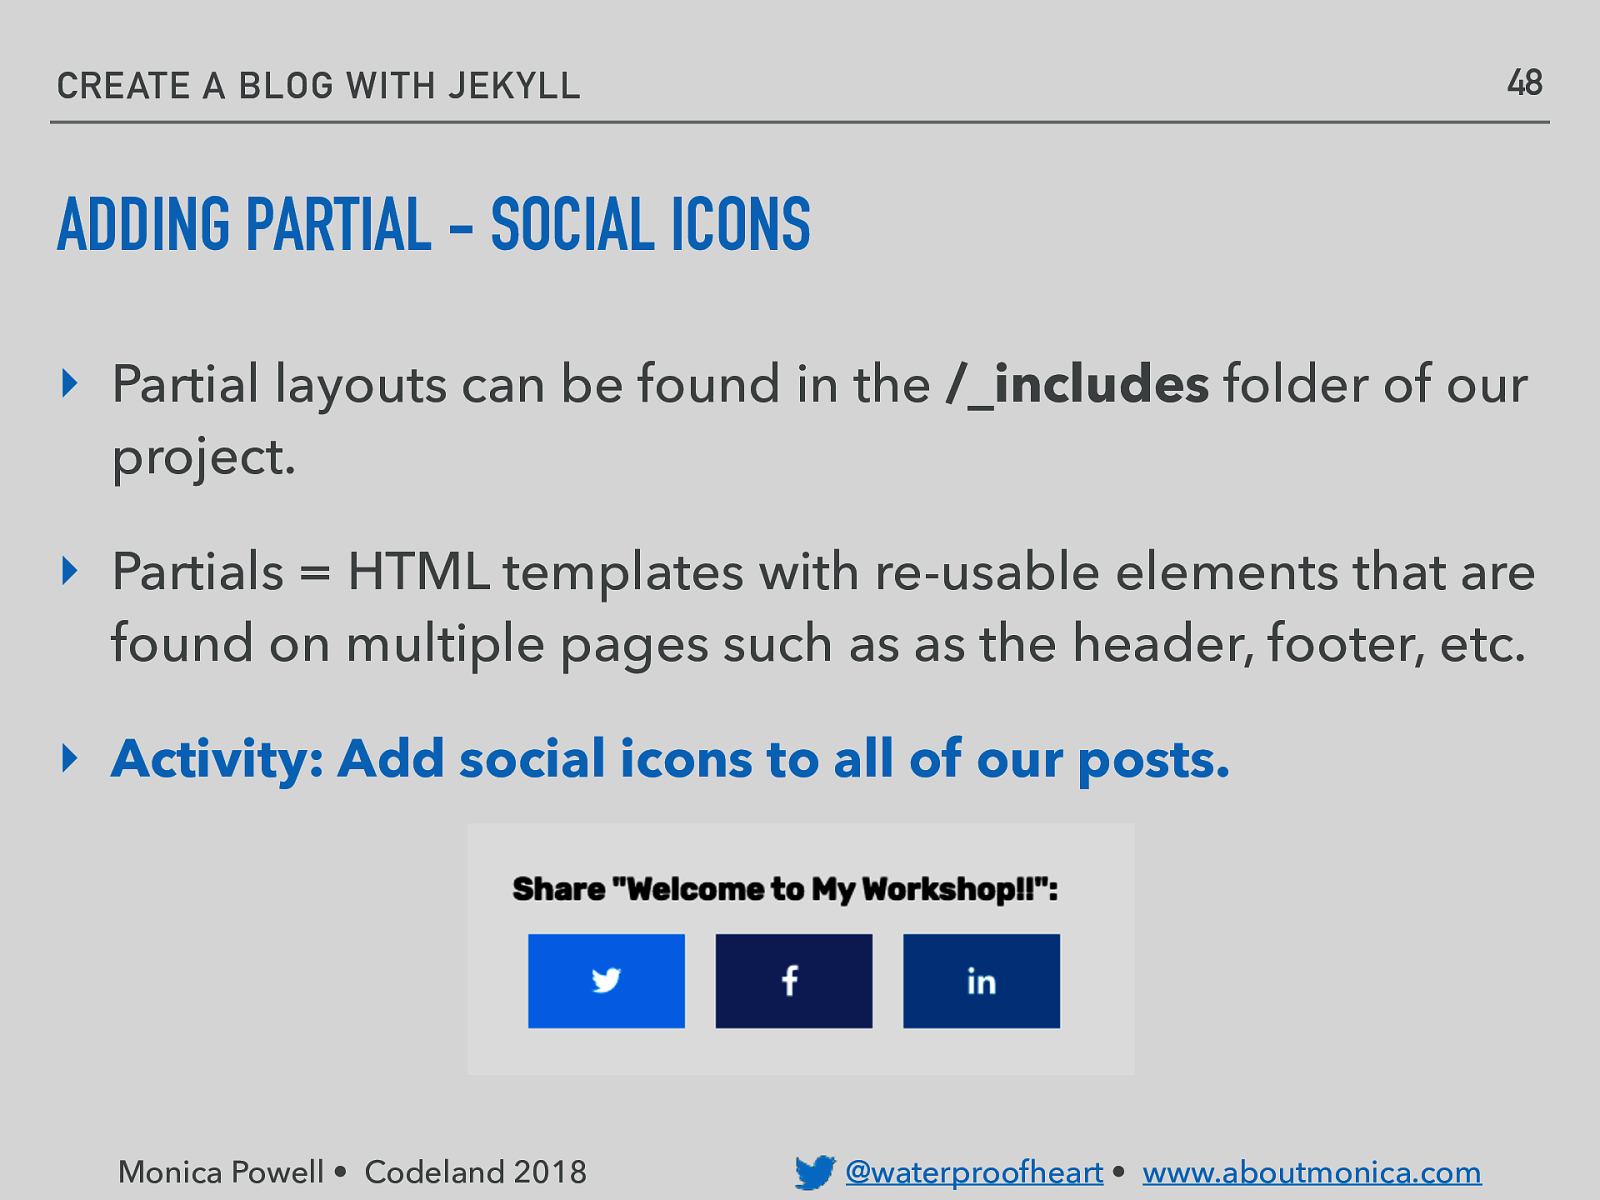
48 CREATE A BLOG WITH JEKYLL ADDING PARTIAL - SOCIAL ICONS ‣ Partial layouts can be found in the /_includes folder of our project. ‣ Partials = HTML templates with re-usable elements that are found on multiple pages such as as the header, footer, etc. ‣ Activity: Add social icons to all of our posts. Monica Powell • Codeland 2018 @waterproofheart • www.aboutmonica.com
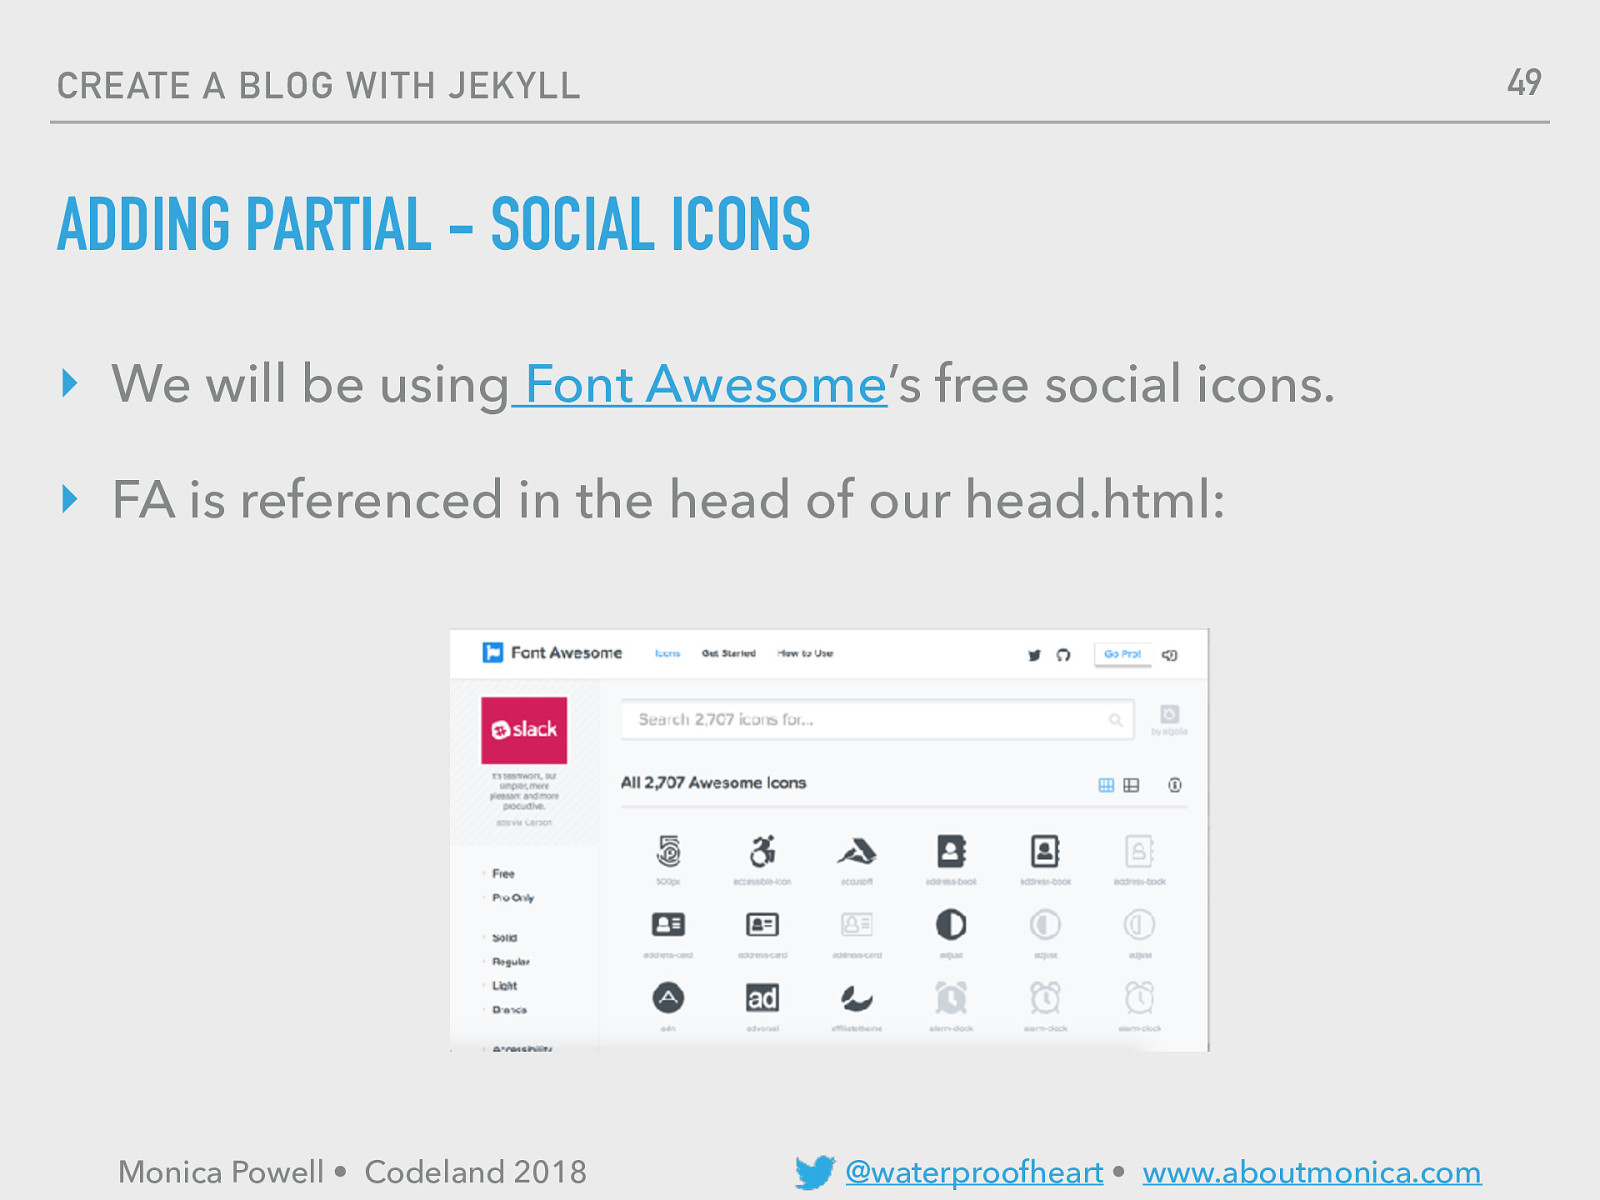
49 CREATE A BLOG WITH JEKYLL ADDING PARTIAL - SOCIAL ICONS ‣ We will be using Font Awesome’s free social icons. ‣ FA is referenced in the head of our head.html: Monica Powell • Codeland 2018 @waterproofheart • www.aboutmonica.com
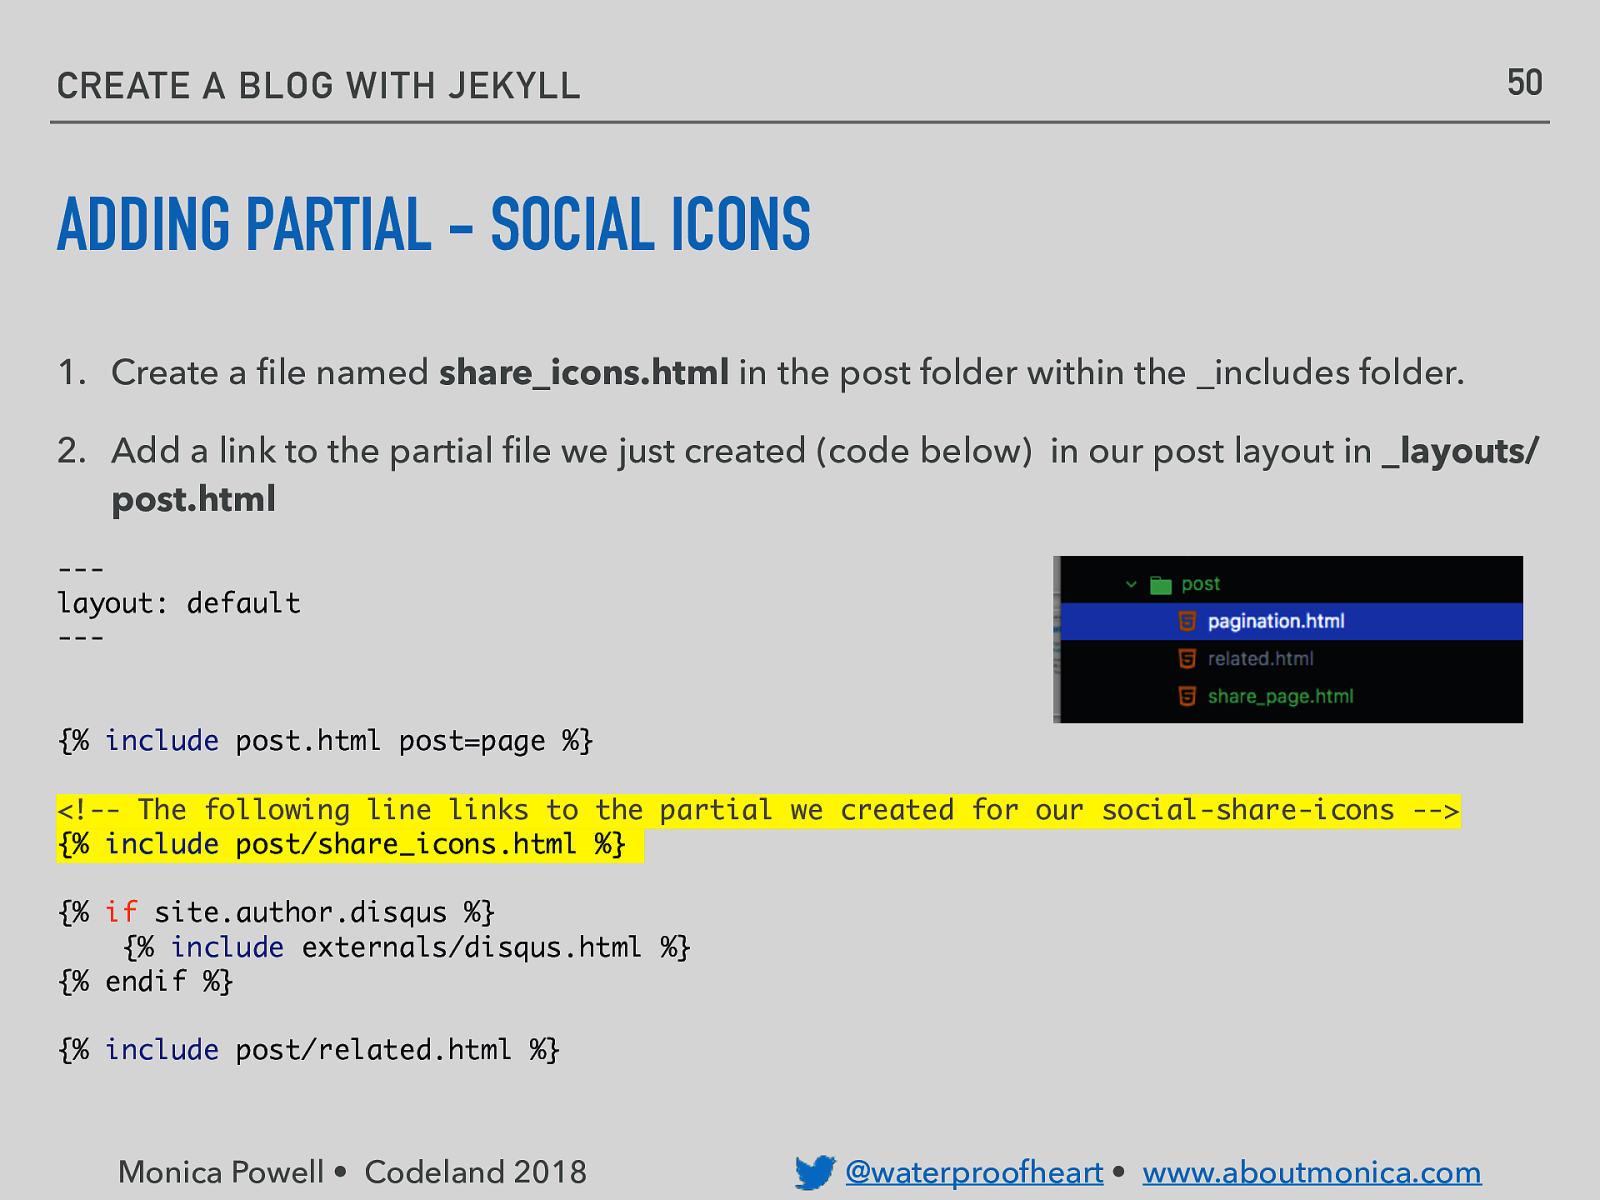
50 CREATE A BLOG WITH JEKYLL ADDING PARTIAL - SOCIAL ICONS 1. Create a file named share_icons.html in the post folder within the _includes folder. 2. Add a link to the partial file we just created (code below) in our post layout in _layouts/ post.html —layout: default —- {% include post.html post=page %} <!— The following line links to the partial we created for our social-share-icons —> {% include post/share_icons.html %} {% if site.author.disqus %} {% include externals/disqus.html %} {% endif %} {% include post/related.html %} Monica Powell • Codeland 2018 @waterproofheart • www.aboutmonica.com
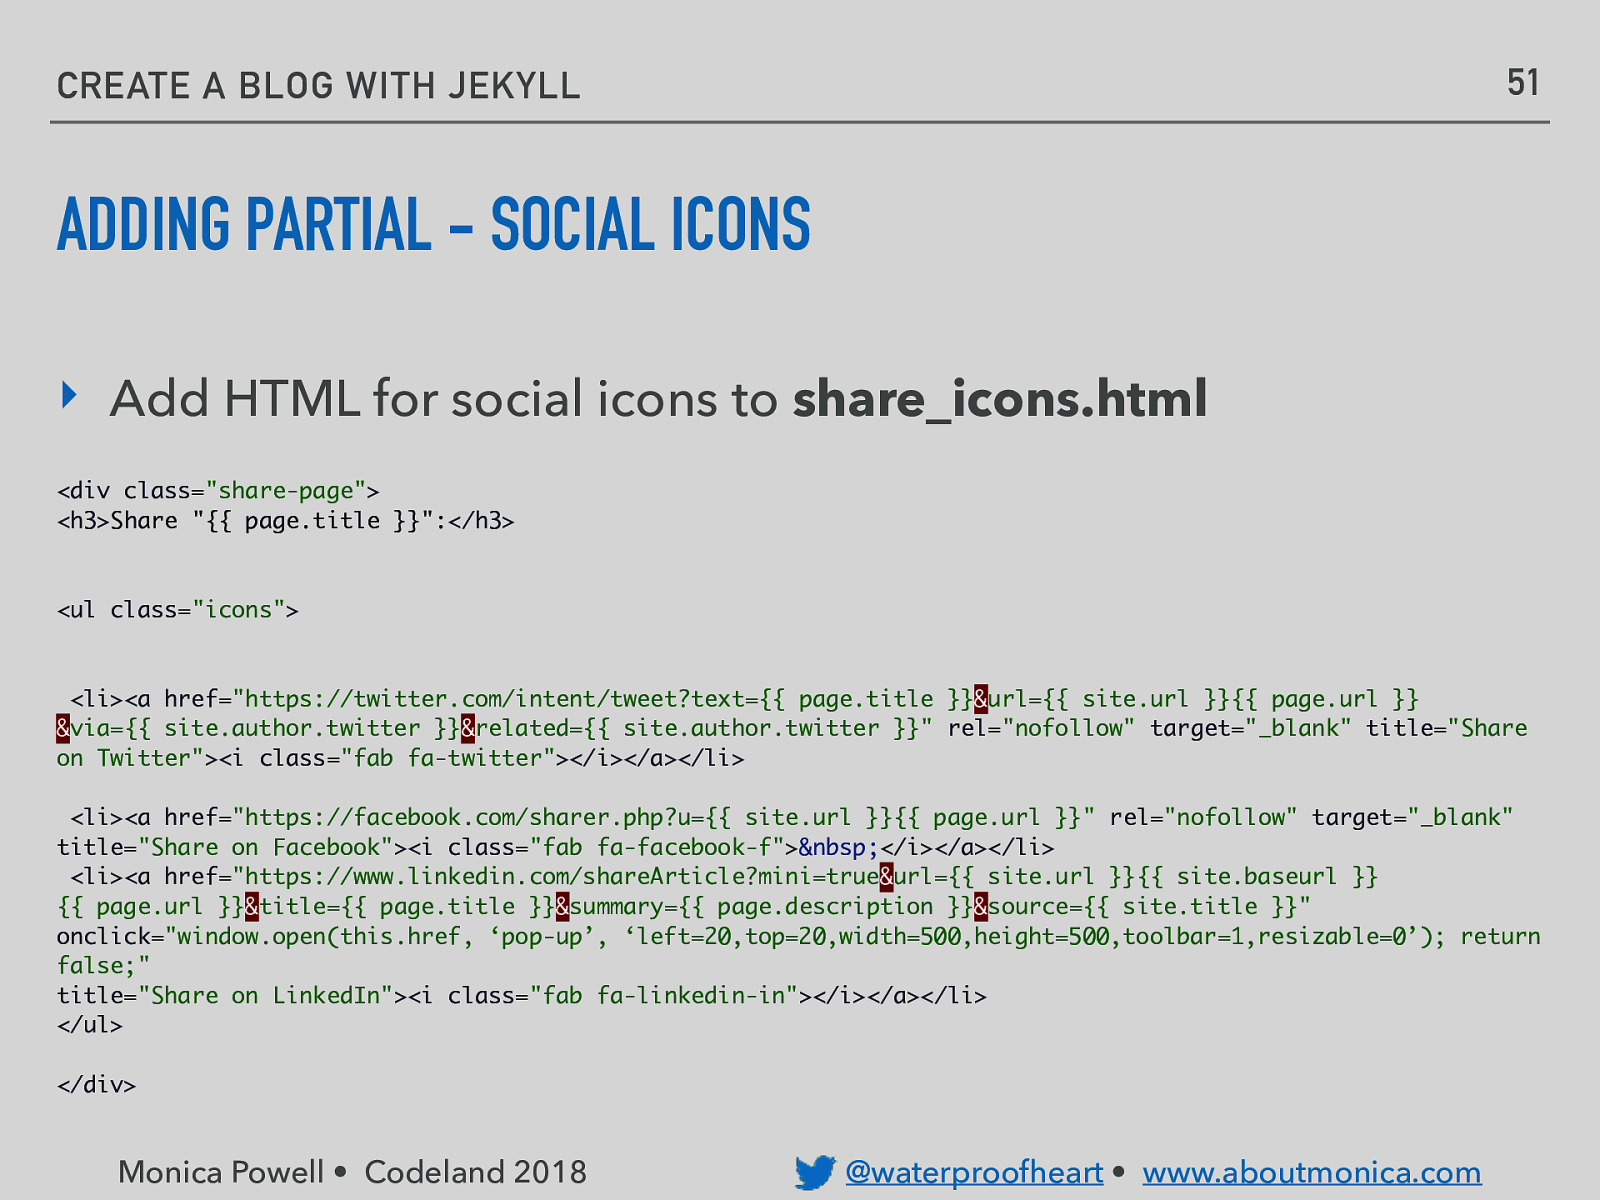
51 CREATE A BLOG WITH JEKYLL ADDING PARTIAL - SOCIAL ICONS ‣ Add HTML for social icons to share_icons.html <div class=”share-page”> <h3>Share “{{ page.title }}”:</h3>
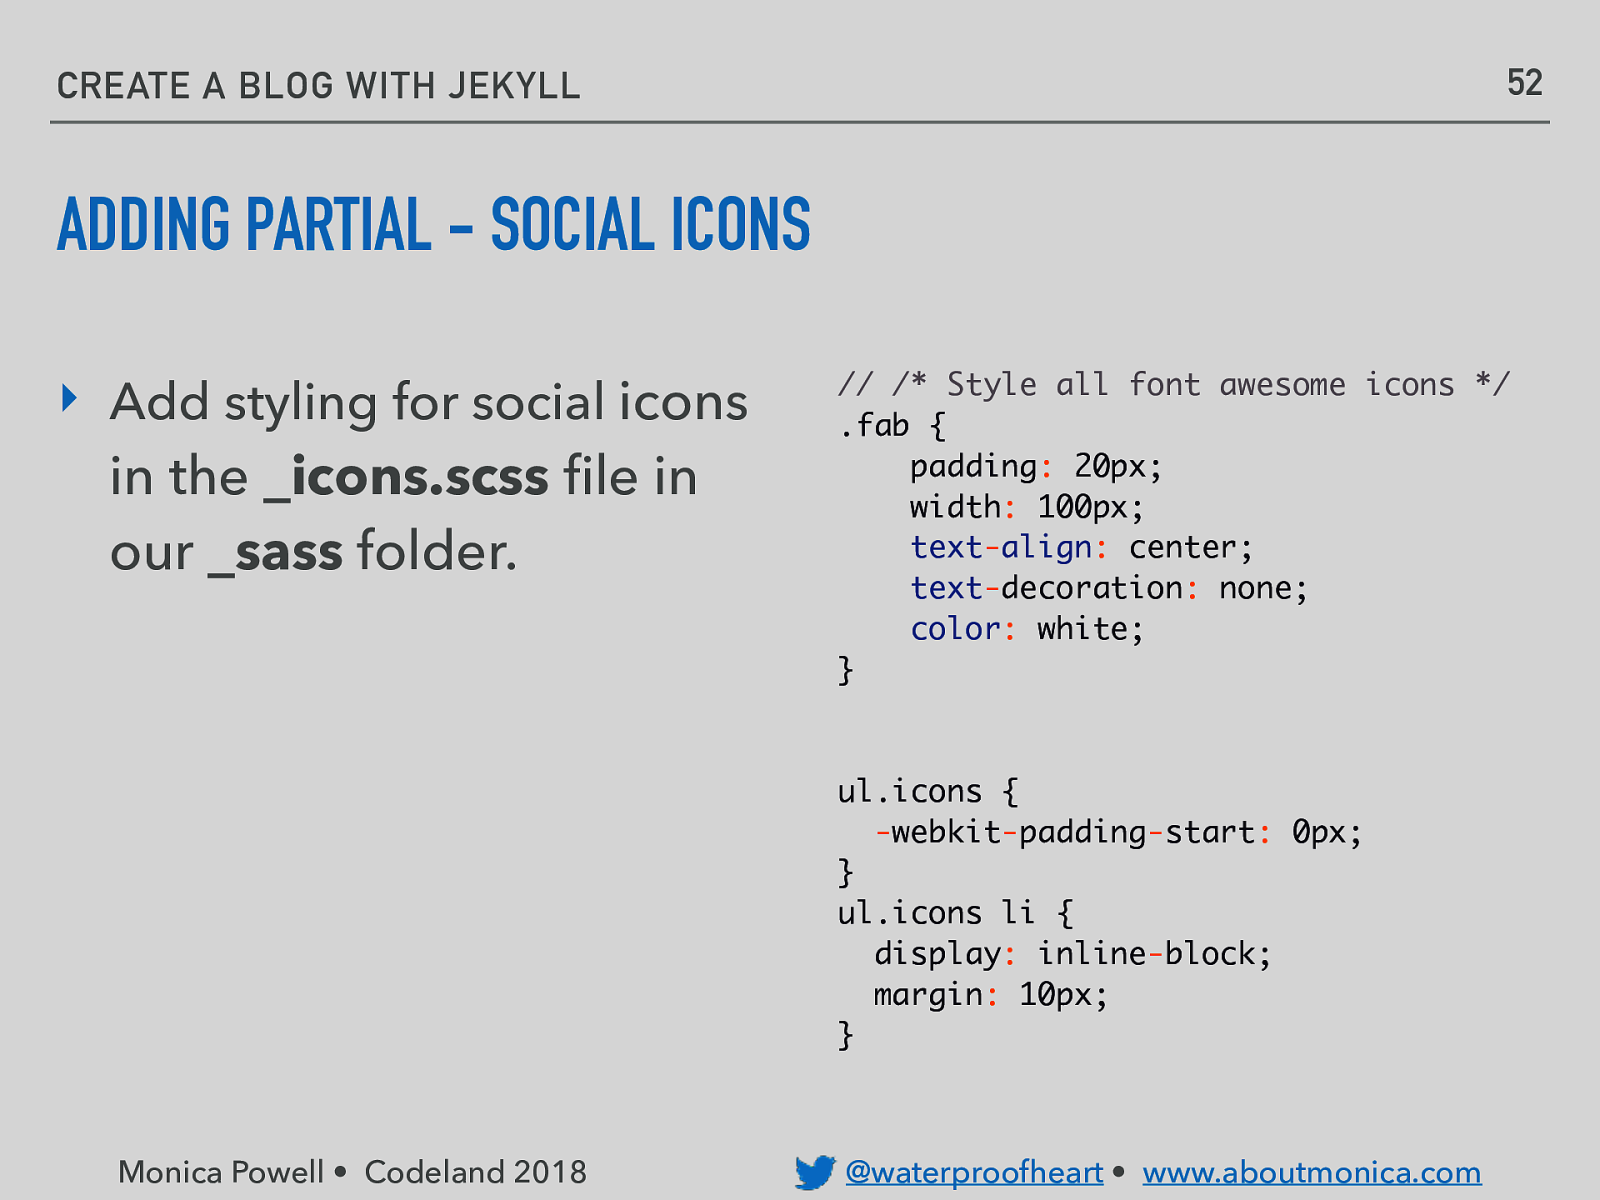
<ul class=”icons”> <li><a href=”https://twitter.com/intent/tweet?text={{ page.title }}&url={{ site.url }}{{ page.url }} &via={{ site.author.twitter }}&related={{ site.author.twitter }}” rel=”nofollow” target=”_blank” title=”Share on Twitter”><i class=”fab fa-twitter”></i></a></li> <li><a href=”https://facebook.com/sharer.php?u={{ site.url }}{{ page.url }}” rel=”nofollow” target=”_blank” title=”Share on Facebook”><i class=”fab fa-facebook-f”> </i></a></li> <li><a href=”https://www.linkedin.com/shareArticle?mini=true&url={{ site.url }}{{ site.baseurl }} {{ page.url }}&title={{ page.title }}&summary={{ page.description }}&source={{ site.title }}” onclick=”window.open(this.href, ‘pop-up’, ‘left=20,top=20,width=500,height=500,toolbar=1,resizable=0’); return false;” title=”Share on LinkedIn”><i class=”fab fa-linkedin-in”></i></a></li> </ul> </div> Monica Powell • Codeland 2018 @waterproofheart • www.aboutmonica.com52 CREATE A BLOG WITH JEKYLL ADDING PARTIAL - SOCIAL ICONS ‣ Add styling for social icons in the _icons.scss file in our _sass folder. // /* Style all font awesome icons */ .fab { padding: 20px; width: 100px; text-align: center; text-decoration: none; color: white; } ul.icons { -webkit-padding-start: 0px; } ul.icons li { display: inline-block; margin: 10px; } Monica Powell • Codeland 2018 @waterproofheart • www.aboutmonica.com
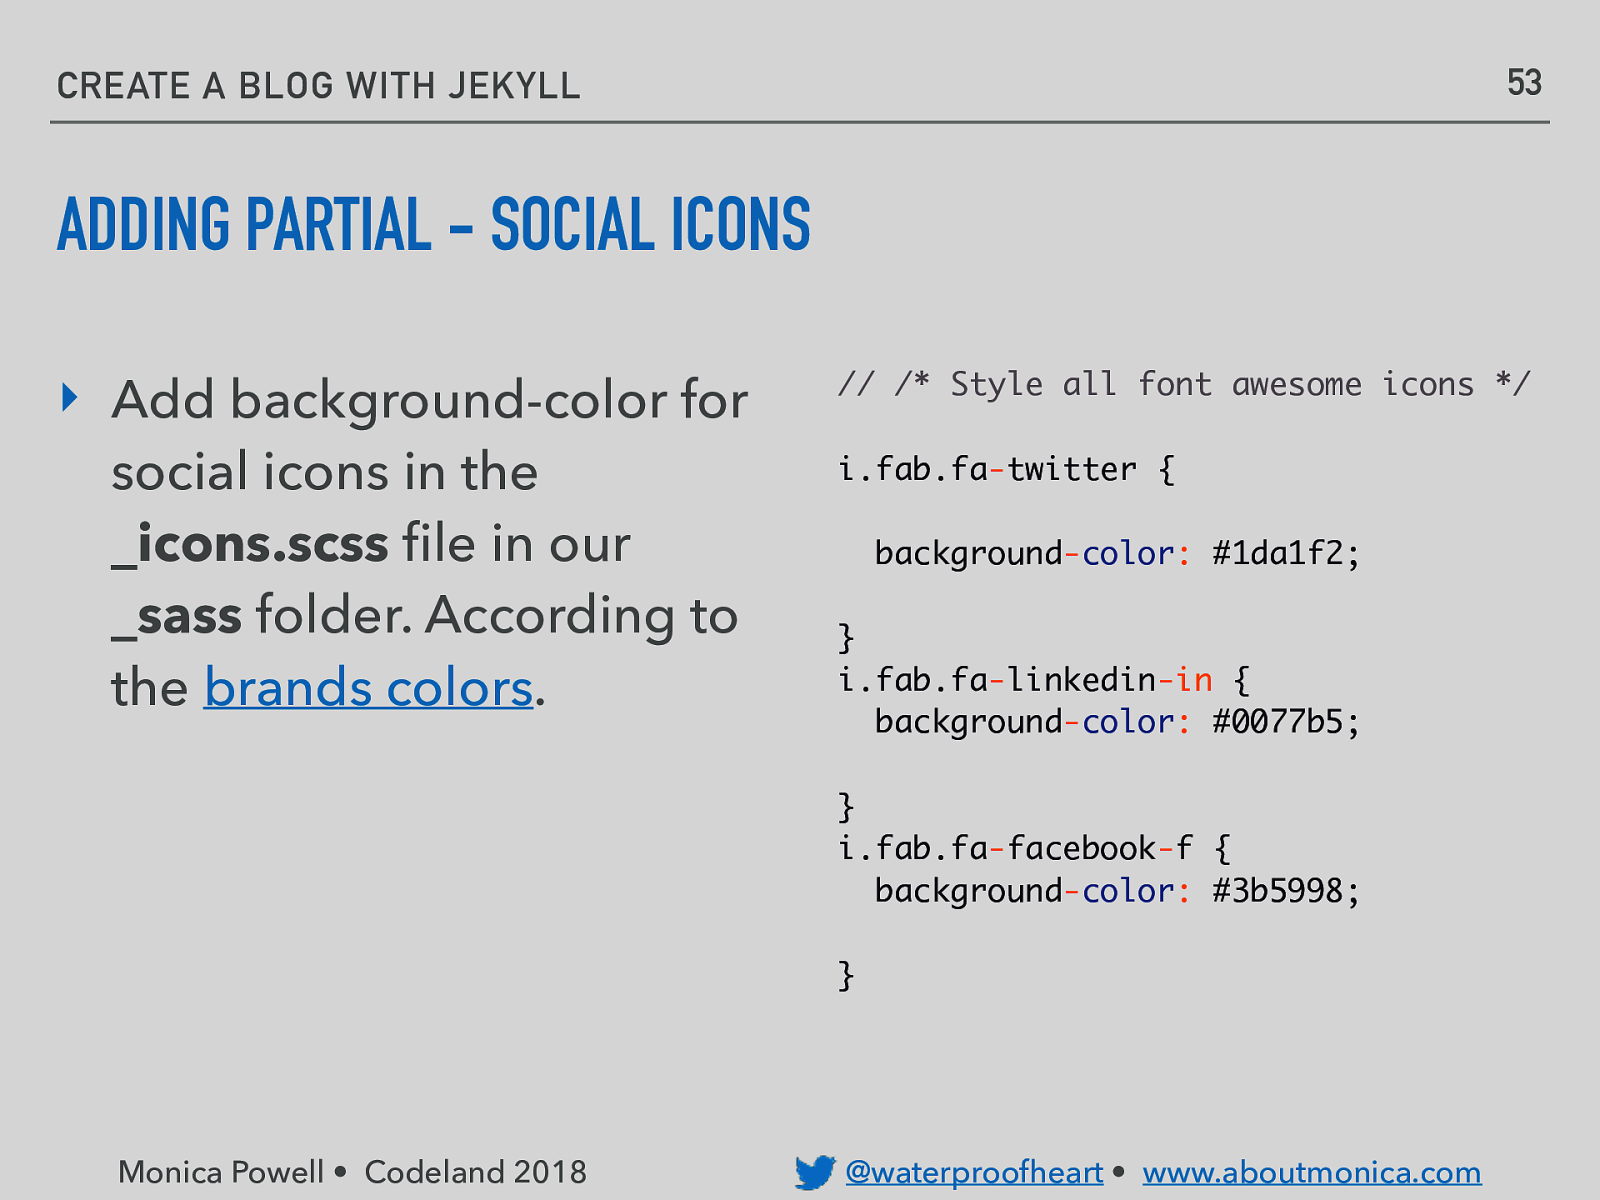
53 CREATE A BLOG WITH JEKYLL ADDING PARTIAL - SOCIAL ICONS ‣ Add background-color for social icons in the _icons.scss file in our _sass folder. According to the brands colors. // /* Style all font awesome icons */ i.fab.fa-twitter { background-color: #1da1f2; } i.fab.fa-linkedin-in { background-color: #0077b5; } i.fab.fa-facebook-f { background-color: #3b5998; } Monica Powell • Codeland 2018 @waterproofheart • www.aboutmonica.com
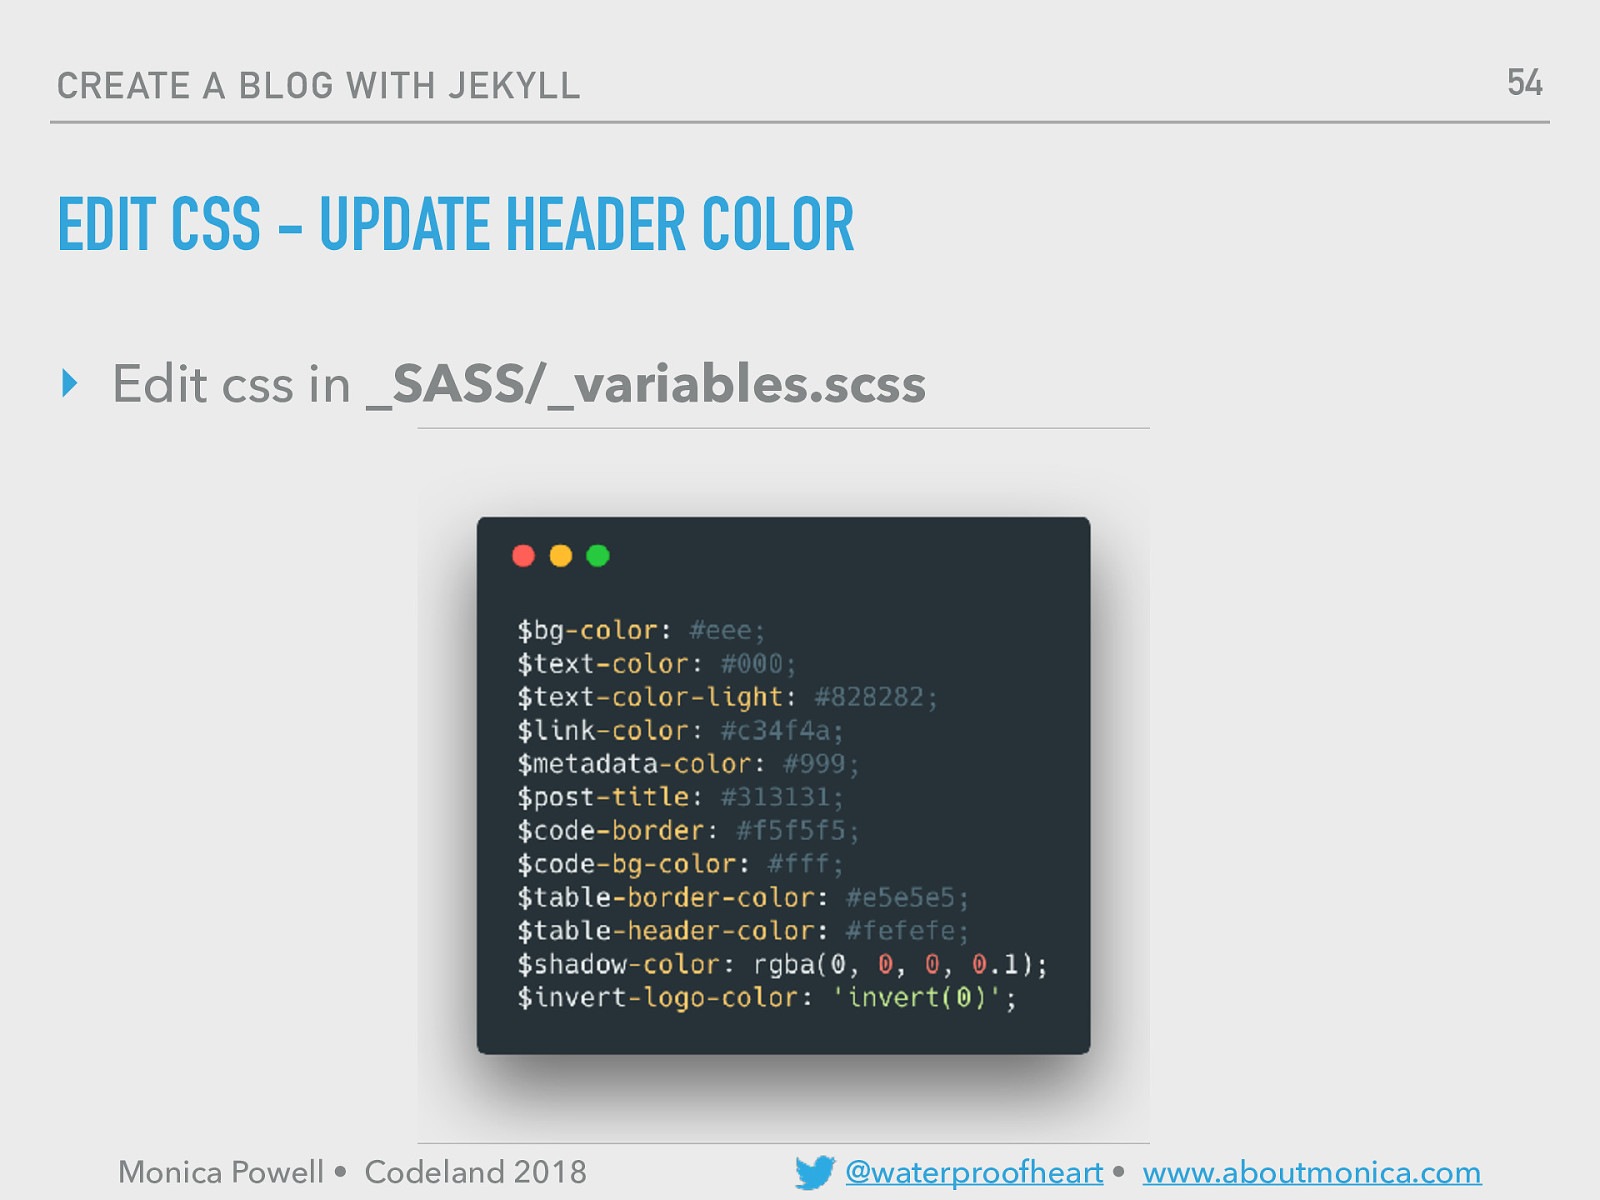
54 CREATE A BLOG WITH JEKYLL EDIT CSS - UPDATE HEADER COLOR ‣ Edit css in _SASS/_variables.scss Monica Powell • Codeland 2018 @waterproofheart • www.aboutmonica.com
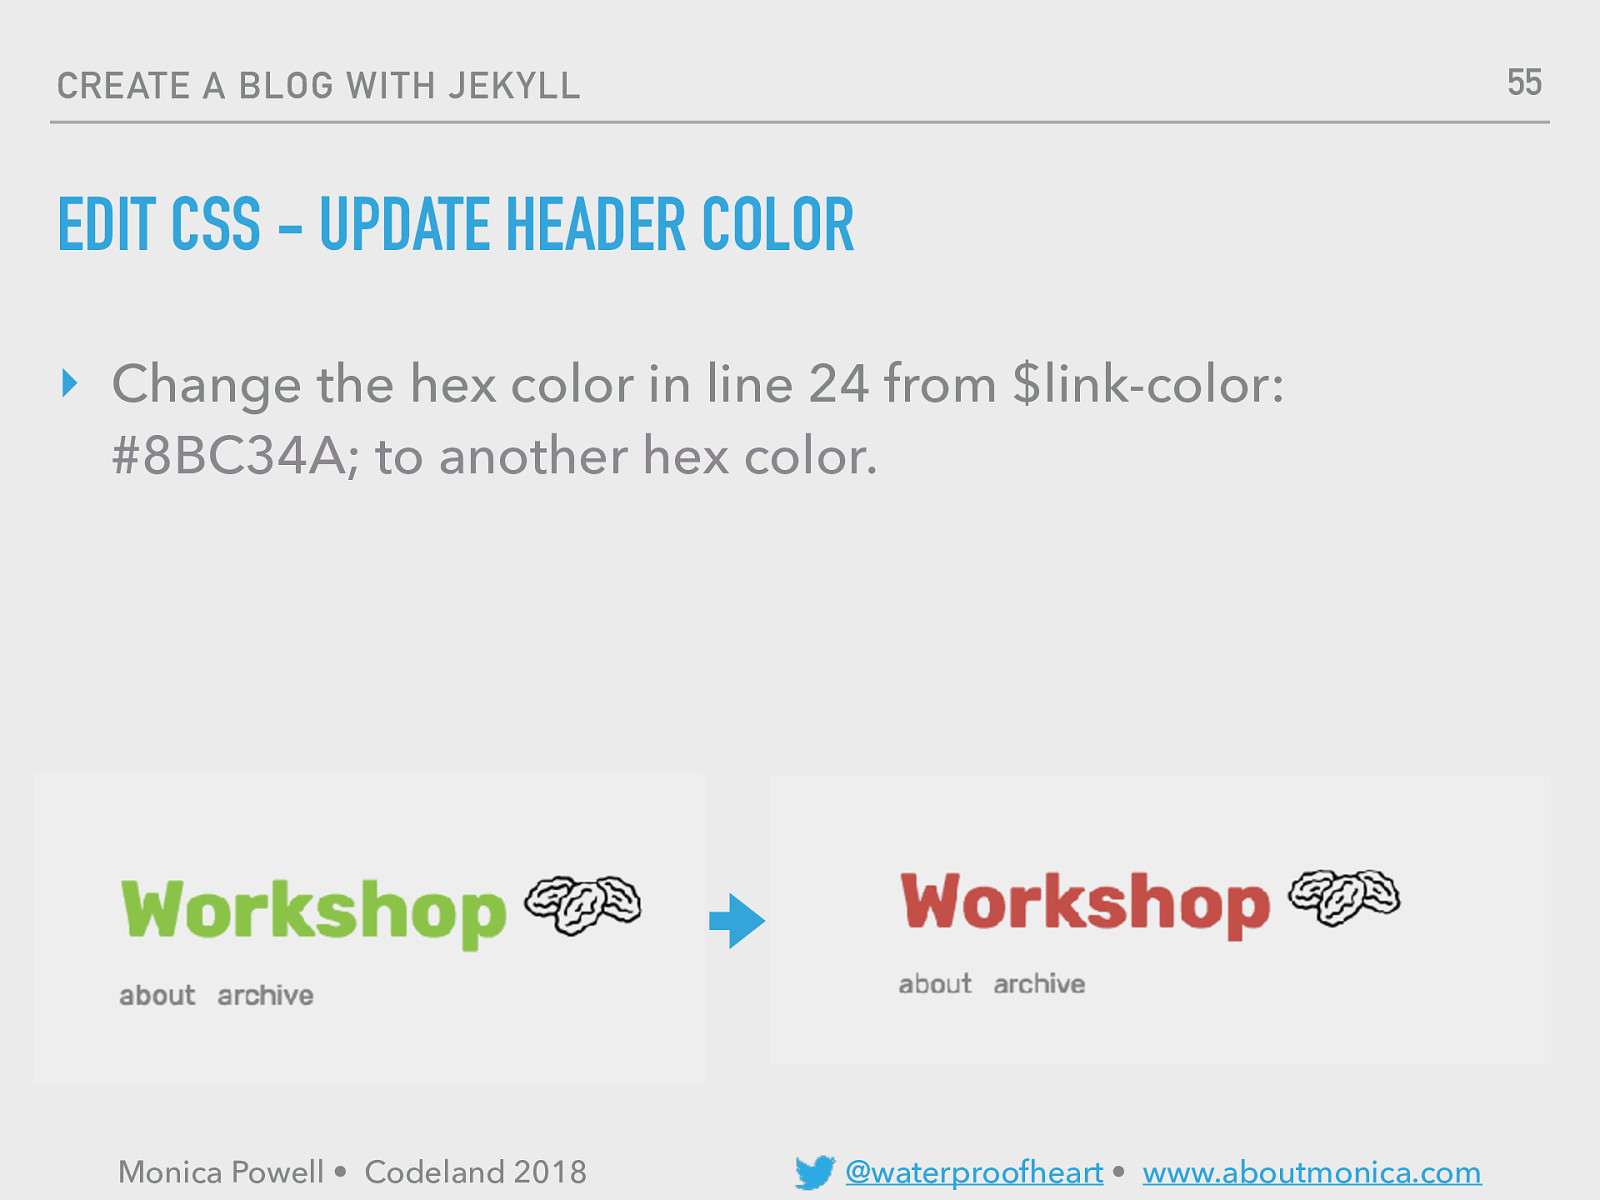
55 CREATE A BLOG WITH JEKYLL EDIT CSS - UPDATE HEADER COLOR ‣ Change the hex color in line 24 from $link-color: #8BC34A; to another hex color. ‣ Monica Powell • Codeland 2018 @waterproofheart • www.aboutmonica.com
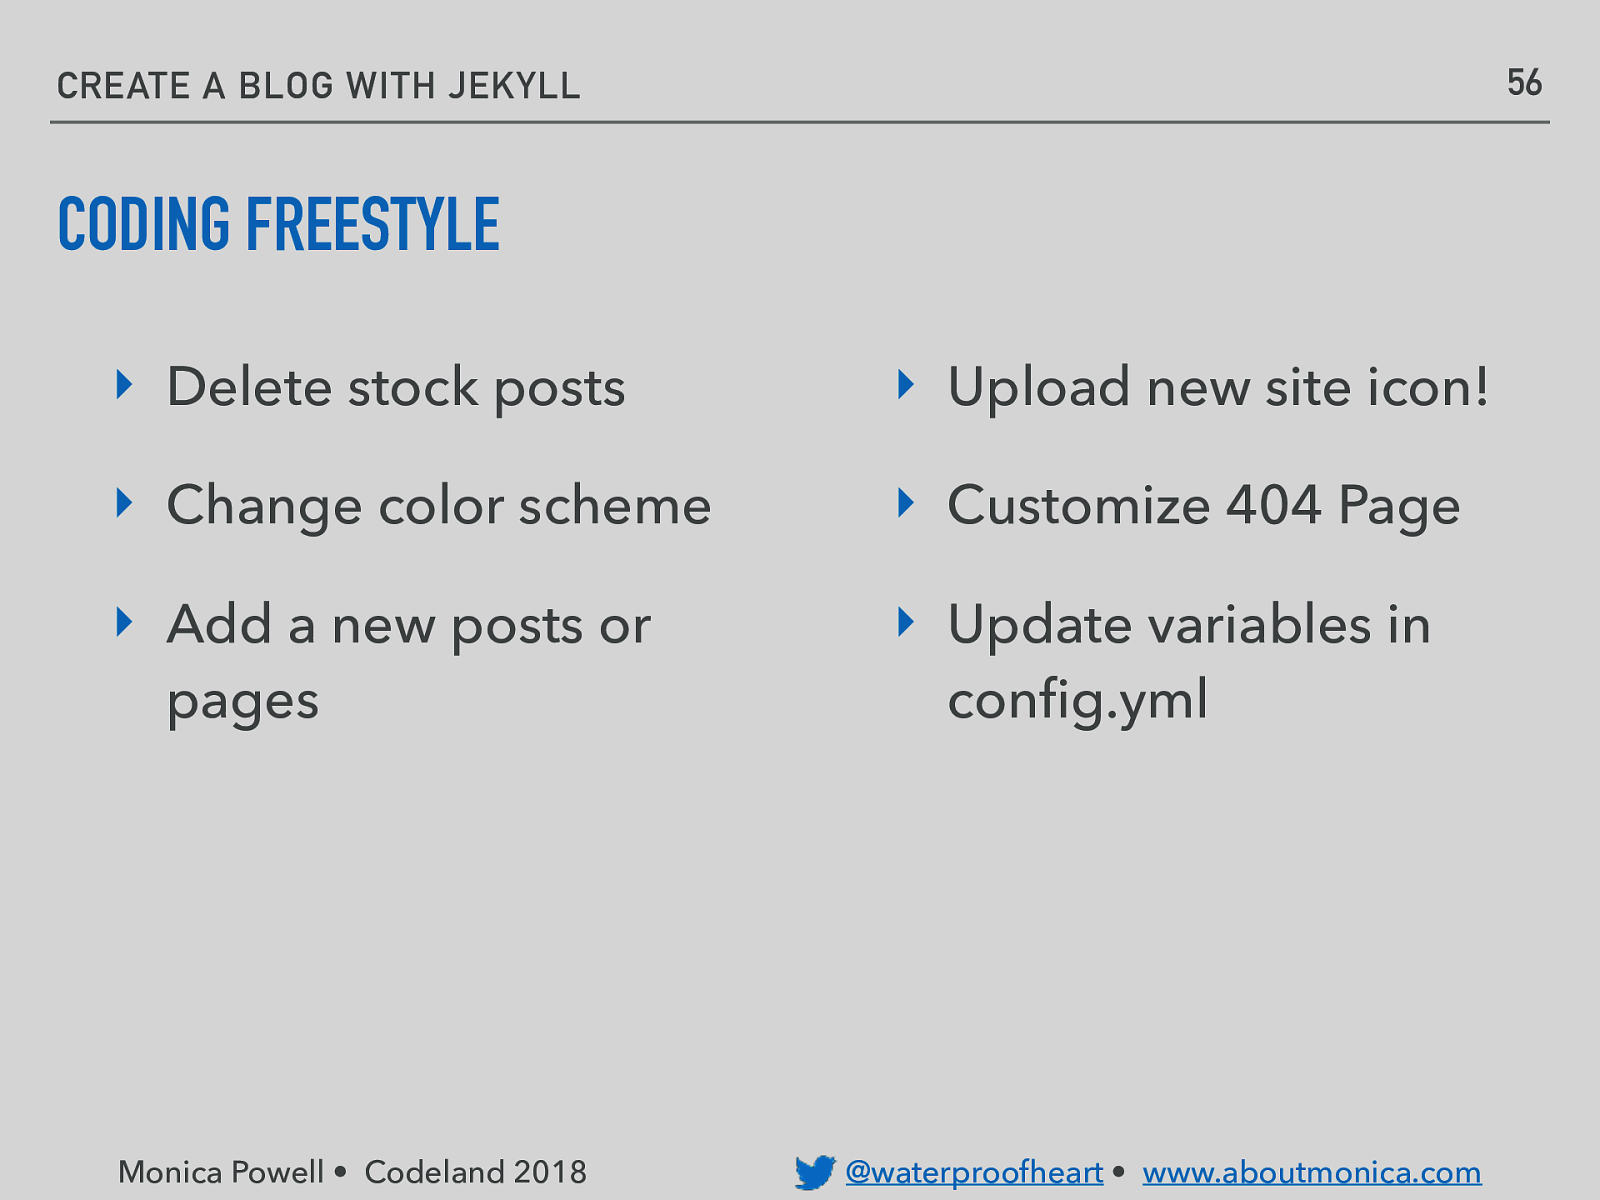
56 CREATE A BLOG WITH JEKYLL CODING FREESTYLE ‣ Delete stock posts ‣ Upload new site icon! ‣ Change color scheme ‣ Customize 404 Page ‣ Add a new posts or pages ‣ Update variables in config.yml Monica Powell • Codeland 2018 @waterproofheart • www.aboutmonica.com
SHOW EVERYONE WHAT YOUR BLOG LOOKS LIKE SHOW AND TELL
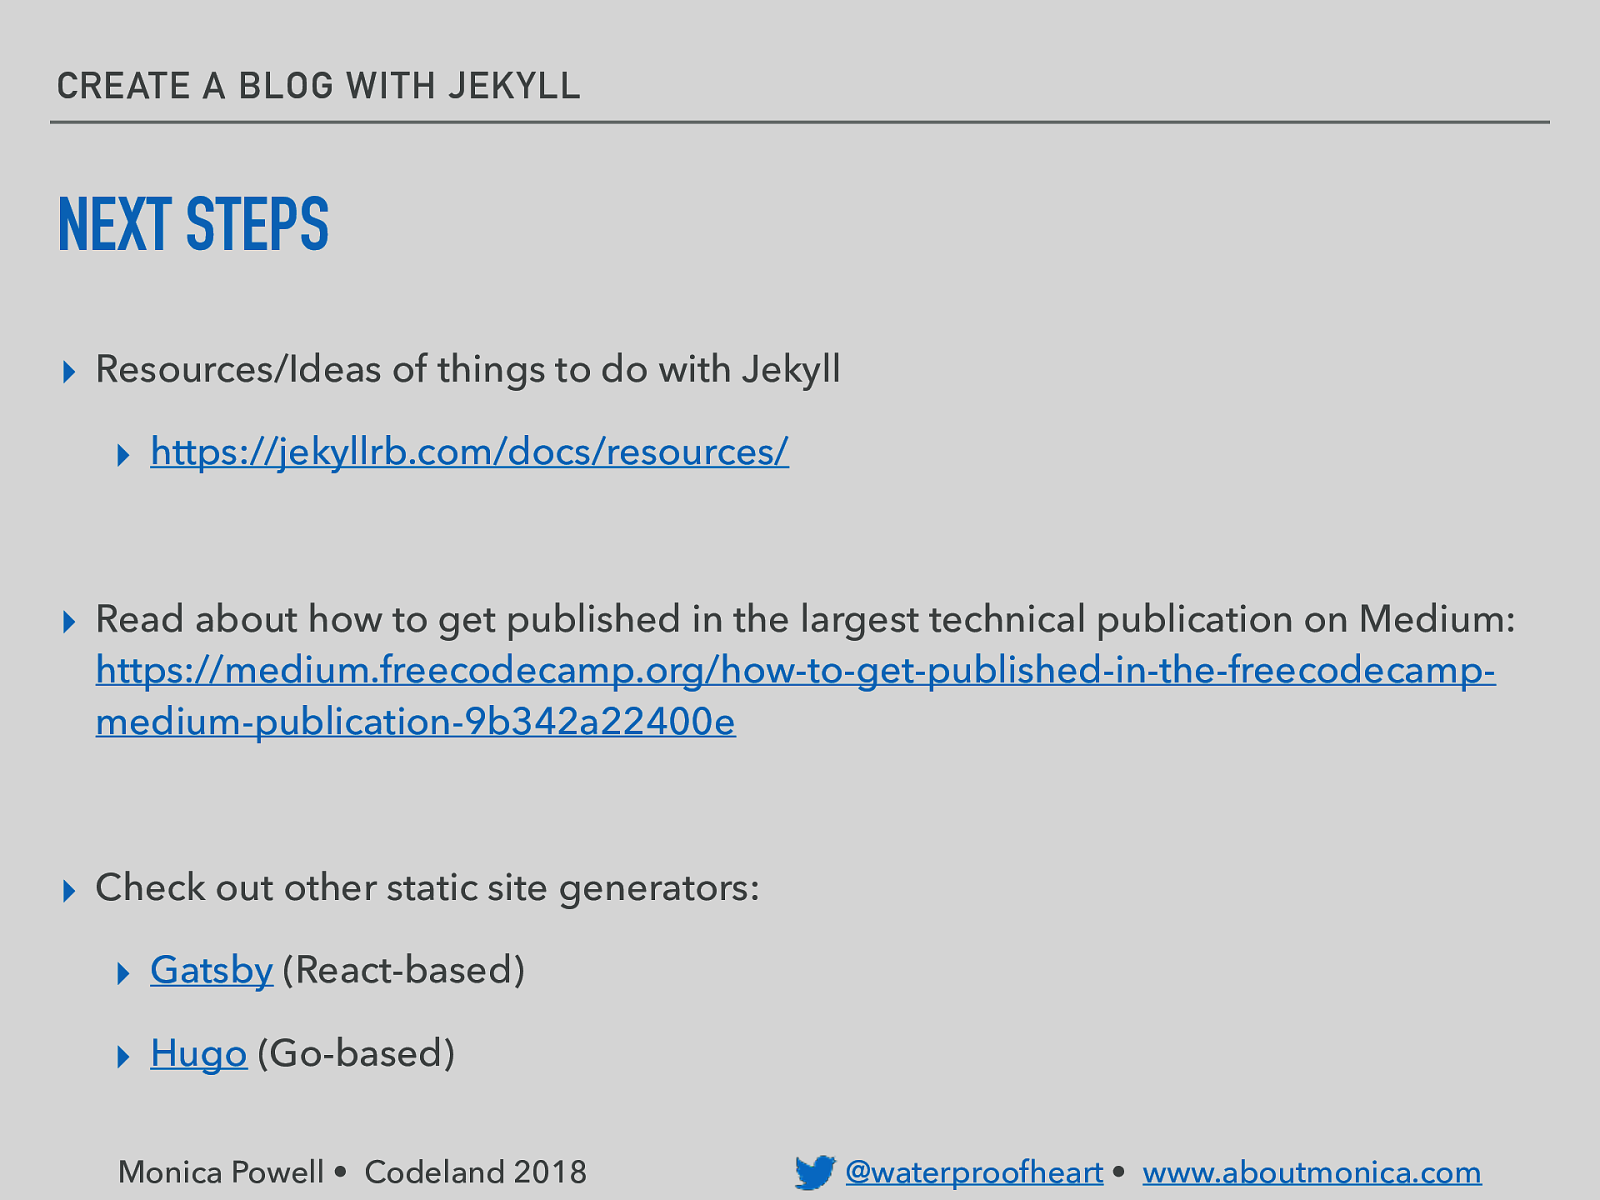
CREATE A BLOG WITH JEKYLL NEXT STEPS ▸ Resources/Ideas of things to do with Jekyll ▸ https://jekyllrb.com/docs/resources/ ▸ Read about how to get published in the largest technical publication on Medium: https://medium.freecodecamp.org/how-to-get-published-in-the-freecodecampmedium-publication-9b342a22400e ▸ Check out other static site generators: ▸ Gatsby (React-based) ▸ Hugo (Go-based) Monica Powell • Codeland 2018 @waterproofheart • www.aboutmonica.com
🎉 THANK YOU! QUESTIONS? Feel free to e-mail me at: Monica@AboutMonica.com

Today we are going to learn the basics of publishing and maintaining a blog to host your technical writing. You will create a static blog and learn how to host it for free on Github Pages. You can expect to walk away being confident modifying and customizing your blog to better fit your needs.


 for free. You
can too.
for free. You
can too.